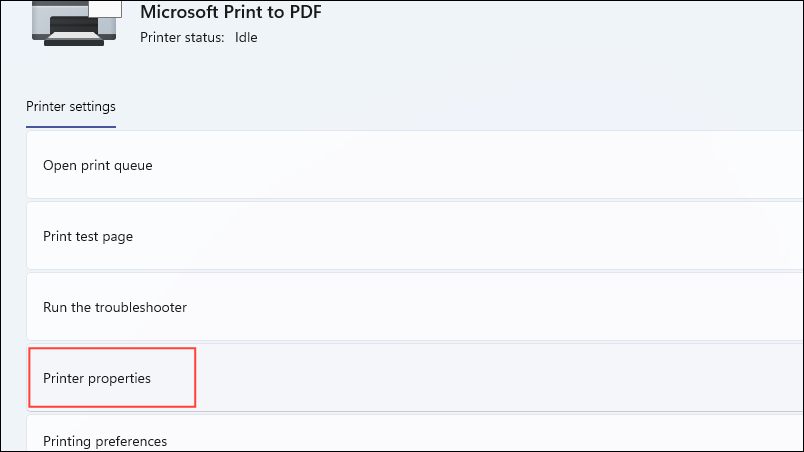
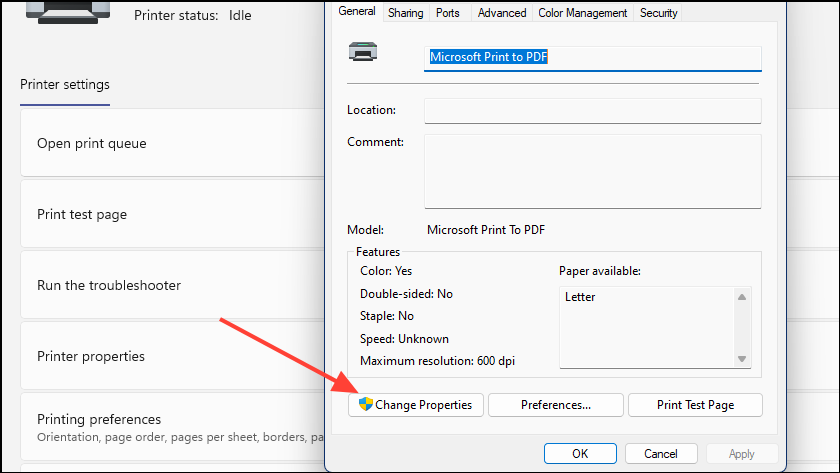
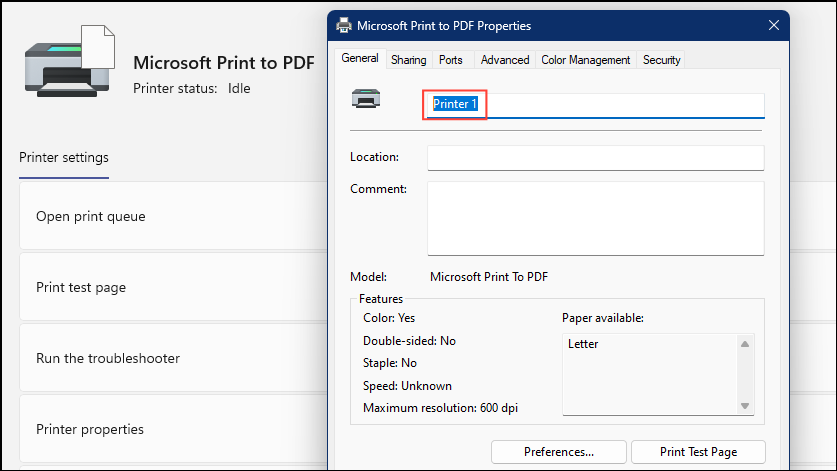
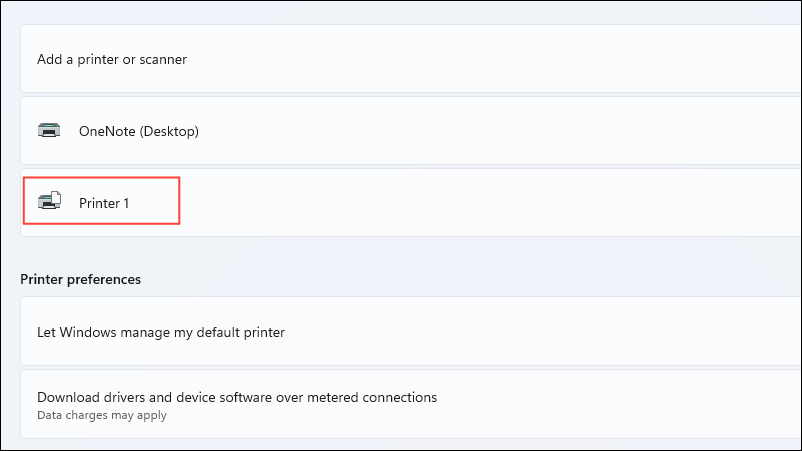
Renaming a printer in Windows 11 can help you identify it more easily, especially if you have multiple printers connected to your computer. By assigning a custom name, you can ensure that you’re sending print jobs to the correct device without confusion. Here are several methods to rename a printer on your Windows 11 PC.
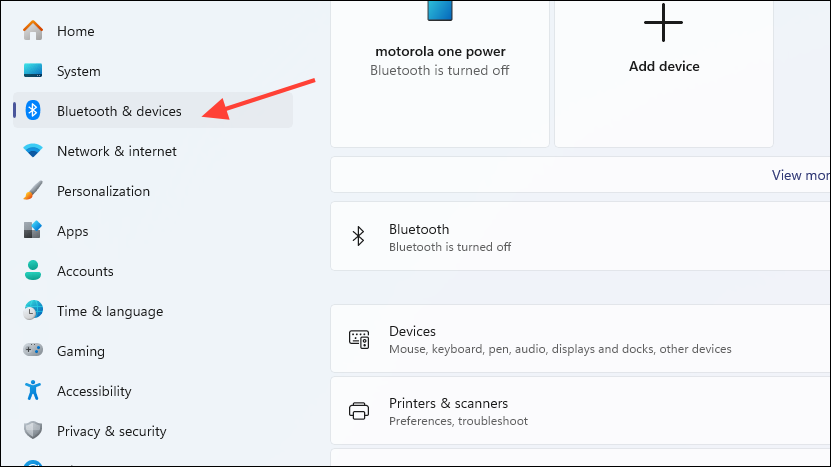
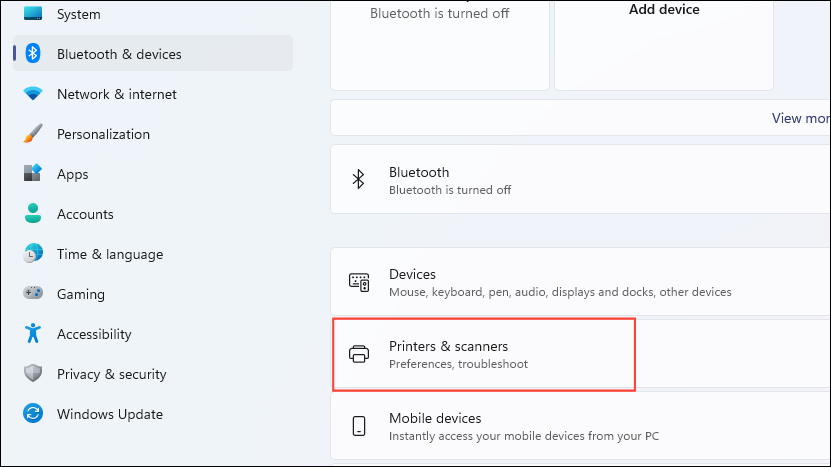
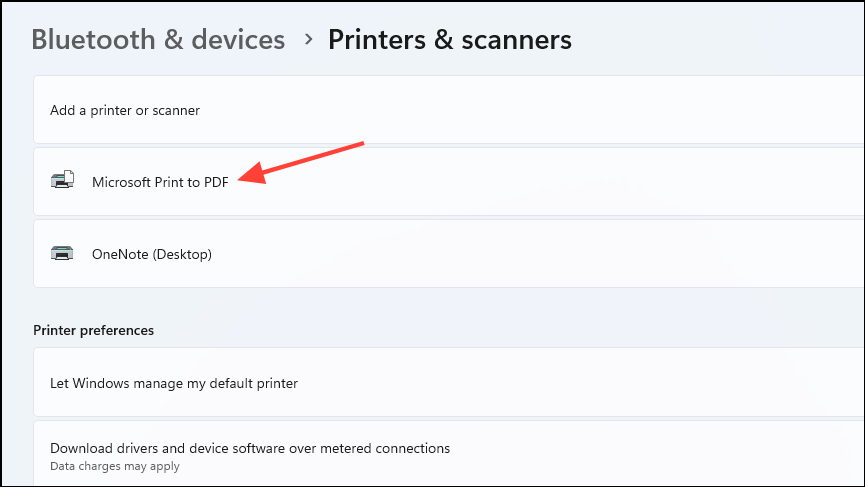
Using the Settings app
Using PowerShell
PowerShell in the search bar, and select ‘Run as administrator‘ to launch PowerShell with administrative privileges.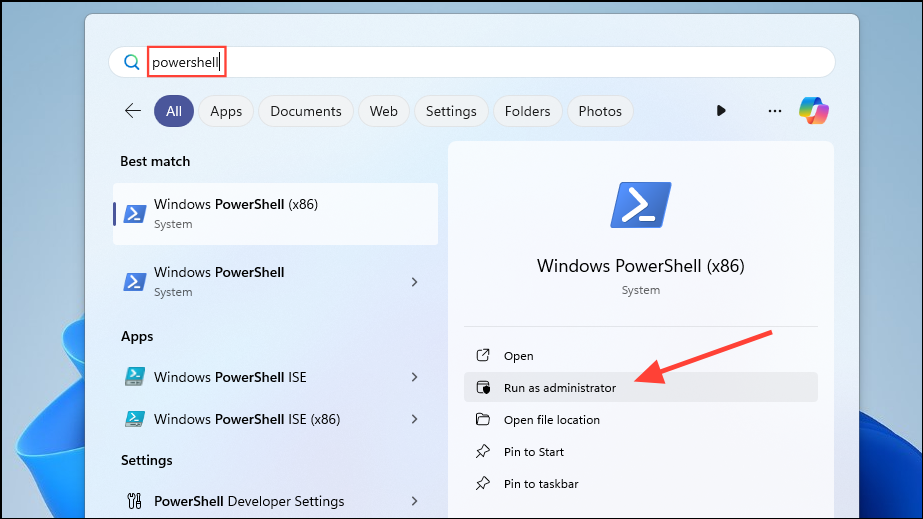
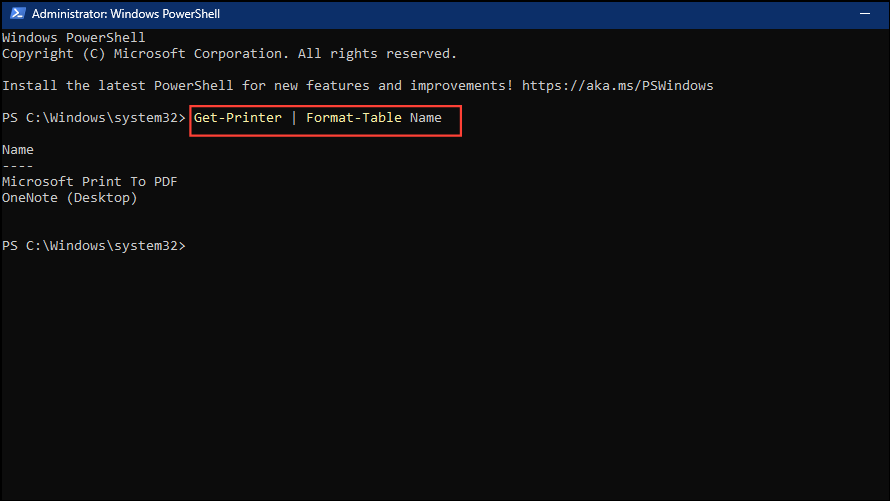
Get-Printer | Format-Table NamePress Enter to execute the command. This will display a table with the names of all printers connected to your system.
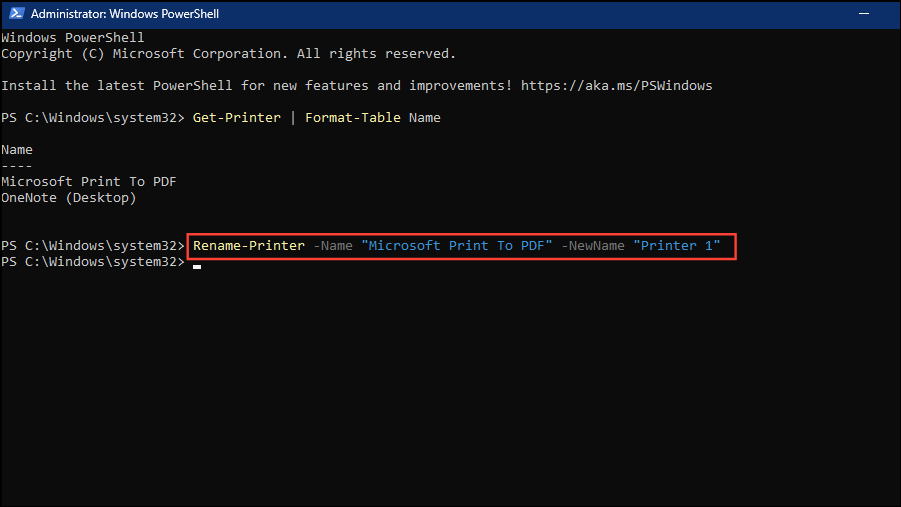
Rename-Printer -Name "CurrentPrinterName" -NewName "NewPrinterName"Replace "CurrentPrinterName" with the exact name of your printer as listed, and "NewPrinterName" with the desired name. Press Enter to run the command.
Using Command Prompt
cmd in the search field, and choose ‘Run as administrator‘ to open the Command Prompt with administrative rights.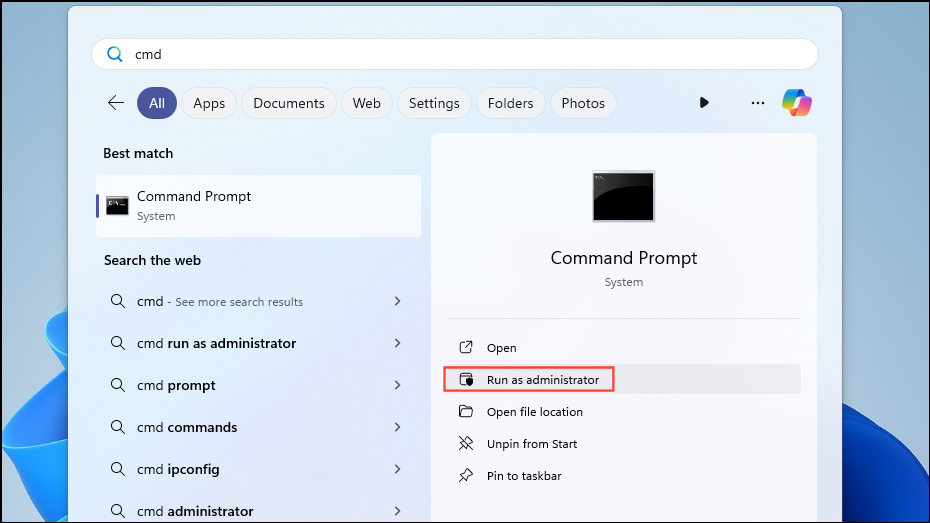
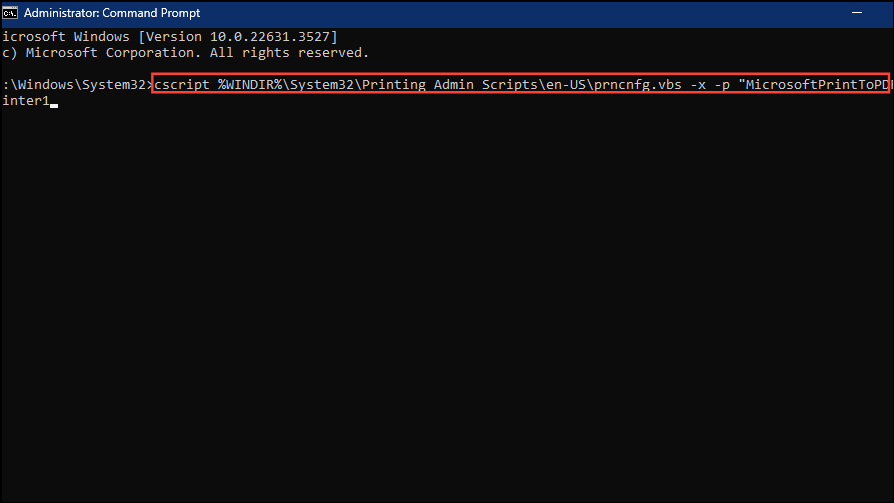
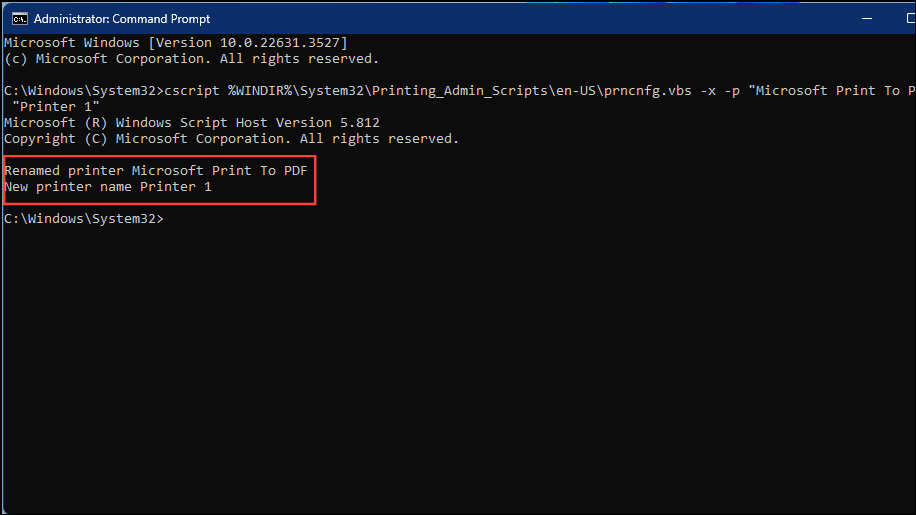
cscript %WINDIR%\System32\Printing_Admin_Scripts\en-US\prncnfg.vbs -x -p "CurrentPrinterName" -z "NewPrinterName"Make sure to replace "CurrentPrinterName" with the exact name of your printer and "NewPrinterName" with the new name you want to assign. Press Enter to execute the command.
By following these methods, you can easily rename your printer in Windows 11 to make it more identifiable. If you ever wish to revert to the default name, you can remove the printer from your system and add it again, and Windows will assign the original name automatically.