The Almighty King (Yhwach) sits at the center of one of the highest-output teams in Universal Tower Defense Z right now, pushing more than five million damage per second against Nightmare bosses. The team pairs Yhwach’s Blue Burn scaling with a stack of damage buffers, a slow from Prodigy Mage, and Visionary (Unrivaled) as the leader. Together they melt boss health bars fast enough to finish Reaper City Boss Rush in a single, clean run.
Quick answer: Field Visionary (Unrivaled), The Almighty King, Big Brother (Vengeance), Prodigy Mage, Fastcart, and Bulmo. Put Yhwach on the Ruler trait and Gremmy on Sacred, place Bulmo first, then Yhwach and Katakuri, then Fern, and scale into Gremmy last to hold 5M+ DPS through Reaper City Boss Rush on Nightmare.
The six-unit Yhwach team roster
The loadout runs six units, with Visionary (Unrivaled) set as the leader. Each slot has a clear job. Yhwach is the primary damage dealer, Gremmy adds area damage and a stacking buff, Fern applies a strong slow, and Fastcart and Bulmo exist mainly to buff the carries.
| Unit | Character | Level | Role |
|---|---|---|---|
| Visionary (Unrivaled) | Gremmy | 84 (Leader) | Area damage / buff |
| The Almighty King | Yhwach | 100 | Main DPS |
| Big Brother (Vengeance) | Charlotte Katakuri | 70 | Damage |
| Prodigy Mage | Fern | 70 | Support / slow |
| Fastcart | Speedwagon | 70 | Buffer |
| Bulmo | Bulma | 70 | Buffer |
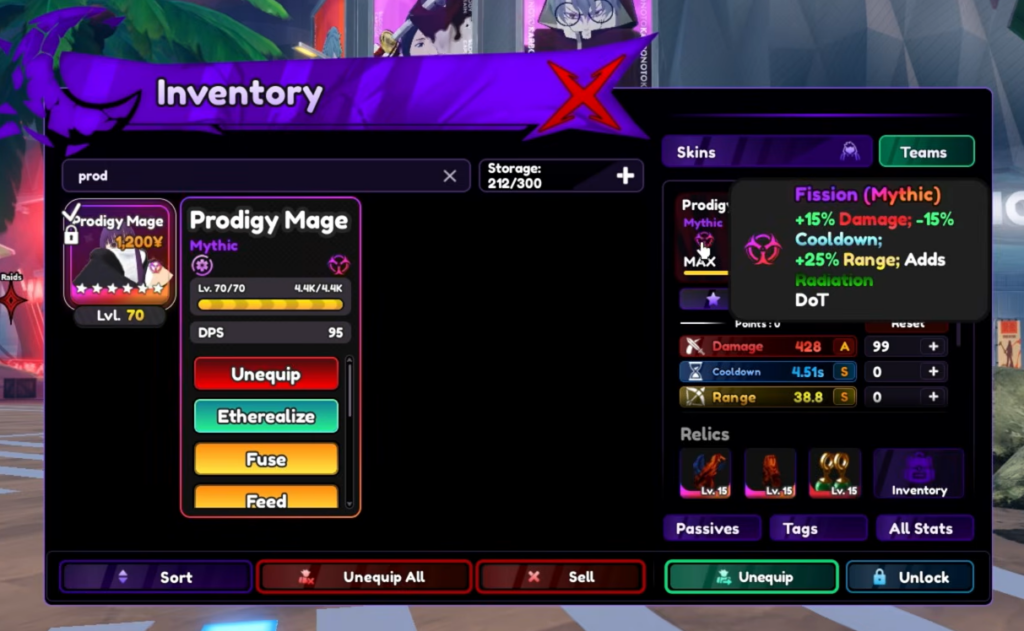
Prodigy Mage is used here in place of Merciless God (Goku Black). The swap is a practical one. It works because Fern’s slot only needs the Fission trait to pull its weight, so any unit carrying Fission can fill it. Notably, Fern runs unevolved in this setup and still performs.
Traits that make the team work
Three traits carry the whole comp. Yhwach uses Ruler, Gremmy uses Sacred, and the flex slot uses Fission. Ruler is the standout for a single hard-hitting placement, since it trades placement count for a massive damage multiplier.
| Trait | Effects |
|---|---|
| Ruler (Mythic) | +200% Damage; -20% Cooldown; +30% Range; +20% Income; limits the unit to 1 placement |
| Sacred (Mythic) | +25% Damage; -10% Cooldown; +25% Range; -15% Cost |
| Fission (Mythic) | +15% Damage; -15% SPA; +25% Range; adds Radiation DoT (deals 20% of the unit’s damage over 10 seconds and makes enemies take +20% damage) |
Sacred is Gremmy’s strongest trait for this team specifically. The Radiation DoT from Fission is the reason the flex slot matters so much, because the extra 20% damage taken applies to everything the team hits, boosting the whole comp’s output rather than just one unit.
Relic and stat setups for each unit
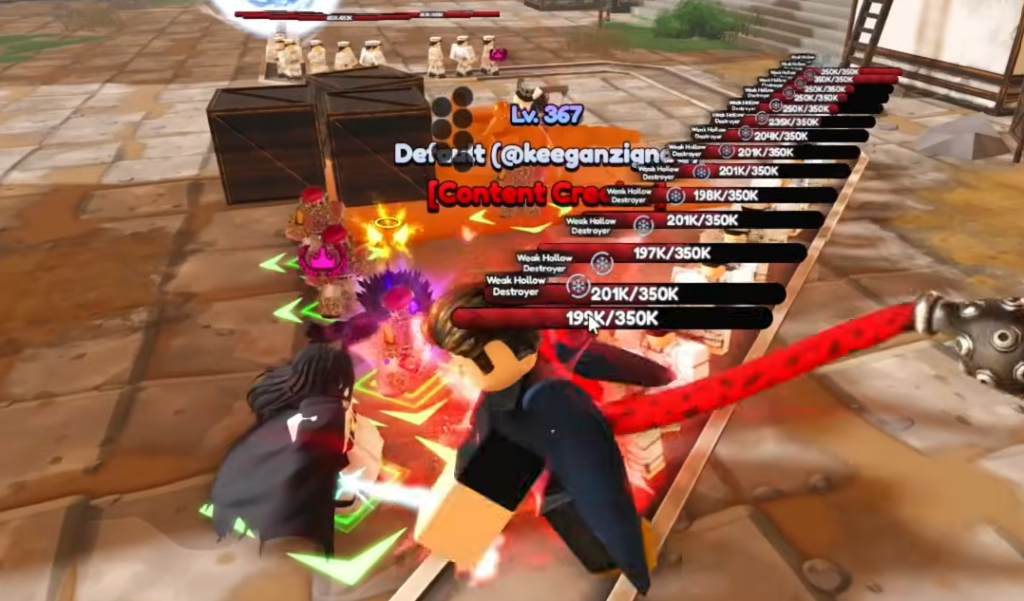
Both damage carries dump every stat point into Damage. Yhwach takes 129 points into Damage, and Gremmy takes 113. One rule matters more than any substat roll here. Do not chase Critical Rate or Critical Damage on Yhwach, because he scales through Blue Burn instead of crits.
The Almighty King (Yhwach)
Yhwach runs the Almighty Top and Almighty Bottom relics with the All-Seeing Eye accessory. His passives are the engine. Reishi Manipulation applies Blue Burn for 20% damage, and his All-Seeing Eye passive buffs him by +35% damage per owned unit in range, capped at +150%. That cap is why the team keeps units clustered near him.
| Piece | Substats |
|---|---|
| Almighty Top | DoT 104%, C. Damage 4.73%, Damage 8.4%, Cooldown 3.15%, Range 4.2%, Effect RES 10.5% |
| Almighty Bottom | Damage 70%, Range 2%, Effect RES 10%, Cooldown 4.5%, C. Damage 4.5%, DoT 15% |
| All-Seeing Eye | Elemental DMG 30%, C. Damage 4.5%, DoT 10%, Cooldown 3%, Damage 12%, Range 4% |
Visionary (Unrivaled) (Gremmy)
Gremmy pairs Almighty Top and Almighty Bottom with the Monarch Cape. His value comes from the Galaxy Void attack and a passive that buffs his damage by 10% for every sub tower spawned, which climbs steadily as you fill the board.
| Piece | Substats |
|---|---|
| Almighty Top | Damage 73.5%, C. Rate 5.25%, C. Damage 4.73%, DoT 10.5%, Range 4.2%, Buff Potency 9.45% |
| Almighty Bottom | Damage 70%, Effect RES 10%, C. Damage 13.5%, C. Rate 2.5%, DoT 10%, Buff Potency 6% |
| Monarch Cape | Buff Potency 45%, C. Rate 2.5%, Cooldown 1.5%, C. Damage 13.5%, Damage 8%, Effect RES 10% |
Big Brother (Vengeance) (Katakuri)
Katakuri runs the Warlord set, using the Warlord Skirt and Warlord Top.
| Piece | Substats |
|---|---|
| Warlord Skirt | Damage 71.7%, C. Rate 7.69%, C. Damage 9.22%, Effect RES 10.2%, Buff Potency 3.07%, DoT 10.2%, Range 4.2% |
| Warlord Top | Damage 73.5%, C. Damage 9.45%, DoT 10.5%, C. Rate 7.88%, Range 4.2%, Cooldown 1.58% |
Support units and flex slot
Fastcart and Bulmo both equip the Ex Captain Uraharo Hat (Mythic) accessory for +45% Buff Potency, since their job is purely to amplify the carries. Fern holds the Fission trait and brings Battle Dominant, which applies a slow, plus Party’s Tactician as an active ability. Any Fission-trait unit can stand in for her.
How to place the team in Reaper City Boss Rush
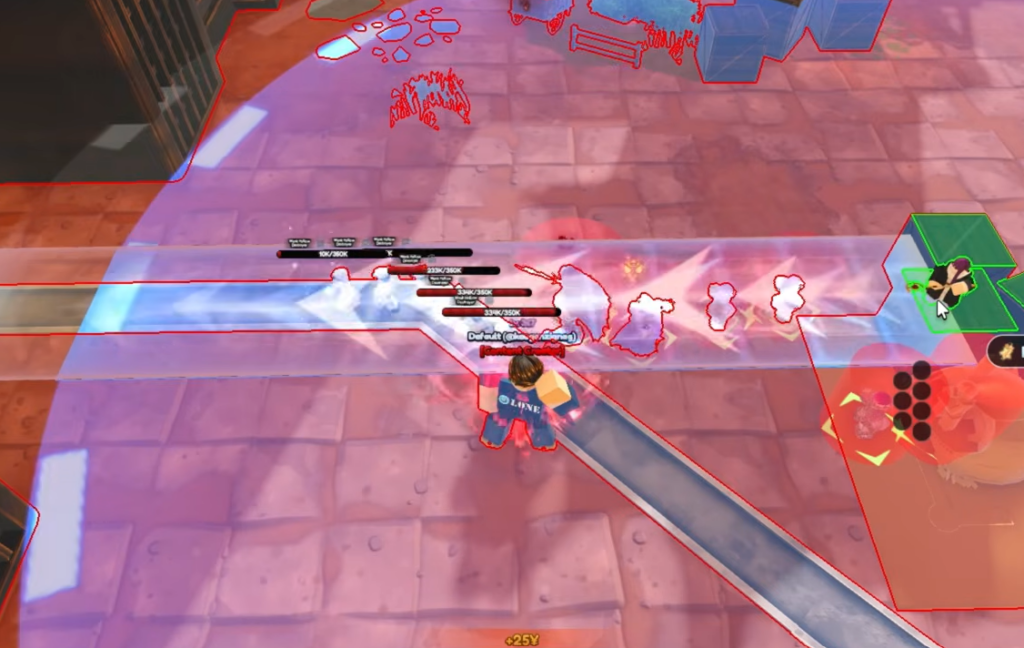
The run takes place in the Raid menu under Reaper City, on the Boss Rush (The Almighty King) map at Nightmare difficulty. You can launch it directly from inside Universal Tower Defense Z once the mode is unlocked. Placement order matters because you want buffers and slows down before Yhwach ramps up.
What clearing the run looks like
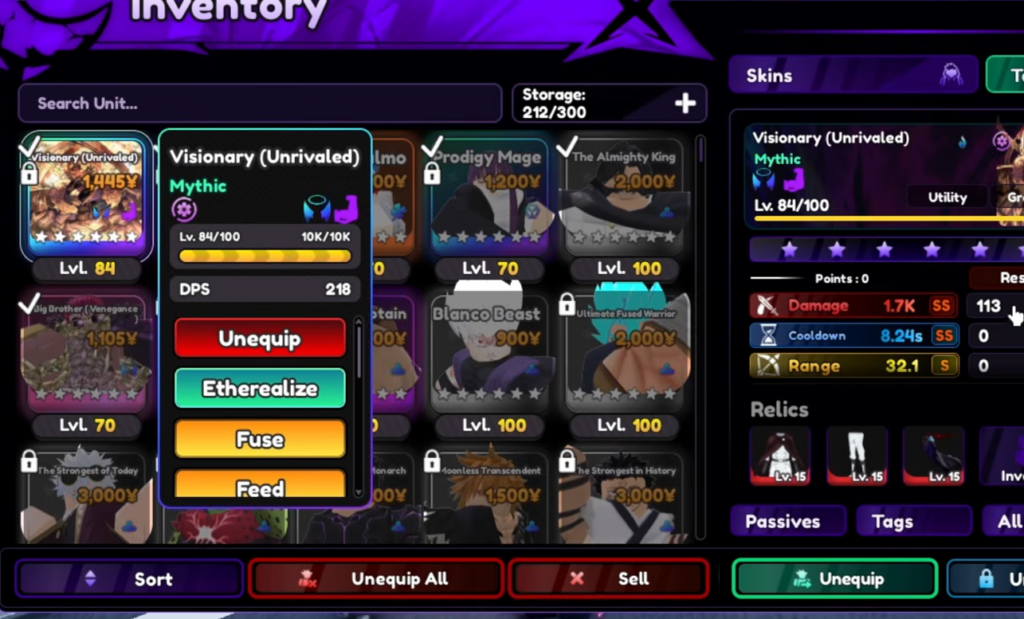
By the late boss waves, the team’s damage becomes obvious. On wave 21, The Fatality spawns with 51M HP and its second phase pushes to 61M HP, both of which fall in seconds. The final boss on wave 30, The King, spawns at 36M HP and moves into a 73M HP second phase before going down.
You know the run succeeded when the Mission Results screen appears with a Nightmare clear. In a full clear, the totals landed at 5,324,979,970 total damage with a boss clear time of 9 minutes 10 seconds. Reaching those numbers confirms the buffs, slow, and Yhwach’s Blue Burn scaling are all stacking correctly.
If your damage falls short of 5M+ DPS, the usual causes are Yhwach missing his SELF BUFF activation, too few units inside his range to reach the +150% cap, or a Yhwach relic rolled toward Critical stats instead of Damage and DoT.
The clear rewards for this Boss Rush include the Flame Captain unit, an All-Seeing Eye accessory, an All Almighty Bottom relic, the Ashen Sword secret item, Universal Gems Part 2 x11250, Gems x500, Soul Reaper Badge x21, and Gold x4000.
The strength of this comp comes down to how well the pieces feed each other. Fern’s slow keeps enemies parked next to Yhwach, Fastcart and Bulmo push his damage higher, Fission adds a team-wide damage-taken debuff, and Gremmy fills the board to trigger both his own stacking buff and Yhwach’s per-unit scaling. Get those layers online in the right order and the 5M+ DPS window opens well before the final boss arrives.