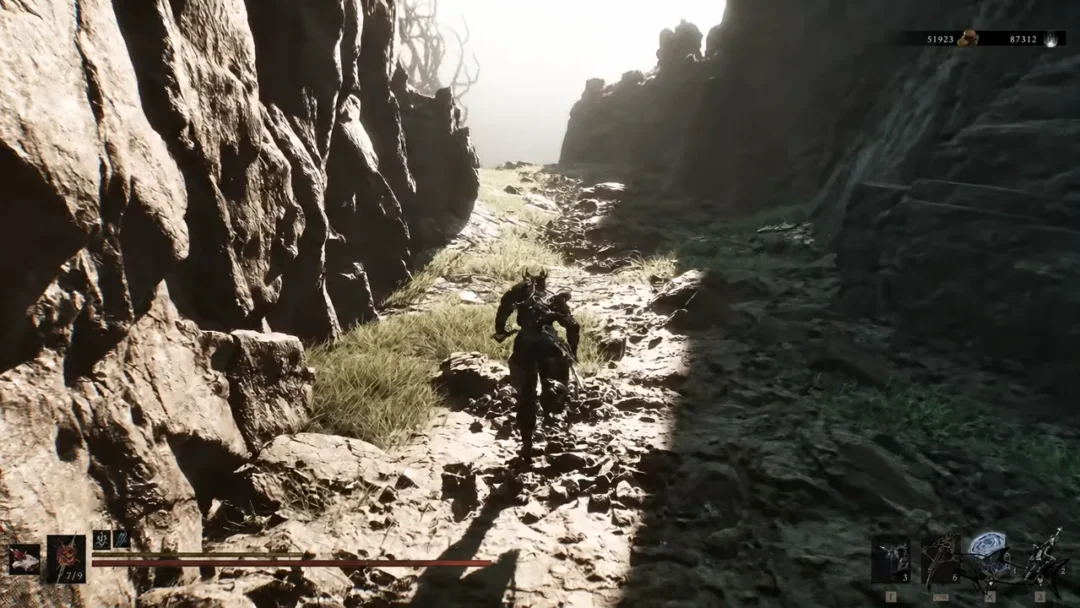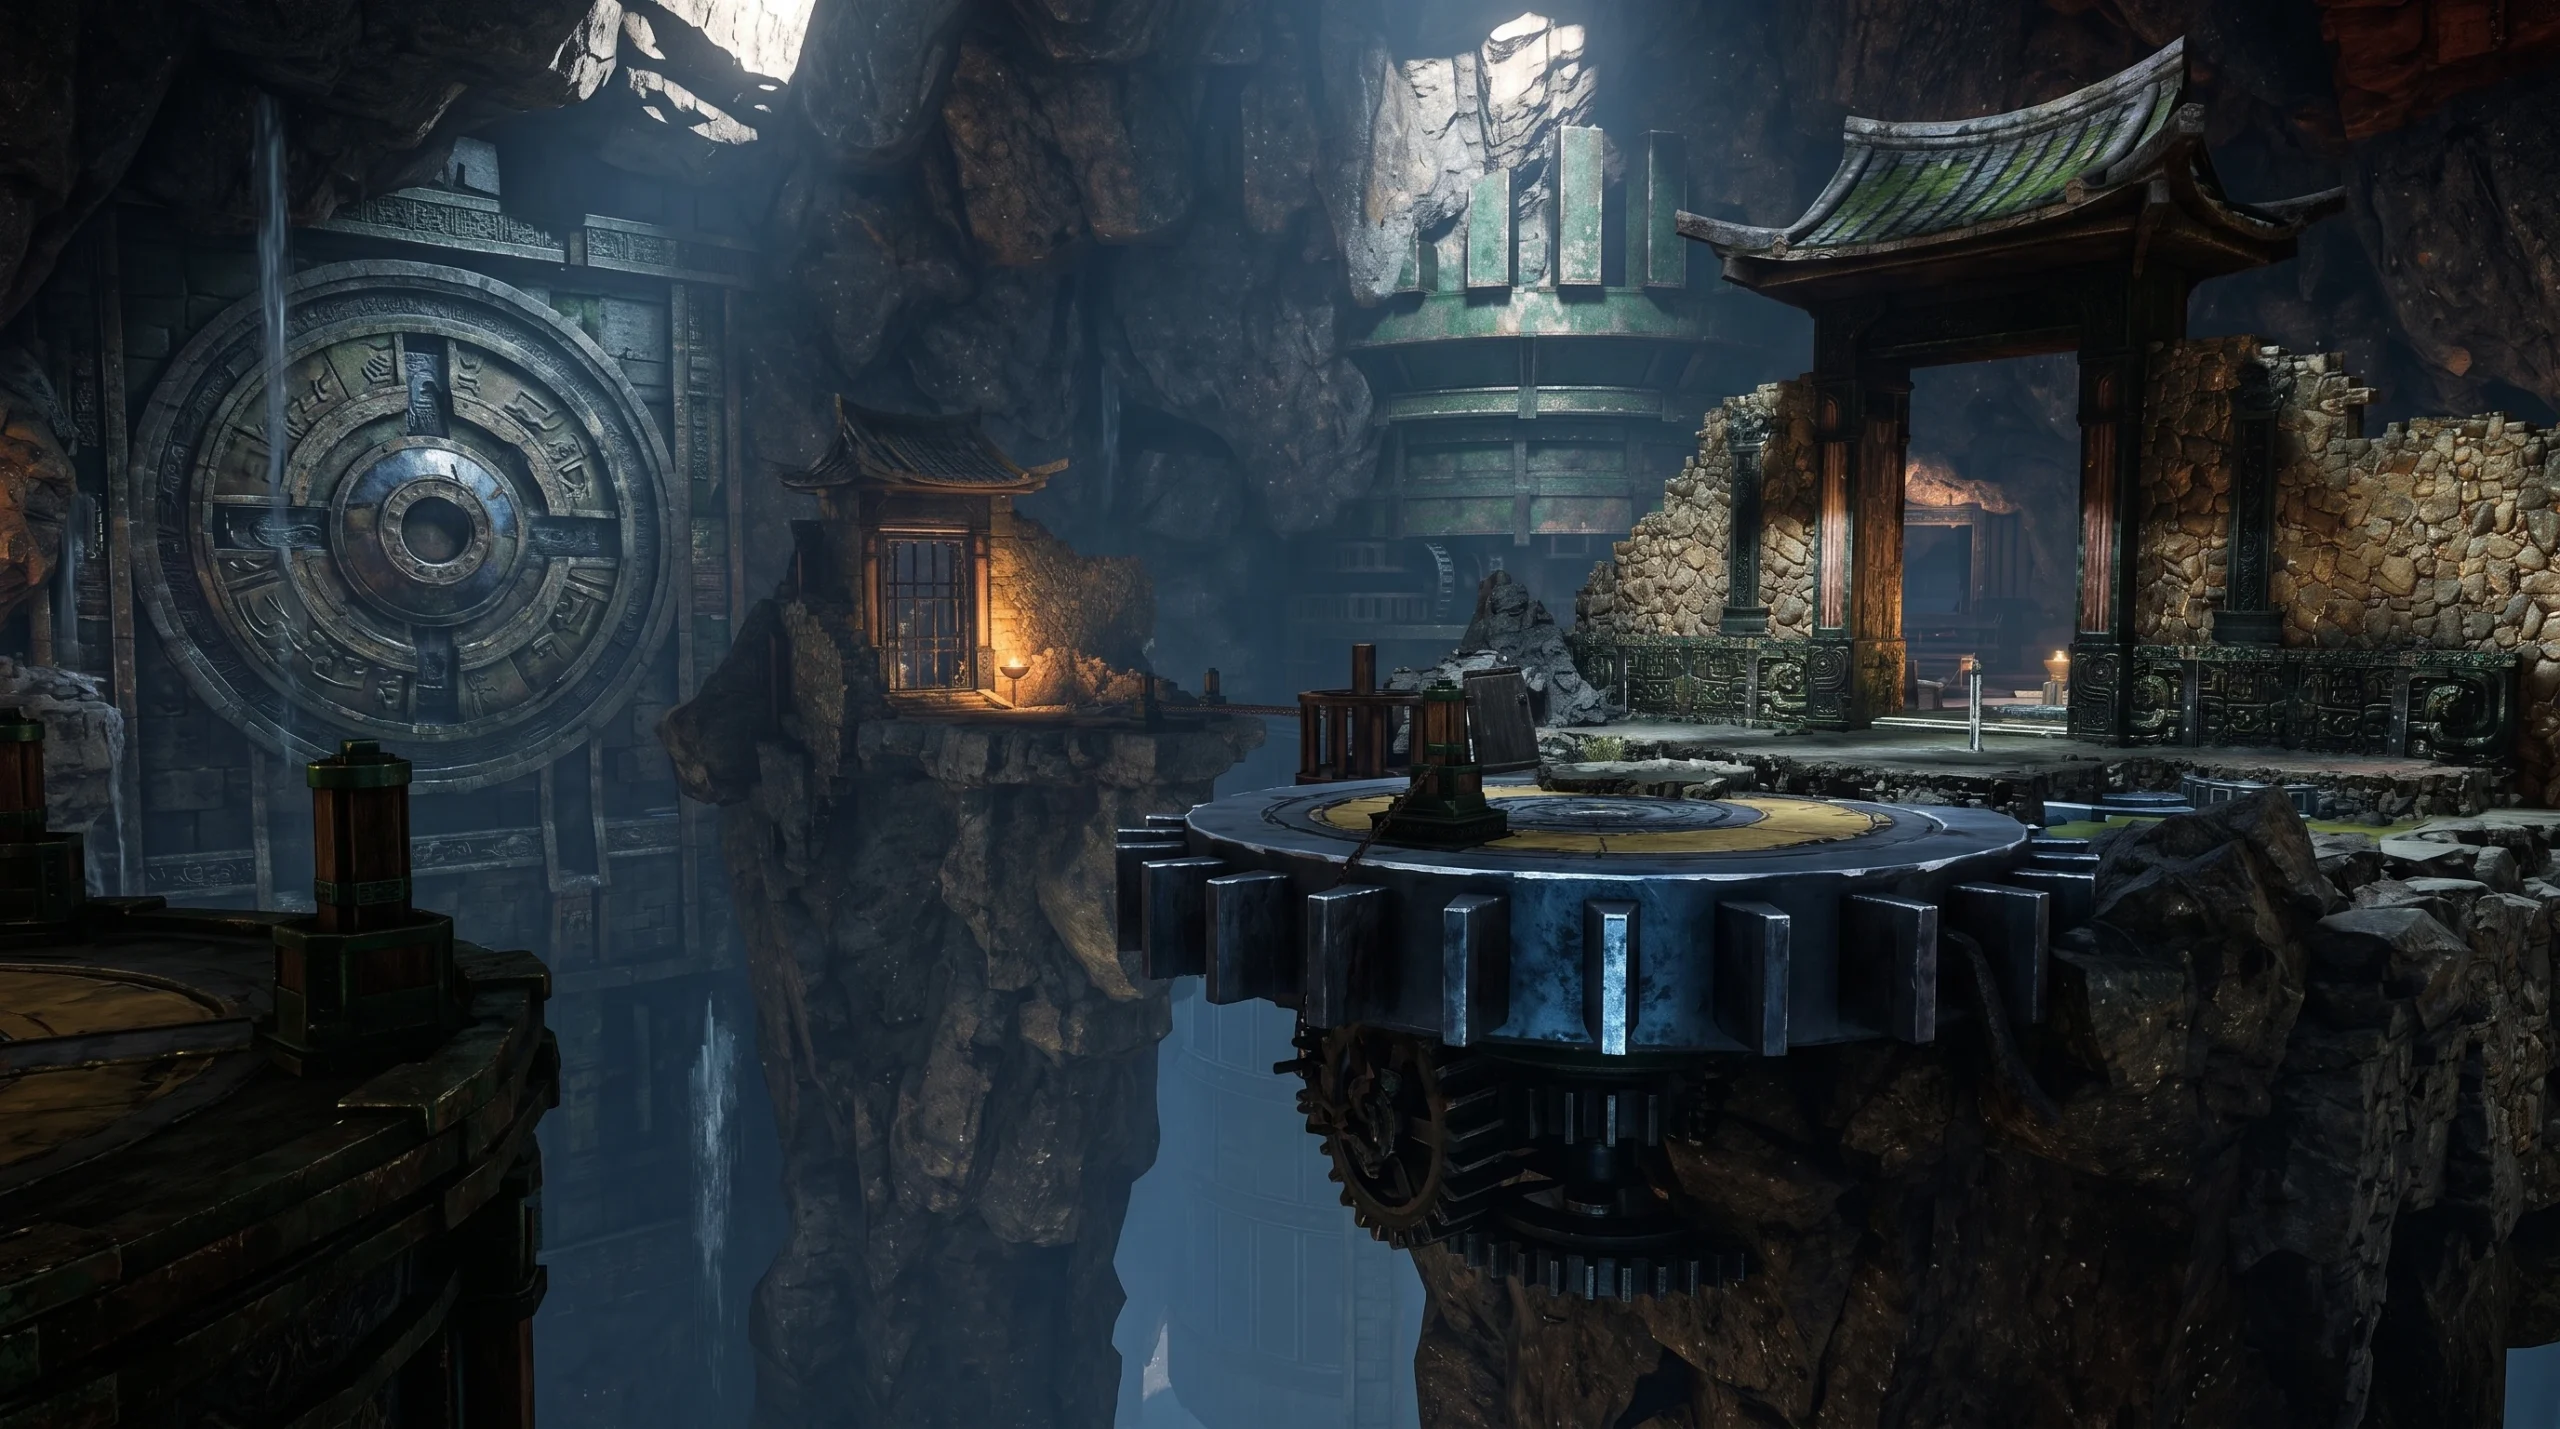
Iron Chain Links is a puzzle-focused Divinecraft Dungeon tucked into the cliffs above Mohist City in the Hidden Mountain region of Where Winds Meet. There is no combat here. Instead, the whole run is built around your grappling skill, a handful of heavy stone parts, and a cavern full of rotating gear platforms suspended over an abyss. Clear it fully and you walk away with Echo Jade, coins, and a Medicinal Tale that expands your medicine carry capacity.
Quick answer: Use Celestial Seize to chain-link platforms into alignment, carry heavy axle parts onto pressure plates to open the central gate, collect all 5 chests (including one behind a waterfall reached by a zipline), then open the bronze treasure urn to register The Final Treasure 1/1 and complete the dungeon.
What you need before starting
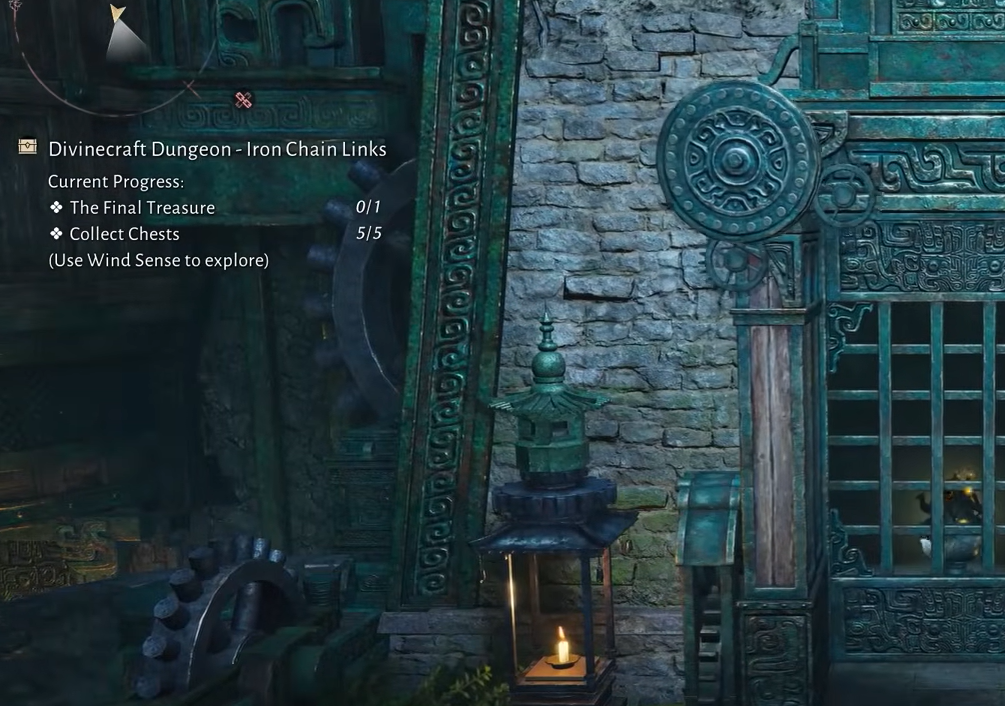
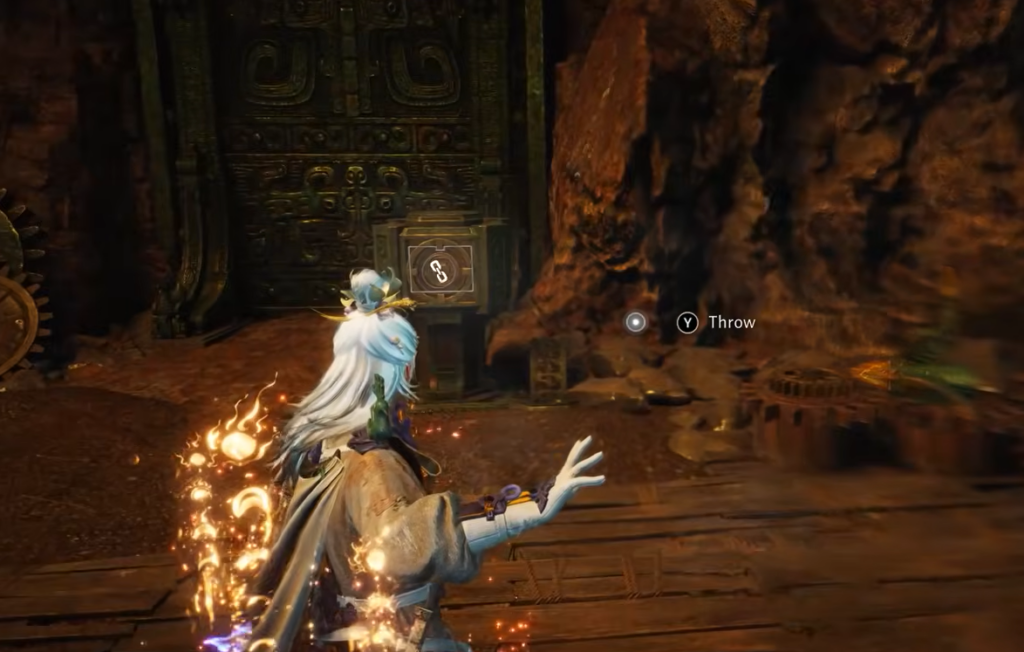
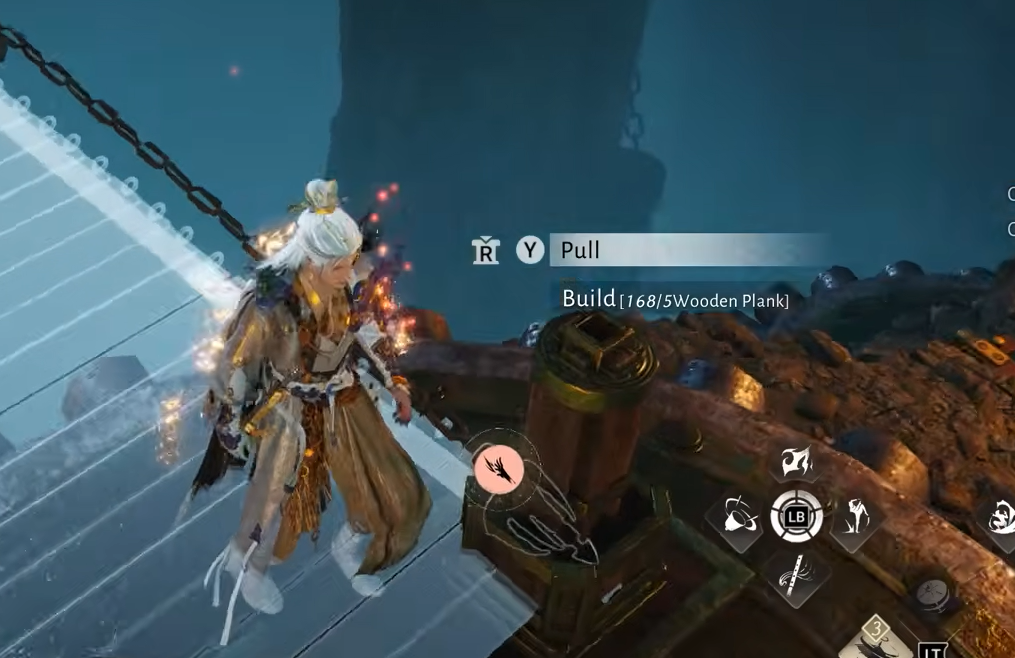
The entire dungeon runs on two tools you already carry. Celestial Seize is the grappling ability that throws a chain and links two mechanisms or pillars together. Wind Sense (the V key) highlights interactive objects, including chests hidden out of sight. You will also want a stock of Wooden Plank, since bridging gaps between platforms costs 5 planks each time. Crates and shelves inside the dungeon top these up as you go.
| Tool or item | What it does here |
|---|---|
| Celestial Seize | Throws a chain to link two pillars or mechanisms; rotates platforms into alignment and opens the entrance door |
| Wind Sense (V) | Highlights chests and interactive objects, including the hidden waterfall chest |
| Wooden Plank | Builds footbridges between platforms (5 planks per bridge) |
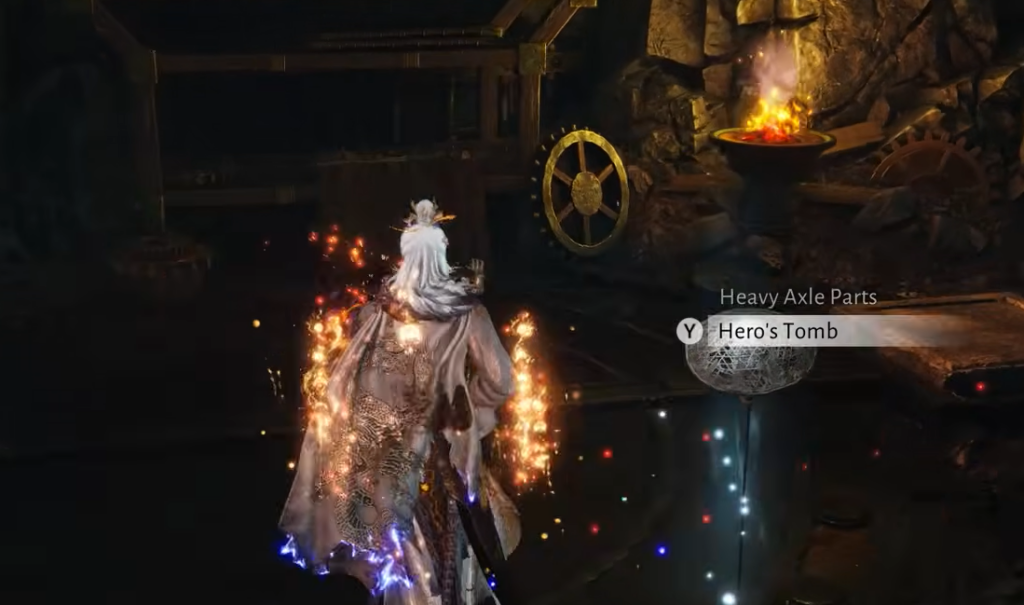
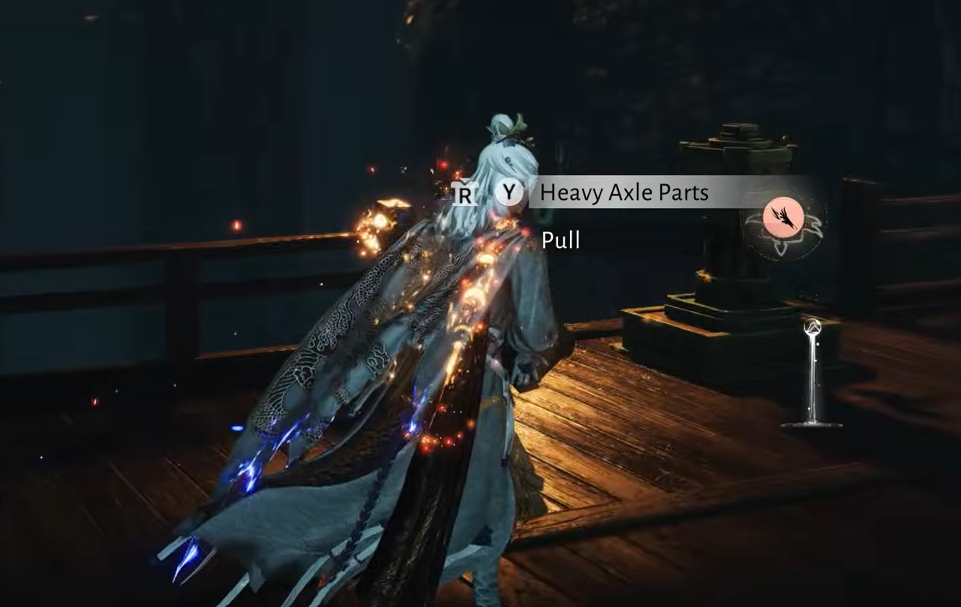
| Heavy axle parts / stone blocks | Lifted and placed on pressure plates to trigger gates and mechanisms |
Opening the entrance and getting inside
Rotating platforms and the first two chests
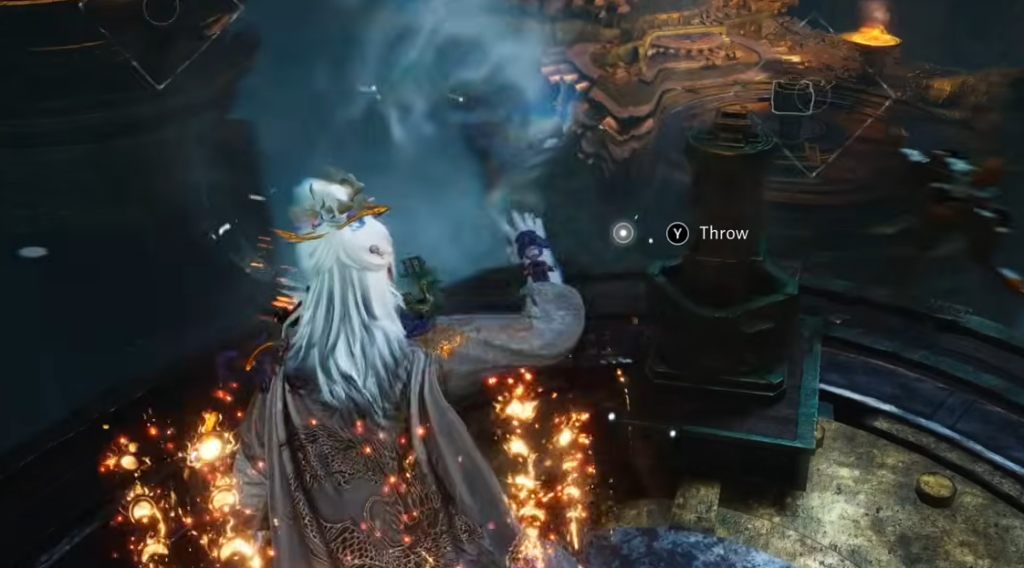
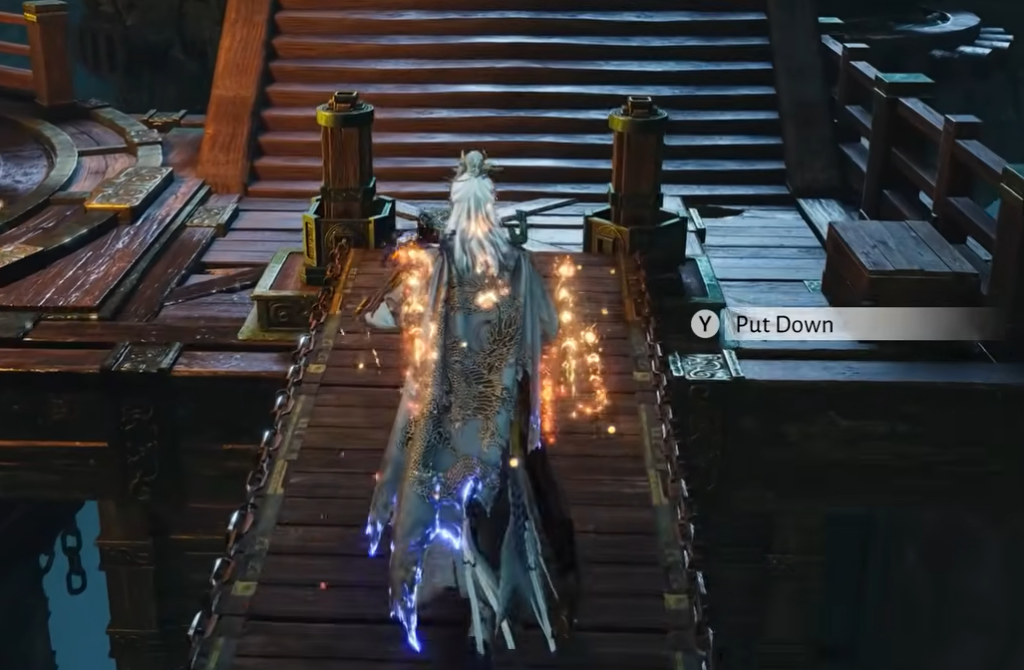
The next room is the heart of the dungeon: a cavern of massive rotating gear platforms hanging over a drop. The trick throughout is the same. Chain-link a pillar on your platform to a pillar on an adjacent one, which rotates that platform until the two line up, then jump across.
| Chest | Rewards |
|---|---|
| Chest 1 | Echo Jade x10, Coin x1500, Wooden Wheel, Oscillating Jade x2, EXP x2250 |
Opening the central gate
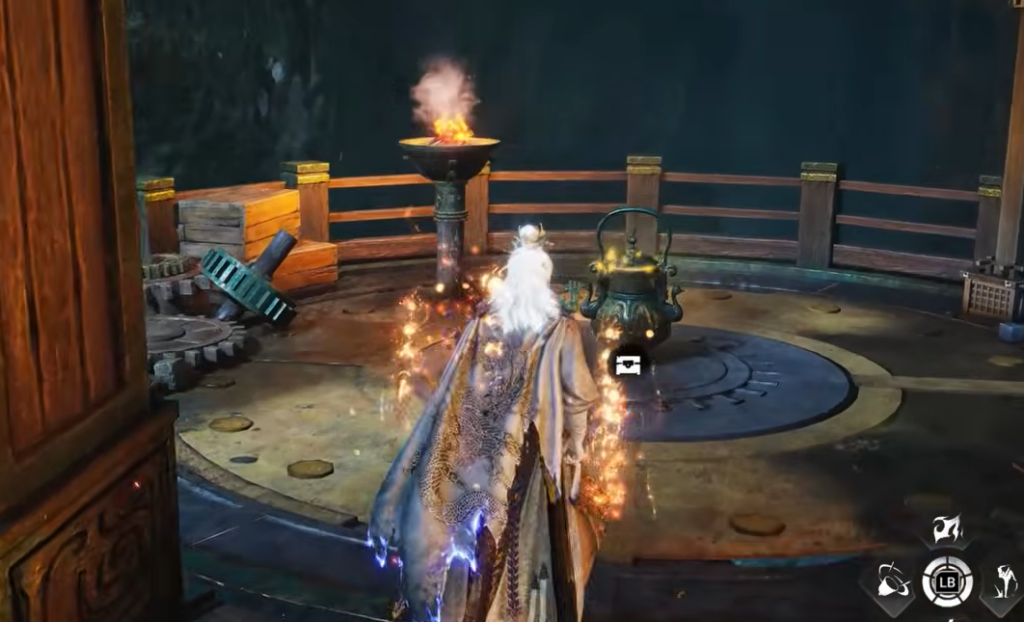
The central platform holds a locked gate with the large glowing treasure urn behind it. Two square pressure plates sit in front of the gate, and both must be weighted down at the same time.
Pi the Second and the journal
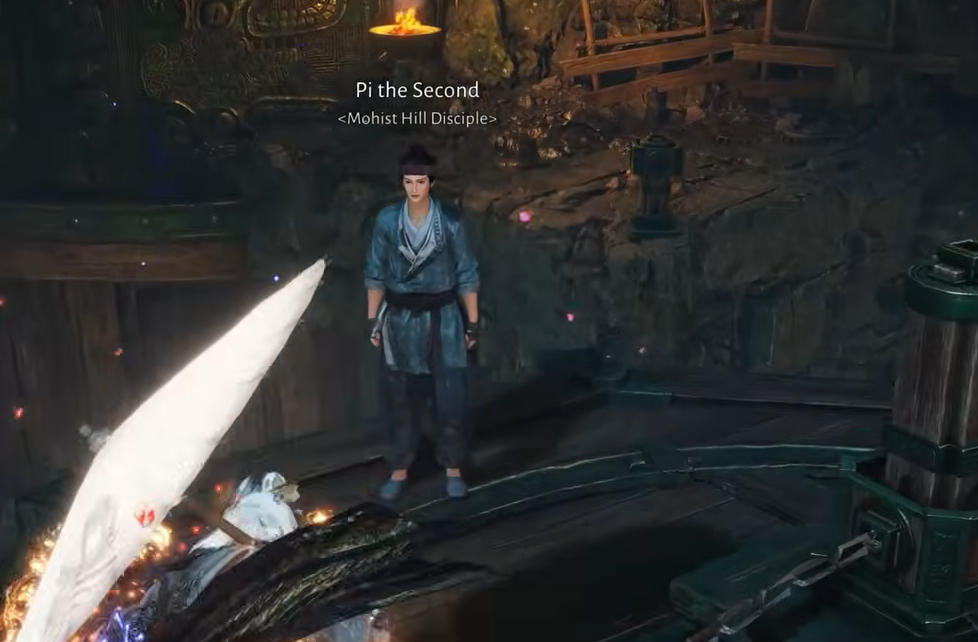
On a high platform, you will find an NPC named Pi the Second, a Mohist Hill Disciple perched near the edge. Speak with him, and he explains he is looking for a note buried deep in the dungeon.
Handing over the journal triggers the notification Wandering Tales – New Clue Acquired: The Elder’s Legacy I, and the journal Travels Beyond I is added to your records. This is a separate reward track from the chests, so it does not affect your chest count.
Finding chests 3, 4, and 5
The last three chests are scattered around the outer and lower platforms. The fifth one is easy to miss because it sits behind a waterfall, which is where Wind Sense becomes essential.
Claiming the final treasure and completion rewards
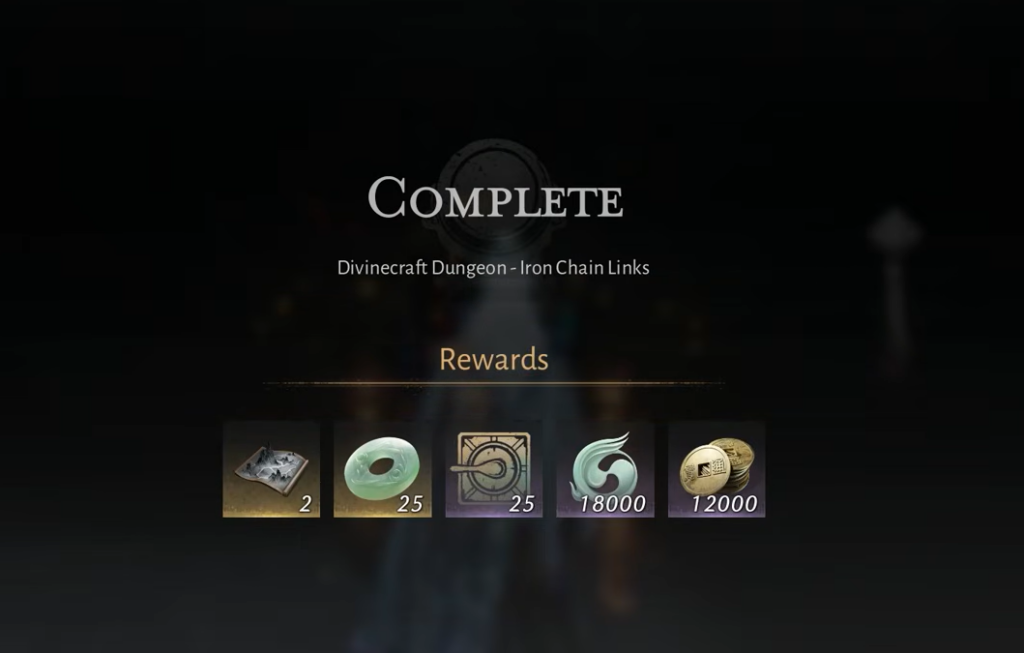
Return to the central platform with the gate you already opened. Interact with the large bronze treasure urn and choose Open. This registers The Final Treasure 1/1 and brings up the Complete screen for the dungeon.
You know the run worked when the completion screen appears with the Iron Chain Links title and hands over the final rewards below. The Medicinal Tales are the standout drop, since they raise how many medicines you can carry.
| Objective | Reward |
|---|---|
| The Final Treasure (urn) | Echo Jade x25, Medicinal Tales x2, Coin x12000, EXP |
If the Complete screen does not show, check that you actually placed both axle parts on the central pressure plates before opening the urn, and confirm your chest counter reads 5/5. The zipline chest behind the waterfall is the one most players overlook, so run Wind Sense one more time if a chest is still missing.