

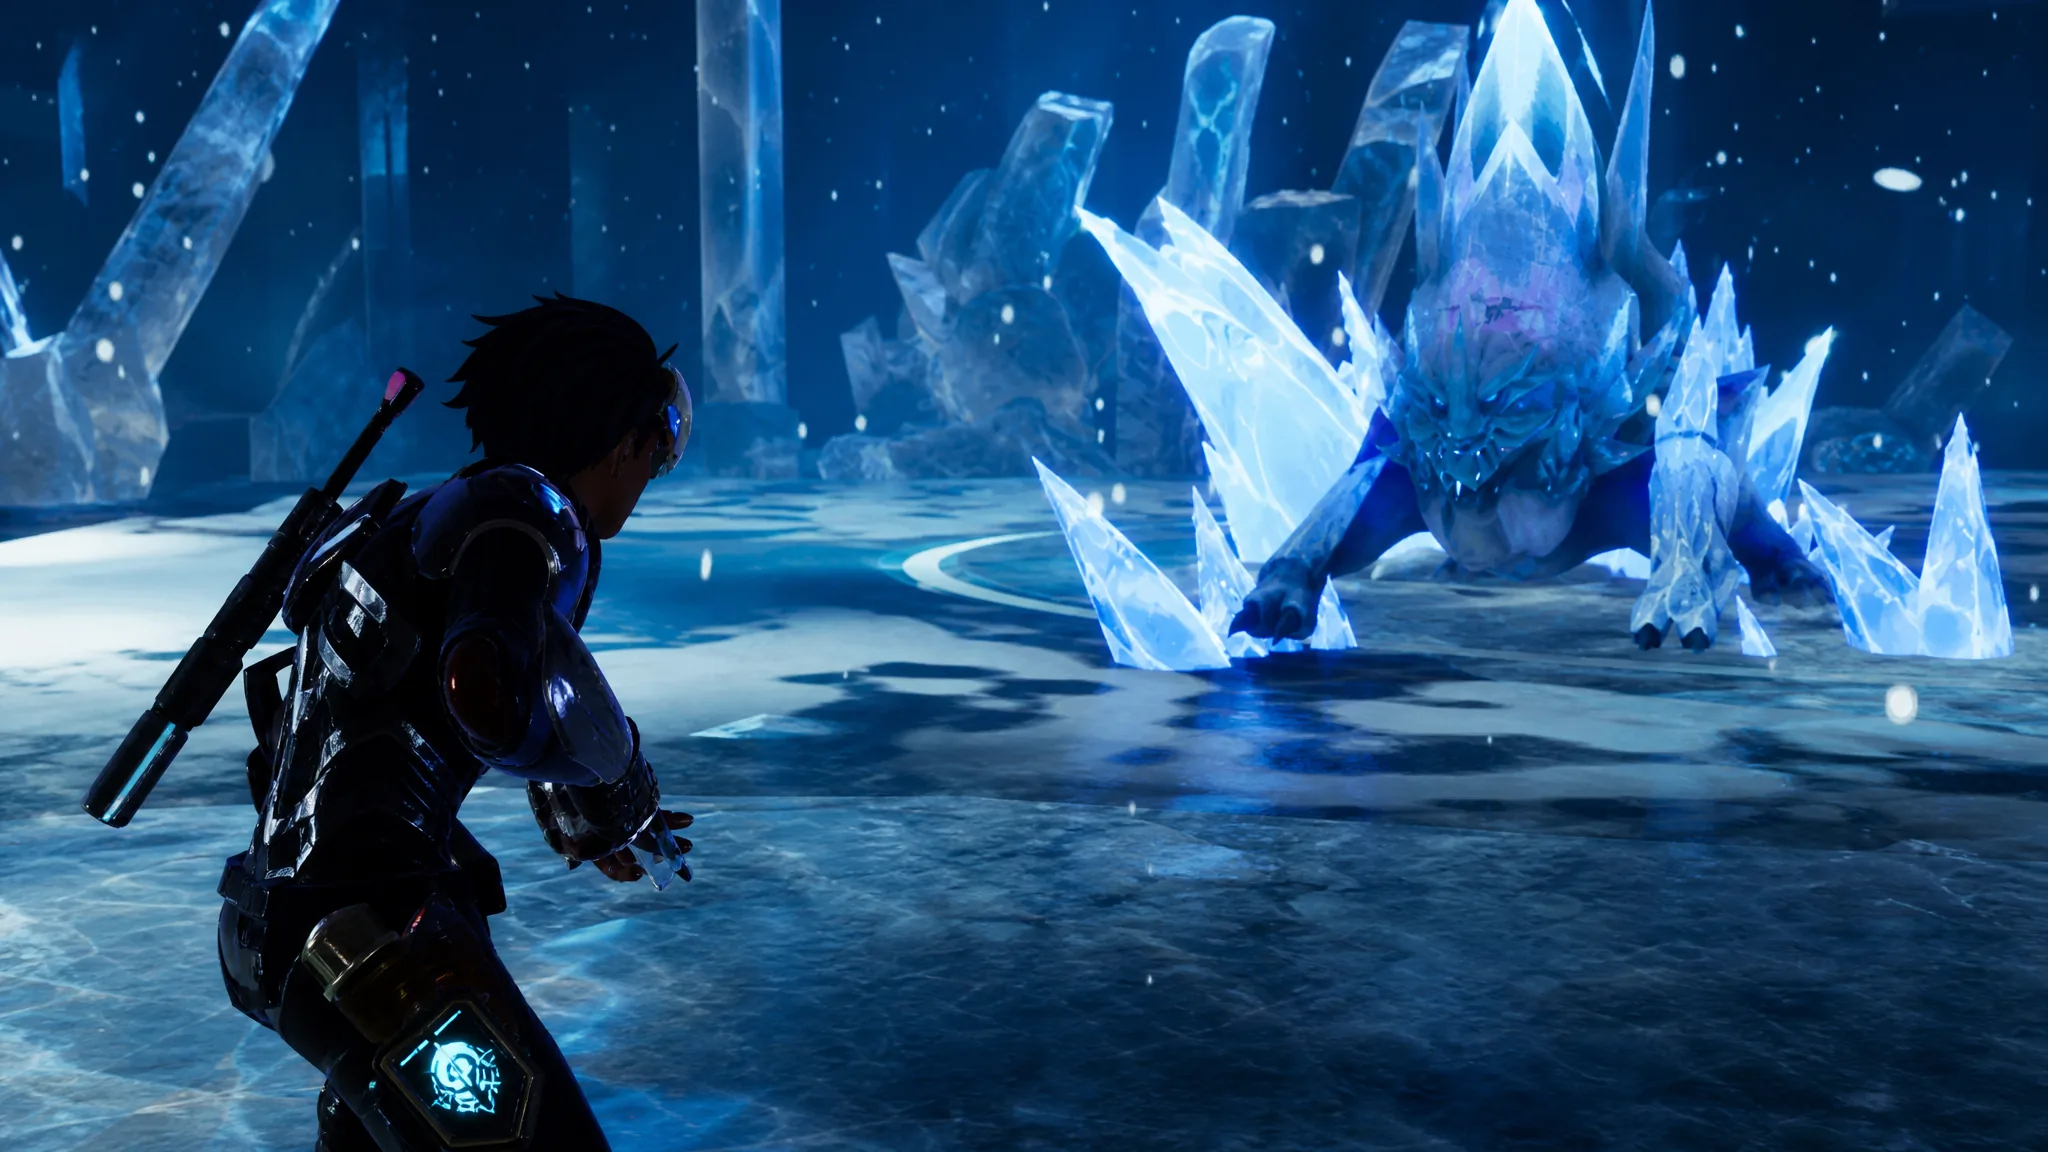
The hard version of Bjorn and Bastigor at Feybreak Tower is an end-game fight built around a level 80 Ice boss with 487,500 HP. It hits harder, adds a second wave of enemies, and gives Bastigor a set of Water attacks on top of its usual Ice moves. To clear it, you lean entirely into Fire damage, target weak points, and keep your health topped off while the timer runs.
Quick answer: Bring a Fire-focused team (two maxed Knocklem Ignis, or a Wixen player-damage build), wear the full Ancient Armor set for Cold Resistance, aim for the head to trigger weak point damage, and recall your Fire Pal whenever Bastigor uses a Water skill. Beating it drops the Bjorn Hat on first clear and has a 10% chance at the Legendary Lightweight Ancient Armor schematic.
Bjorn and Bastigor (Hard) stats and rewards
Bastigor is a pure Ice Pal, so Fire attacks deal bonus damage. The hard version scales to level 80 with a much larger health pool, and it starts you with extra enemies in the arena. You unlock the fight by clearing the Feybreak area, and the tower sits on the southwestern part of the map.
| Detail | Value |
|---|---|
| Boss |  Bjorn and Bastigor Bjorn and Bastigor |
| Level | 80 |
| HP | 487,500 |
| Weakness | Fire |
| Extra enemies | 2x Feybreak Warrior, 1x Feybreak Berserker |
| Unlock | Unlock the Feybreak area |
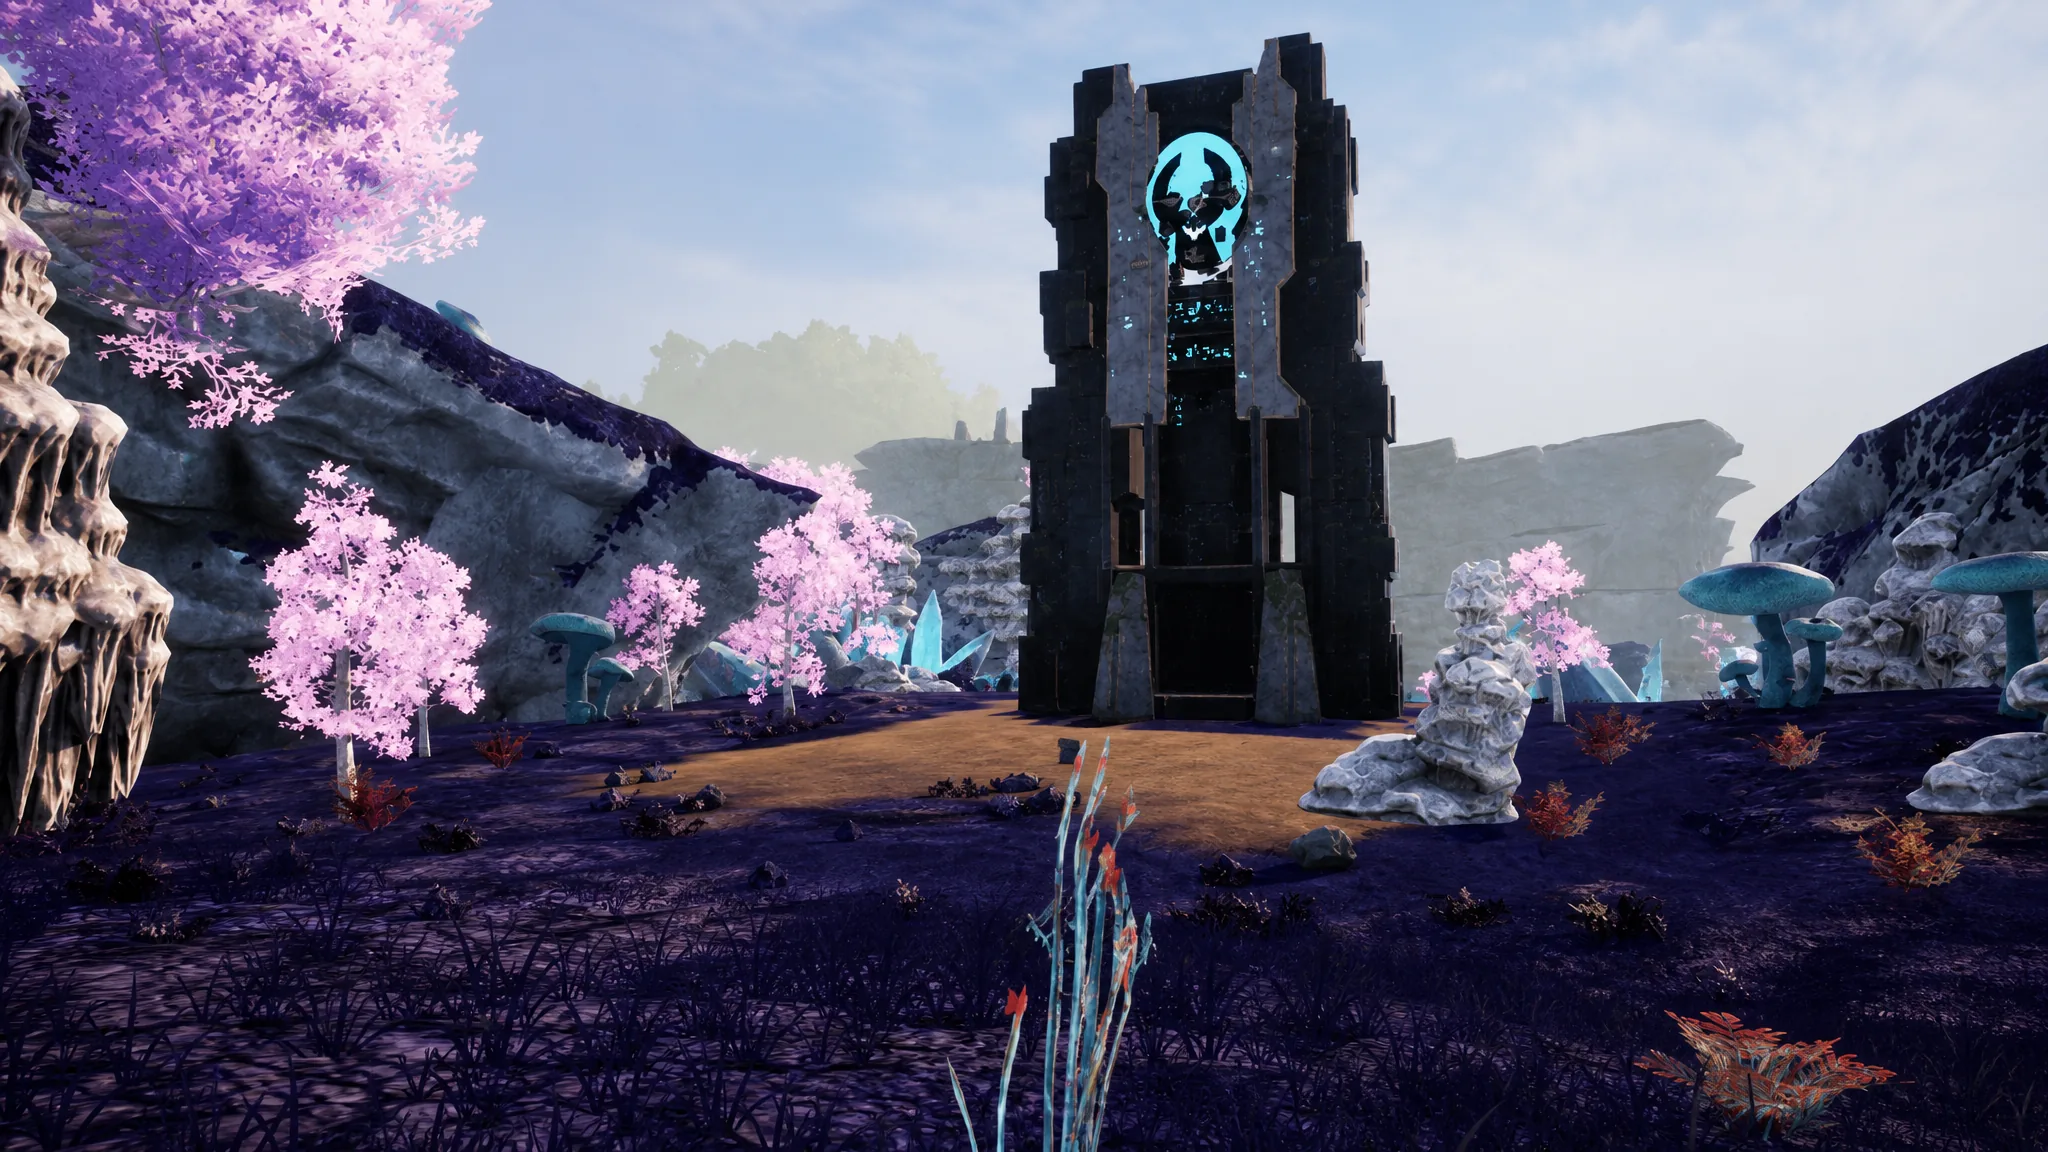
On your first clear, you are guaranteed the Bjorn Hat headpiece. The fight can also drop the Legendary Lightweight Ancient Armor schematic at a 10% rate, which is the main reason to farm it repeatedly. The rest of the drop table is upgrade materials.
| Reward | Drop rate |
|---|---|
 Bjorn Hat Bjorn Hat | Guaranteed on 1st clear |
 Legendary Lightweight Ancient Armor Schematic Legendary Lightweight Ancient Armor Schematic | 10% |
 Carrying Lotus (L) Carrying Lotus (L) | — |
 Life Lotus (L) Life Lotus (L) | — |
 Power Lotus (L) Power Lotus (L) | — |
 Speed Lotus (L) Speed Lotus (L) | — |
 Stamina Lotus (L) Stamina Lotus (L) | — |
 Training Crystal Training Crystal | — |
Best Pals and team setups
Every viable approach centers on Fire Pals to exploit Bastigor’s Ice weakness. Your Ace attackers need to be maxed out before this fight is realistic. That means level 80, four-star condensed, awakened, Trust Level 7 or higher, and Pal Soul upgrades of +20 to HP, Attack, and Defense.
| Pal | Rating and role |
|---|---|
 Knocklem Ignis Knocklem Ignis | ★★★★★ Partner Skill massively boosts its own Attack and Defense. Flame Cutter deals high, accurate damage. |
 Wixen Wixen | ★★★★☆ Partner Skill changes your weapon element to Fire and adds a 40% Attack boost. Only for player-damage builds. |
 Moldron Moldron | ★★★☆☆ Partner Skill scales its Attack with the number of Fire allies in your party. Mountable for manual skill use. |
Pal damage party (safest)
This build leans on two Knocklem Ignis as tank-attackers. Run Serenity, Flame Emperor, Immortality, and Diamond Body on both of them. Activate one Knocklem Ignis’s Partner Skill, then swap to the second one the moment the first goes on cooldown, so the Attack and Defense buff is always up. As long as your Player HP is managed and their stats are maxed, this rotation rarely loses.
| Slot | Pals |
|---|---|
| Active attackers | Knocklem Ignis, Knocklem Ignis |
| Support |  Kelpsea Ignis, Orserk, Silvegis Kelpsea Ignis, Orserk, Silvegis |
| Support passives | Vanguard, Stronghold Strategist, Reload Master, Idiosyncratic |
Tip: When you are just farming the boss, use the Megaboost Gun to buff your active Pal instead of spending expensive ammo.
Player damage party (fastest)
If you have invested in your Player Attack through accessories and stat allocation, run Wixen as the active Pal with Sanctified Meat Shield, Serenity, Idiosyncratic, and Vanguard. Wixen’s Partner Skill turns your weapon damage into Fire and boosts your Attack. With a Plasma Rifle, aim at Bjorn or Bastigor’s head to land weak point hits, which is where Cryolinx Terra’s Partner Skill also pushes your damage up.
| Slot | Pals |
|---|---|
| Active | Wixen |
| Support |  Jormuntide Ignis, Finsider Ignis, Jormuntide Ignis, Finsider Ignis,  Cryolinx Terra, Solenne Cryolinx Terra, Solenne |
| Support passives | Vanguard, Stronghold Strategist, Reload Master, Idiosyncratic |
Keep a steady distance from Bastigor so you can read its wind-up animations and dodge in time. Community clears back this up, with players reporting fast kills on a maxed Wixen player-damage setup using swapped Overheat Rifles to skip weapon cooldowns.
Weapons, accessories, and armor
Keep the Drone Launcher firing to keep Orserk’s stacking Attack and Defense buff active. The Plasma Rifle works as your on-hand weapon, either to apply Pal-passive debuffs or as the main gun in a player-damage build.
| Weapon | Lv. | Attack | Durability |
|---|---|---|---|
 Megaboost Gun Megaboost Gun | 63 | 250 | 400 |
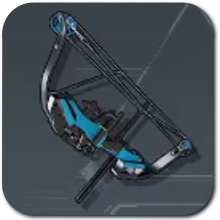 Mechanical Bow Mechanical Bow | 67 | 20000 | 2000 |
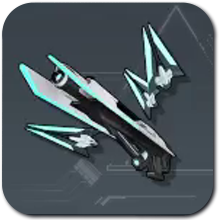 Drone Launcher Drone Launcher | 77 | 200 | 6500 |
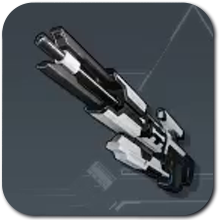 Plasma Rifle Plasma Rifle | 78 | 1860 | 25000 |
For accessories, pick items that raise Fire damage since that is the boss weakness. The Dogen Emblem is the usual pick because it lifts both your Attack and your active Pal’s Attack at once.
| Accessory | Effect |
|---|---|
 Dogen Emblem Dogen Emblem | Greatly raises your Attack and your active Pal’s Attack. |
 Flame Emperor’s Baton Flame Emperor’s Baton | Raises your active Pal’s Attack and significantly boosts Fire damage. |
 Faleris Ring Faleris Ring | Greatly reduces incoming Ice damage and boosts your active Pal’s Fire damage. |
 Blazamut’s Talisman Blazamut’s Talisman | Raises your active Pal’s Defense and boosts its Fire damage. |
Because this is an end-game fight, use the highest-defense gear you have. The full Ancient Armor set is the minimum, and Lightweight Ancient Armor also carries Cold Resistance Lv. 2 for the frozen approach to the tower.
| Armor | HP | Def | Added effect |
|---|---|---|---|
 Ancient Shield Ancient Shield | N/A | 2200 | None |
| Ancient Helm | 1200 | 500 | Neutral Damage Reduction Lv.1 / Dragon Damage Reduction Lv.1 |
| Lightweight Ancient Armor | 2400 | 840 | Cold Resistance Lv.2 / Heat Resistance Lv.2 / Max Carrying Capacity Lv.4 |
Food and healing to bring
Because the fight has a time limit, favor food that boosts your damage output over pure defense. Running short on defense costs you a run occasionally, but running short on damage means the timer ends before the boss does.
| Type | Items |
|---|---|
| Damage food |  Broncherry Fried Noodles, Mammorest Curry Broncherry Fried Noodles, Mammorest Curry |
| Healing |  High Quality Recovery Meds, Advanced Recovery Meds, Revival Potion High Quality Recovery Meds, Advanced Recovery Meds, Revival Potion |
Bjorn and Bastigor (Hard) attack list
On hard mode, Bastigor keeps its heavy Ice hits and adds several Water attacks plus a Dark move from Bjorn. Water skills are the ones that punish a Fire Pal hardest, so learn to recognize their wind-ups. Most attacks mark the ground before they land, giving you a window to roll clear.
| Skill | Element | Power | CT |
|---|---|---|---|
| Frost Talon | Ice | 300 | 16 |
| Glacial Impact | Ice | 190 | 52 |
| Diamond Rain | Ice | 600 | 30 |
| Double Blizzard Spike | Ice | 700 | 30 |
| Absolute Frost | Ice | 700 | 30 |
| Geyser Gush | Water | 600 | 30 |
| Hydro Laser | Water | 200 | 12 |
| Aqua Surge | Water | 500 | 24 |
| Spirit Flame | Dark | 200 | 12 |
Fight strategy step by step
You will know it worked when the boss health bar hits zero and the Boss Eliminated banner appears, with the Bjorn Hat dropping on a first clear. If your runs keep ending in a timeout rather than a death, the problem is usually damage output, so max your Pal stats, keep the Fire buffs active, and prioritize weak point hits over spraying the body.





