Halo: Campaign Evolved rebuilds the original ringworld adventure with sharper combat, new weapons, and modern mobility, but the spine of the story stays the same. You play Master Chief, backed by Cortana, working through ten main missions that carry you from a doomed warship to the destruction of Installation 04. Below is the full route, the order the missions unlock in, and the exact things to do at each stage so you can finish the fight without stalling.
Quick answer: Complete the ten main missions in order — The Pillar of Autumn, Halo, Truth and Reconciliation, Silent Cartographer, Assault on the Control Room, 343 Guilty Spark, The Library, Two Betrayals, Keyes, and The Maw — then survive the timed Warthog escape to the Longsword to roll credits.
Main campaign mission order
The main story runs across ten missions. Three additional prologue missions — Boarding Action, The Most Dangerous Game, and Heavy Burden — sit separately as bonus content and are not required to complete the main quest.
| # | Mission | Core objective |
|---|---|---|
| 1 | The Pillar of Autumn | Escape the crippled warship |
| 2 | Halo | Rally scattered Marines on the ring |
| 3 | Truth and Reconciliation | Board the cruiser and free Captain Keyes |
| 4 | Silent Cartographer | Find the map room and Halo’s control center |
| 5 | Assault on the Control Room | Reach the core and insert Cortana |
| 6 | 343 Guilty Spark | Investigate the swamp and survive the Flood |
| 7 | The Library | Follow 343 Guilty Spark to obtain the Index |
| 8 | Two Betrayals | Disable the three pulse generators |
| 9 | Keyes | Return to the cruiser |
| 10 | The Maw | Destroy the Pillar of Autumn and the ring |
Missions 1–3: Escape, regroup, and rescue Keyes
Missions 4–5: Find the control center and insert Cortana
Missions 6–7: The Flood outbreak and the Index
Note: Carry a shotgun or SMG before entering the tight corridors here. A sniper rifle or plasma pistol alone leaves you badly exposed to Flood crowds in enclosed spaces.
Missions 8–10: Pulse generators, Keyes, and the final escape
You know the campaign is finished when the escape sequence closes on the Longsword and the ending cinematic plays. The ring is destroyed, and credits follow.
Combat habits that keep you alive
A few consistent habits carry you through the harder encounters, especially against shielded Covenant and the Flood.
- Let Marines drive the guns. Marine AI on Warthog and Scorpion turrets is accurate and deadly, so put them on the heavy weapons and focus on driving.
- Match your weapon to the shield. Strip Elite and Jackal energy shields with plasma rifles or plasma pistols, then switch to the magnum or assault rifle for kinetic headshots.
- Use sprint to reposition. The modern sprint lets you retreat behind cover the moment your shields break, or rush a high-priority target.
- Finish the Flood completely. Combat forms reanimate if their torso survives, so use heavy kinetic weapons or explosives to fully dismember them.
- Grab Overshields and camouflage. Covenant Overshields and active camouflage pickups appear in interior arenas and give you a short tactical edge.

Mistakes that get you killed
- Entering Flood corridors without a shotgun. In 343 Guilty Spark and The Library, a shotgun or SMG is essential for crowd control. Do not rely on a sniper or plasma pistol.
- Standing near infection pods. Individual Infection forms look harmless, but in clusters they drain your shields fast and pop unshielded corpses into new combat forms.
- Wasting explosives on single targets. Save grenades and rockets for choke points, Hunters, and armored Elites rather than lone Grunts.
- Leaning on melee. A strike from behind is an instant assassination, but a frontal melee against an Elite or Hunter usually gets you killed.
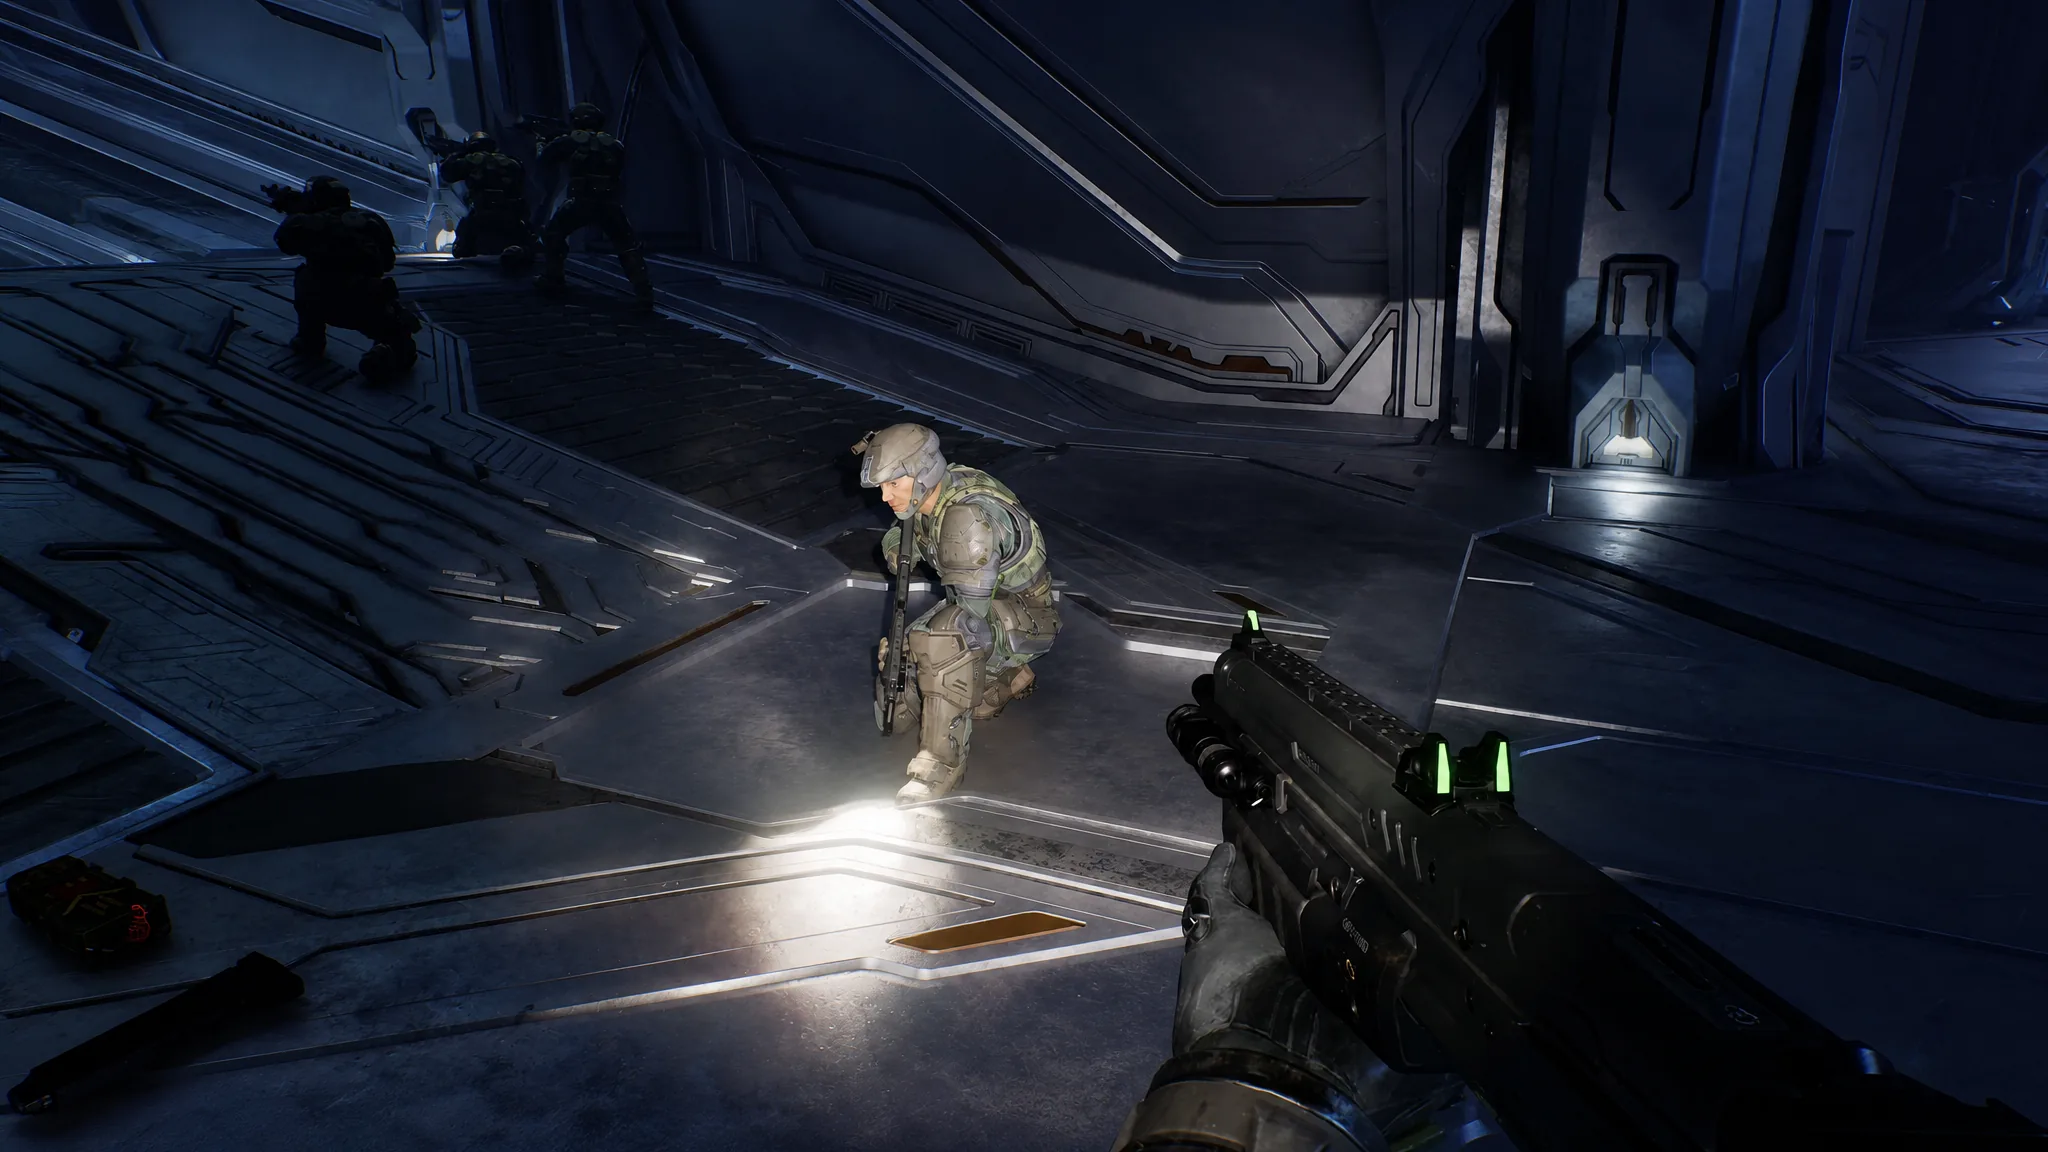
Stick to the mission order above, keep the right weapon on hand for each enemy type, and treat the final Warthog run as the last real test. Clear those ten missions and Installation 04 comes down, closing out Master Chief’s first campaign in full.