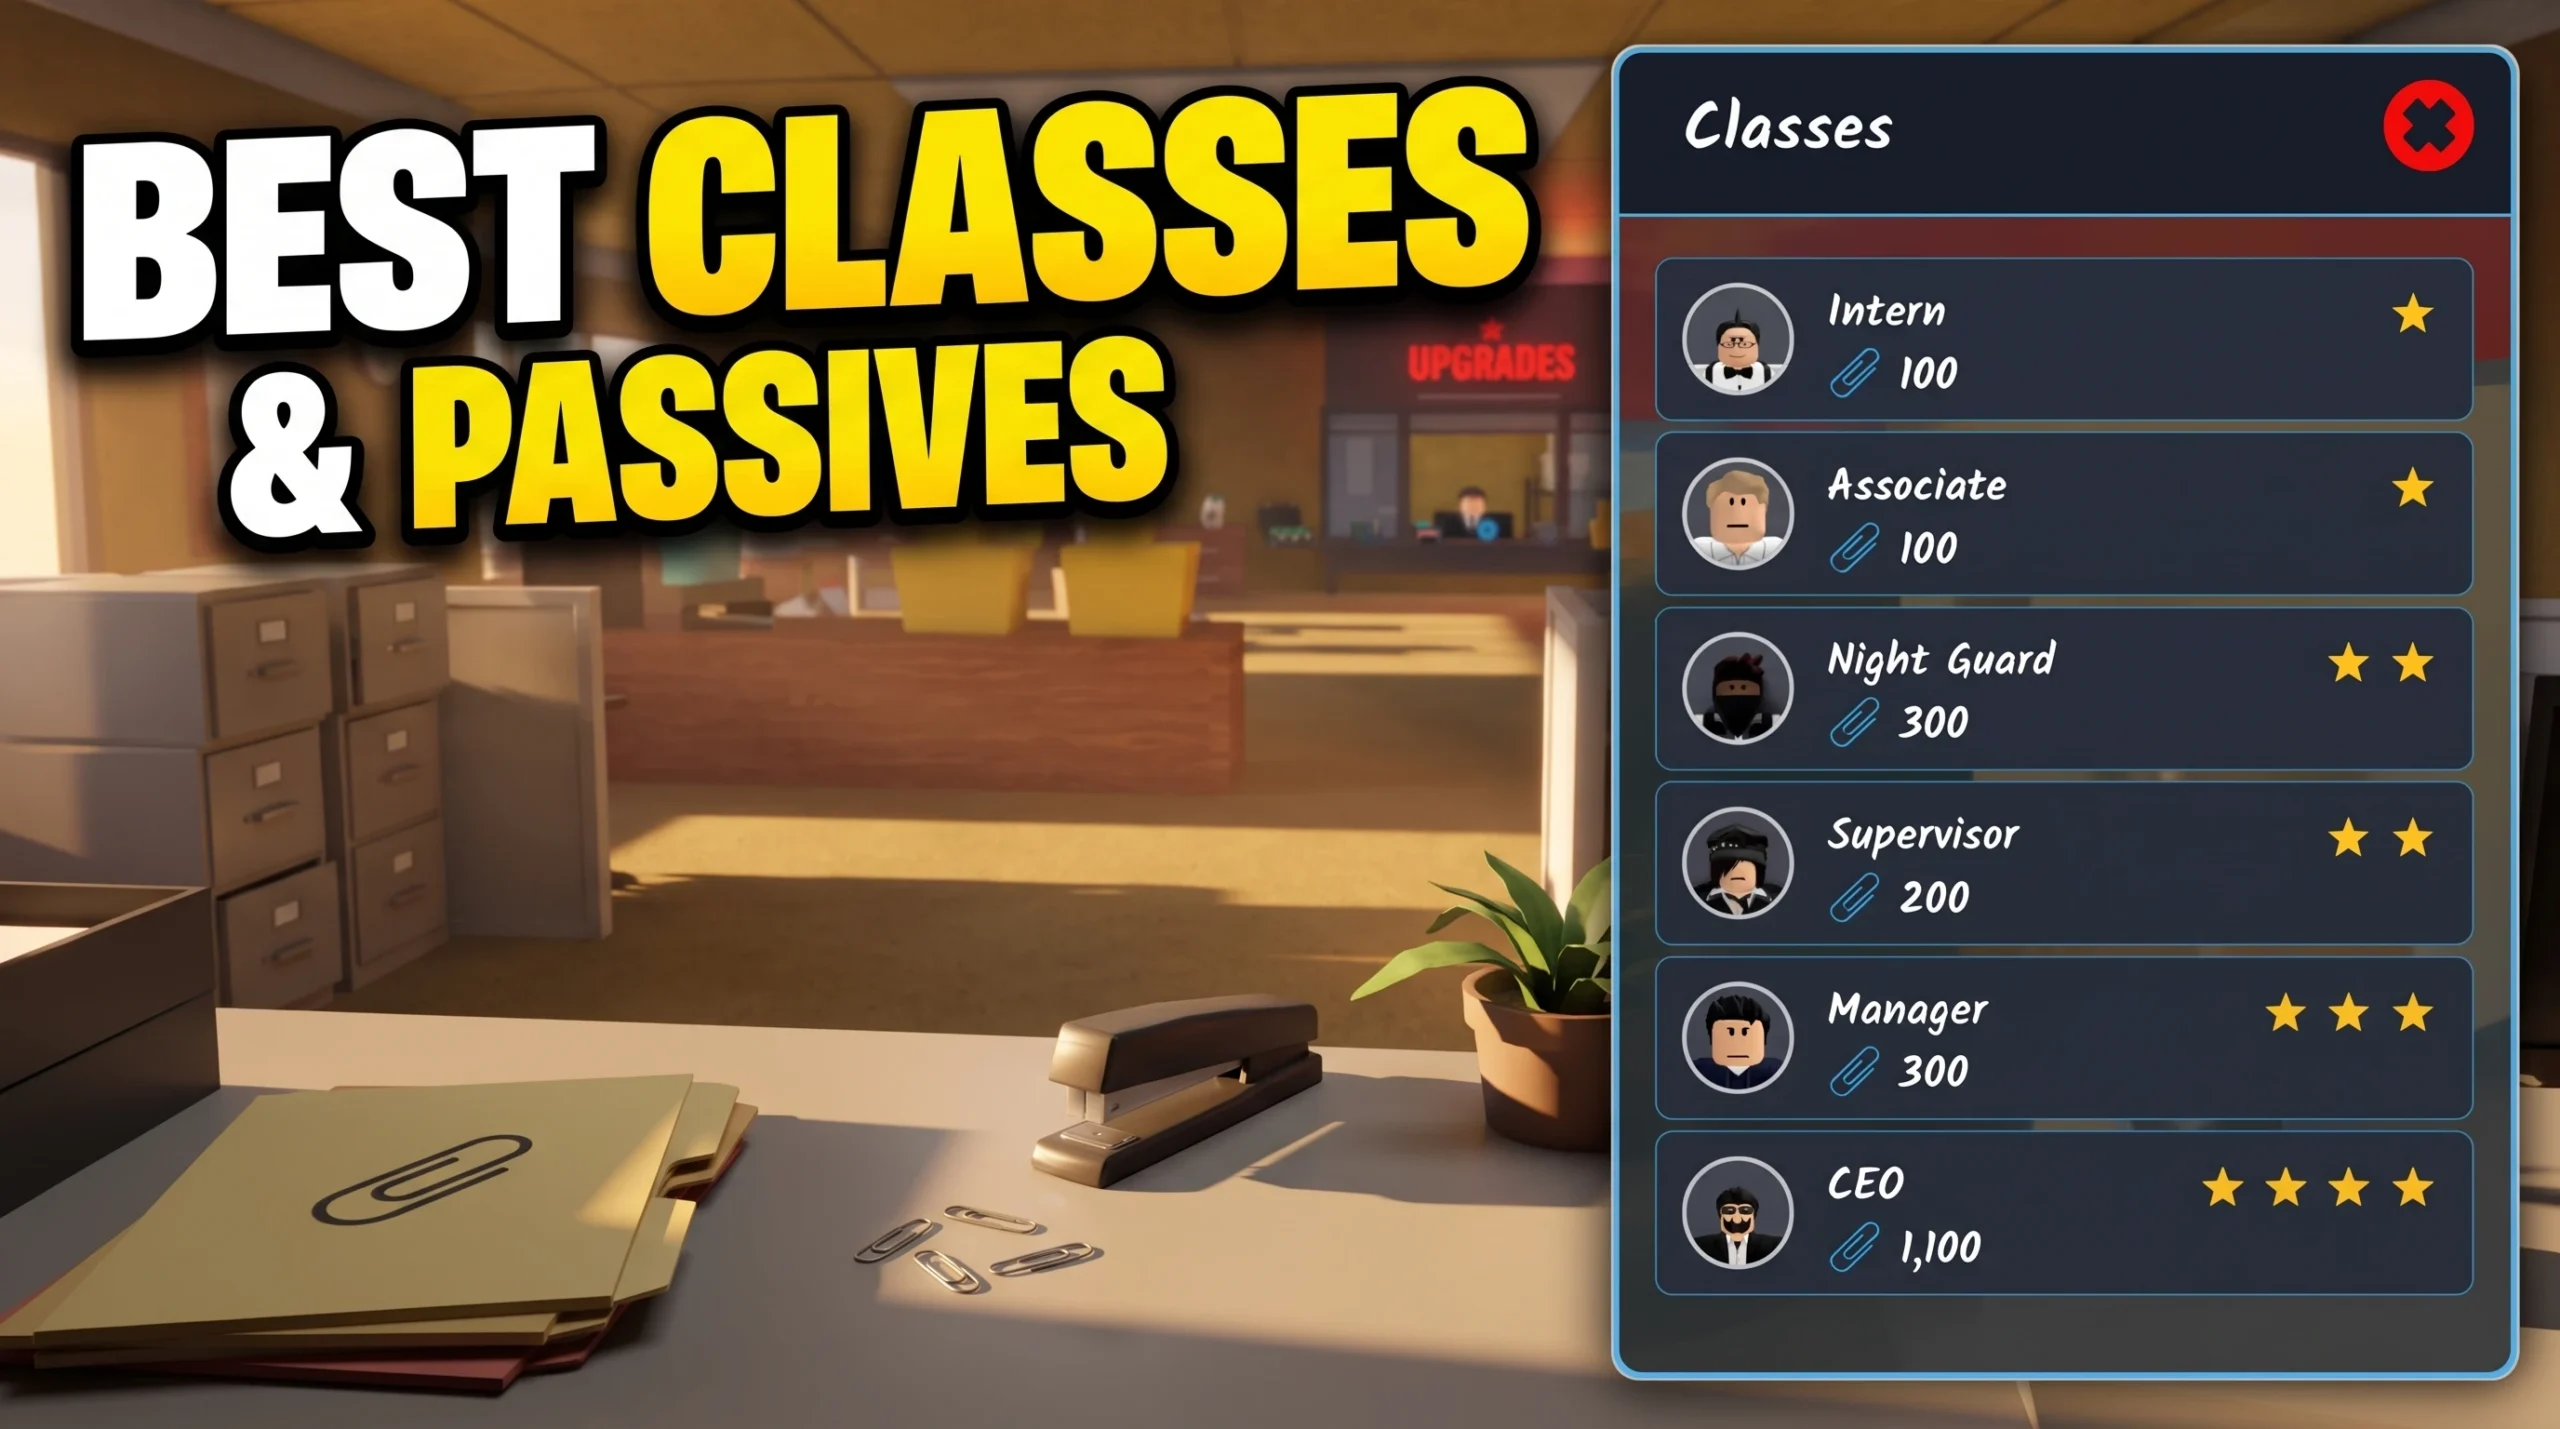
Classes in Shred the Secrets change how fast you move through the document loop, how much evidence you carry per trip, and how quickly you clear each office room. The game confirms a class system through the blue Classes button in the lobby, and the strongest pick is the one that shortens your average run rather than the one that simply looks expensive.
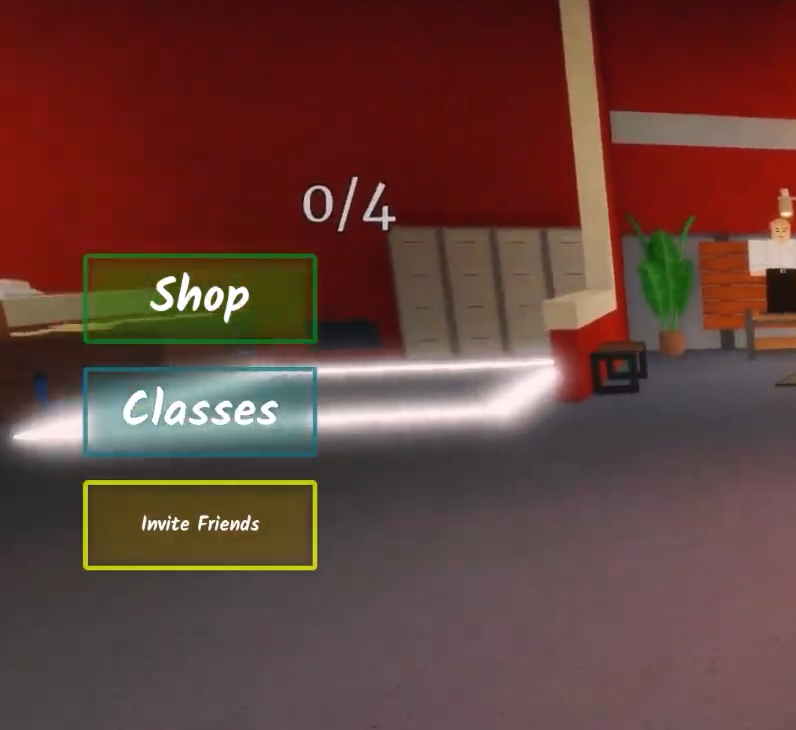
Quick answer: Choose the class that combines the highest movement speed and carrying capacity you can afford, then confirm it pays off by comparing your room-clear time before and after the swap. Open the class menu from the blue Classes button in the lobby.
Why class choice affects every run
The core loop stays the same in each room. You collect documents, vacuum loose paper scraps, bring material to a shredder, earn cash, and clear the room before moving on. A class touches three of those steps directly. Faster movement cuts the time spent walking between paper stacks and shredders, higher capacity means fewer return trips, and a useful ability can speed up vacuuming or shredding.
Because the loop repeats across eight rooms per session, small per-trip savings add up. A class that trims a few seconds off each collection route can noticeably lower your total time toward a room’s cash goal.
The four factors that rank a class
Every class in Shred the Secrets can be judged against the same four measures. Weigh them together instead of chasing a single stat, because a fast class with tiny carrying capacity still forces constant trips back to the shredder.
| Factor | What it changes in a run |
|---|---|
| Movement speed | Less time walking between documents, scraps, and shredders |
| Carrying capacity | Fewer return trips to empty a document-heavy room |
| Ability utility | Faster vacuuming, shredding, or cleaning objectives |
| Cost efficiency | Whether the price clearly shortens your average run |
Movement speed and carrying capacity carry the most weight for general play, since they cut travel time and return trips in almost every room. Ability utility matters more in team runs or rooms with heavy scrap cleanup. Cost efficiency is the final check. A class only earns its price once it measurably speeds up your clears.
Class tiers explained
Sorting classes into tiers keeps the decision simple. Use this framework to place any class you unlock, then let cash and room type push you up or down the list.
| Tier | What it means |
|---|---|
| S — Best overall | Excellent speed, strong capacity, and useful abilities that stay valuable in nearly every room |
| A — Strong | Reliable in most situations, held back by one minor limit in cost, speed, capacity, or ability |
| B — Situational | Excels in specific rooms or team roles but is less consistent across a full run |
| C — Budget | Affordable starter classes that cover the basics while you save for stronger picks |
Treat C-tier options as stepping stones. They keep you moving early while you build cash, but replace them once an S or A class becomes affordable and clearly beats them on speed or capacity.
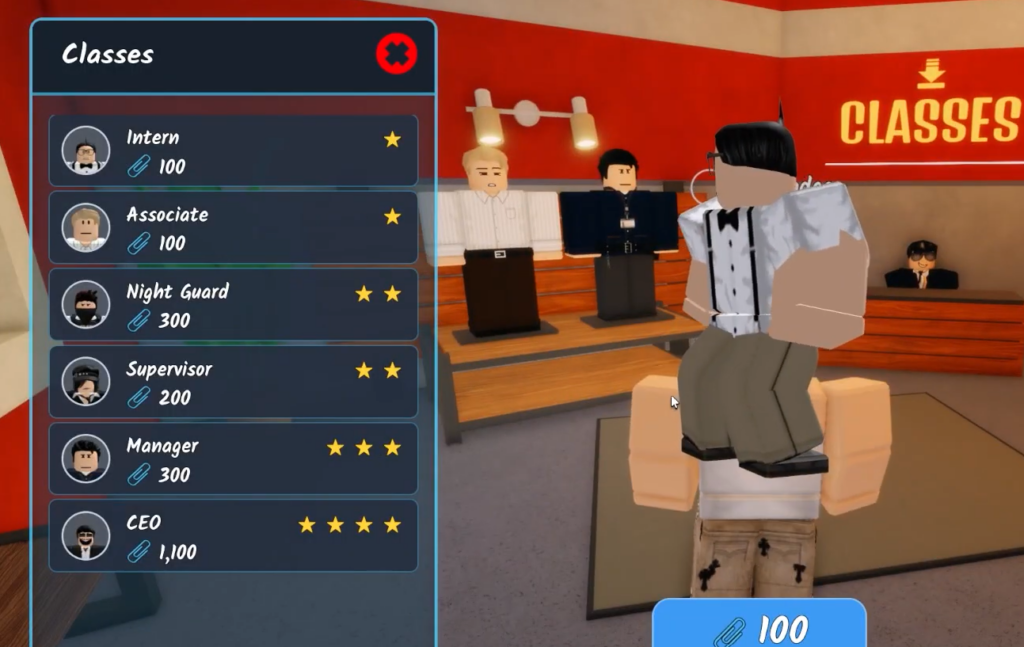
How to open and check classes in-game
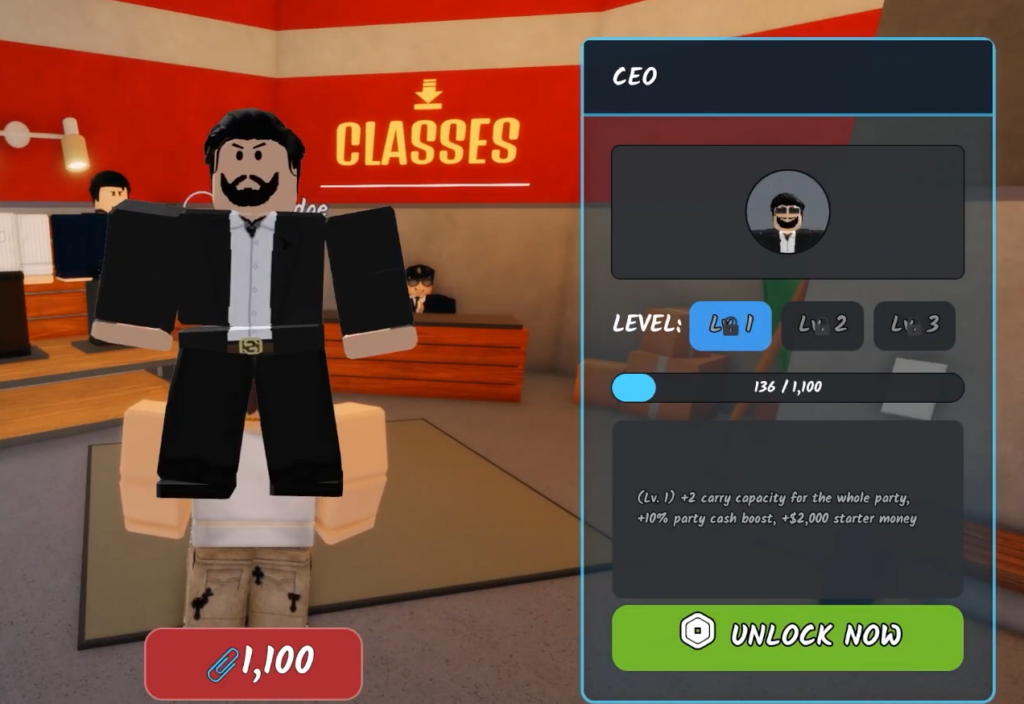
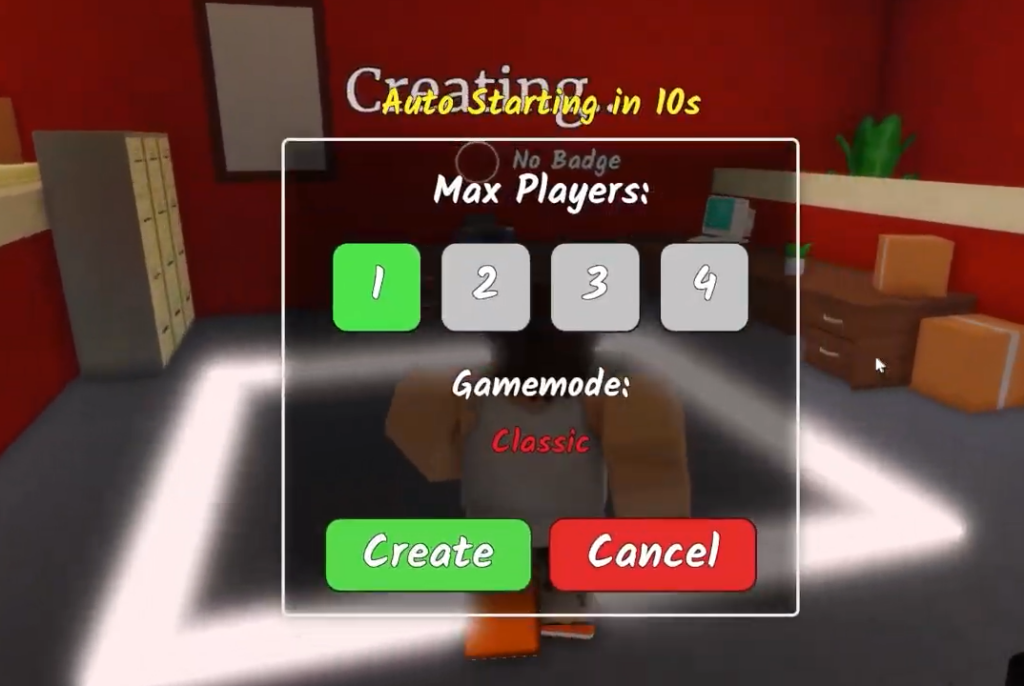
Exact class names, passives, and unlock costs live in the current in-game menu, so confirm them in an active session rather than assuming values from an older layout.
How to confirm a class is worth it
The clearest proof is your own clear time. Run a familiar room with your current class and note how long it takes to hit the cash goal, then repeat the same room with the new class and compare. A worthwhile class shortens that time or reduces the number of trips you make to the shredder.
The lobby’s Fastest Times leaderboard gives a longer-term reference point. If your times drop after a class change, the swap is paying off. If they hold steady or slip, the extra cost is not buying you speed, and a cheaper option is the better fit.
Class stats and abilities are separate from gamepasses like +5 Carry and Insta Vacuum. Those permanent purchases stack on top of whatever class you equip, so factor them in when judging whether a class still adds a real advantage.
Pick the class that moves fast and carries the most for the cash you can spend, verify it against your room-clear times, and keep upgrading as new options unlock. The best class is never fixed. It is whichever one is currently cutting the most time out of your run.