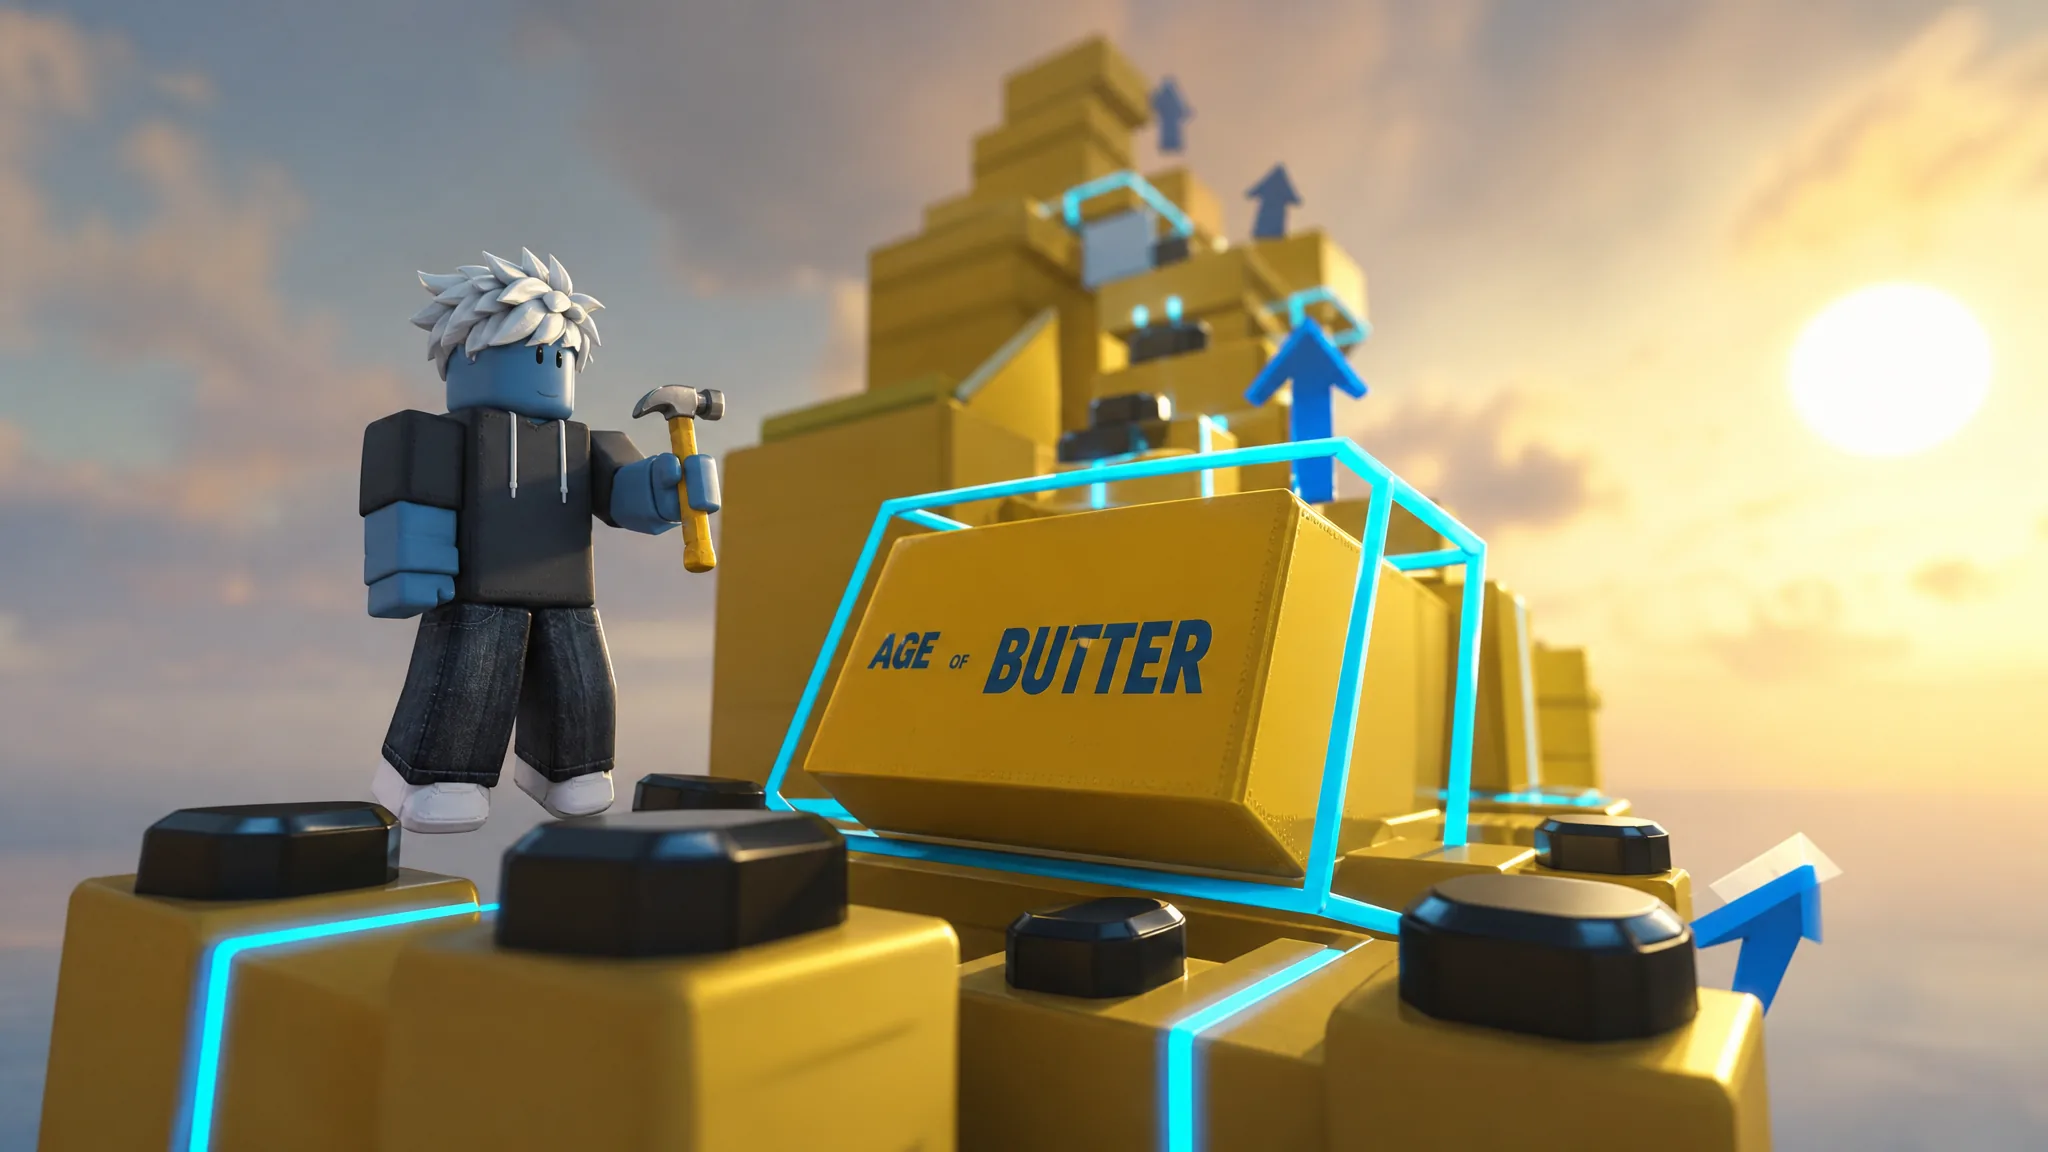
Build an ASMR Tower is a Roblox simulation and tycoon experience by the +100 group where every placed item does two jobs at once. It generates money passively, and it becomes part of the obstacle course you climb. The whole game runs on one loop. You buy a satisfying ASMR tool, drop it at your base, let it earn, and spend those earnings on more pieces that extend the tower higher.
Quick answer: Open the shop, buy one affordable tool you can pay for right now, place it near your starting platform, then stand on the green Collect Zone to bank the cash it produces. When the stored total starts rising, the earning loop is working and you can reinvest.
The buy, place, earn, reinvest loop
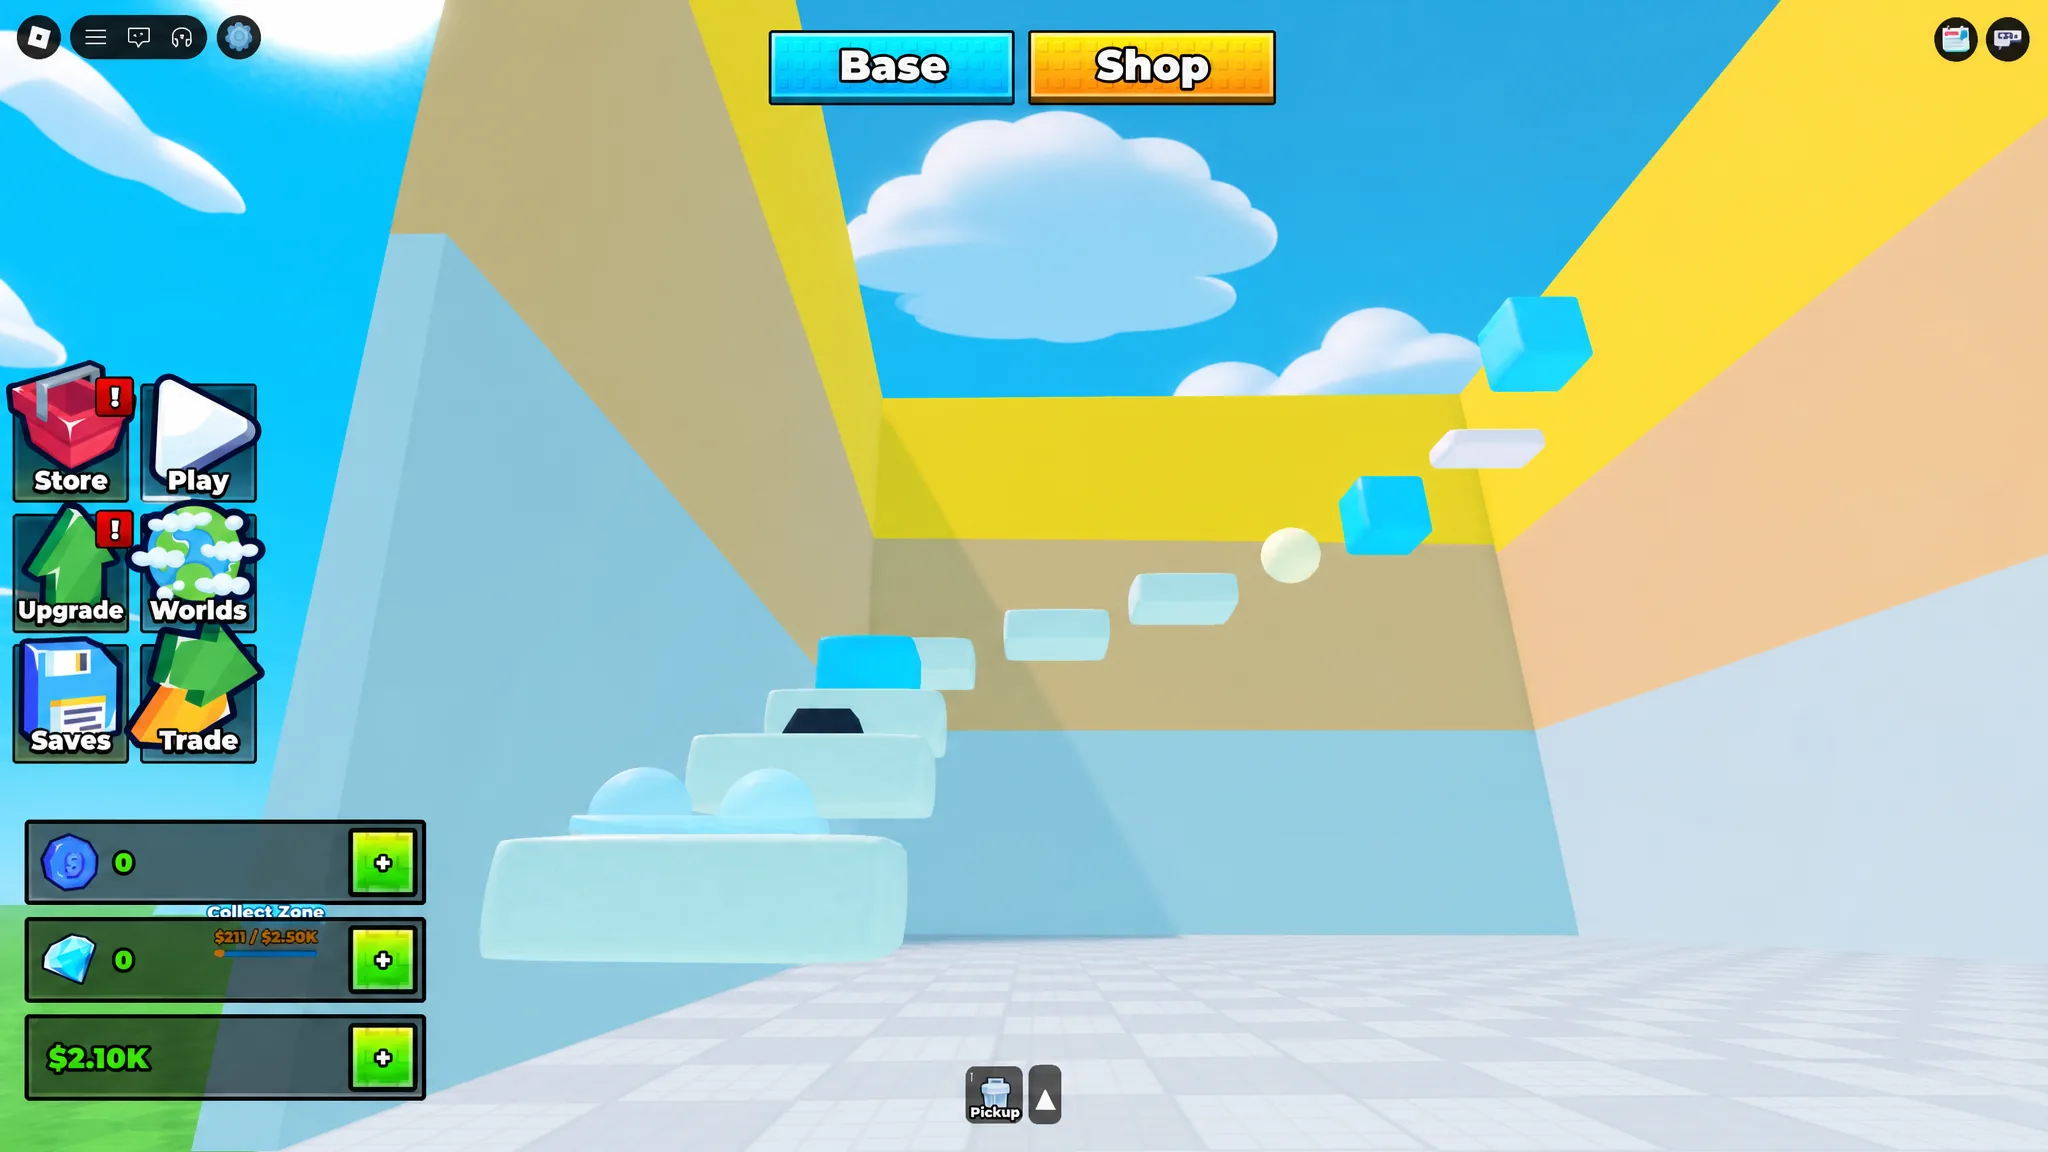
Your plot is split into two areas you will use constantly. The Base holds your tower, the edit controls, and the cash collection pad. The Shop holds the Buy ASMR stand, where each card lists an item name, its money generation rate, its price, and current stock. A visible countdown controls restocks, so rare-looking items rotate in and out.
Placement location does not change income. Whether a tool sits on the floor or clings to a wall, it earns the same amount. That frees you to think about a tool in two ways at once. It is money, and it is geometry you can stand on or jump from.
Controls for movement and placement
| Action | Input |
|---|---|
| Move | W, A, S, D |
| Jump | Spacebar |
| Equip a tool | Number keys 1–0 |
| Place equipped tool | Left mouse button |
| Move camera | Hold right mouse button |
Place your first tool and confirm income
Tip: Resist opening Worlds, Trade, or the game modes before your base earns anything. Building income first is the fastest way out of an empty plot.
ASMR tools and shop prices
Most tools are bought with Cash, while some require Gems. The main ASMR shop restocks roughly once every five minutes, so check back often for the pieces that were out of stock earlier. Prices and rates shift with balance updates, so always read the live card before buying.
| Item | Cash price | Gem price |
|---|---|---|
| Keycap | $25 | 3 Gems |
| Bubble Wrap | $35 | 5 Gems |
| Memory Foam | $50 | 7 Gems |
| Stress Ball | $150 | 10 Gems |
| Needoh | $225 | 14 Gems |
Read each card as both economy and shape. A solid block like Memory Foam can carry your weight and stack into a staircase. Lighter feedback items such as Keycaps and Bubble Wrap add sound but have no collision on their own, so an avatar falls straight through them. Save those purely auditory pieces as finishing touches once your climbable structure is locked in.
Upgrade tower height, placement, and storage
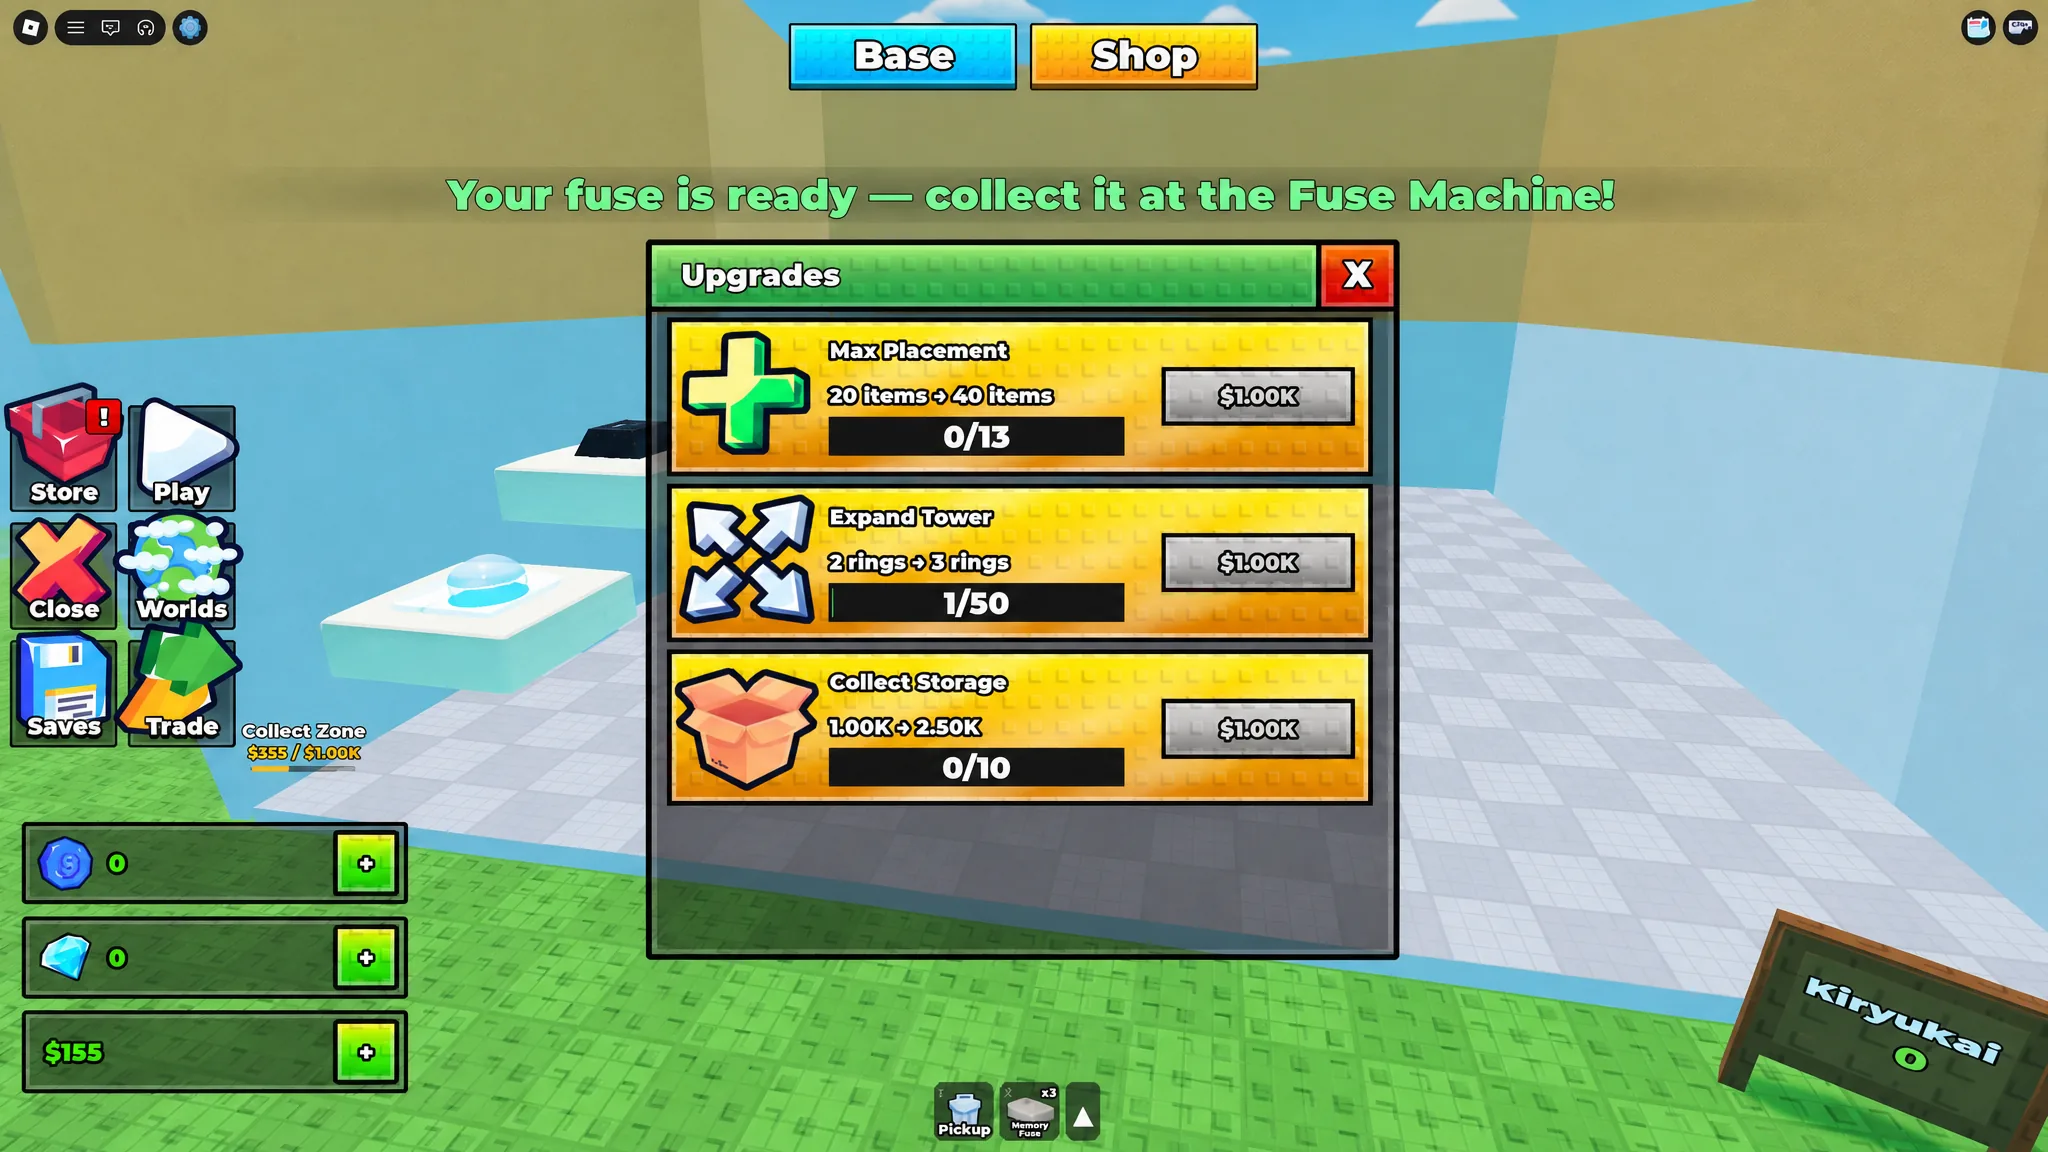
The Upgrades menu holds three progression tracks paid for with Cash. Expand Tower raises how tall you can build, Max Placement raises how many items you can own on the plot, and Collect Storage raises how much cash the pad holds before it stops filling.
| Upgrade | Example change | Cost |
|---|---|---|
| Expand Tower | 1 ring to 2 rings | $500 |
| Max Placement | 20 items to 40 items | $1.00K |
| Collect Storage | 1.00K to 2.50K | $1.00K |
Match the upgrade to the actual bottleneck. If the pad fills while you shop or edit, raise Collect Storage or collect more often. If the pad rarely fills, storage is not the issue, so place another producer or save toward a stronger tool. Capacity only holds money, it never generates it.
Build a first floor before adding height
A reliable first floor needs a reachable entrance, two or three connected jumps, a landing, and a clear exit for the next layer. Place one piece at a time, then leave edit mode and climb from your last safe spot to test it. If the avatar falls short, shrink the horizontal gap. If it clips a side, lower the target or widen the approach.
Use one repeatable object for the rise and one distinct object for a turn. A row of Memory Foam blocks works as a stair, while a wider or visually different piece can mark a landing or corner. Test each new expansion on your own base before you copy the pattern higher.
Gems, Crafting, Fuse, and Worlds
Gems come from completing quests, and the objectives are listed by an NPC next to the Gem Shop. They unlock some of the more valuable tools, so clearing quests widens what you can build. Beyond Gems, a few connected systems sit around the base.
- Crafting Station: combines certain items into better ones to diversify the sounds and shapes in your course.
- Fuse Machine: located next to the main shop, it merges multiple items of the same type into a potentially better version after a processing timer.
- Worlds: uploads your tower for others to explore and lets you visit their builds. Use it after your first floor works to see how other players offset upper floors or place landings.
- Game modes: the Play button opens matchmaking for modes such as Knockout, which needs enough queued players before a round starts.
Note: Saves and Trade are also visible menu entries. Read the live confirmation screen before you overwrite a save slot or accept a trade, since a new game’s balance and stock can change fast.
Codes status
A code redemption field exists in the game, but no rewards have been confirmed as working. Strings that circulate in the community have not been verified through the official experience or its developer, so treat them as candidates rather than active codes. If you want to test one, enter it a single time in the redeem field and watch for a success message. Never use third-party forms that ask for a password, email code, cookie, or payment detail.
Keep audio on while you play, since the ASMR feedback is the point of the design, and grow the tower in small tested steps rather than one big rush. You can jump straight into a plot on the official Roblox experience, where the buy, place, earn, and reinvest loop is all you need to start climbing your own course.