Video Random Access Memory (VRAM) is essential for handling graphics-intensive tasks on your computer. It stores image and texture data that the GPU needs for rendering, allowing applications like video editors, graphic design software, and modern games to run smoothly. Monitoring your VRAM usage ensures your system performs optimally without overloading the graphics hardware.
What is VRAM and how does it work
VRAM is a specialized type of memory embedded on your graphics card. It temporarily holds graphical data, enabling the GPU to access it quickly and render images efficiently. A higher VRAM capacity allows for better handling of high-resolution textures and complex 3D models, leading to improved performance in graphics-intensive applications.
In desktop computers, VRAM resides on dedicated graphics cards that can be upgraded by replacing the card. In contrast, many laptops have VRAM soldered onto the motherboard, making upgrades challenging. Some modern laptops include both integrated graphics and a secondary discrete GPU to manage demanding graphical workloads more effectively.
Methods to check VRAM usage on Windows 11
Keeping an eye on your VRAM usage helps you understand how your system handles graphical tasks and whether you need an upgrade. Here are the most effective methods to check VRAM usage on your Windows 11 computer.
Using Task Manager to monitor VRAM usage
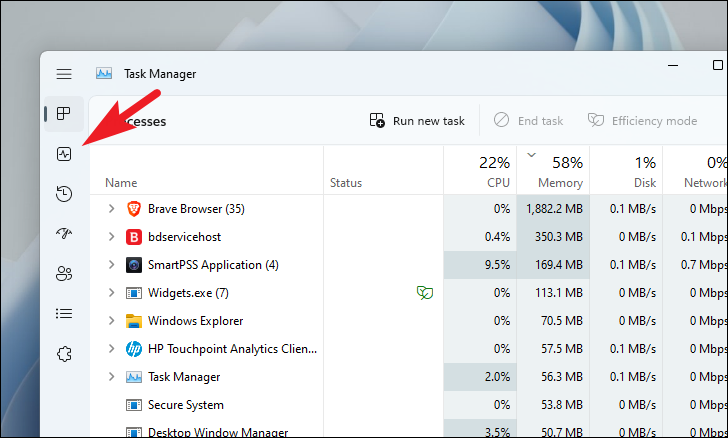
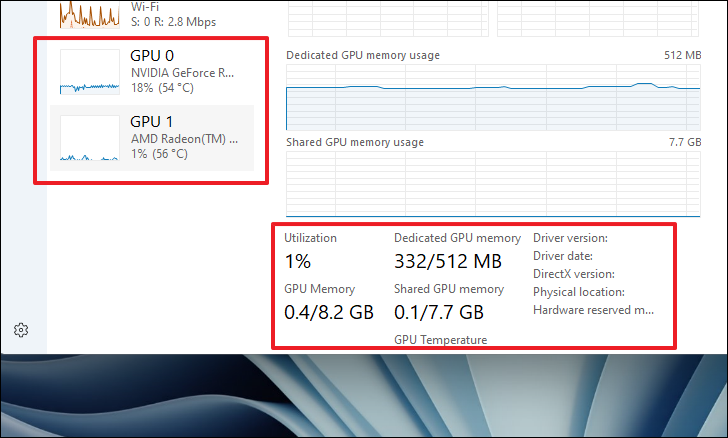
The Task Manager provides a straightforward way to check your GPU performance and VRAM usage without installing additional software.
Ctrl+Shift+Esc on your keyboard. You can also right-click the Start button and select ‘Task Manager’ from the context menu.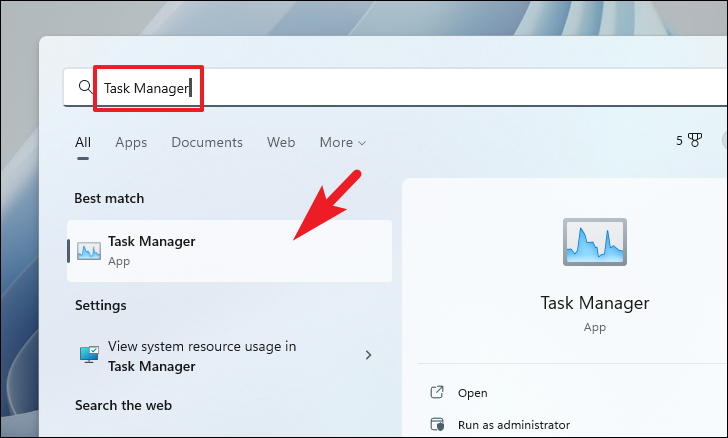
Using a third-party application to check VRAM usage
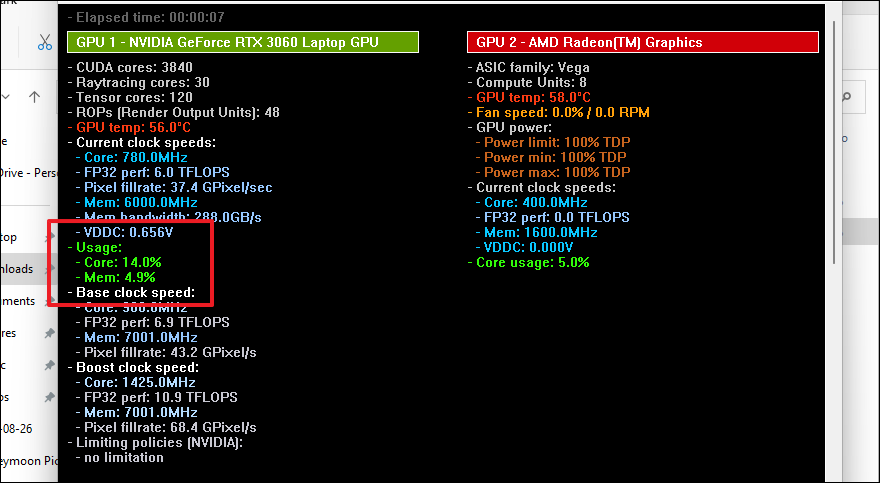
For more comprehensive details about your VRAM usage, third-party tools like GPU Shark offer in-depth information.
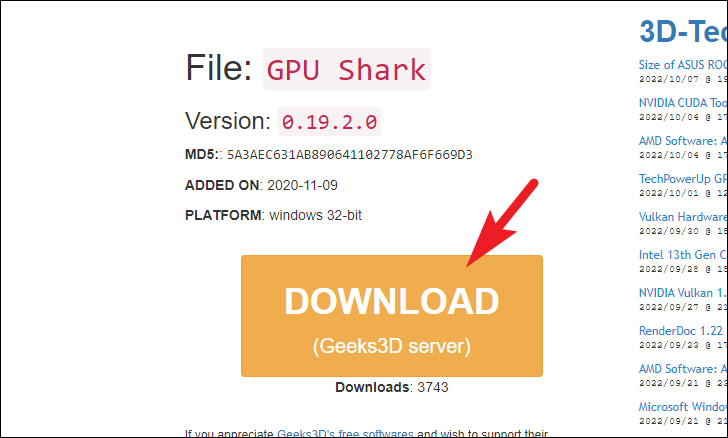
gpushark.exe file to run the application. If a security alert appears, click ‘Run’ to continue.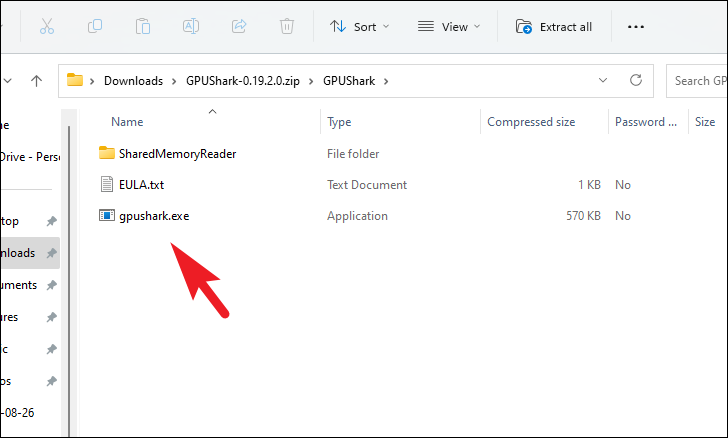
Checking how much VRAM is installed
Understanding the total VRAM installed on your system helps determine if your hardware meets the requirements of certain software or games. Here are methods to check your VRAM capacity on Windows 11.
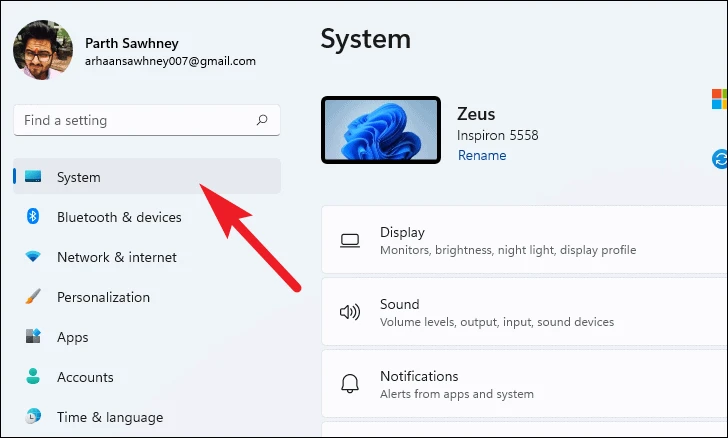
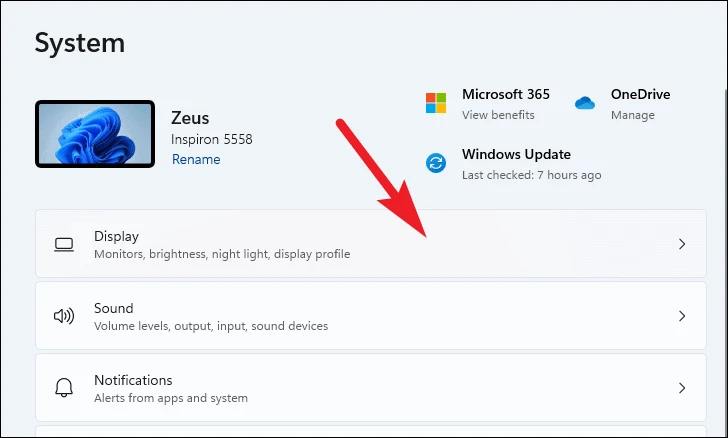
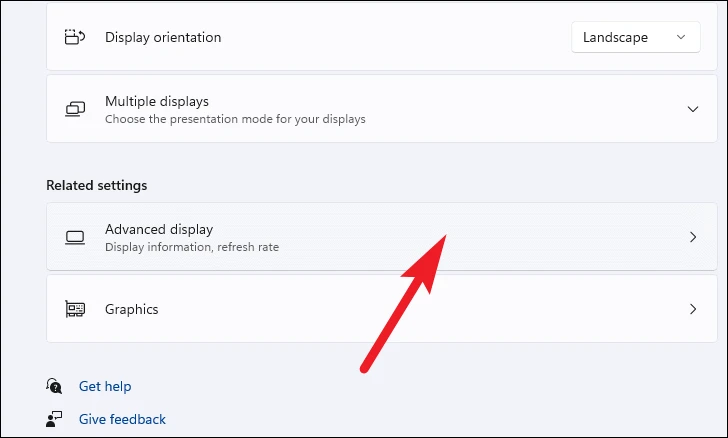
Using the Settings app
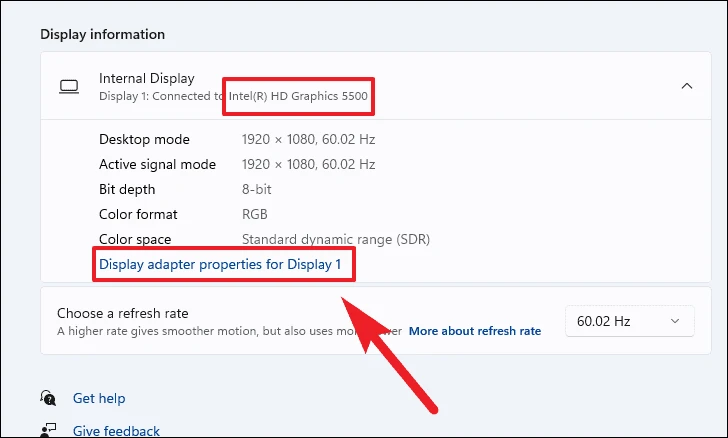
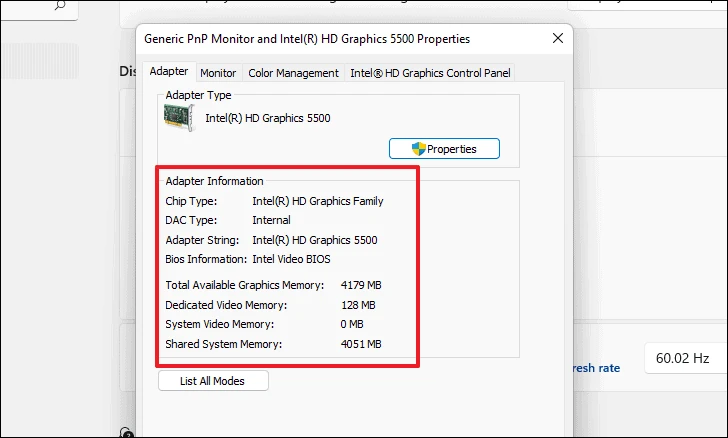
The Settings app allows you to quickly access information about your graphics card and VRAM without any additional tools.
Windows+I on your keyboard, or click the Start menu and select the gear icon.
Note: If your computer has multiple graphics cards, this section displays information for the primary adapter.
Using the System Information tool
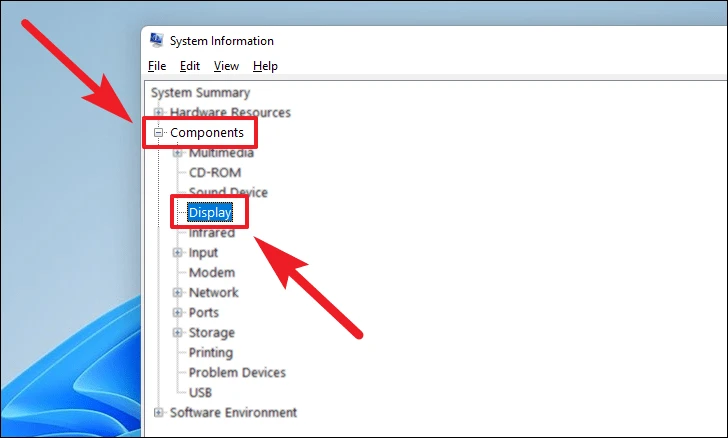
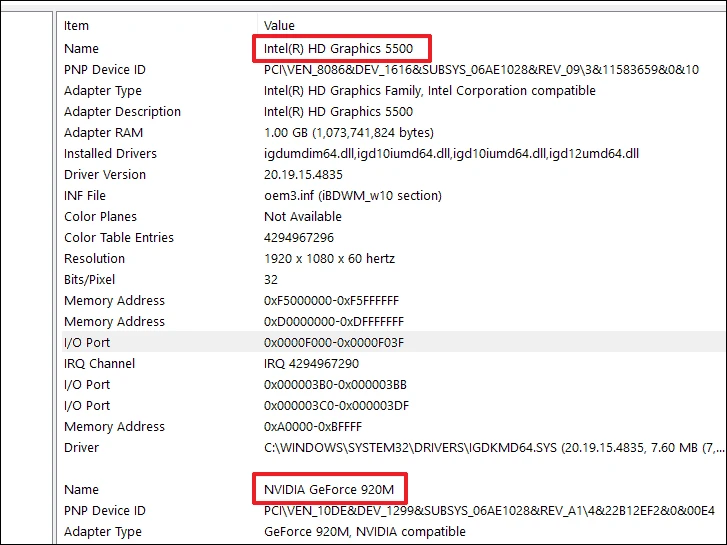
The System Information tool provides detailed data about your computer’s hardware components, including all installed graphics cards.
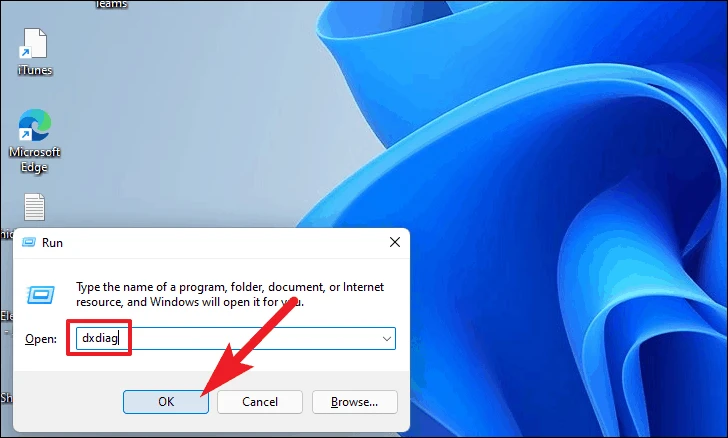
Windows+R to open the Run dialog. Type msinfo32 and press Enter to launch the System Information window.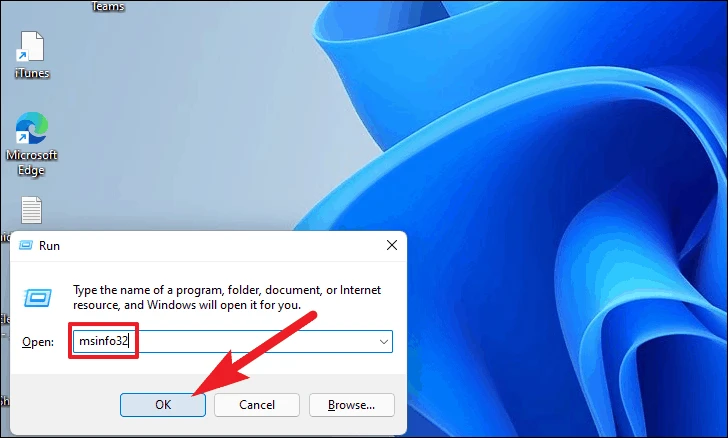
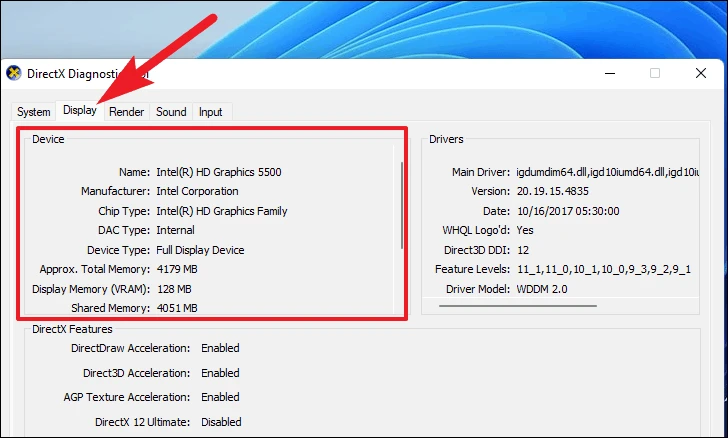
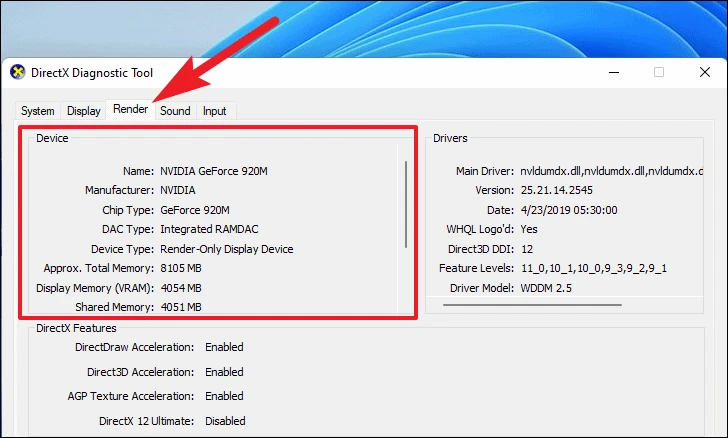
Using the DirectX Diagnostic Tool
The DirectX Diagnostic Tool offers information about your graphics hardware, drivers, and capabilities, which can be helpful for troubleshooting.
By utilizing these methods, you can effectively monitor your VRAM usage and determine the total VRAM installed on your Windows 11 system. Regularly checking your graphics memory ensures that your computer runs smoothly during graphics-intensive tasks.