The account lockout feature in Windows 11 serves as a crucial security measure to protect your system from unauthorized access. By default, if someone repeatedly enters the wrong password, the account is locked for 10 minutes. However, you might want to customize this duration to better suit your security needs. Windows 11 allows you to change the account lockout duration through the Local Security Policy or by using the Windows Terminal.
Change account lockout duration using Local Security Policy
Local Security Policy in the search bar. Click on the Local Security Policy app from the search results to launch it.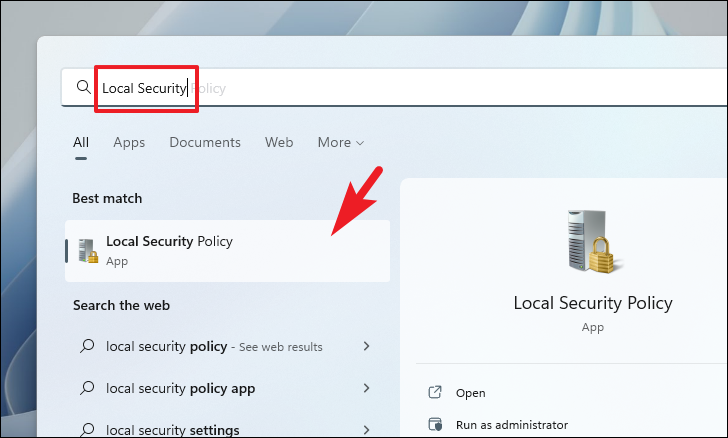
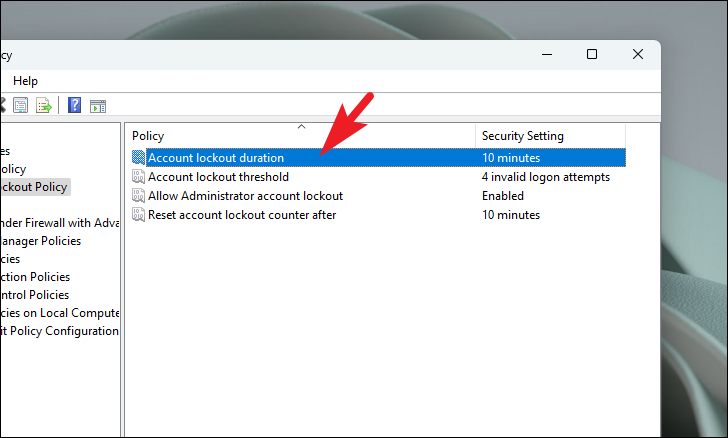

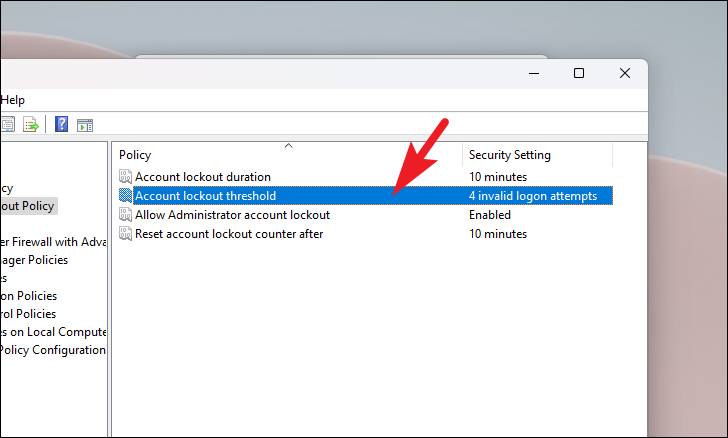
Note: If you cannot change the duration because the field is greyed out, ensure that the Account lockout threshold policy is defined and set to a number greater than zero.
Change account lockout duration using Windows Terminal
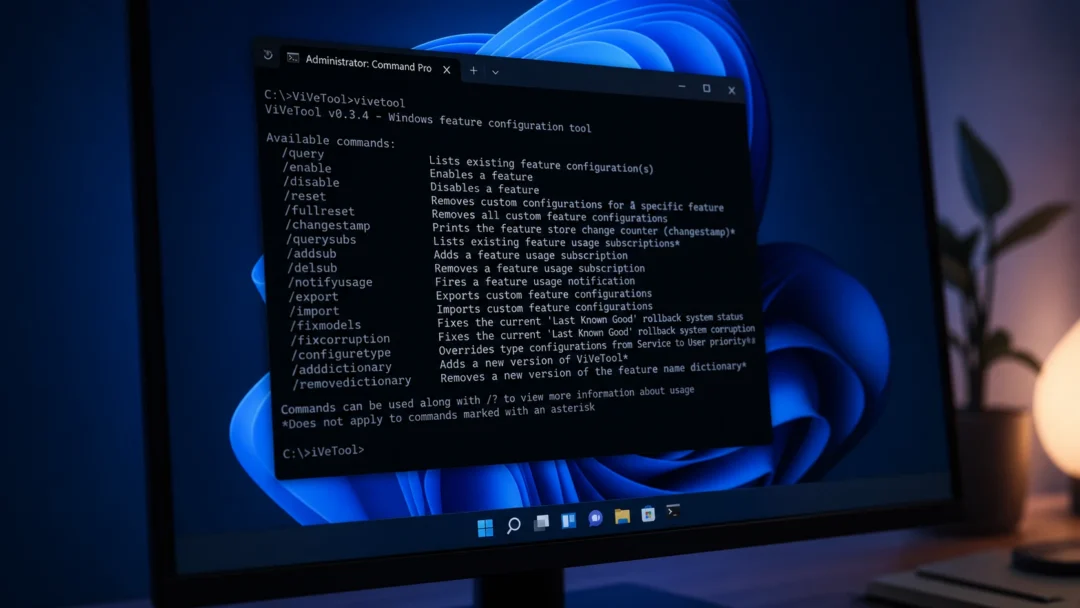
Terminal in the search bar. Right-click on the Terminal app in the search results and select Run as administrator to launch it with administrative privileges.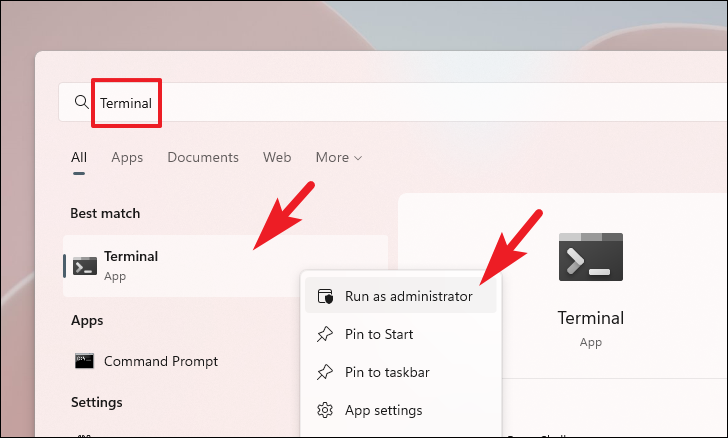

Enter to view the current account lockout policy settings:net accounts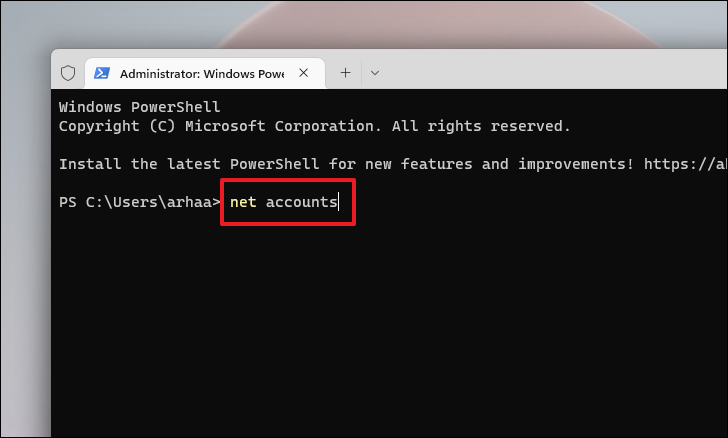
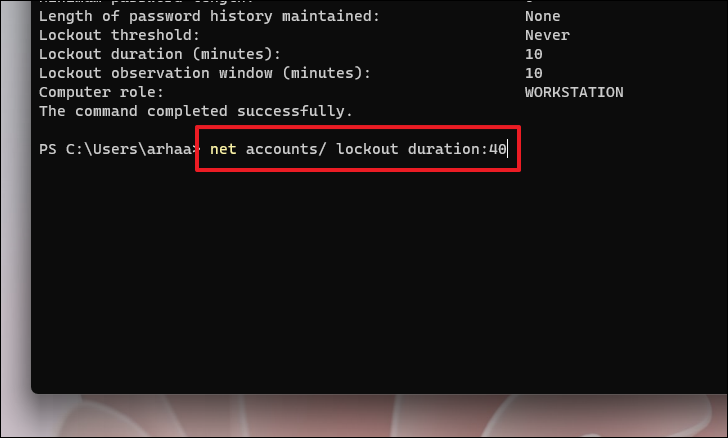
net accounts /lockoutduration:<number>Note: Replace <number> with the desired duration in minutes, ranging from 1 to 99,999. This value sets how long the account will stay locked after too many failed attempts. If you set the value to 0, the account will remain locked until an administrator unlocks it manually.
By customizing the account lockout duration, you can enhance the security of your Windows 11 system according to your preferences. It’s generally recommended to set the lockout duration to around 15 minutes to effectively deter unauthorized access attempts without causing inconvenience to legitimate users.