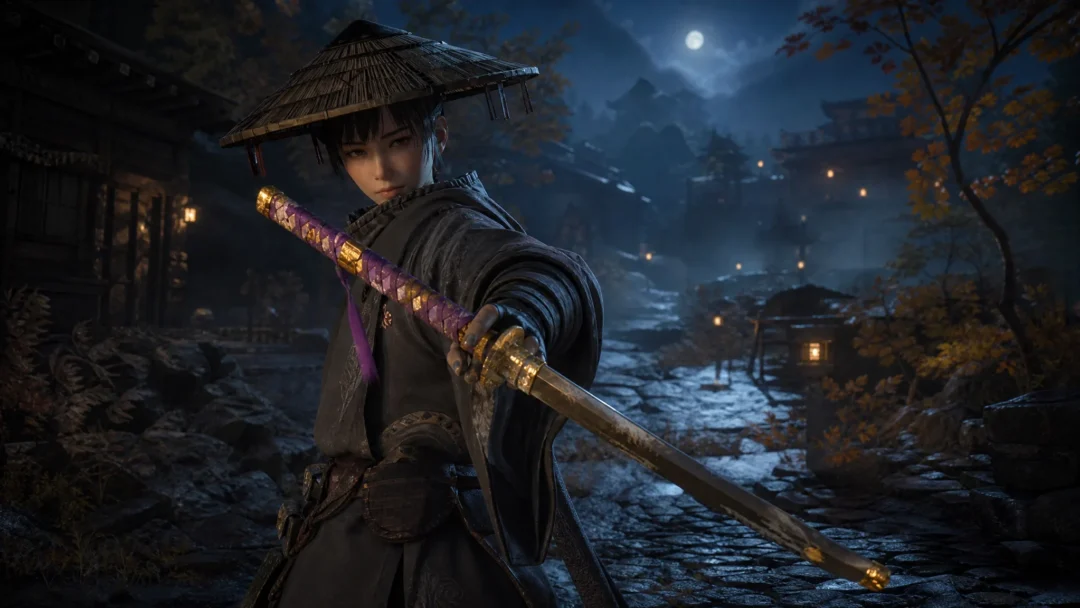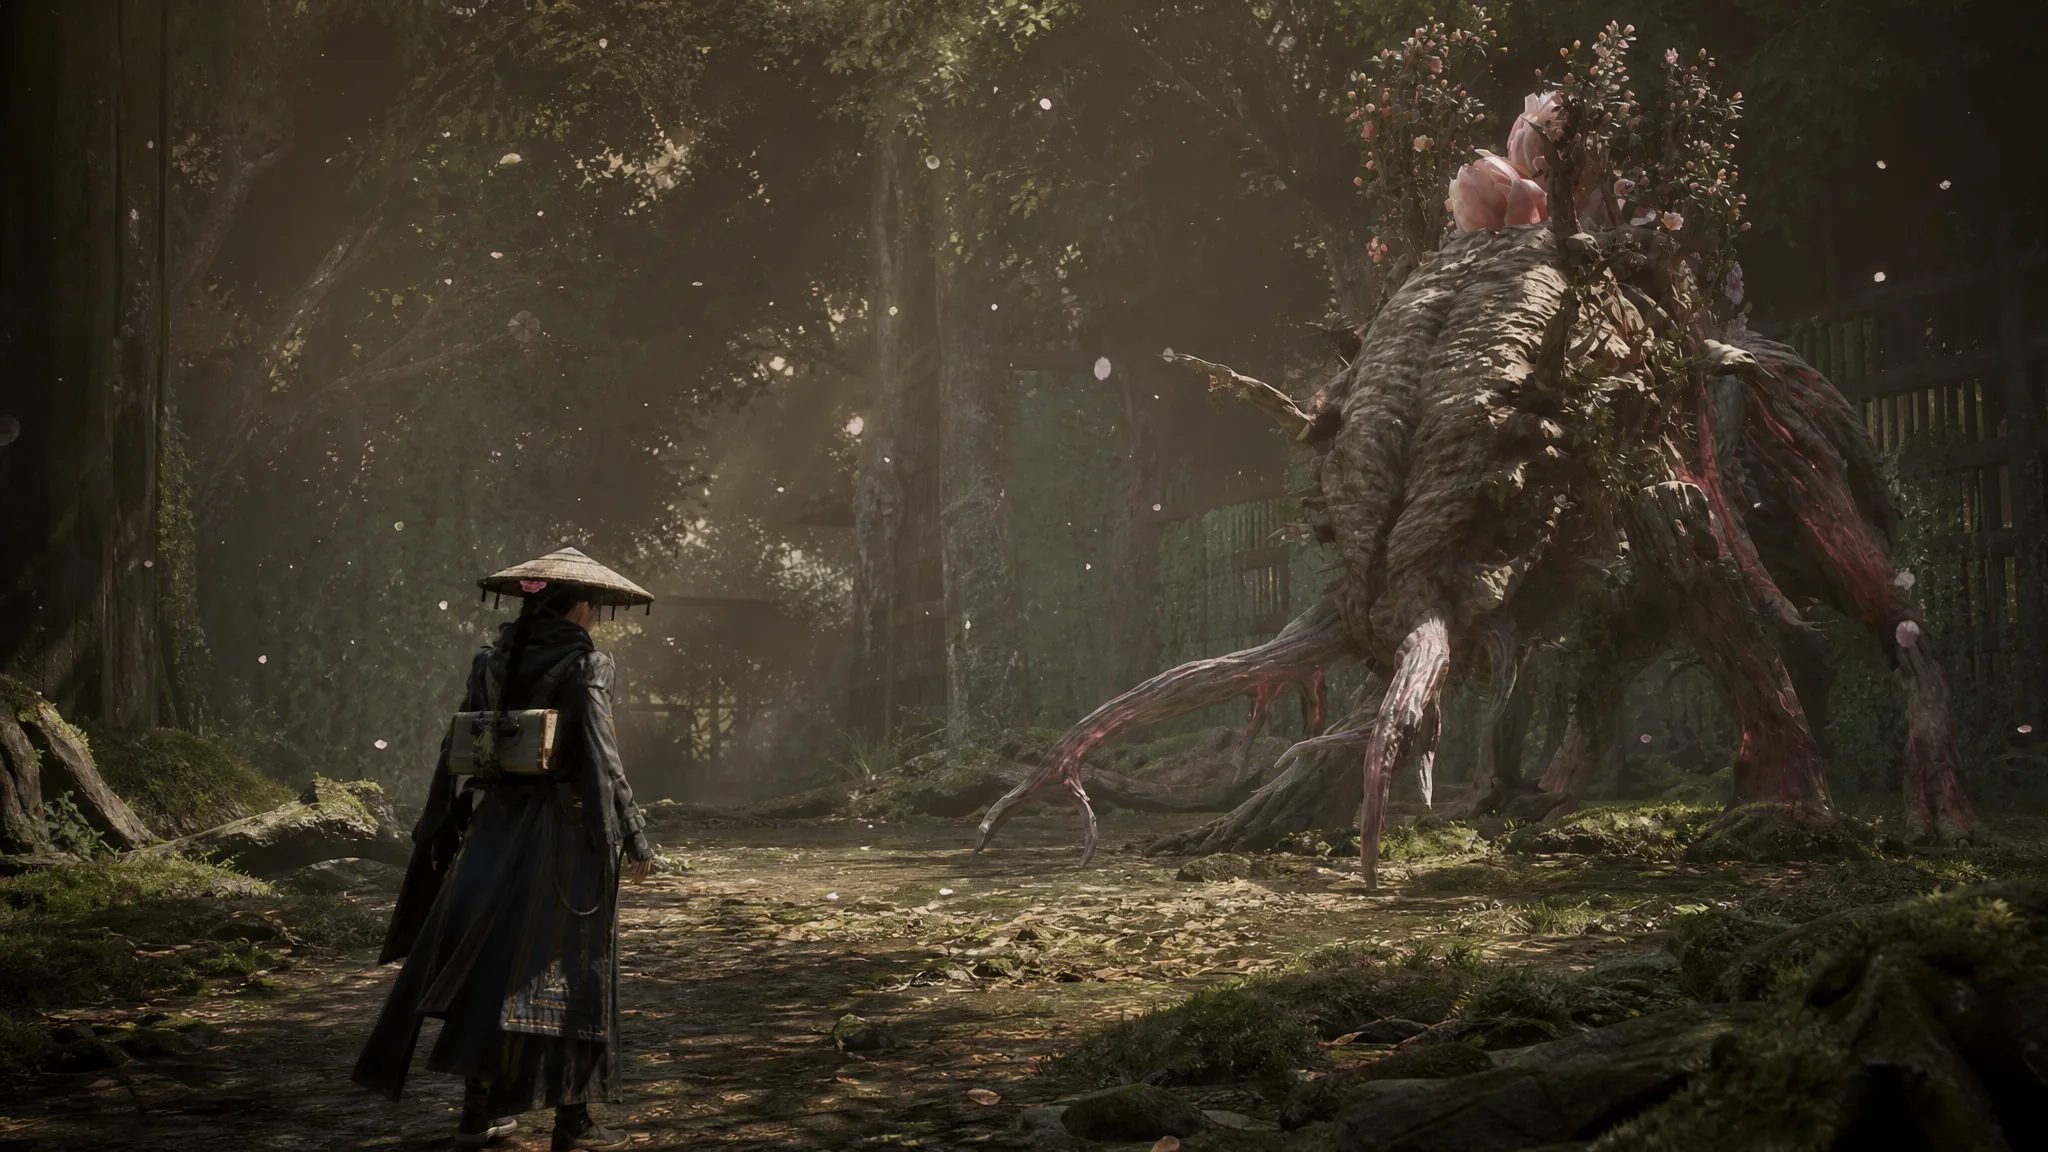
Rangifer is the first Nushi you fight in Beast of Reincarnation, a deer-like Malefact that guards the Oguchi Buffer Zone in Chapter 1. It hits harder and holds more health than an opening boss usually does, and it eventually splits into two full health bars. The whole encounter rewards clean parrying more than raw aggression, so learning its rhythm is the fastest way through.
Quick answer: Parry every Antler/Horn Swipe in the combo to build FP, punish while Rangifer’s head hangs low near the ground, and use fire attacks like Koo’s Higanbana: Seeds because Rangifer is weak to fire. In the second encounter you must drain two separate health bars, and the boss speeds up during its final phase.
Where the Rangifer fight starts
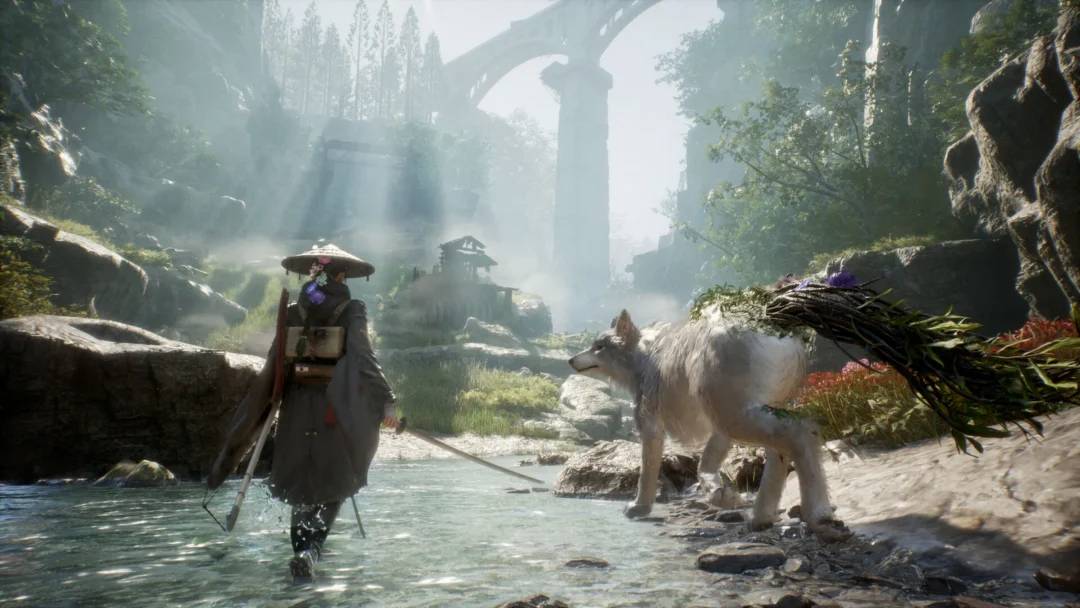
Rangifer is the Nushi of the very first zone. After you clear the early main objectives and get the prompt to hunt the region’s Nushi, a waypoint leads you to a large water-filled ditch. A campsite sits right next to it, so rest there first. It becomes your respawn point, which matters because this fight can take a few attempts.
You can open the battle with a free hit. Use Emma’s hair to build a bridge and climb directly above Rangifer, then drop a Death from Above dive attack to deal chip damage before the fight formally begins. Landing any hit on the boss starts the encounter.
The two Rangifer fights explained
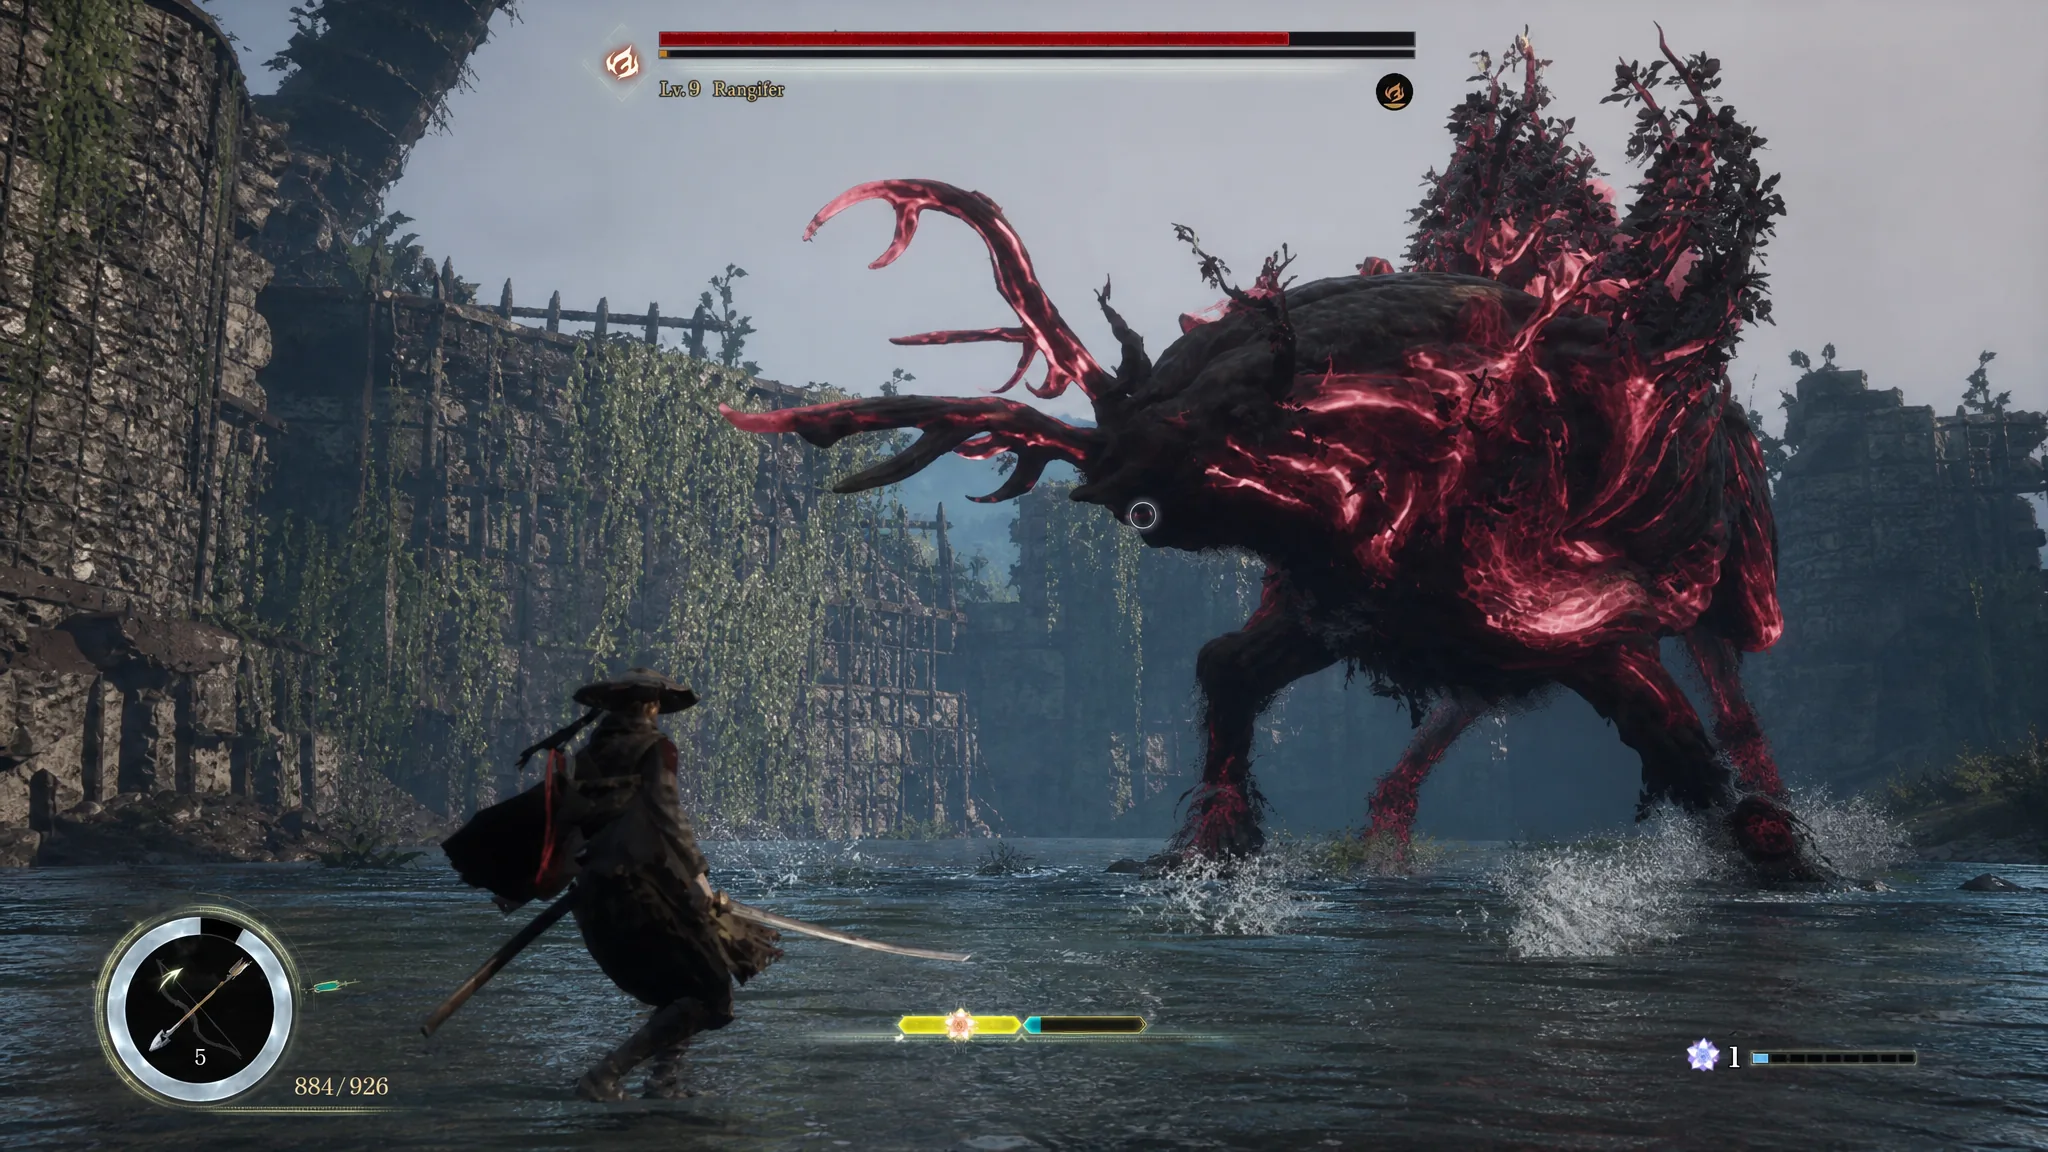
Rangifer is fought twice. The first encounter is against a Level 9 version that only shows its opening moveset. It then flees to its lair, where you face a Level 12 version that carries two phases with a separate health bar for each. Deplete the first bar and the second phase begins with fresh health, so never assume the fight is over.
The moves are identical across both encounters, which means practice from the first fight carries straight over. The key difference is stamina and speed. The second health bar sees Rangifer imbued with blight, making it act faster and hit harder. Rangifer can also briefly imbue itself with blight during earlier phases, so treat those moments as a preview and expect a few deaths while you adjust to the quicker tempo.
| Version | Level | Phases / health bars |
|---|---|---|
| First encounter | Lv. 9 | Single phase, one health bar |
| Second encounter (lair) | Lv. 12 | Two phases, two health bars; blight in the final phase |
Rangifer moveset and how to counter each attack
Rangifer’s kit is small, which is why it works so well as a parry tutorial. There are four attacks to read, and the antler combo is the one you build the whole fight around.
| Attack | What it does | Counter |
|---|---|---|
| Horn / Antler Swipes | Sweeps its antlers side to side, often a two- or three-hit combo with about a second and a half between swings. | Parry every swing. A full parried combo gives enough FP for one of Koo’s Bloom Arts, and the head drops low afterward for a punish. |
| Rock Throw (Hoof + Boulder Toss) | Digs its head into the ground and charges forward, flinging a cluster of rocks as it finishes. | Run to the side out of its path, or dodge backward repeatedly. Hold guard if you miss the timing to reduce damage. |
| Lunge | Raises its front legs and slams down, with red spots marking the landing zone. | Run away or dodge to either side of the marked area. |
| Trail of Branches (Tree Darts) | Roars, looks down, then sprouts a line of branches from the ground where the floor glows red. Tends to appear around a quarter health left. | Run to the side or dodge away from the glowing spots. Parrying this is very difficult, so hold guard or evade instead. |
Note: the Trail of Branches is the one attack you should not try to parry. Both the ranged branches and the sudden speed of a blight-imbued combo are easier to survive by keeping distance and dodging.
Where to deal damage safely
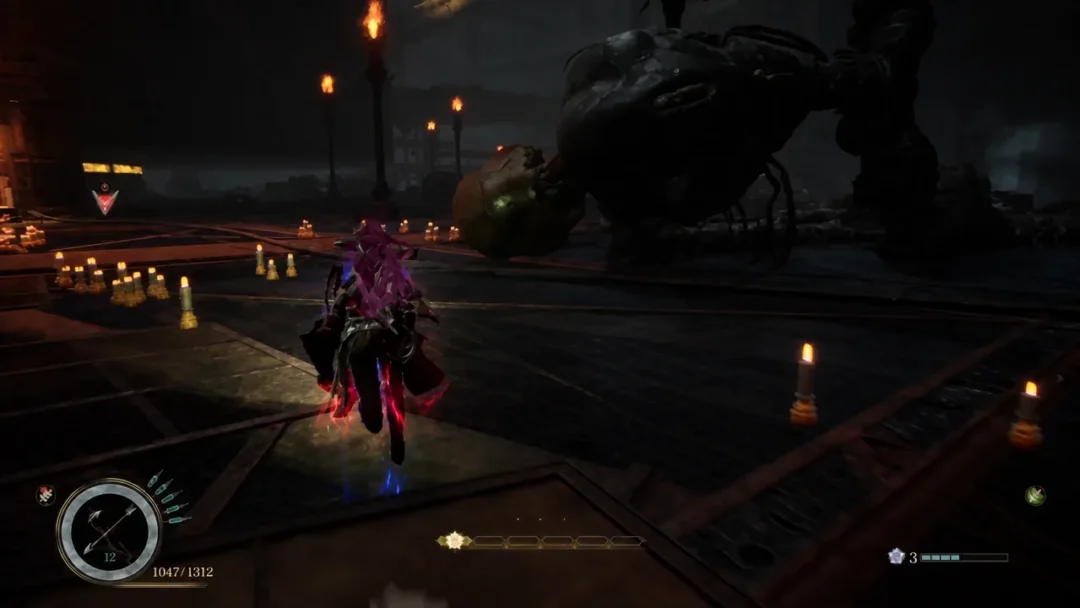
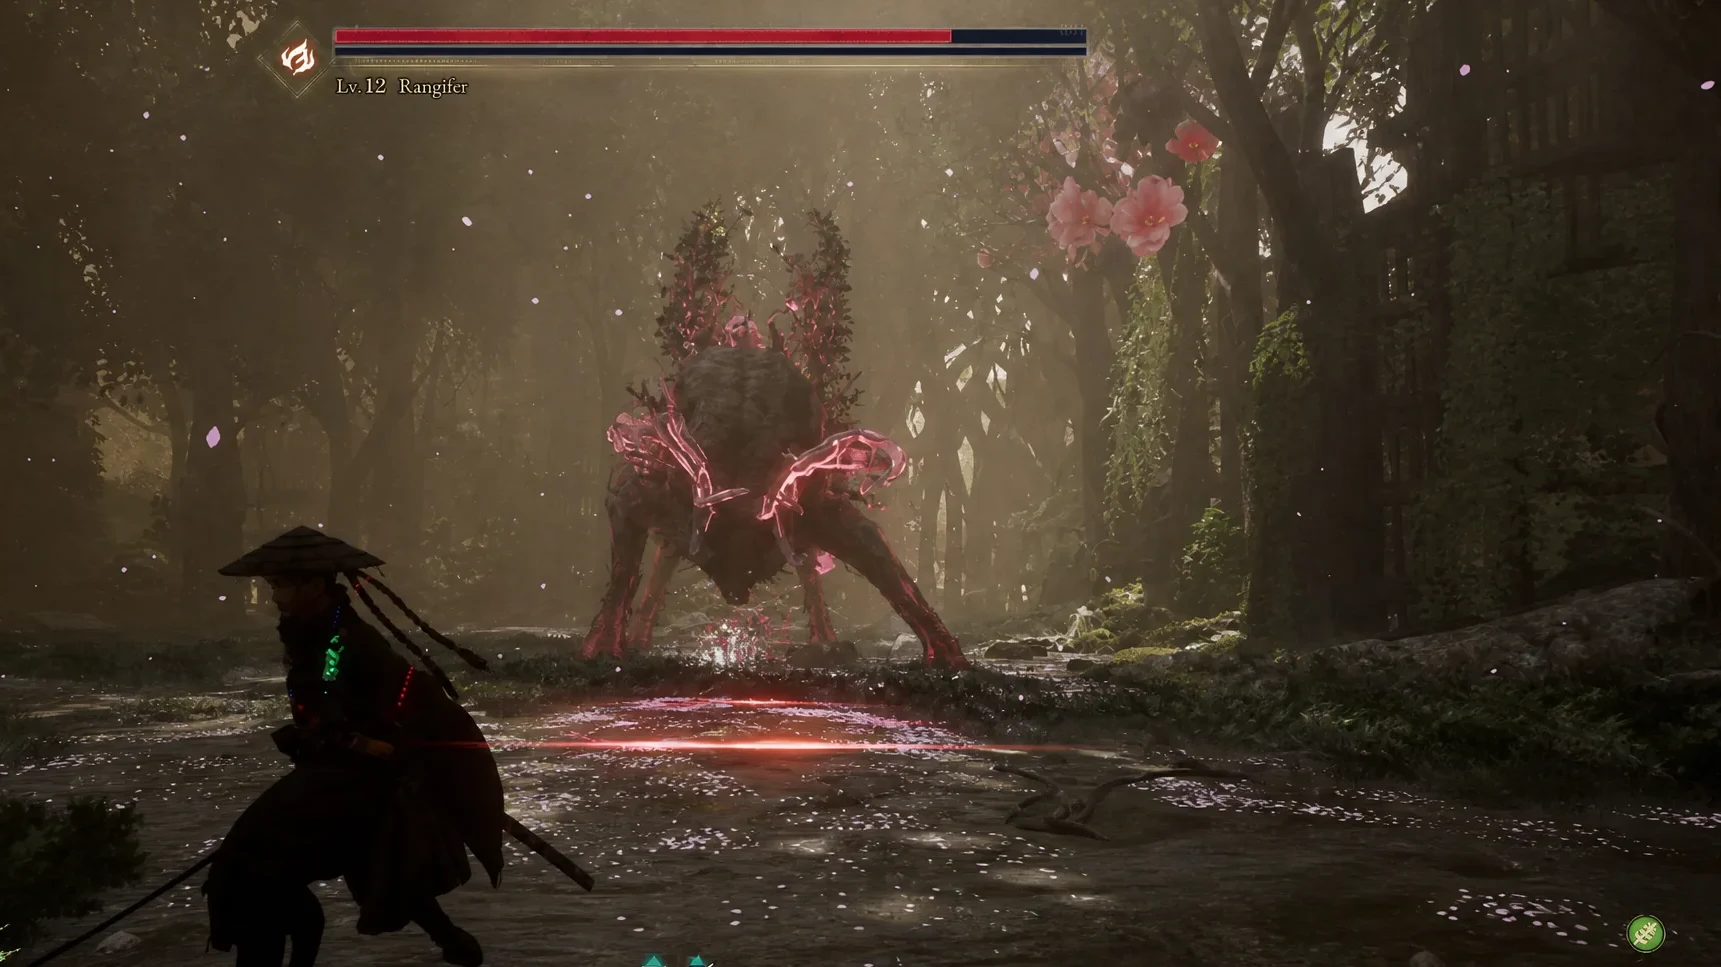
Your biggest opening comes right after the antler combo. When Rangifer finishes swiping, its head sags near the ground from exhaustion. That is the moment to attack. Trigger your Entanglement Gauge (Entanglement Overdrive) to slow time here, which stretches that window long enough to land one or two extra hits before the head lifts.
Rangifer is weak to fire, so lean on fire-element abilities you already have. Koo’s Higanbana: Seeds Bloom Art is the strongest option, filling the stagger bar quickly. When Rangifer backs off to the edge of the arena or runs away, switch to your Crossbow or Zangetsu Bow and unload ranged shots to chip its health before it closes distance again. You can also refill FP by parrying its Horn Swipes, which keeps Koo’s abilities available.
- Parry the full antler combo, then punish the low head with Entanglement Overdrive active.
- Spend FP on Koo’s fire Bloom Art to build stagger fast.
- Use the Crossbow or Zangetsu Bow while Rangifer is at range.
- Dodge, don’t parry, the Trail of Branches and Rock Throw.
Handling the blighted second phase
During the Level 12 rematch, clearing the first health bar pushes Rangifer into a blight-imbued phase. The moveset stays the same, but everything comes out faster and hits for more. A jump attack also joins its arsenal here. The rhythm you relied on for parries still applies, only tighter, so expect the first several attempts to be about relearning the timing rather than learning new attacks. Keep spending fire abilities and ranged shots the same way, and don’t drop your guard until the second bar is empty.
Rangifer rewards and how to confirm the win
Each version of Rangifer hands over different rewards, so the fights are worth completing in order.
| Defeated version | Drops |
|---|---|
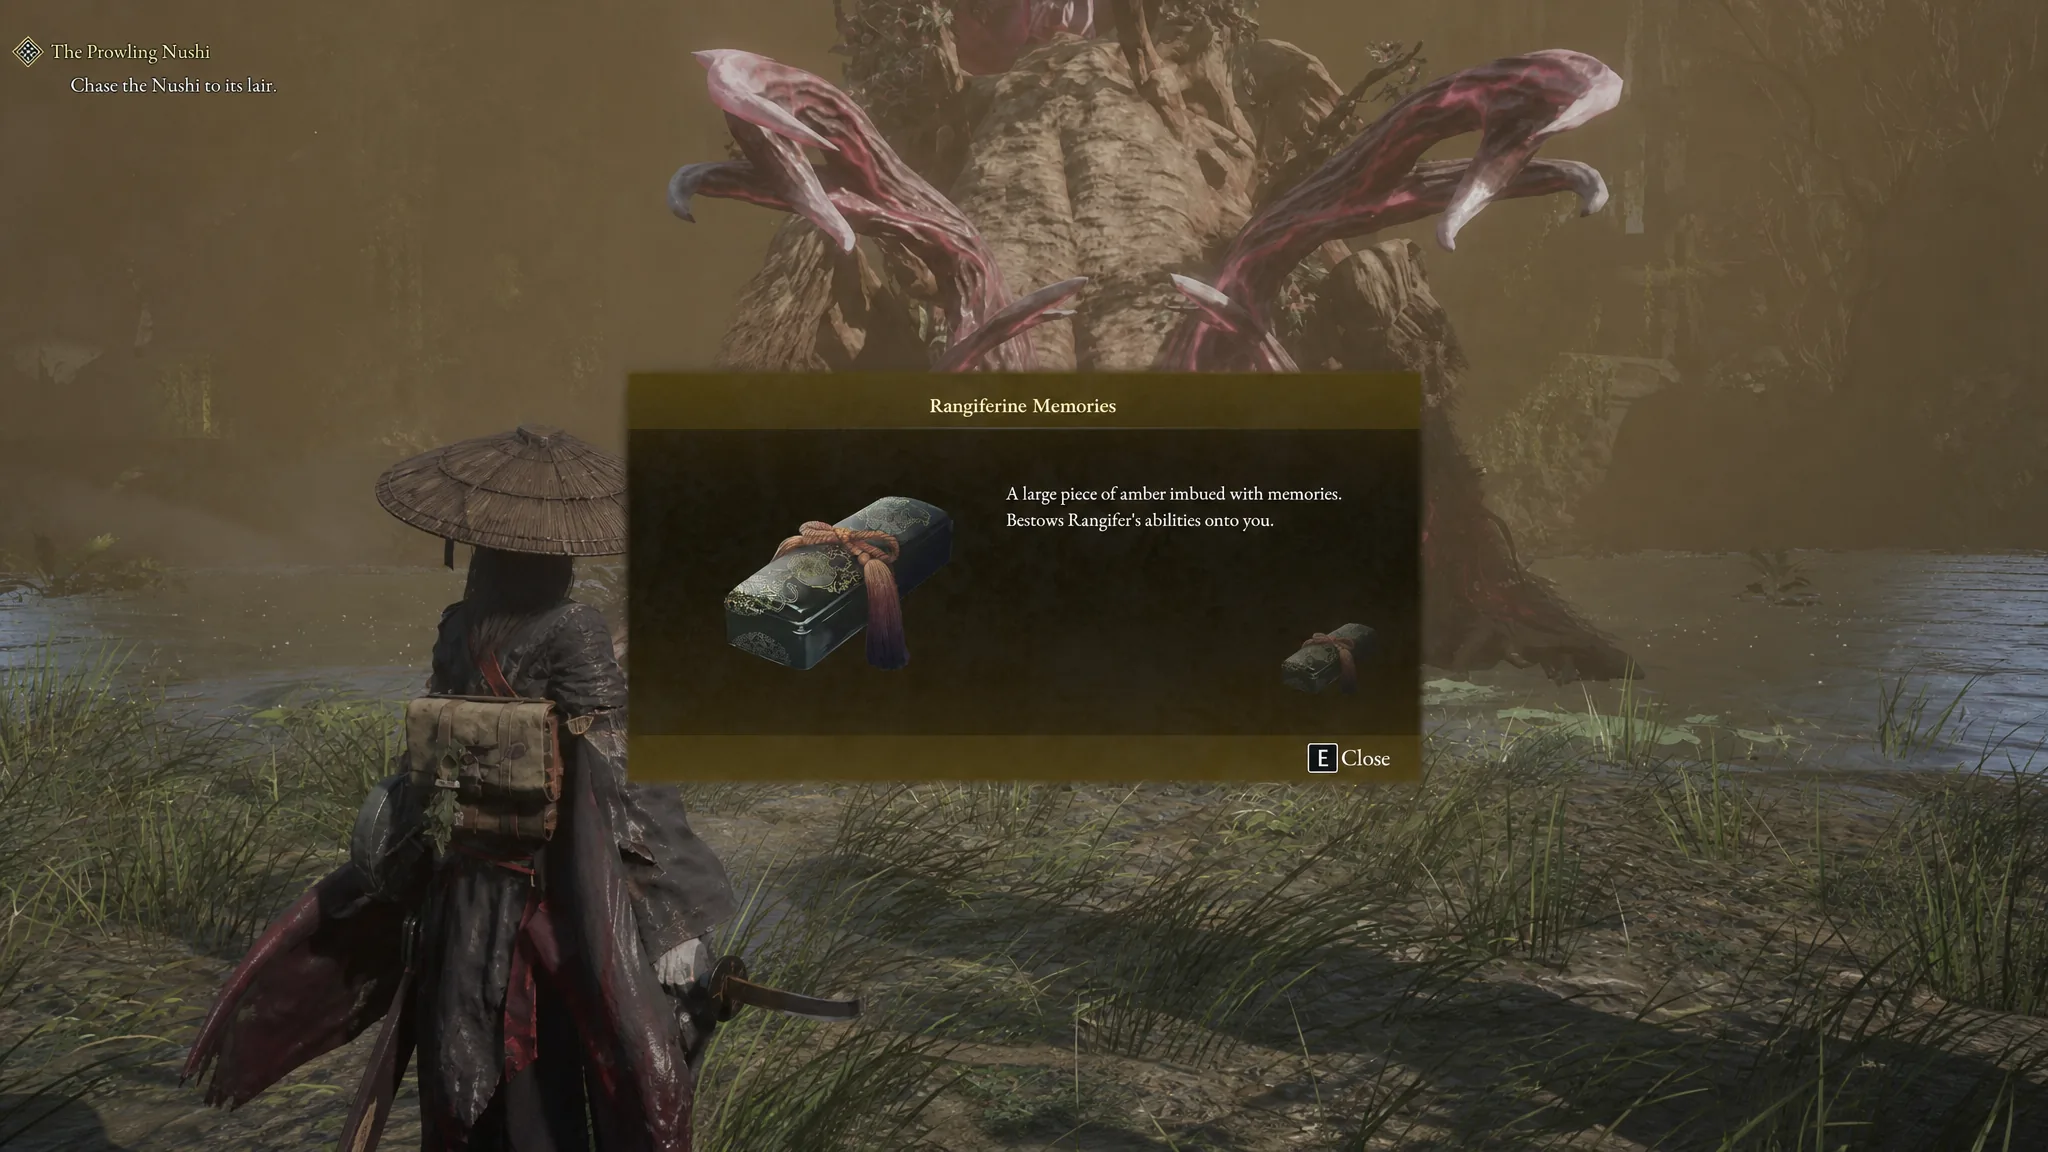
| Lv. 9 Rangifer | Rangiferine Memories, which unlocks Nushi Skill: Sakura Storm |
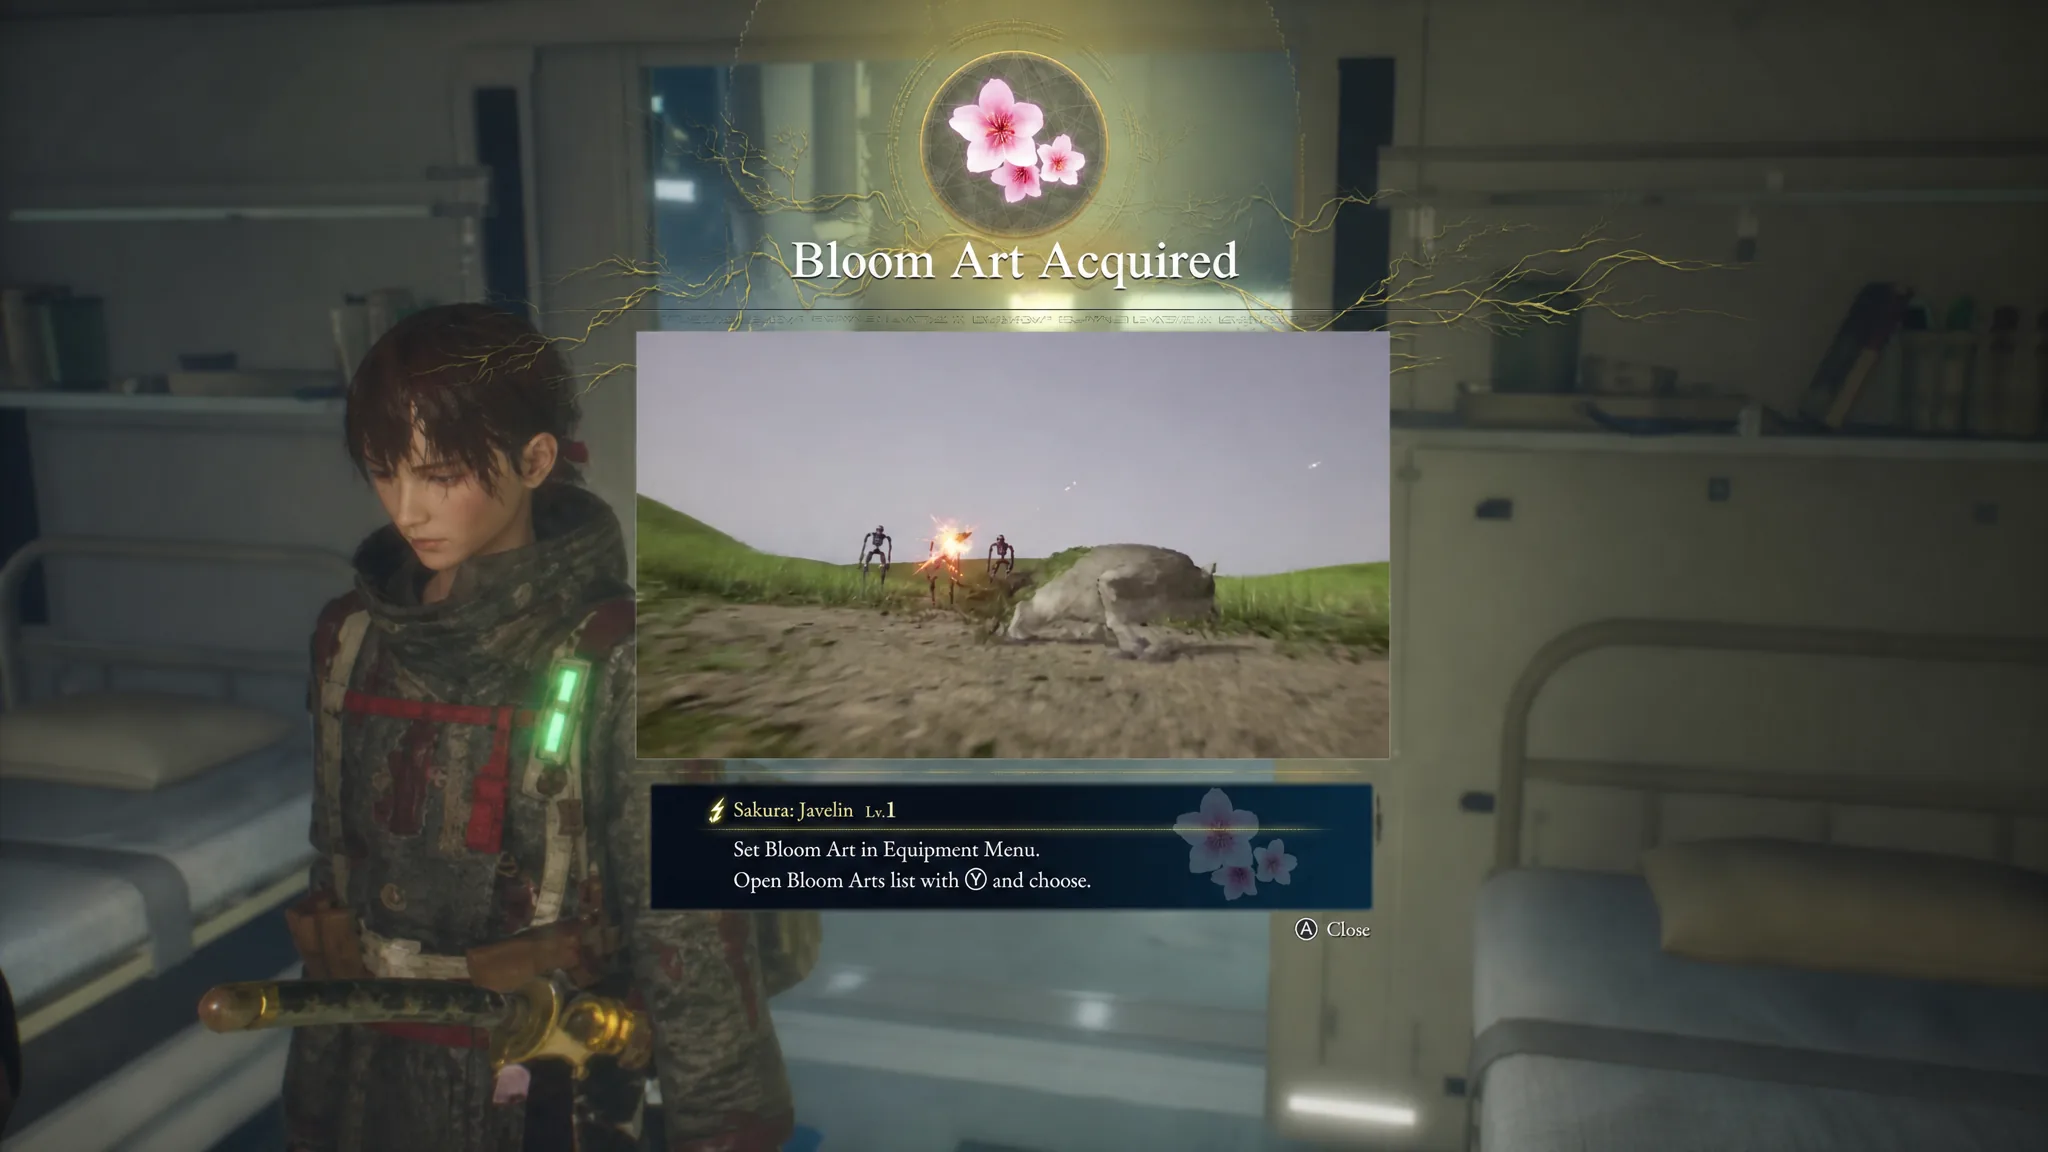
| Lv. 12 Rangifer | Sakura Javelin Bloom Art and Blade Art: Sakura |
Rangiferine Memories is a large piece of amber that bestows Rangifer’s power onto Emma. You’ll know the first fight worked when you receive it and Sakura Storm appears as a usable Nushi Skill. To perform Sakura Storm, press the attack button four times and then the skill button, which hits groups of enemies at close and long range.
Clearing the Level 12 rematch adds the Sakura Javelin Bloom Art and Blade Art: Sakura to your kit. After Rangifer is down, Emma returns to the Cleanse Walker, where you can enhance equipment, level Attributes, and spend time with Koo before the next hunt.
Once Rangifer falls, the difficulty only climbs from here. The next Nushi on the path is Lacerta in Chapter 2, which inflicts Slow and Poison, so keep the parry timing you built against Rangifer sharp for what comes next.