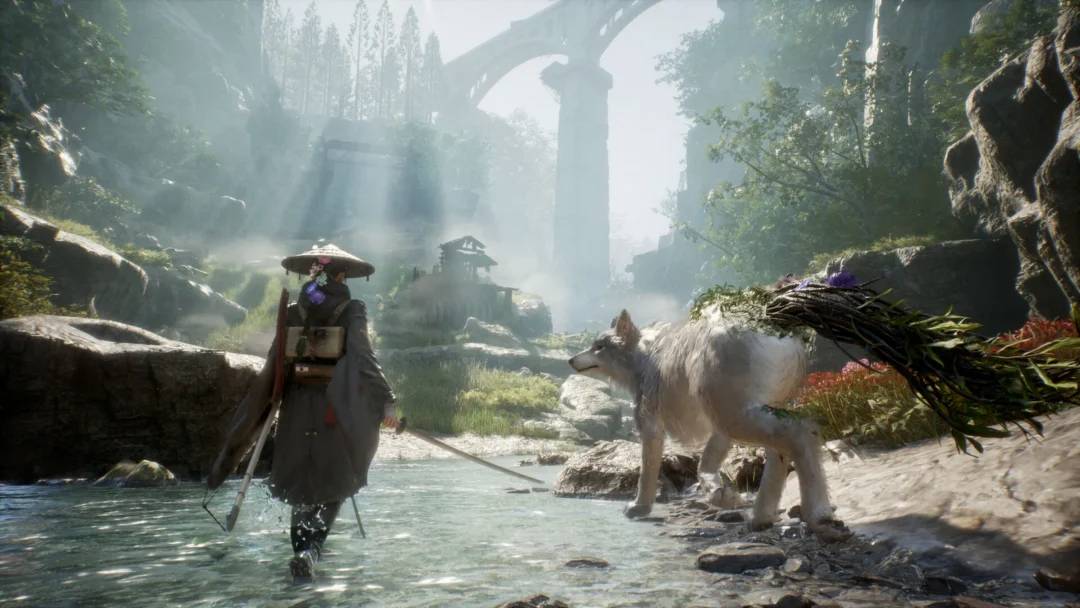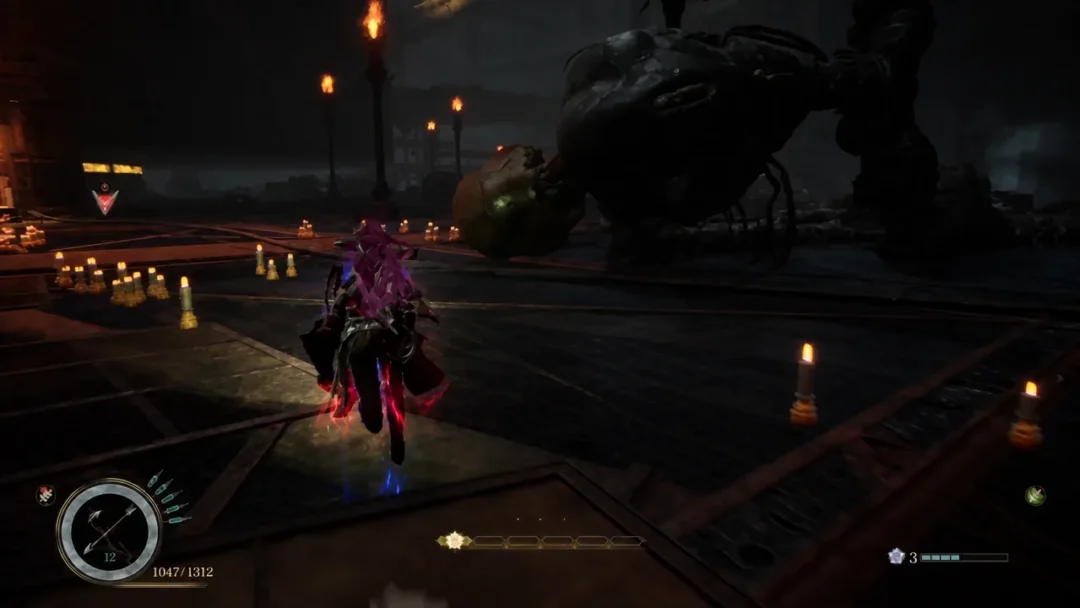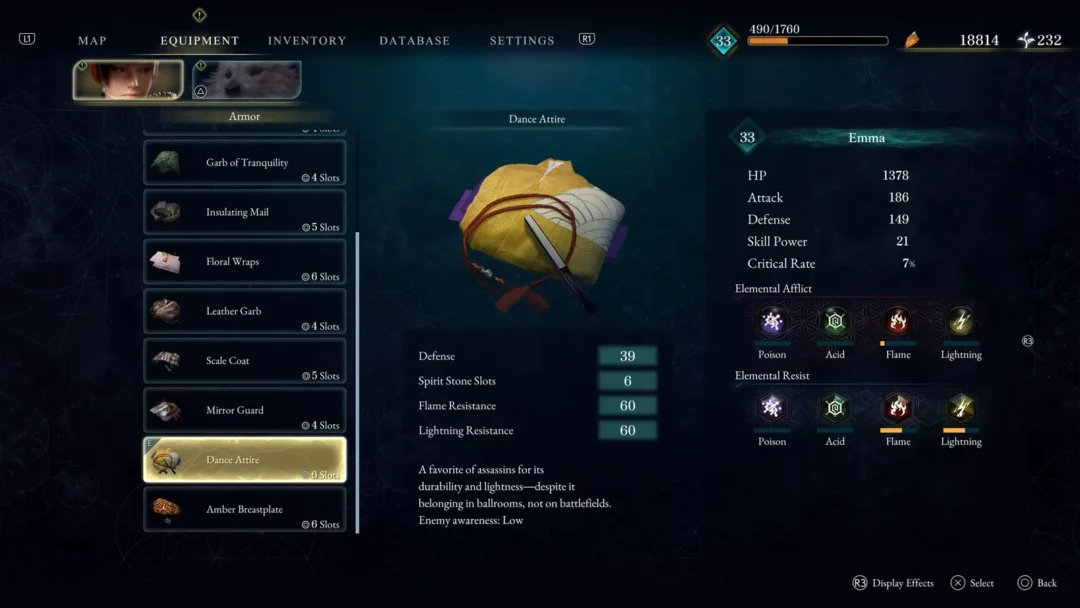
Chapter 4: Stems drops Emma and Koo into Pilgrim’s Rest, a region built around a long cave network, a ruined Stone Chamber, and a bell tower you have to reach before the Nushi will stop running. Taurus, the bull-themed ruler of this area, hits early and then flees, so most of the chapter is about carving a path forward while clearing Golems, bears, and ranged enemies. This route keeps you on the main story beats while flagging the worthwhile detours.
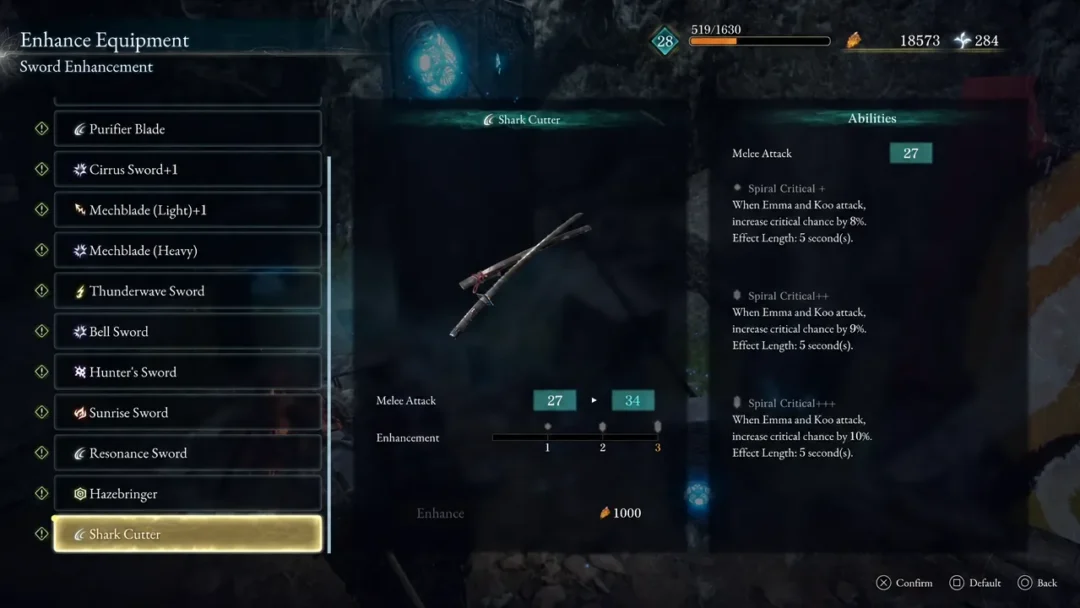
Quick answer: Rest at the first Campsite and grab the Sunrise Sword, beat the Golems and knock Taurus (Lv. 26) down to trigger its retreat, push through the cave and Stone Chamber to the belfry, solve the light-the-pyres puzzle, strike the bell, then head to the Nushi’s Lair and defeat Taurus (Lv. 29) across both phases to end the chapter.
Golems and the first Taurus encounter
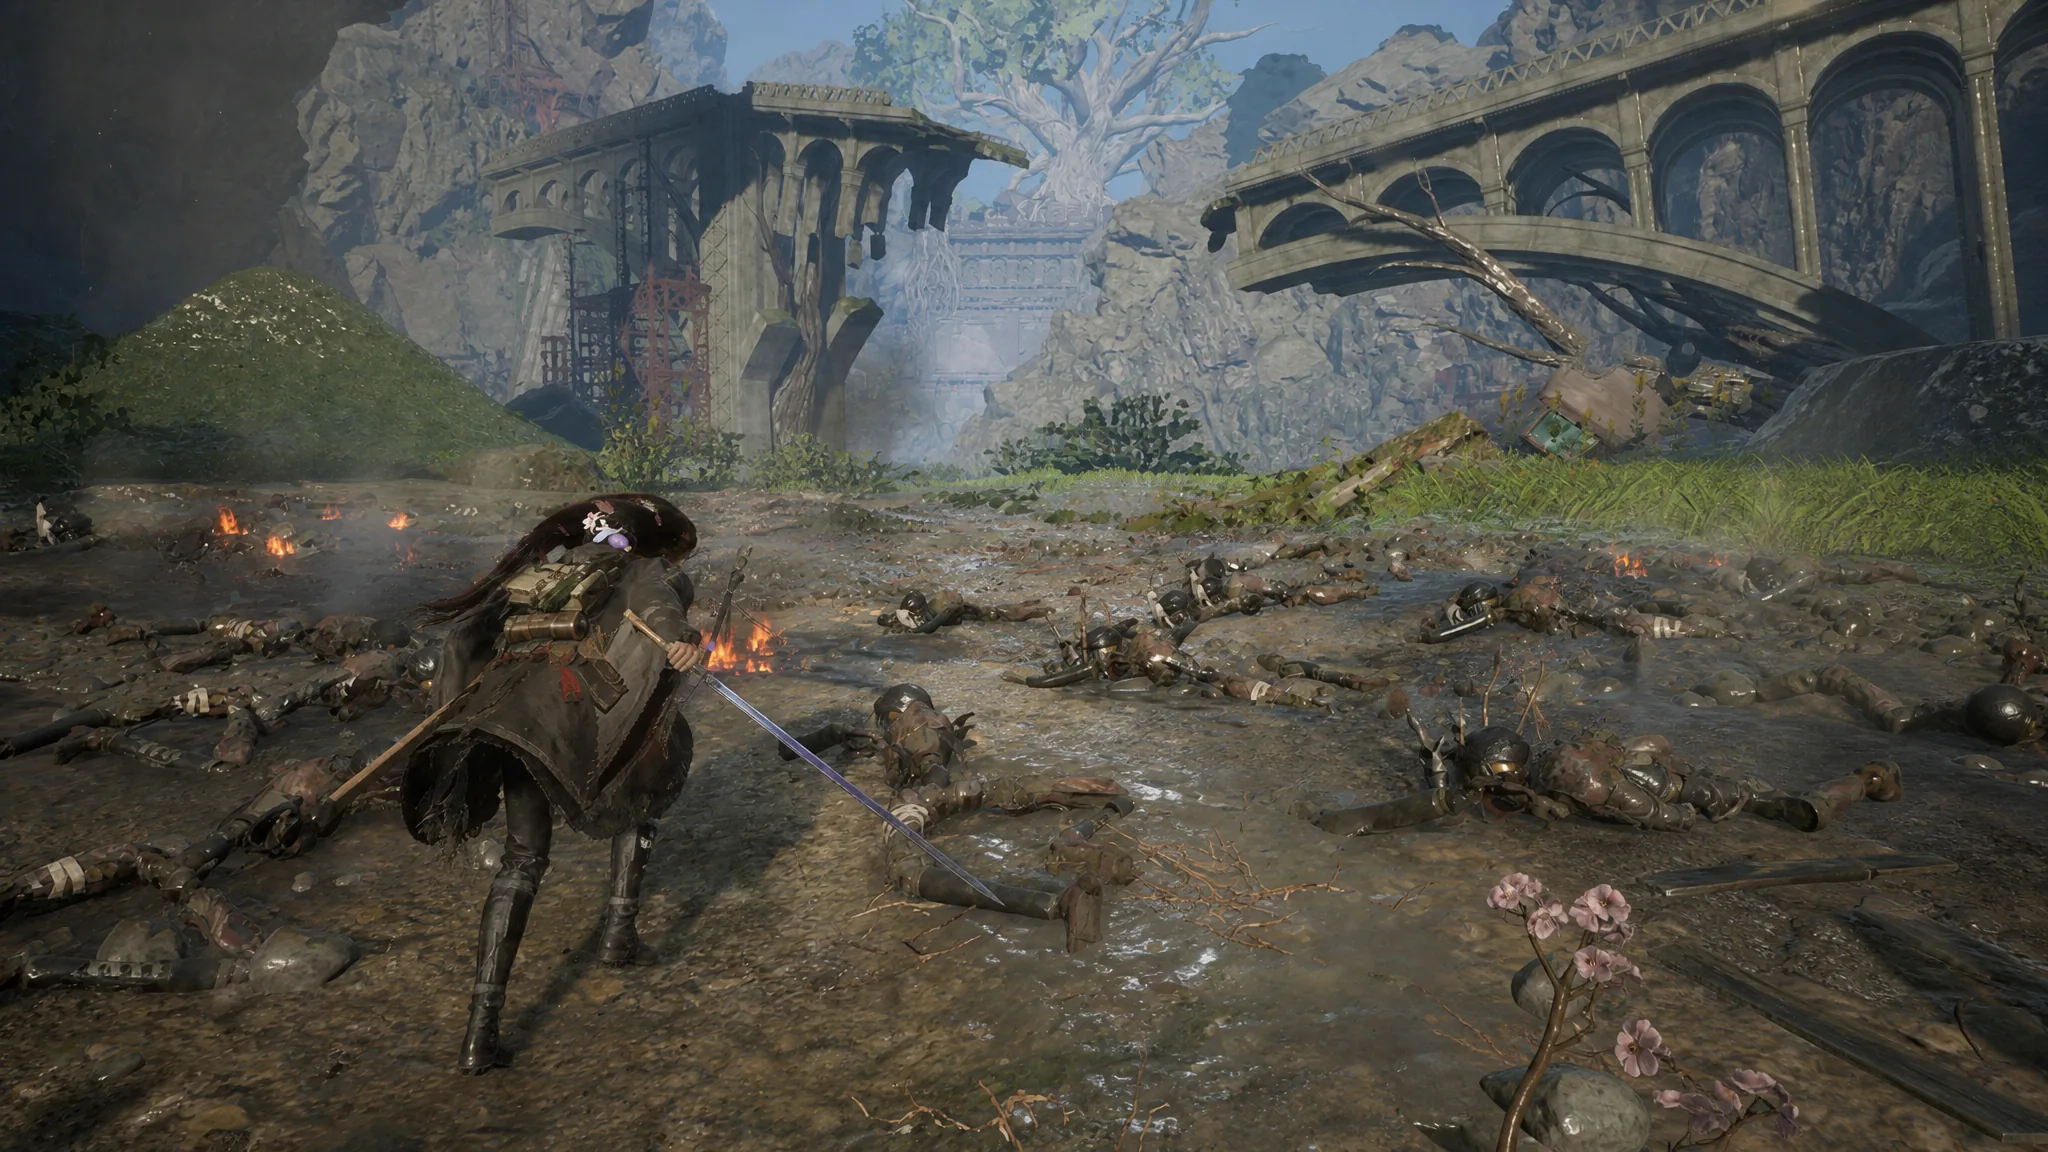
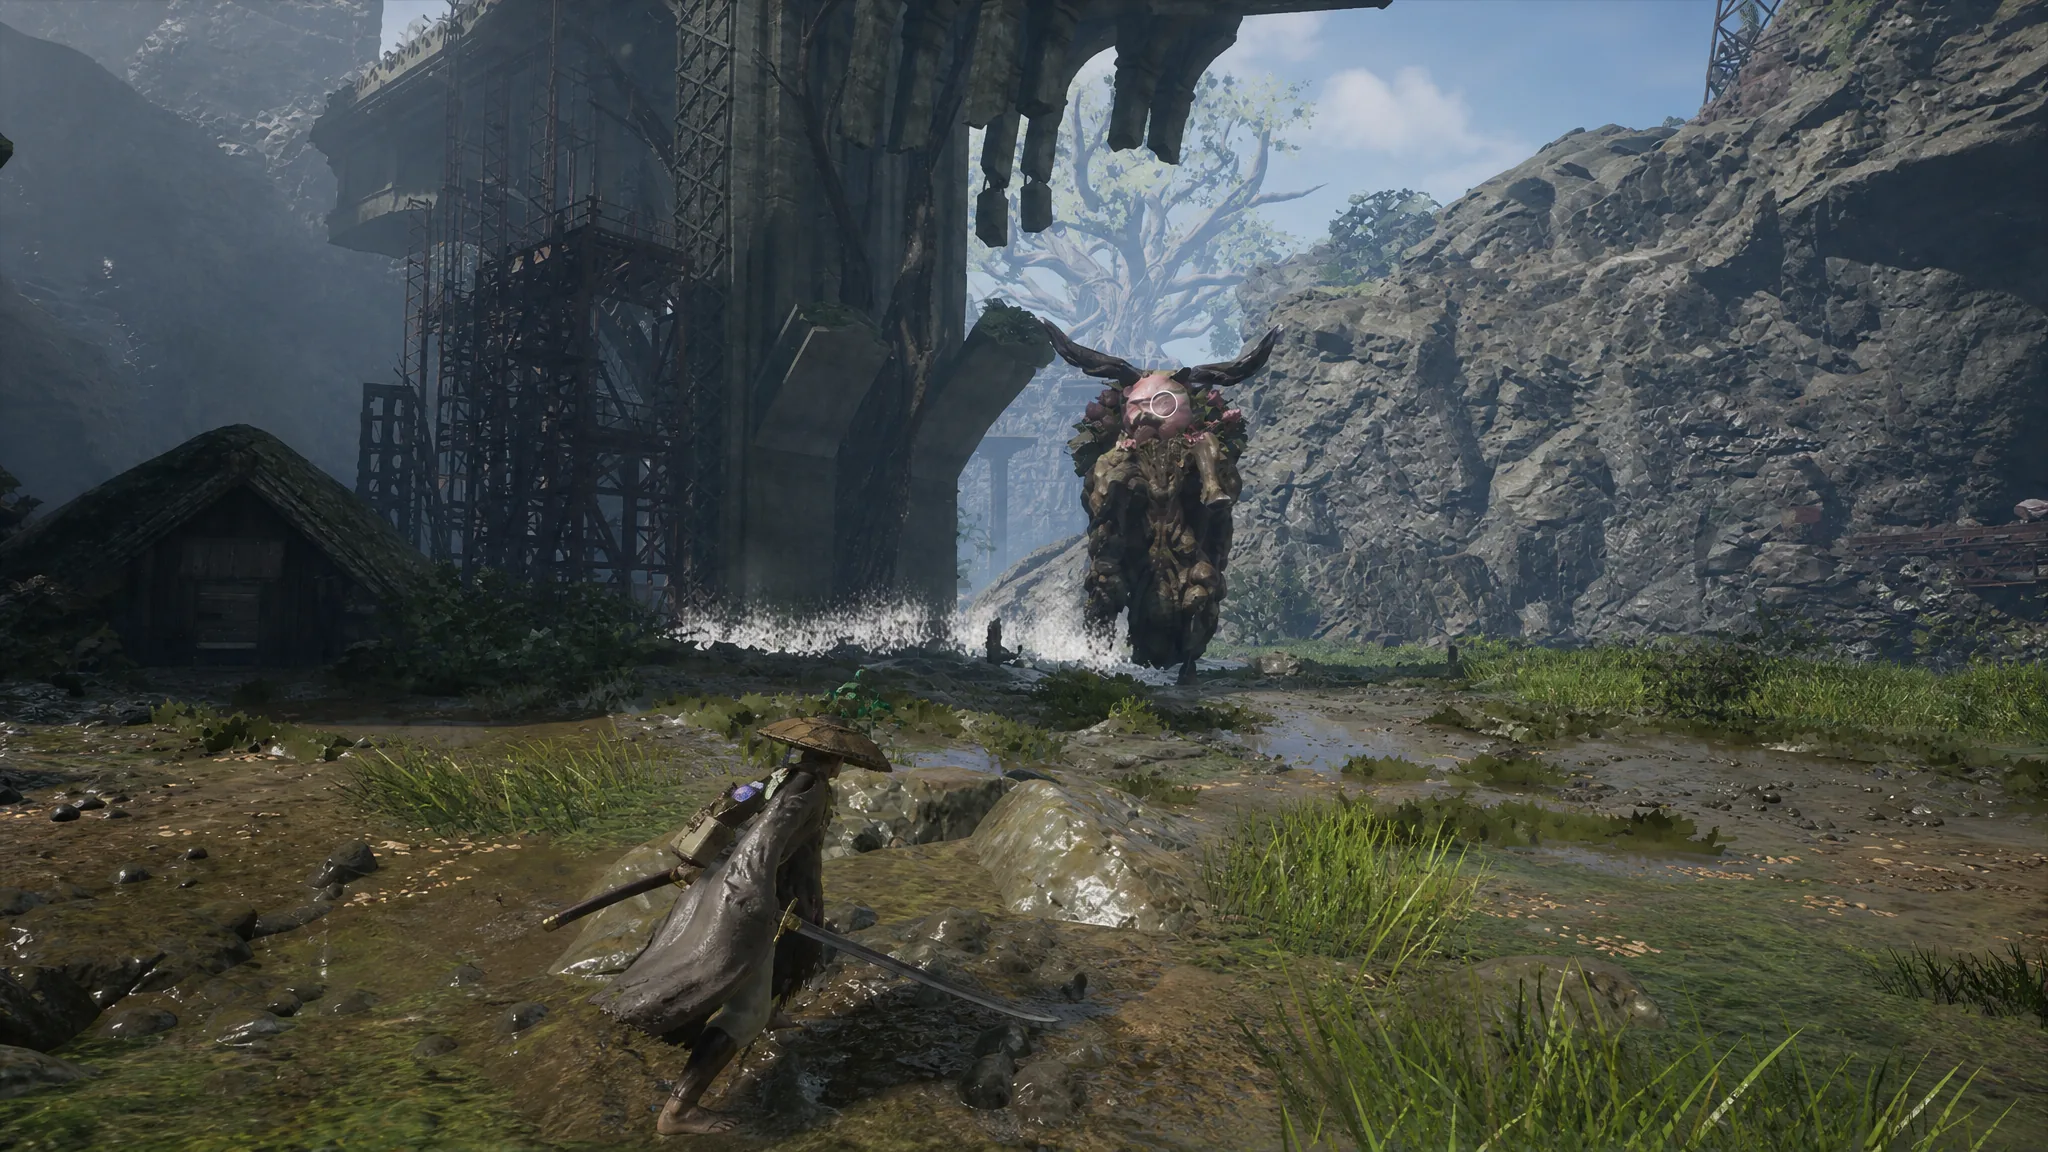
Winning this encounter hands you the Taurean Memories and the Nushi Skill: Charging Botan. Once Taurus flees, you get a short window before the next objective, so sweep the nearby buildings for resources.
Working through the cave
The objective soon points you toward a mysterious noise inside a nearby cave. Head down the hill and into it. Partway through you reach a Campsite with a Merchant standing beside it, and it is worth buying supplies here because the stretch after it is packed with enemies, many of them using ranged attacks.
Clearing the wooden gates
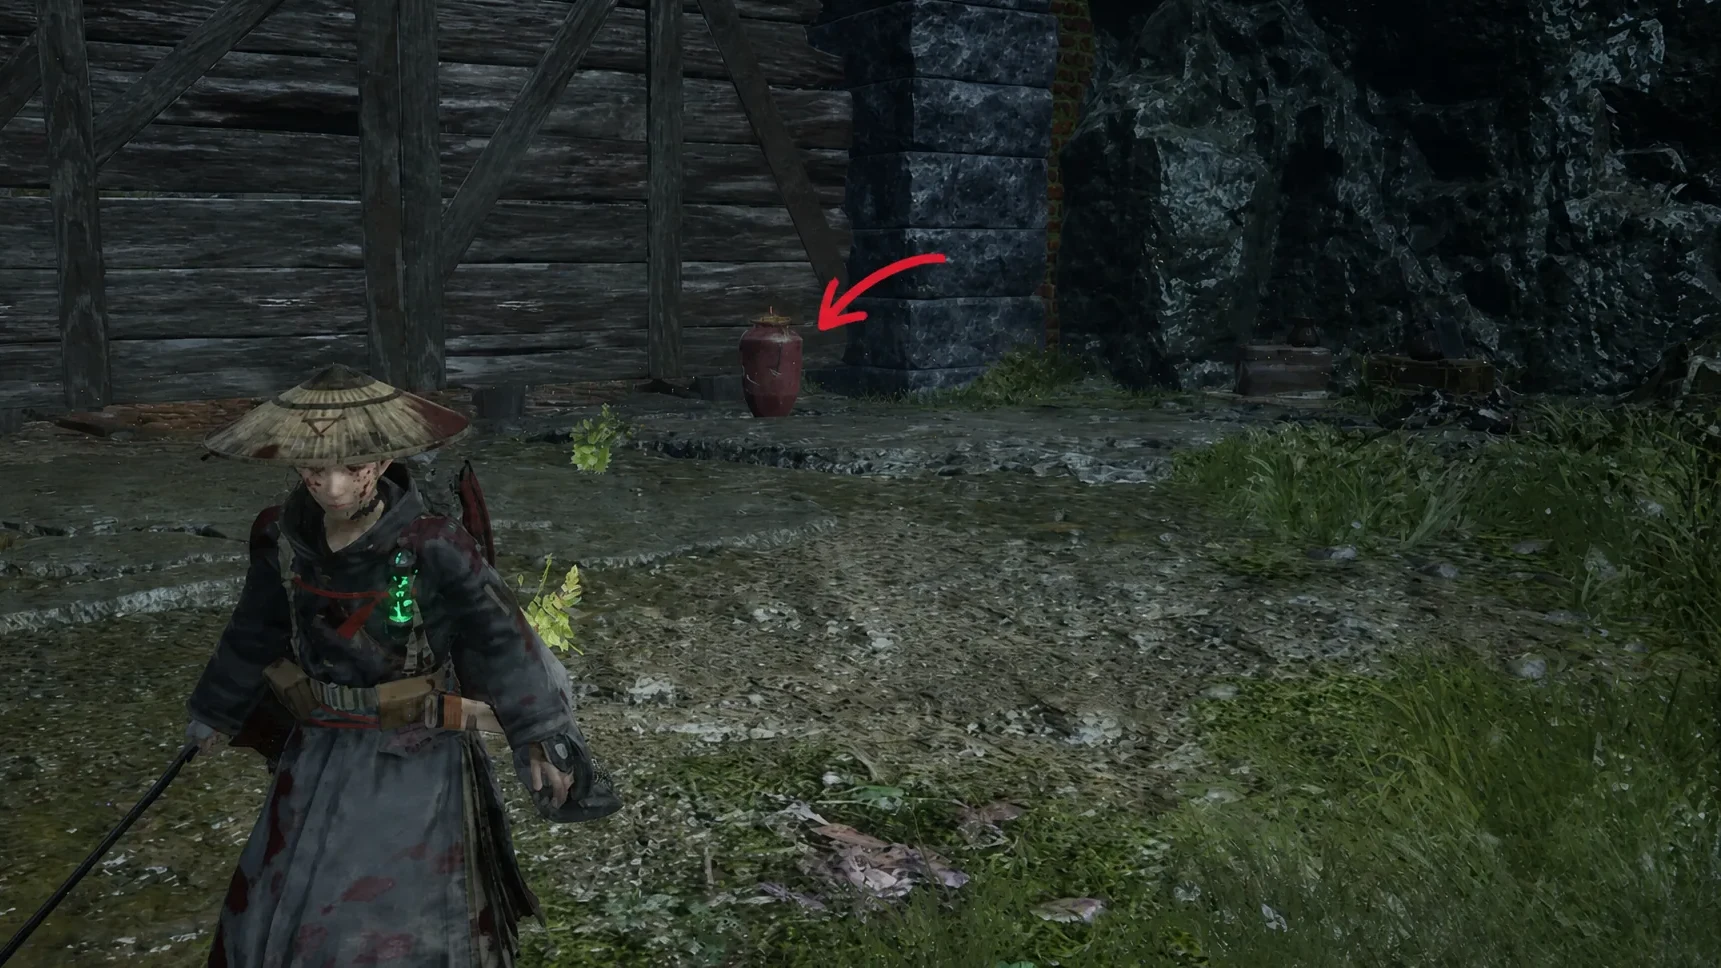
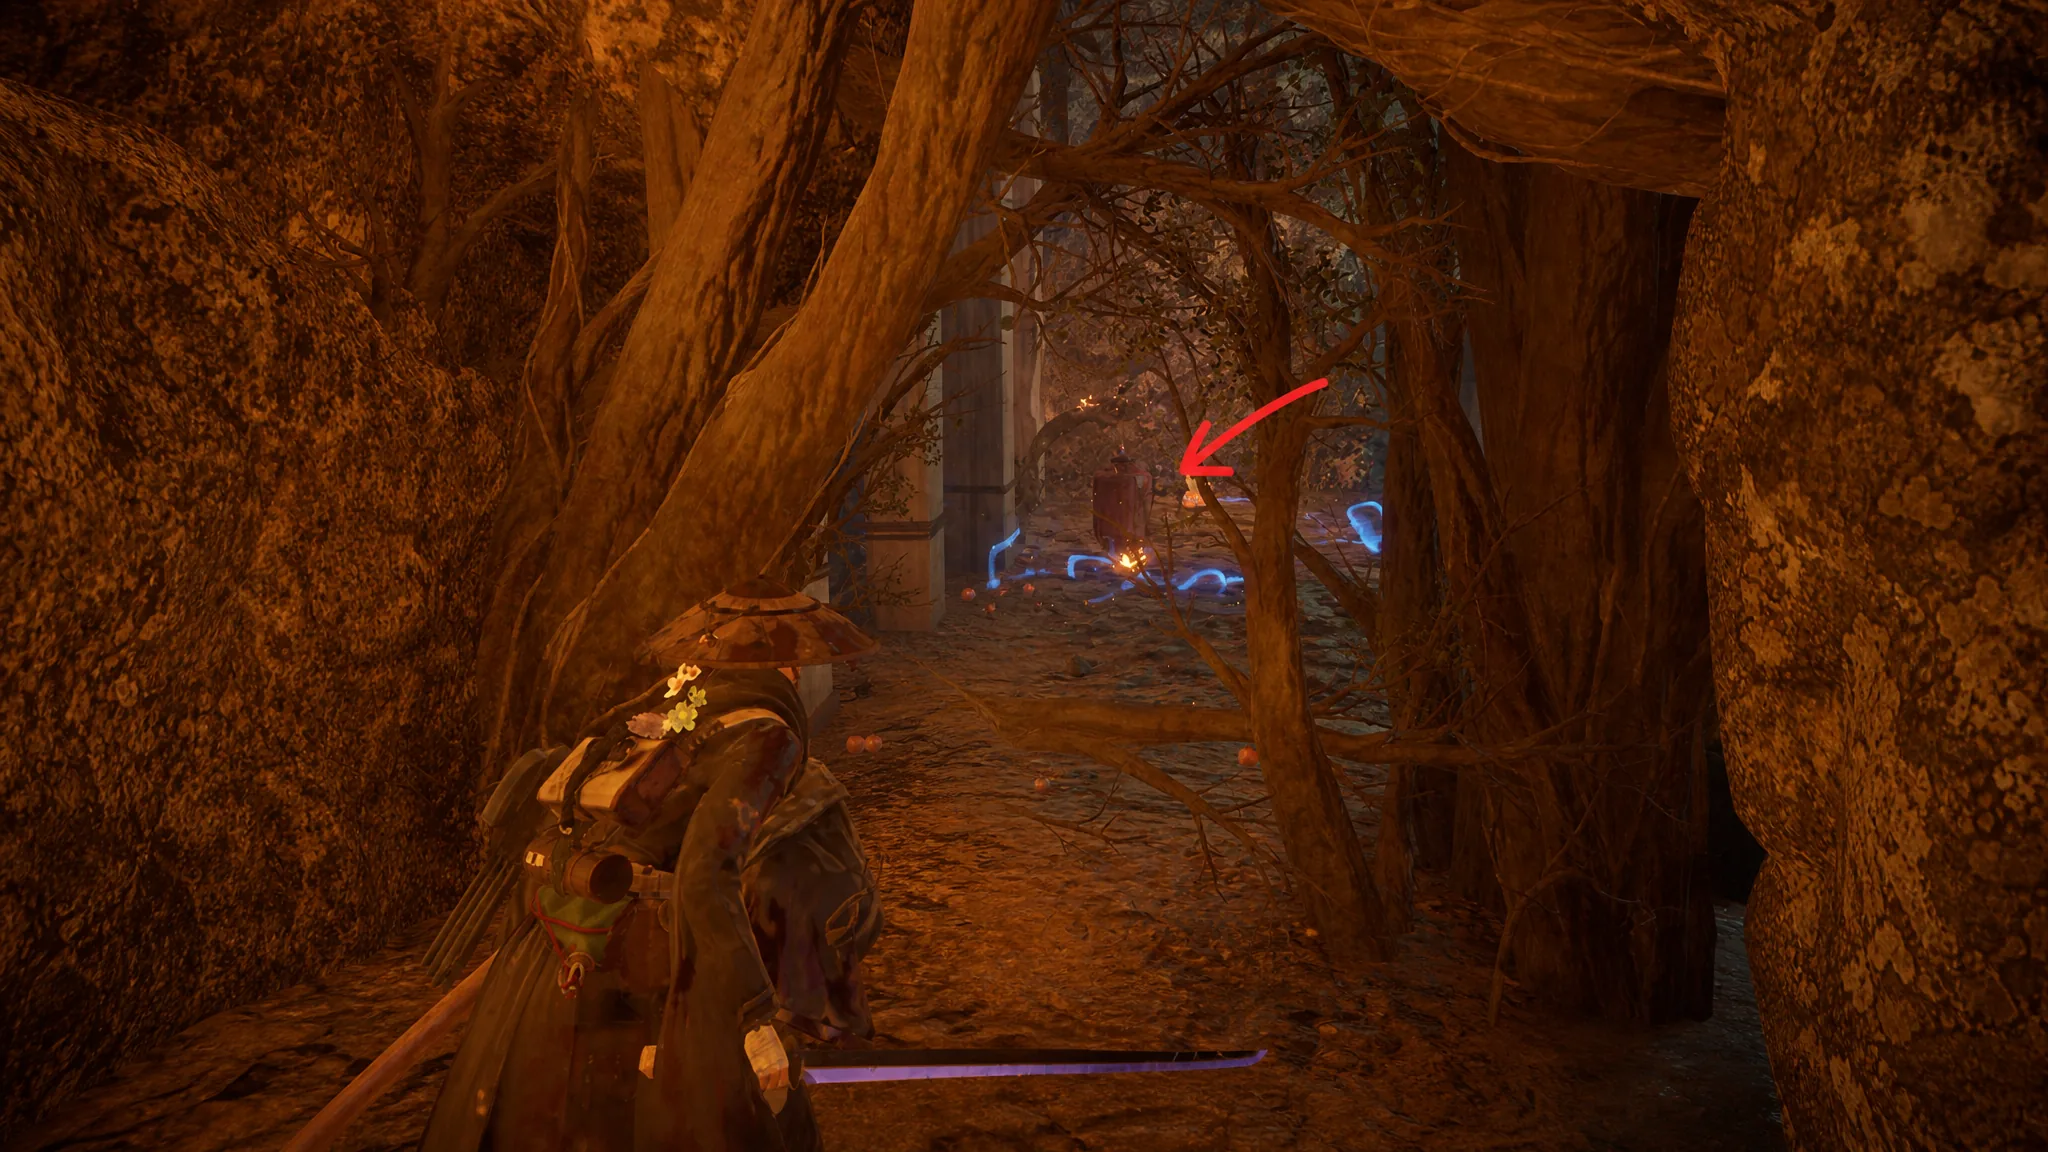
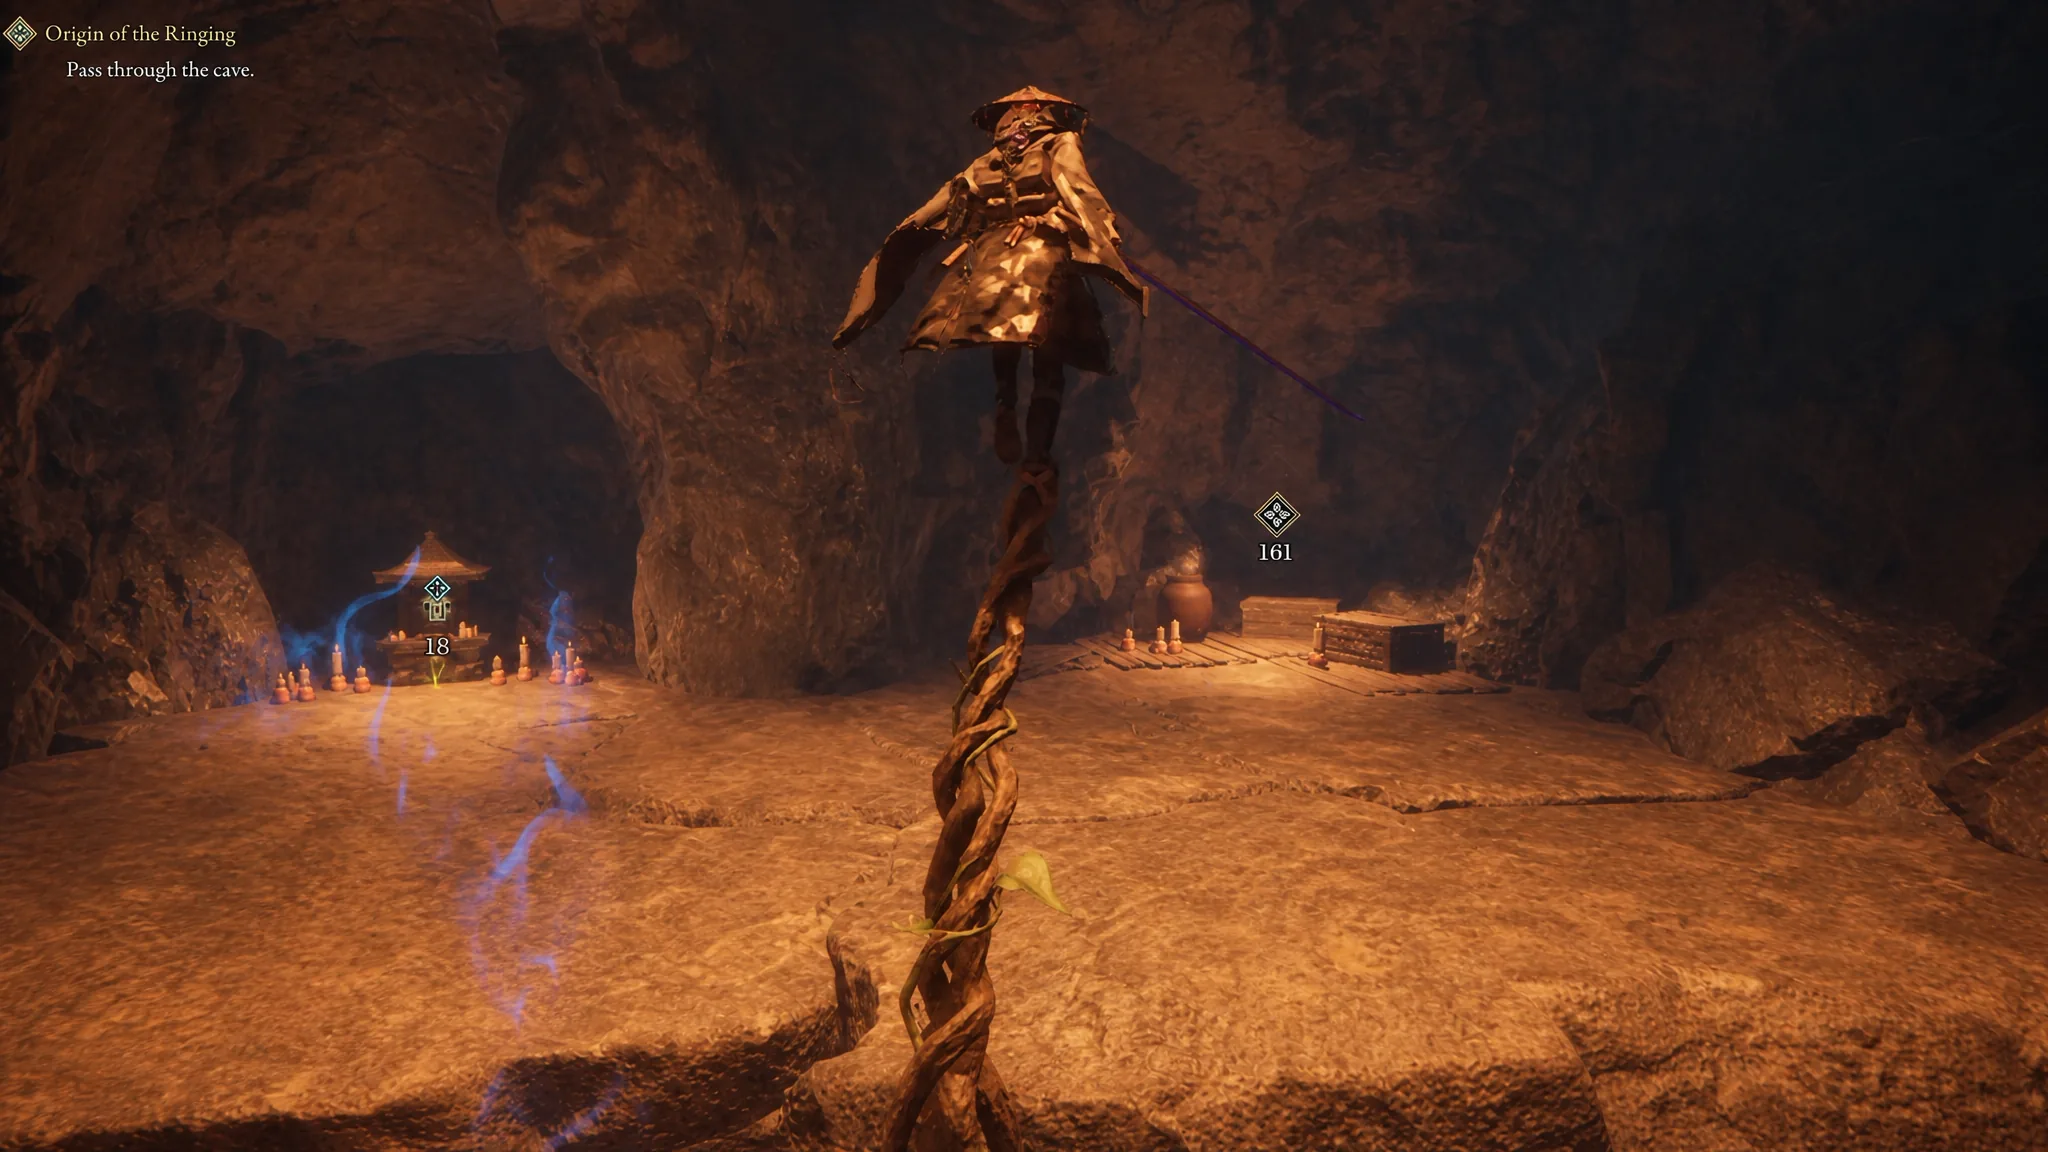
The bears and the exit
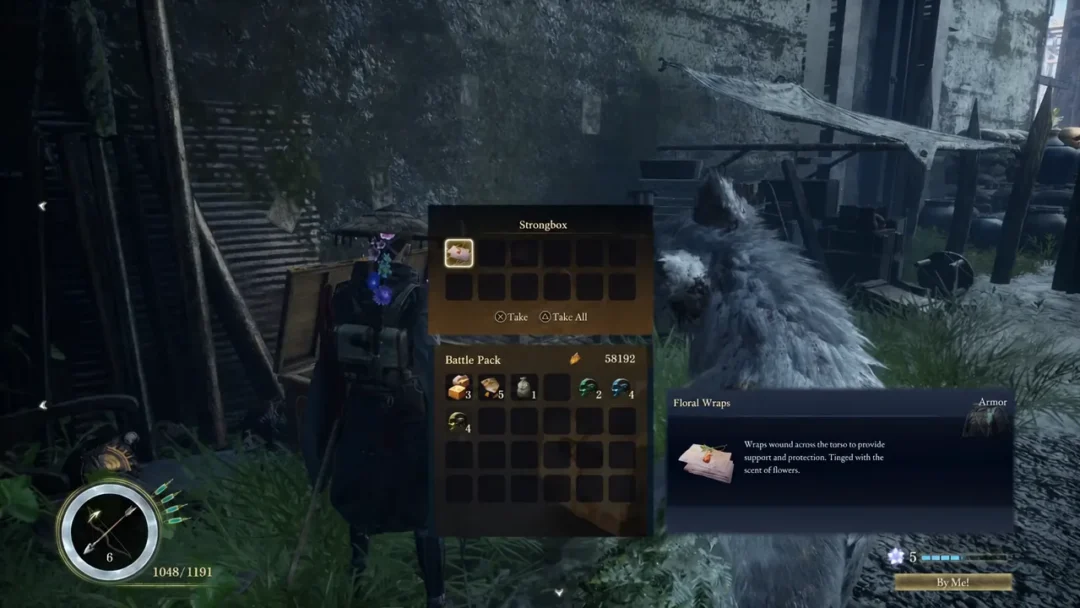
Rest at the next Campsite, then push through the tunnel and clear the enemies inside. A second Merchant appears here, so restock if you need to, then take the elevator up to a level with another strongbox and Campsite.
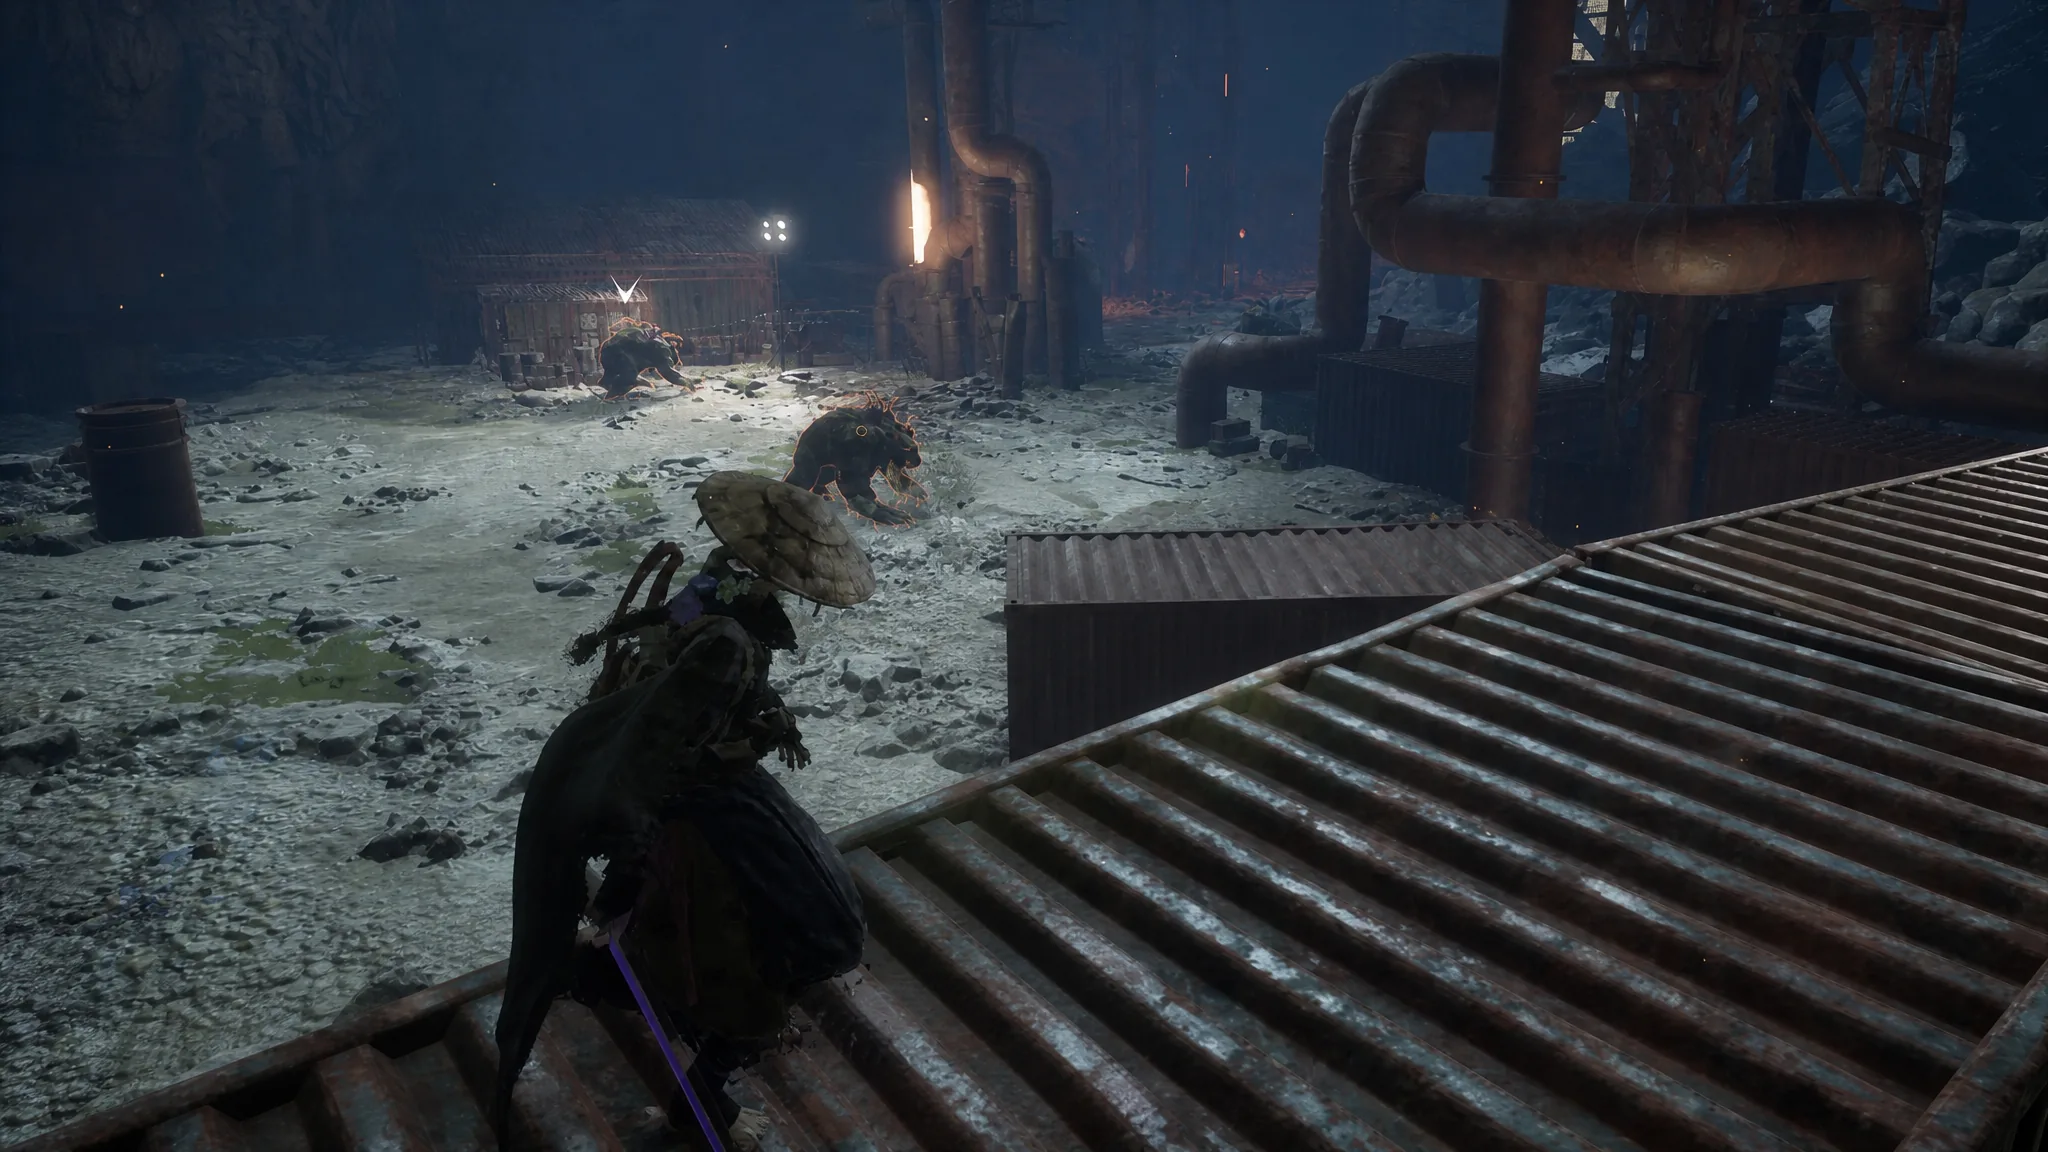
The following area throws three bears at you. Like earlier rooms, there are pipes and structures you can climb for safe ranged shots and Death from Above attacks, so use them rather than trading blows on the ground. Loot the buildings once the bears are down, ride the elevator, and follow the path to the Campsite that marks the cave exit.
Crossing the Stone Chamber
Do not drop to the lower levels here. If you fall, you’ll have to fast travel back to the Campsite you just reached or trek all the way through the cave again. Instead, head into the nearby building.
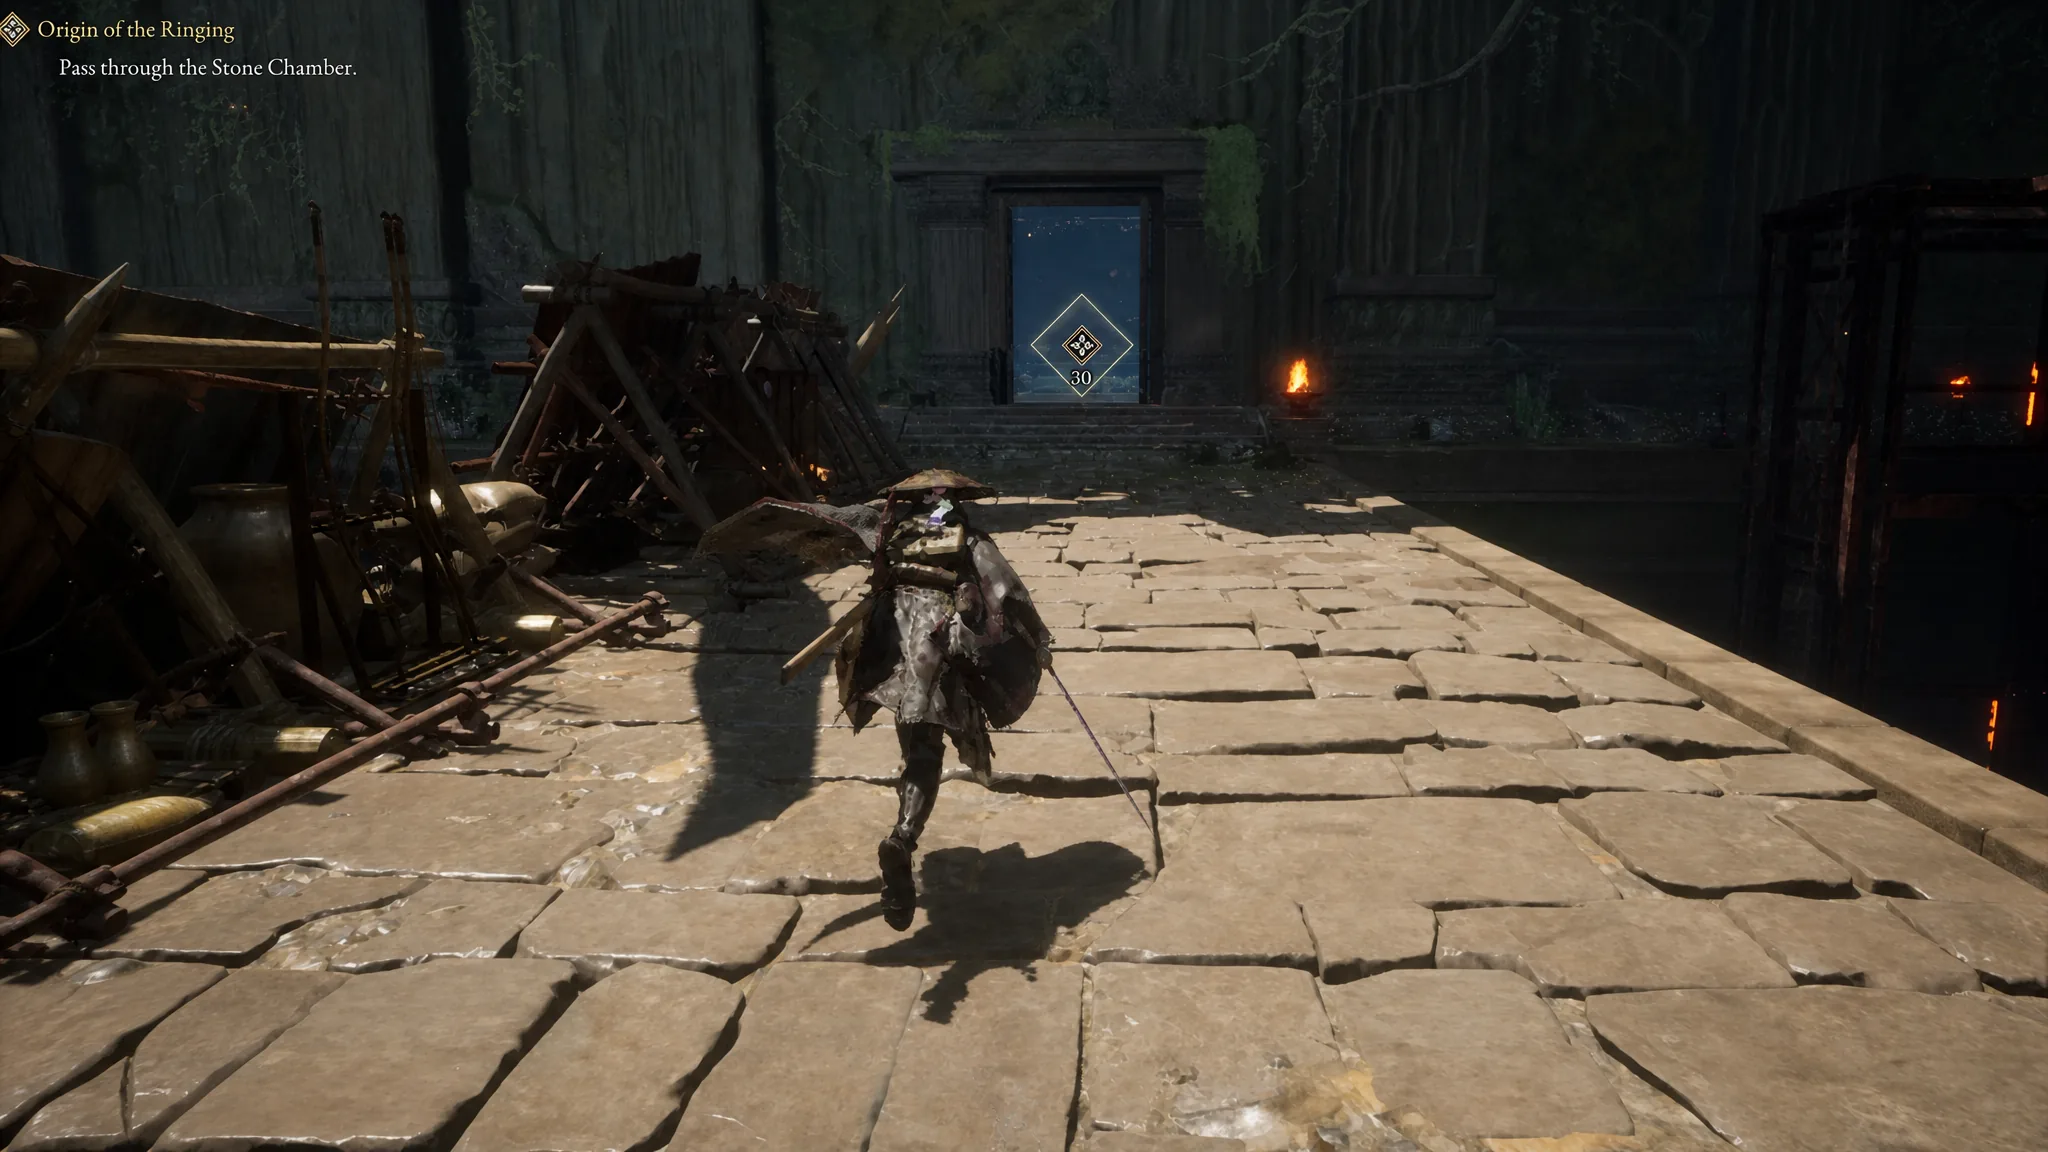
The Stone Chamber holds both melee and ranged Golems along with collectible items, so a little exploration pays off. To advance, use Emma’s hair to reach the second level, the one without a roof. From there, make for the tower on the northern side. You’ll know it’s the right one because there is a Campsite just outside its doorway.
Reaching the belfry and ringing the bell
The final Taurus fight in the Nushi’s Lair
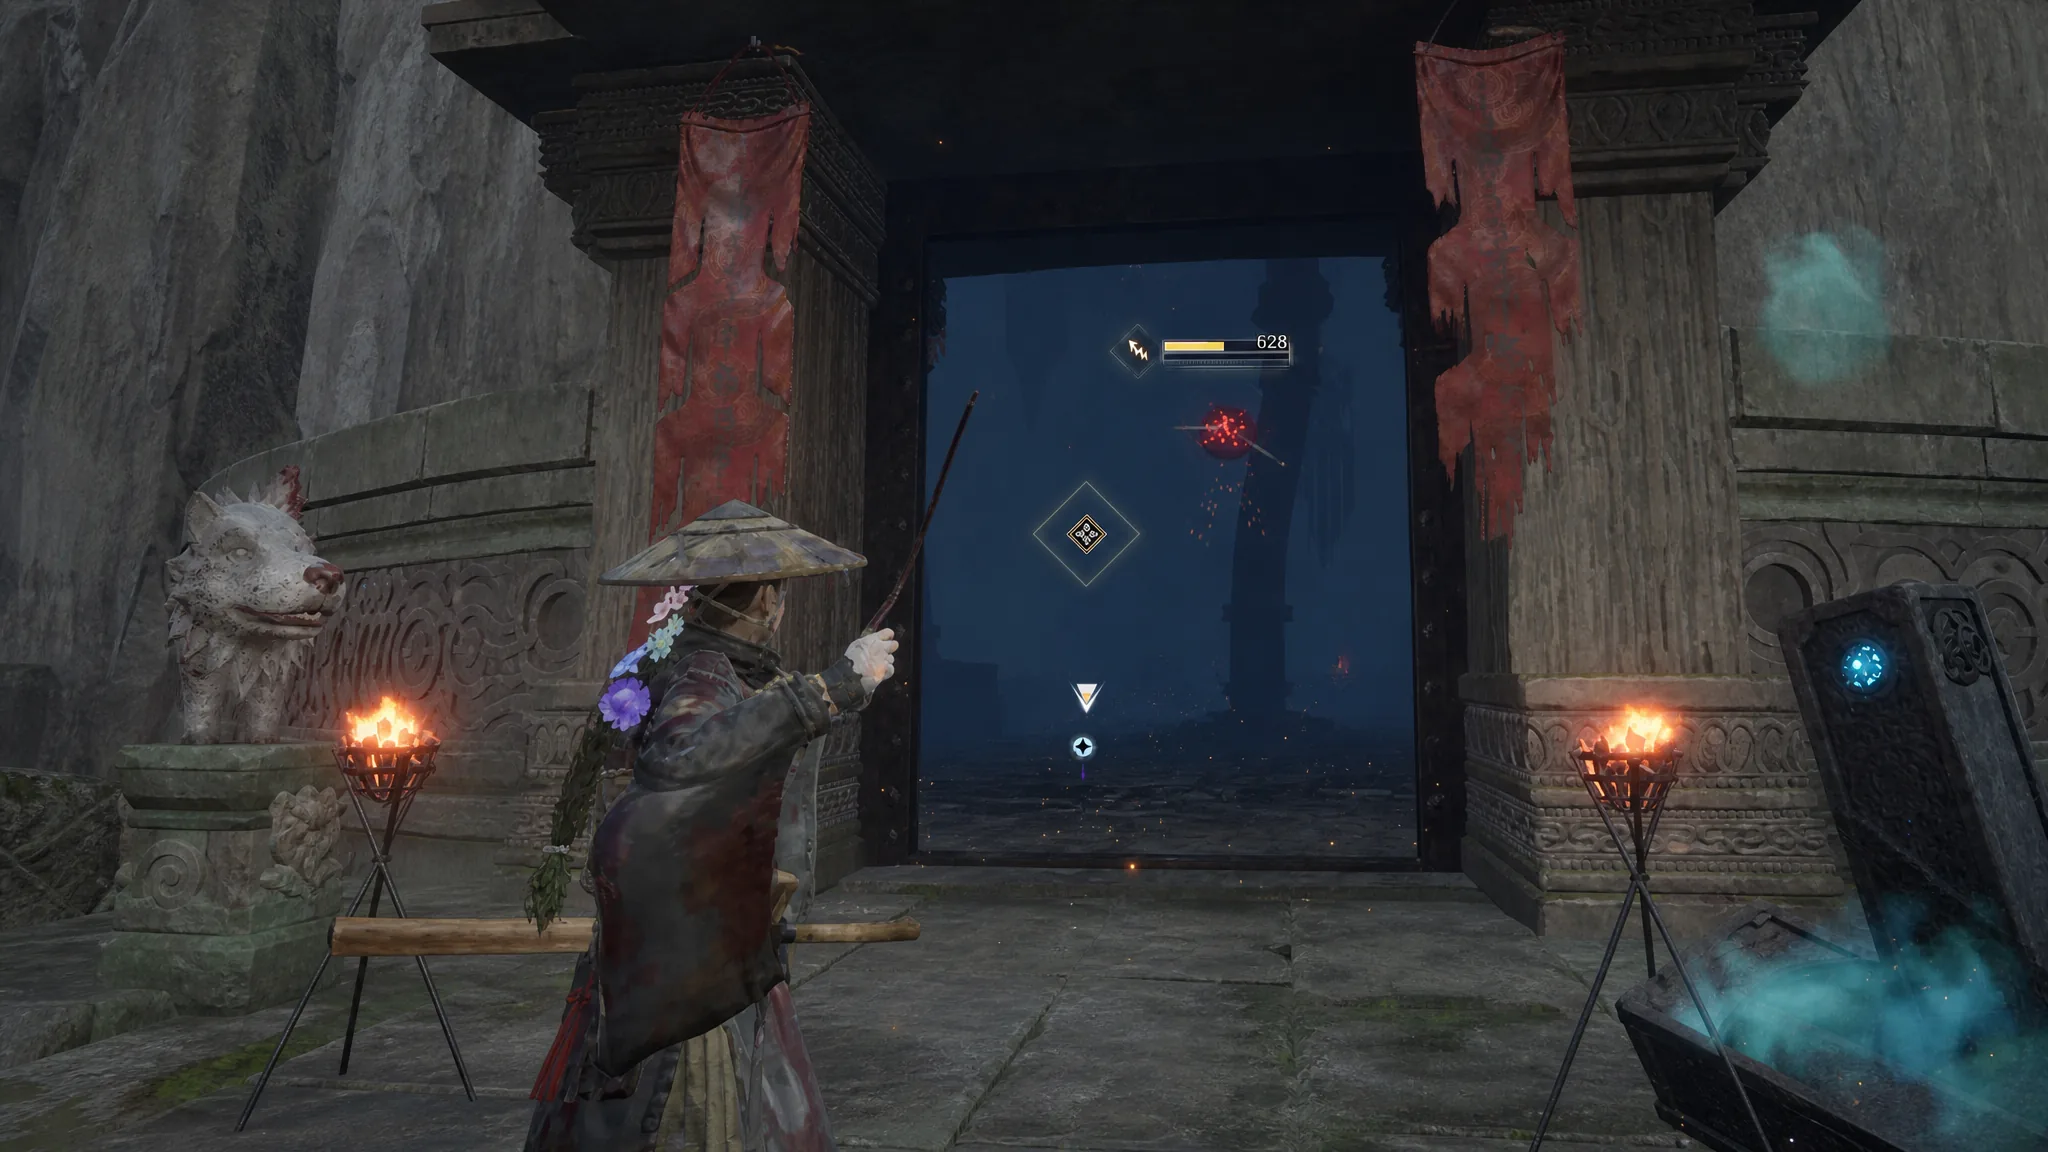
With the bell rung, climb the wooden stairs beside the Campsite across from it. Follow the tunnel, grabbing the items near the table on the way, until you step back outside onto a plateau. A Merchant sits near the tunnel entrance, so spend any Amber on gear you’re missing. Take the elevator down, rest at the Campsite below, and head forward into the lair.
Taurus (Lv. 29) shows up with a group of Golem allies. Clear those first so you can concentrate on the Nushi. Like the other regional bosses, Taurus has a second phase with its own health bar. The transition can feel like the fight is over, so keep your guard up until that second bar is gone.
If you die and want to buy items to help, the Merchant is on the plateau above the Campsite rather than right beside it. Just ride the elevator back up.
Beating Taurus rewards the Bloom Art Botan: Chaser and the Blade Art/Finisher: Botan, and it closes out Chapter 4. From here, Emma and Koo move on to Chapter 5: Branching Paths.
Chapter 4 rewards
| Source | Reward |
|---|---|
| First Taurus encounter | Taurean Memories, Nushi Skill: Charging Botan |
| Cave side tunnel | Bull Censer skill for Koo |
| Near the first Campsite | Sunrise Sword |
| Final Taurus (Lv. 29) | Bloom Art Botan: Chaser, Blade Art/Finisher: Botan |
Keep an eye on both Dragon Vein Shrines and the Keeper Golem branch if you want everything Pilgrim’s Rest has to offer, since you can always fast travel back later to finish exploring. Once Taurus is sealed, the road west continues, and Emma’s growing set of Nushi powers carries straight into the next region.