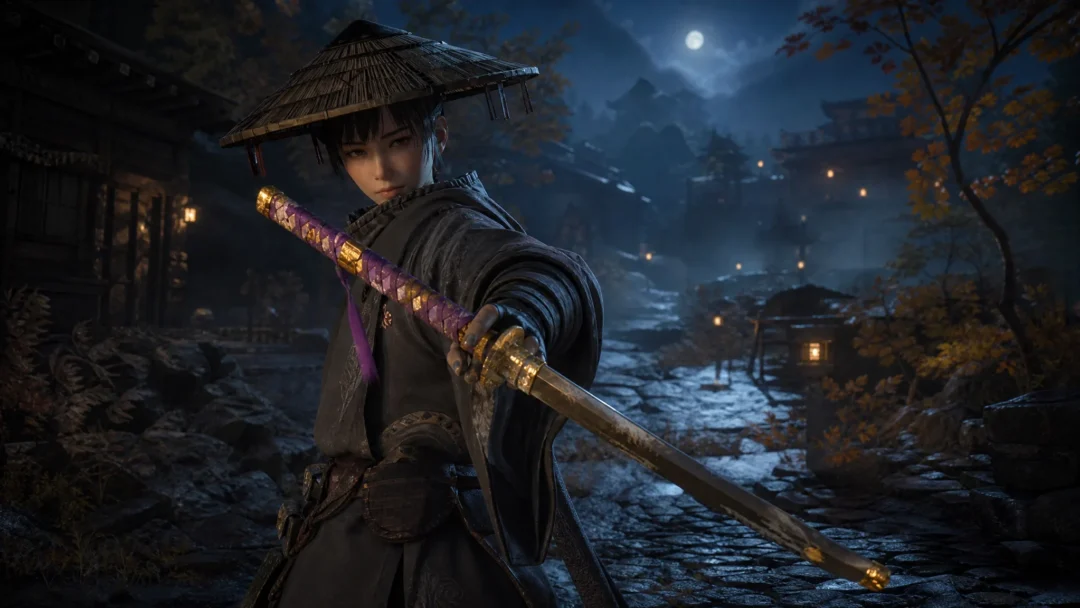
Skill Points come slowly in Beast of Reincarnation, and they get more expensive the deeper you push into either character’s tree, so the first ten or so choices matter far more than any late-game splurge. Emma and Koo each have their own tree, split between upper branches that unlock activatable Blade Arts and Bloom Arts and lower roots that hand out smaller passive nodes. The goal early on is a mix of one reliable damage move, one utility move, and enough resource generation to keep spending.
Quick answer: Unlock Helm Splitter, Expand Entanglement Gauge, and Roll for Emma, then Sakura: Javelin, Taunt, and Higanbana: Bloom for Koo. Pour attribute points into Strength and Florescence first, and grab every new Nushi Skill the moment it becomes available.
How the trees and attributes gate your skills
Each tree has three roots, and every root only opens its later nodes once you raise the matching attribute. There are three attributes shared by both characters: Strength, Vitality, and Florescence. Because a skill can require a set number in one of these, it pays to look at what you want before you spend any attribute points, otherwise you can strand points in the wrong stat.
Strength raises Emma’s attack and defense, which matters in a game where enemies hit hard. Florescence is the standout, though, because it lifts both HP and Skill Power, and you lean on Nushi-derived skills constantly. A steady rhythm of two points into Strength, two into Florescence, then one into Vitality keeps her scaling in every direction that counts. For Koo, Florescence is the clear priority since it raises his health and the raw power of every Bloom Art you command him to cast.
Grab every Nushi Skill as soon as it unlocks
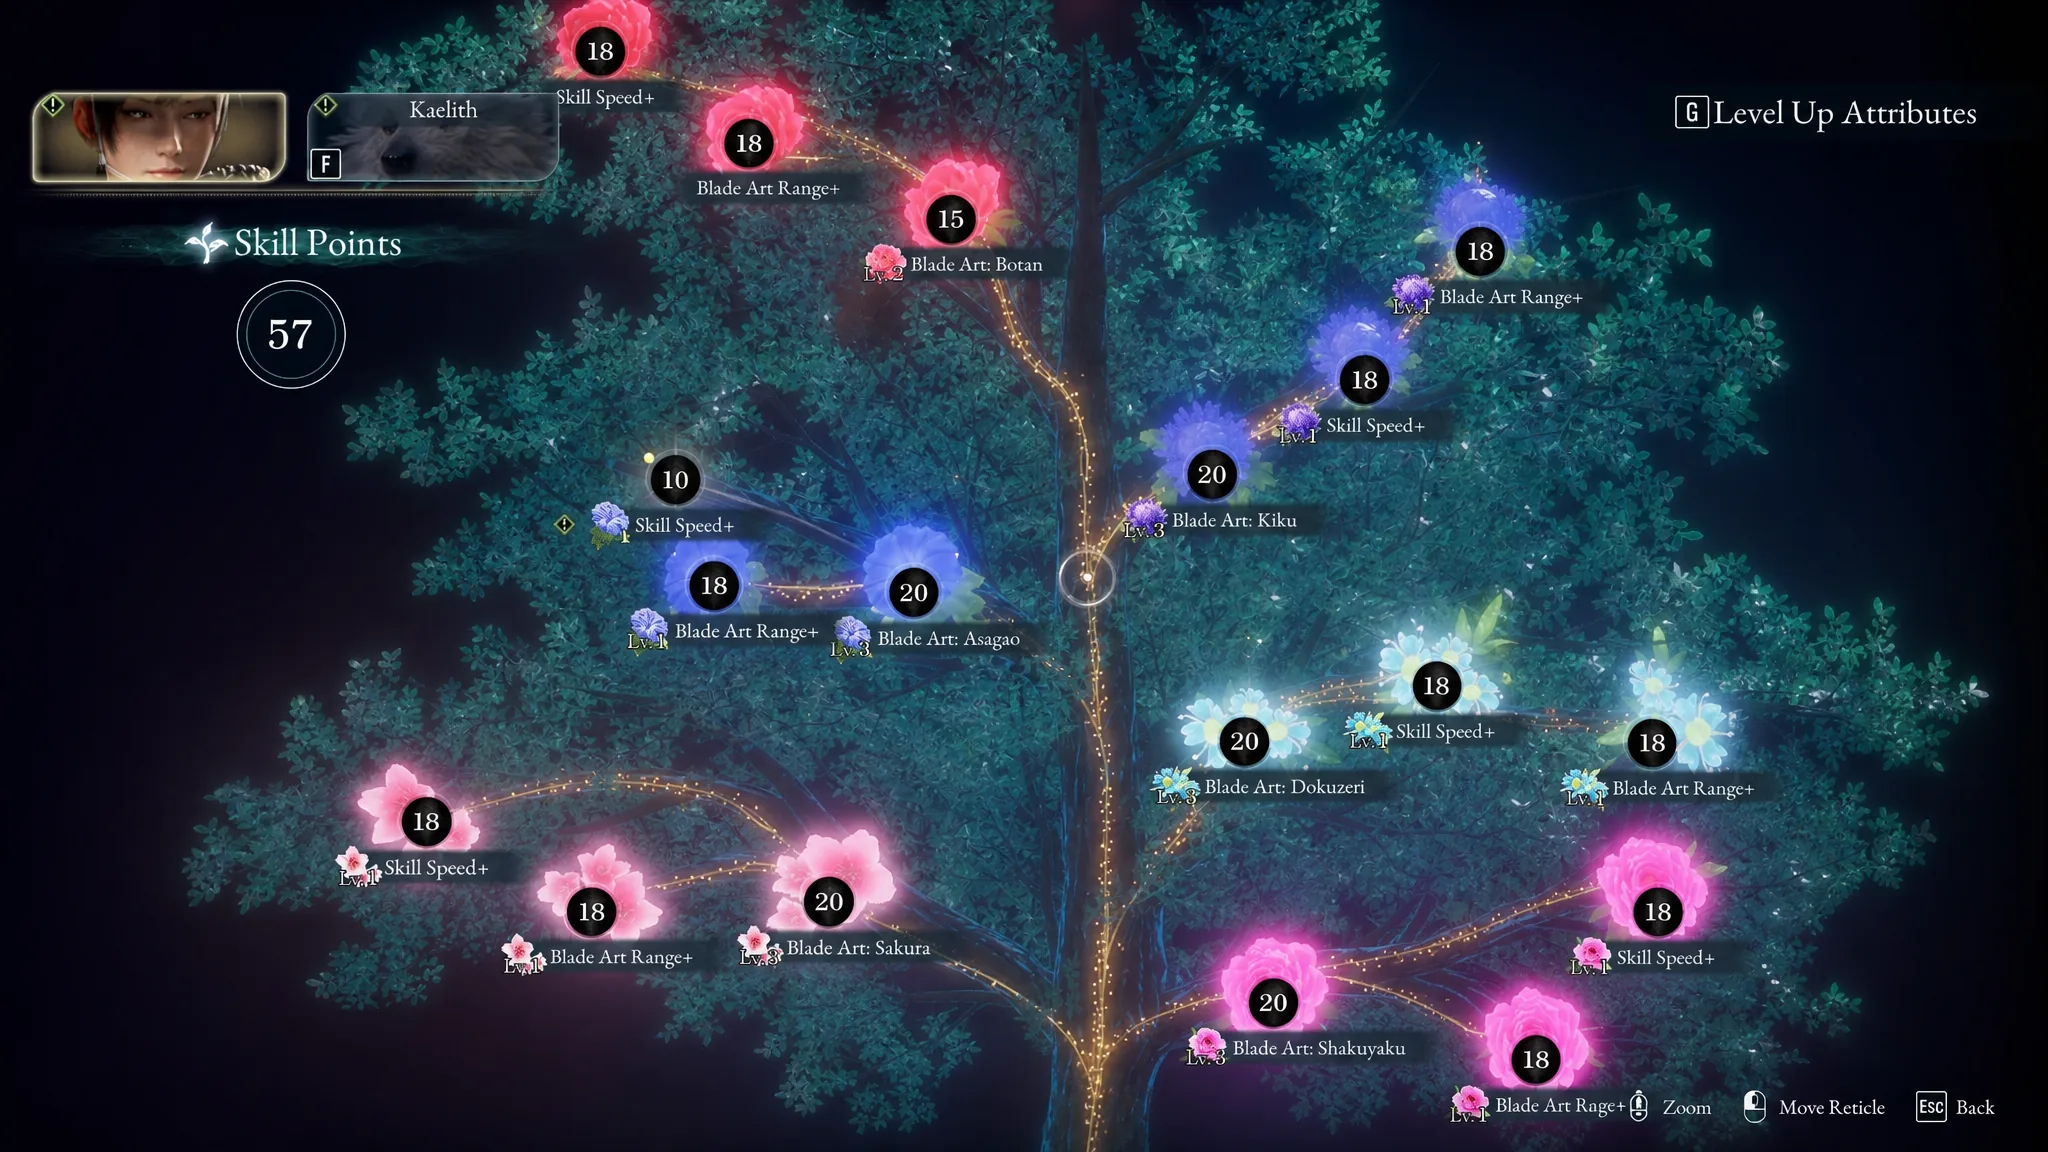
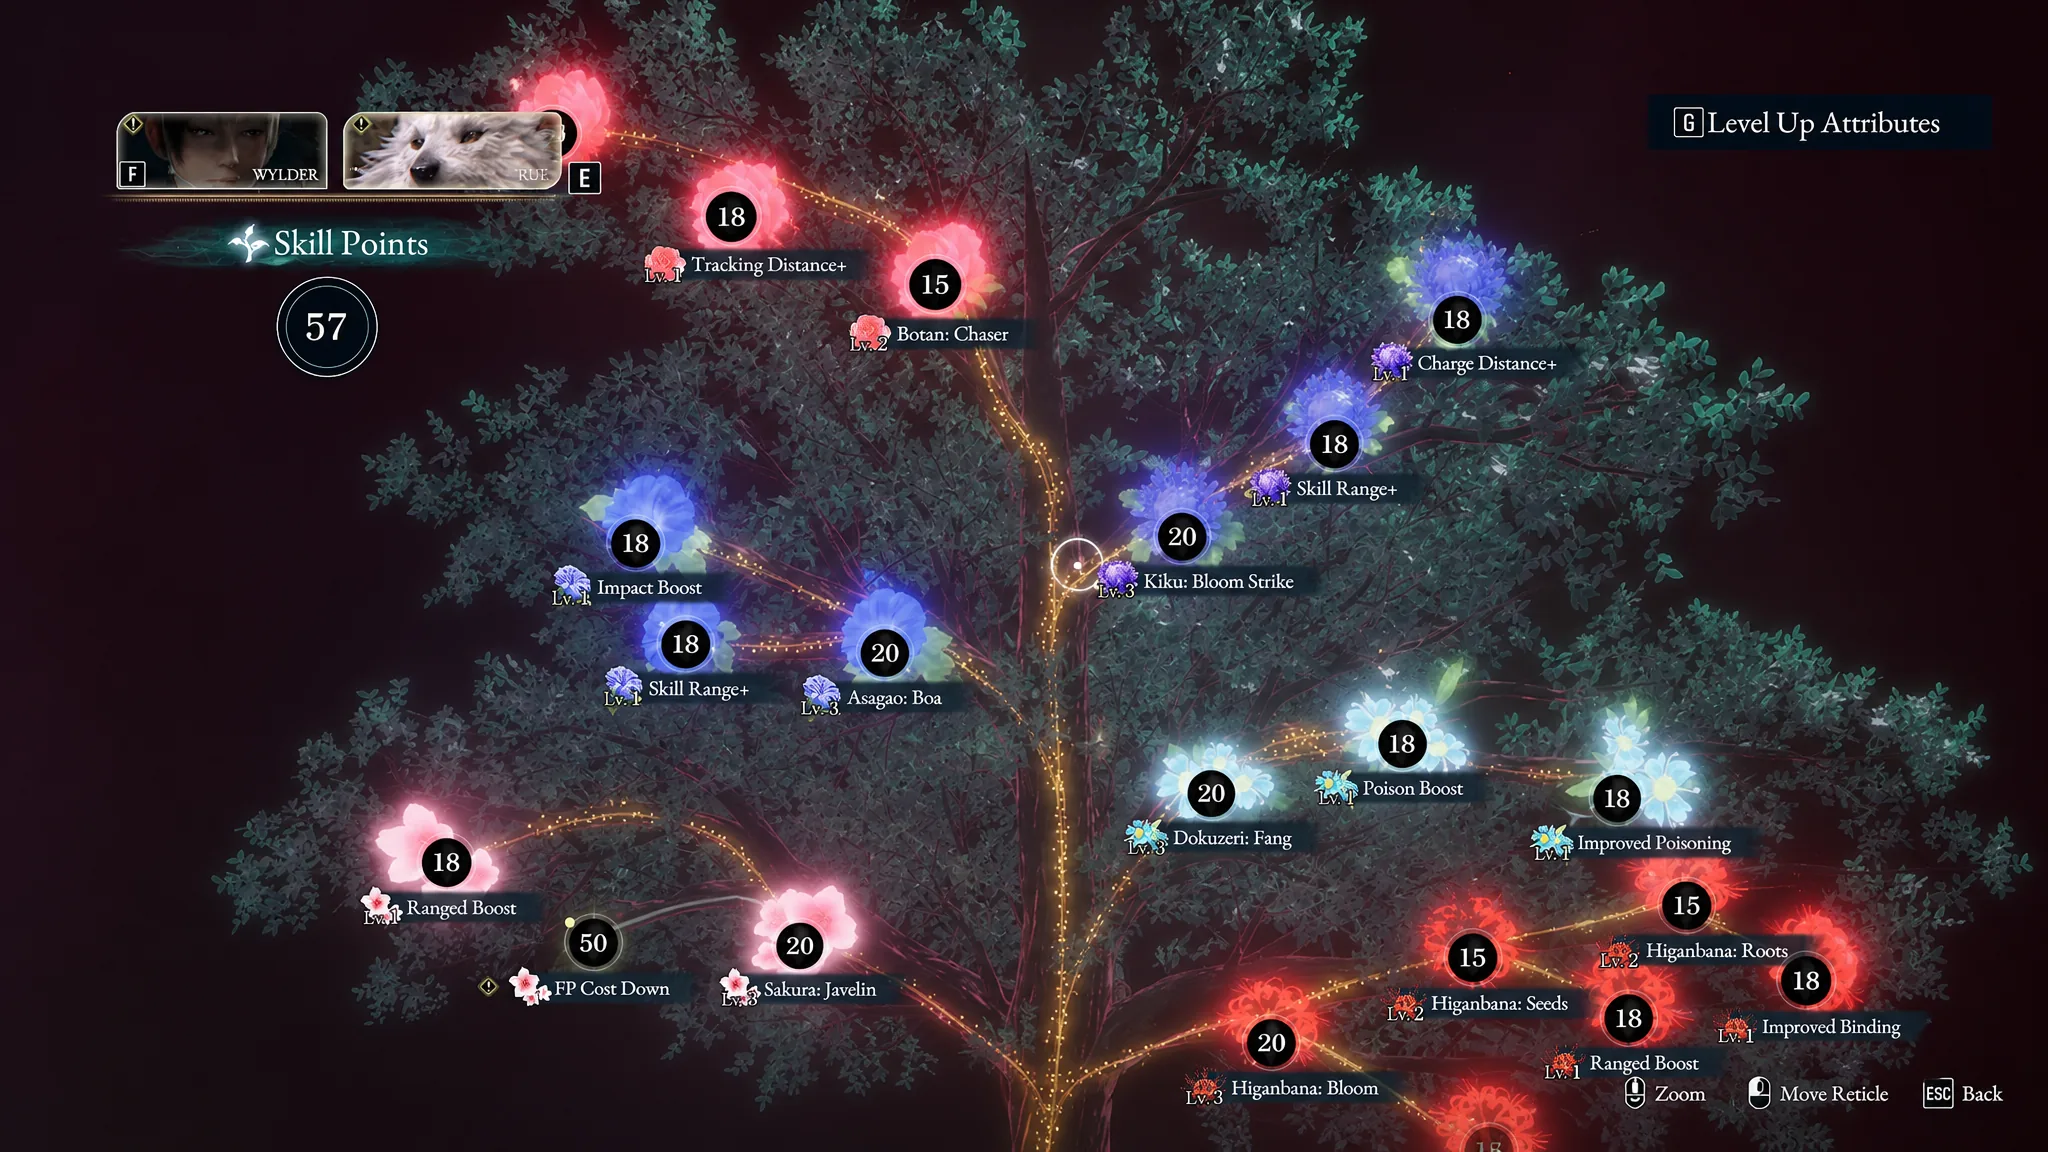
The Blade Arts and Bloom Arts sitting at the top of each tree are Nushi Skills, and they define what damage types and status effects you can apply. Emma’s opening Blade Art, Shakuyaku, deals Physical damage, while her Sakura branch moves into Lightning and her Dokuzeri line adds Poison over time. Koo starts with the Higanbana branch, which deals Flame damage. Unlocking these on sight gives you the tools to hit weaknesses and stack status effects, and upgrading their range, speed, and power on the ones you use most is where a lot of your damage comes from.
Note: You do not have to perfectly match a boss weakness. If your favorite Nushi Skill deals the wrong element, a weapon or a Tool can usually cover the gap, so upgrade what you actually enjoy using rather than chasing every element evenly.
Best early skills for Emma
Emma’s three roots are Tracking Shot (ranged attacks, the dodge Roll, and later Koo assassinations), Hair (melee power and stealth), and Entanglement Overdrive (expanding the Entanglement Gauge). Entanglement Overdrive is the engine of her whole kit. Each bar of the gauge lets you fire off another Blade Art, and draining the gauge slows time so you can chain hits or dash away to heal. Expanding it, speeding up its recovery, and boosting recovery items should be your first investments.
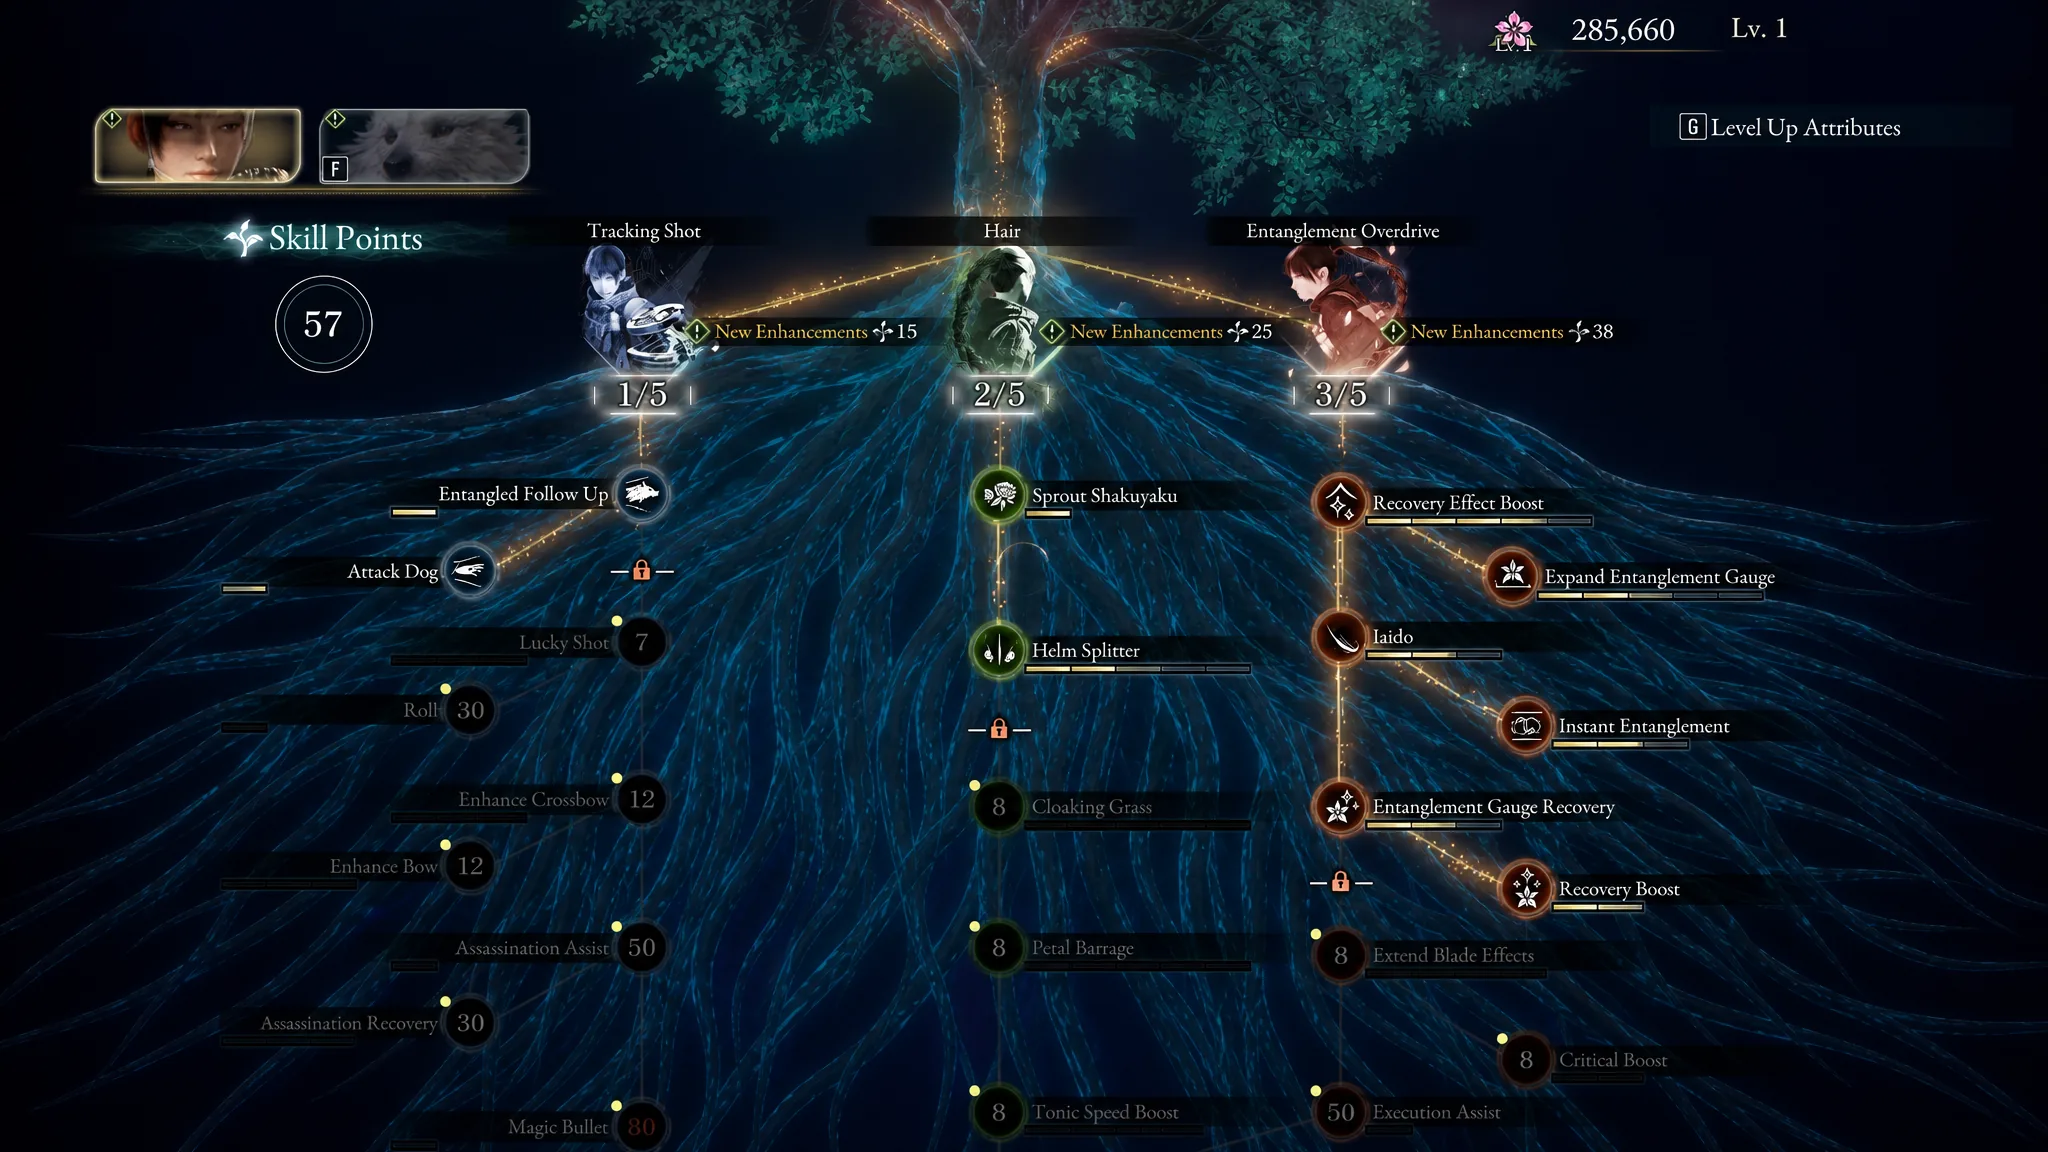
Helm Splitter is the melee move to prioritize from the Hair root. You leap into the air and drive the katana down for area damage, which clears grouped enemies and reliably chips boss health bars. It is cheap to set up and slots into combos with almost anything. Once you max it, you can safely pause the Hair root and shift points elsewhere, unless you enjoy stealth, in which case Cloaking Grass lets Emma hide in purple grass to line up sneak attacks.
Roll is the utility pick from Tracking Shot, and plenty of players never realize Emma can do it. Double-tap evade and she rolls nearly twice the distance of a standard dodge, which repeatedly buys the space you need to reset or heal. If you like ranged combat, keep going down this root for Enhance Bow, Enhance Crossbow, and Lucky Shot, which gives ranged attacks a chance to skip ammo consumption.
| Skill | Requirement | Effect |
|---|---|---|
| Expand Entanglement Gauge | Entanglement Overdrive Lvl 1 (9 Strength) | Adds gauge bars, extends Overdrive duration |
| Helm Splitter | Hair Lvl 2 (12 Vitality) | Aerial slam that deals area damage |
| Roll | Tracking Shot Lvl 2 (12 Florescence) | Double-tap evade for a longer dodge |
Best early skills for Koo
Koo’s roots are Incantation (Mods that boost and exploit status effects), Guard (defensive Mods that support Emma), and Pounce (traps, aggro control, and item finds). Incantation is his most valuable root because status effects drain boss health fast. Mod: Status Effect Amp increases build-up, while later Mods like Full Bloom Crit turn every hit critical whenever Koo has a full FP bar. Swap Mods to match the element you are running, so Poison Expert for Poison and Magmatic Mantle for Flame.
From the Guard root, save up for Mod: Battleborn and Mod: Healing Energy as soon as you can. Battleborn lets Emma trigger her weapon’s special effects and is one of the most rewarding unlocks in either tree. Healing Energy cleanses Emma of any status build-up when Koo casts a Bloom Art carrying the Mod, and Mod: Resonance restores a bar of the Entanglement Gauge on use. Together they sharpen both Emma’s survivability and her damage.
Taunt is the Pounce pick to grab early. Slot it into Koo’s autonomous skill list and he opens fights by pulling nearby enemies onto himself, freeing you to strike or study a new boss for parry timing. Later Pounce nodes such as Healing Bouquet, Healing Garden, and Snatch add HP recovery and item finds, while Internal Respiration and Photosynthesis restore Koo’s own HP and FP much later in the run.
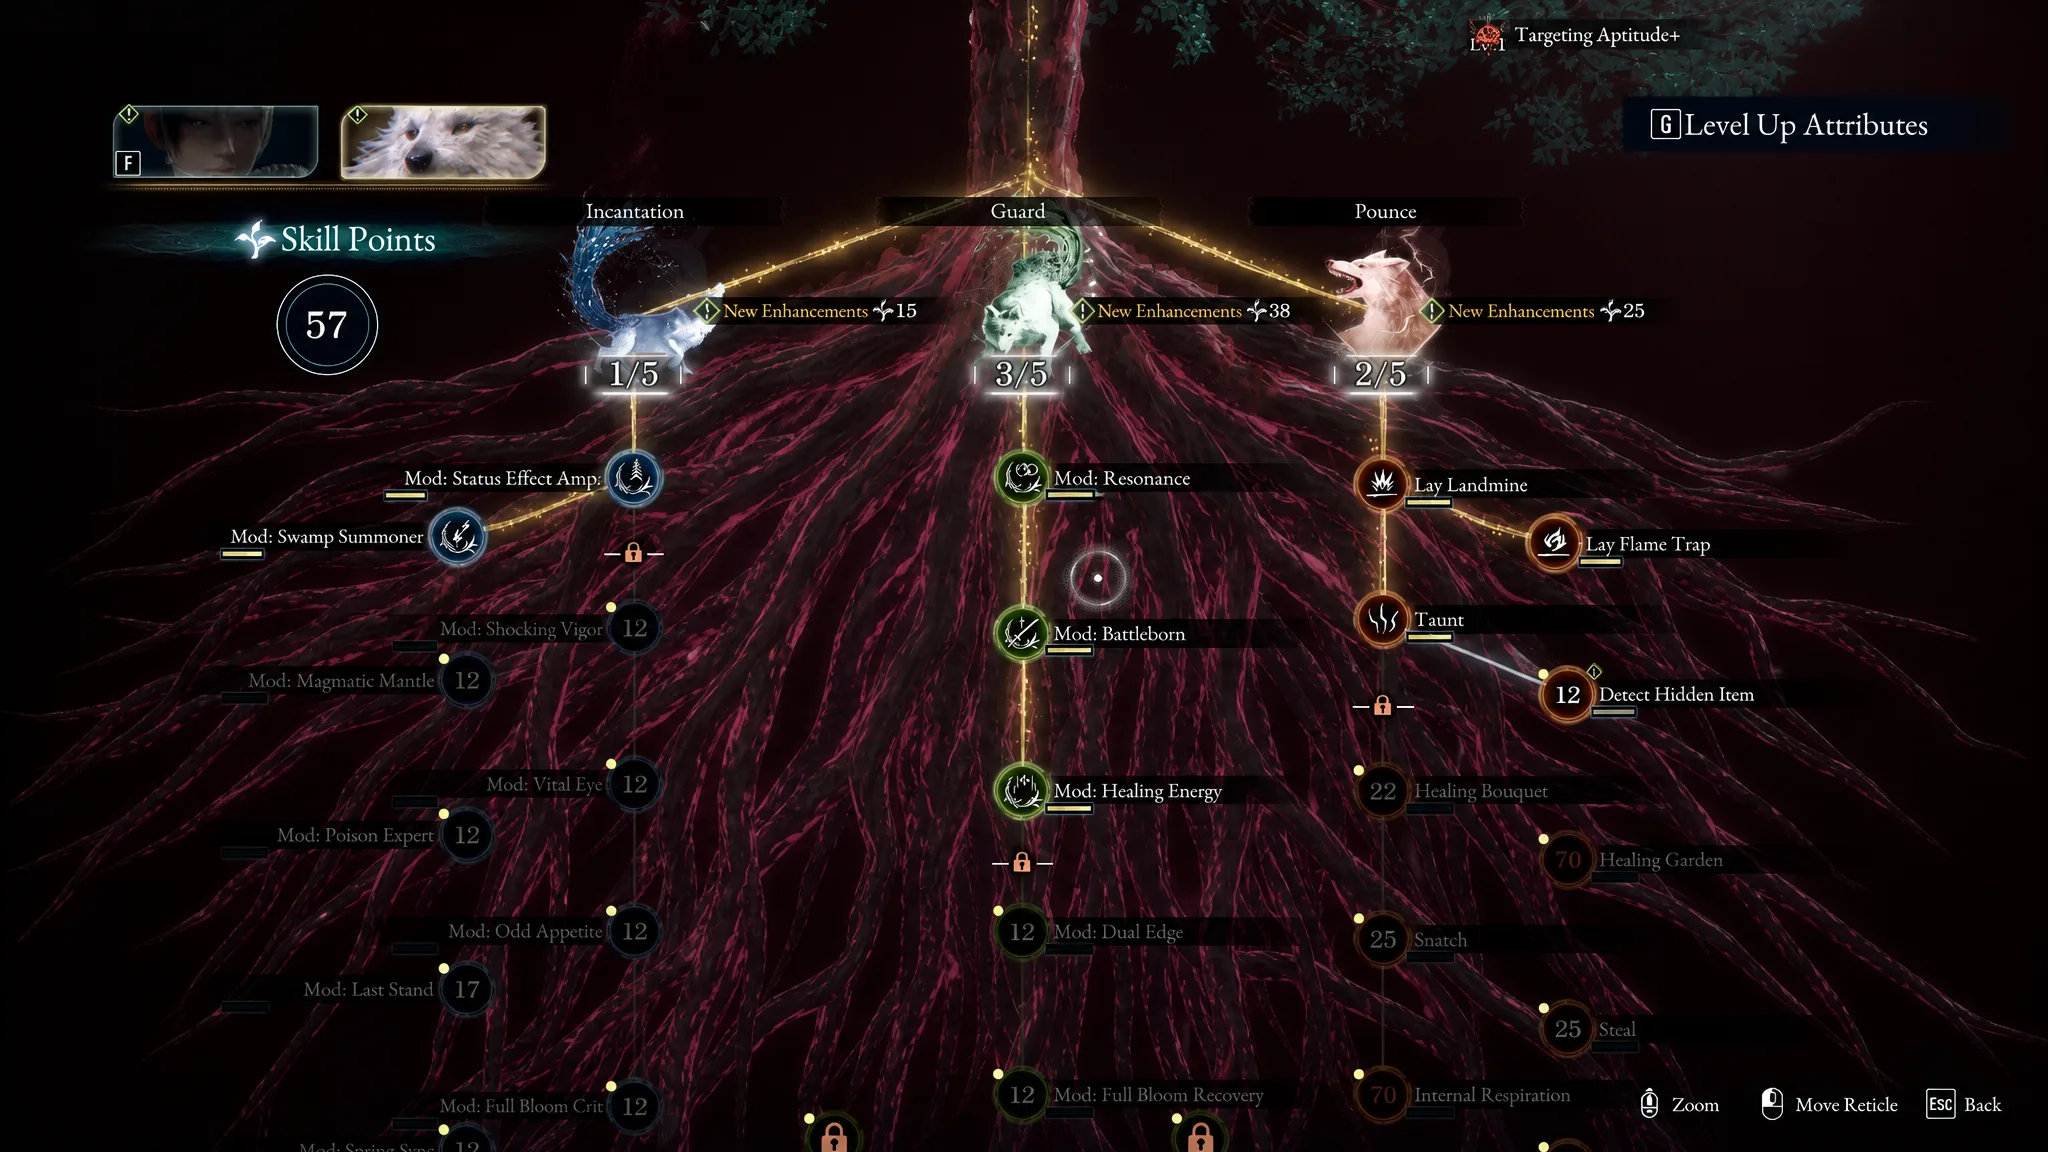
| Skill | Requirement | Effect |
|---|---|---|
| Higanbana: Bloom | Unlocked from the start | High single-target Flame damage; leaves a plant to latch onto |
| Sakura: Javelin | Defeat the Rangifer Nushi in Chapter 1 | Lightning skewer; latch to a pierced target for an aerial follow-up |
| Taunt | Pounce Lvl 2 (12 Strength) | Draws nearby enemies onto Koo |
The early combo that ties it together
Sakura: Javelin is Koo’s standout early Bloom Art, and it exists specifically to feed Emma’s melee. Leave it without Mods to keep it cheap, skewer a target, then latch on for an aerial follow-up. From that airborne position you flow straight into Helm Splitter without touching the ground, and once you reach the mid-game Asagao Blade Art you can tack on two more slice attacks. The full string reads Javelin, latch and follow-up, Helm Splitter, then Asagao, and it frequently kills an Elite in a single sequence.
Higanbana: Bloom offers the same idea from a distance. It deals the highest single-target damage of Koo’s starting Bloom Arts and plants a tall flower you can latch onto for a similar Helm Splitter chain, or simply use to escape the fray when a fight turns dangerous.
You will know these picks are paying off when your Entanglement Gauge refills fast enough to chain Blade Arts back to back, Koo’s Taunt reliably opens each fight, and status effects visibly stack on tougher enemies. Skill points can be reclaimed later through a respec, so early specialization is not permanent, but the combination above stays effective from the first hours all the way into the late-game bosses.