Beast of Reincarnation: Creeping Tendrils Walkthrough (Chapter 2)
Power both generators, hunt down Lacerta, and clear the Ancient Civilization Zone from the first shrine to the two-phase rematch.
Power both generators, hunt down Lacerta, and clear the Ancient Civilization Zone from the first shrine to the two-phase rematch.
by AllThingsHow Staff
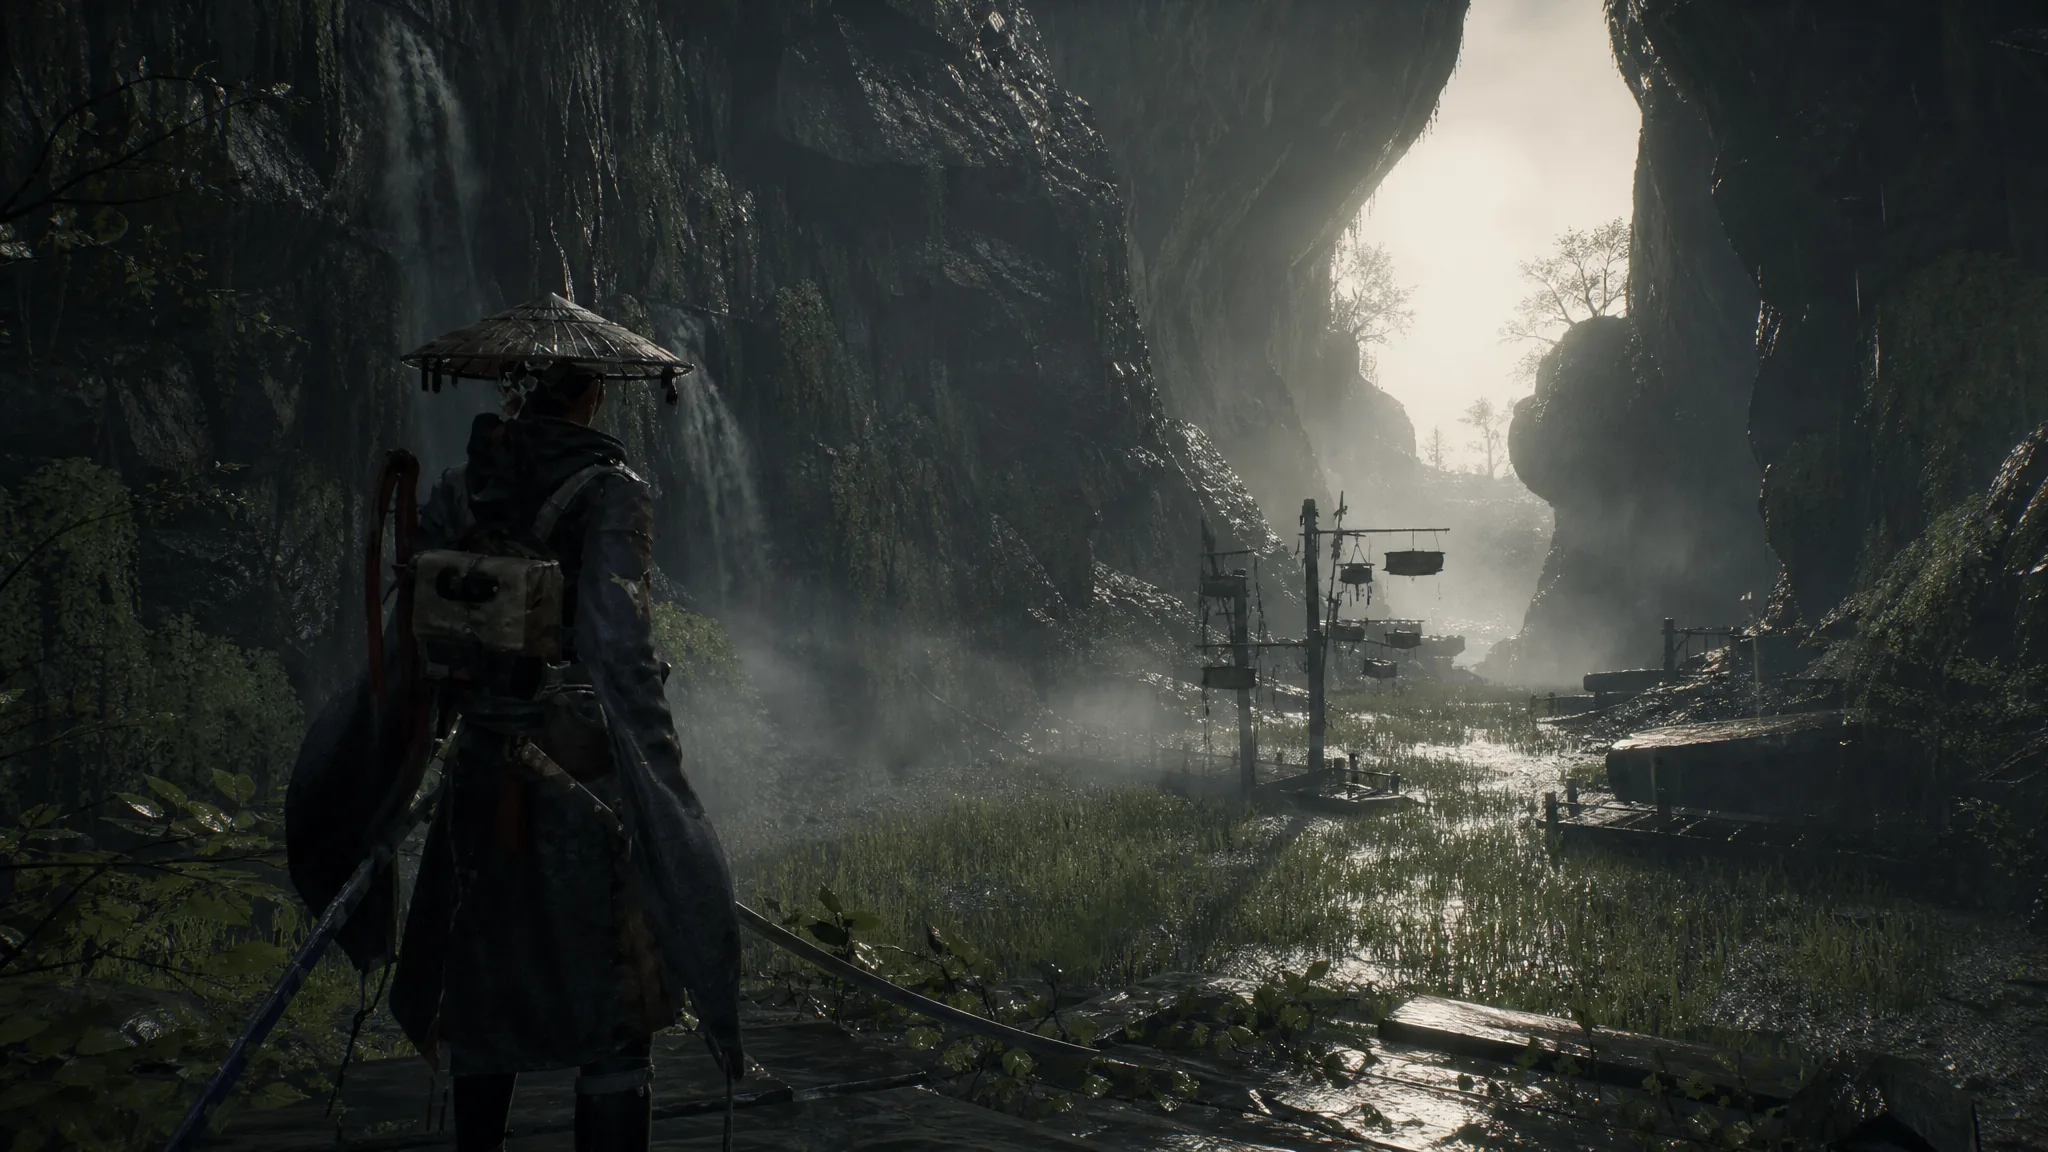
Creeping Tendrils drops Emma and Koo into the ancient Kanto Region, and it is a much bigger stretch of Beast of Reincarnation than the opening chapter. The zone loops back on itself constantly, with control rooms, elevators, and locked gates that only open once you restore power. The goal for the whole chapter comes down to a single Nushi named Lacerta, but you have to earn the path to it first.
Quick answer: Reach the reservoir by turning on two power generators to raise the sealed gate, beat Lacerta once so it flees, collect a Lightning Stone from an elite Golem, activate the Water Tank Control Panel, then head to the Nushi’s Lair and win the two-phase Lacerta rematch to end the chapter.
Chapter 2 rewards and boss checklist
Here is what you unlock as you push through Creeping Tendrils, in the order the game hands it to you. Keep the Cleanse Walker’s Workbench in mind, since you can fast travel back to upgrade gear before the harder fights.
Milestone
Reward
Wolf miniboss (The Vicious Malefact)
Binding Fang Skill Amber
Giant red robot / Giant Golem
Biting Tempest Nushi Skill, Thick Cuirass armor
Lacerta, first fight (Lv. 13)
Lacertine Memories, Dokuzeri Shower Nushi Skill
Lightning Stone Golem
Thunderwave Sword (Tempest ability)
Lacerta rematch (Lv. 16)
Chapter complete, Violet backstory cutscene
Leave the Walker and reach the first Dragon Vein Shrine
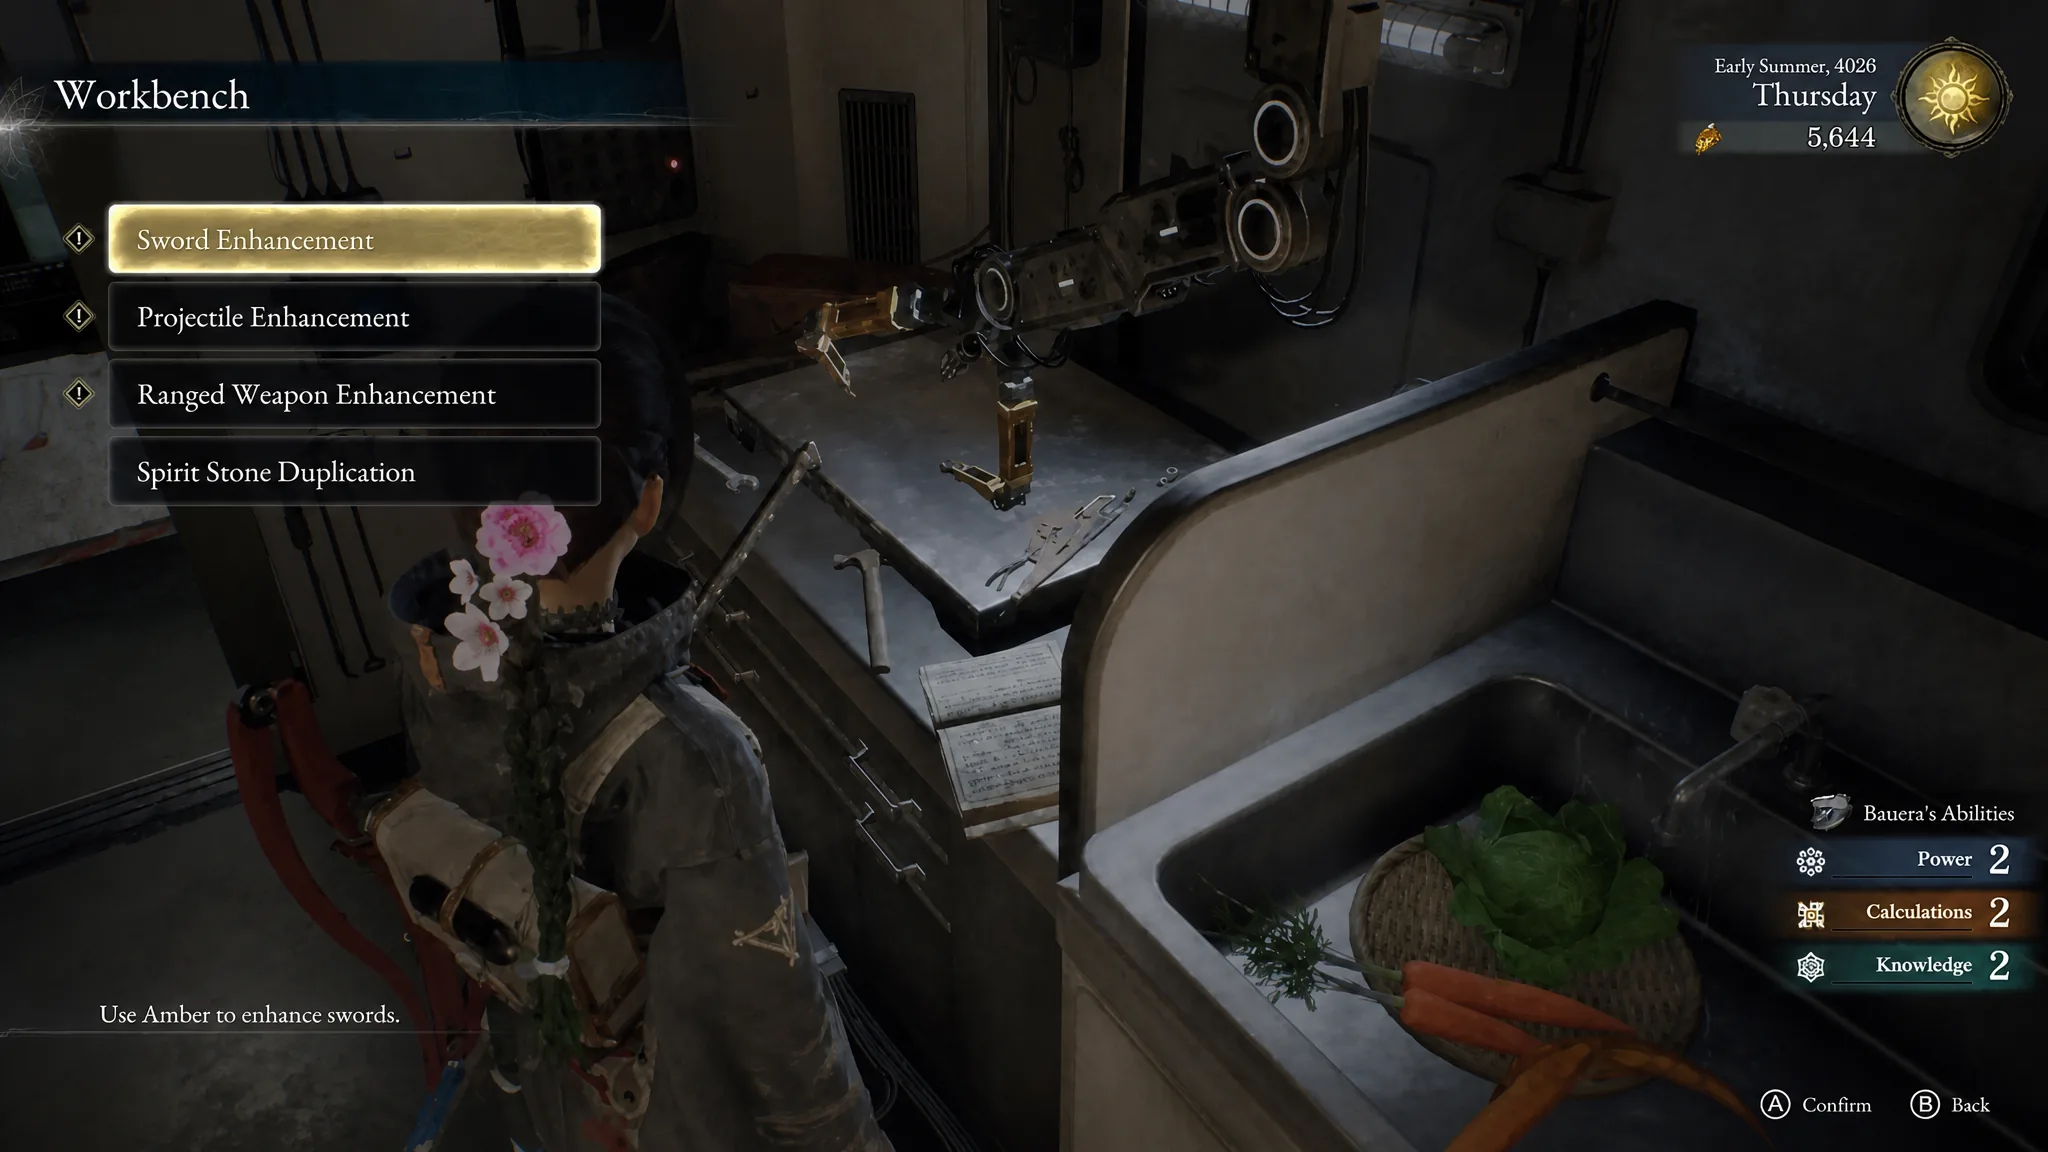
The chapter opens with a cutscene as Brad drops Emma off inside the Walker. Before you head out, use the Workbench to upgrade your weapons if you have the materials, then leave the vehicle and follow the objective marker.
Upgrade at the Workbench before you leave. (Image via Game Freak)
Shortly after leaving, two enemy birds appear. Drop them with your bow, since they die quickly and hand over Spirit Stone Ore. Keep moving forward and take the right path, clearing the enemies guarding the area.
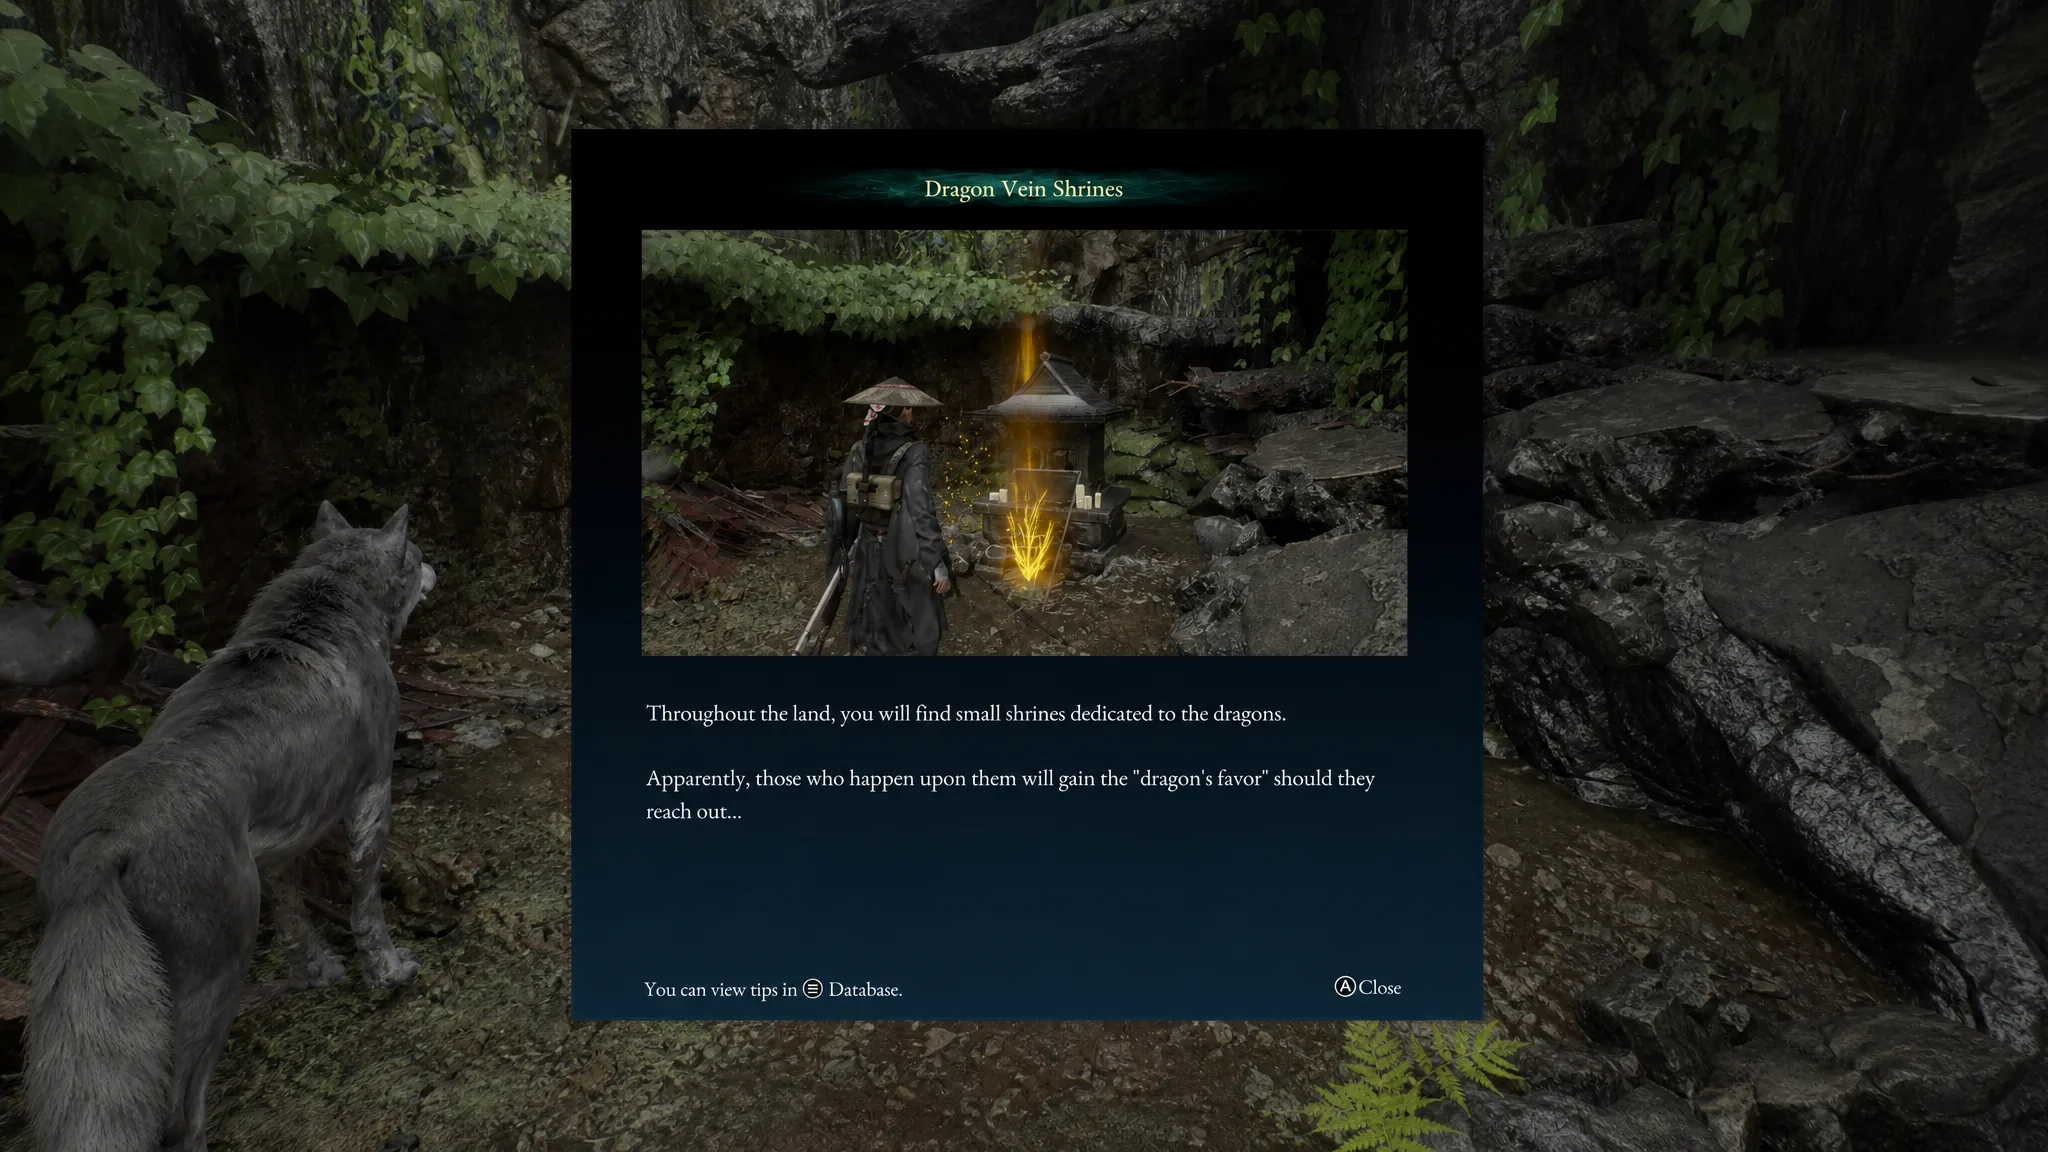
Enter the nearby structure by the staircase and loot the building. Climb the stacked containers to find your first Dragon Vein Shrine of the chapter, then keep climbing until you hit a large locked gate. Use Emma’s branch ability to bridge the gap and cross.
The first Dragon Vein Shrine sits atop the stacked containers. (Image via Game Freak)
On the far side you meet a Keeper Golem. Talk to it if you want more world context, then reach the objective marker to unlock a Campsite. Campsites double as fast travel points and let you refresh supplies, so rest here before the first miniboss.
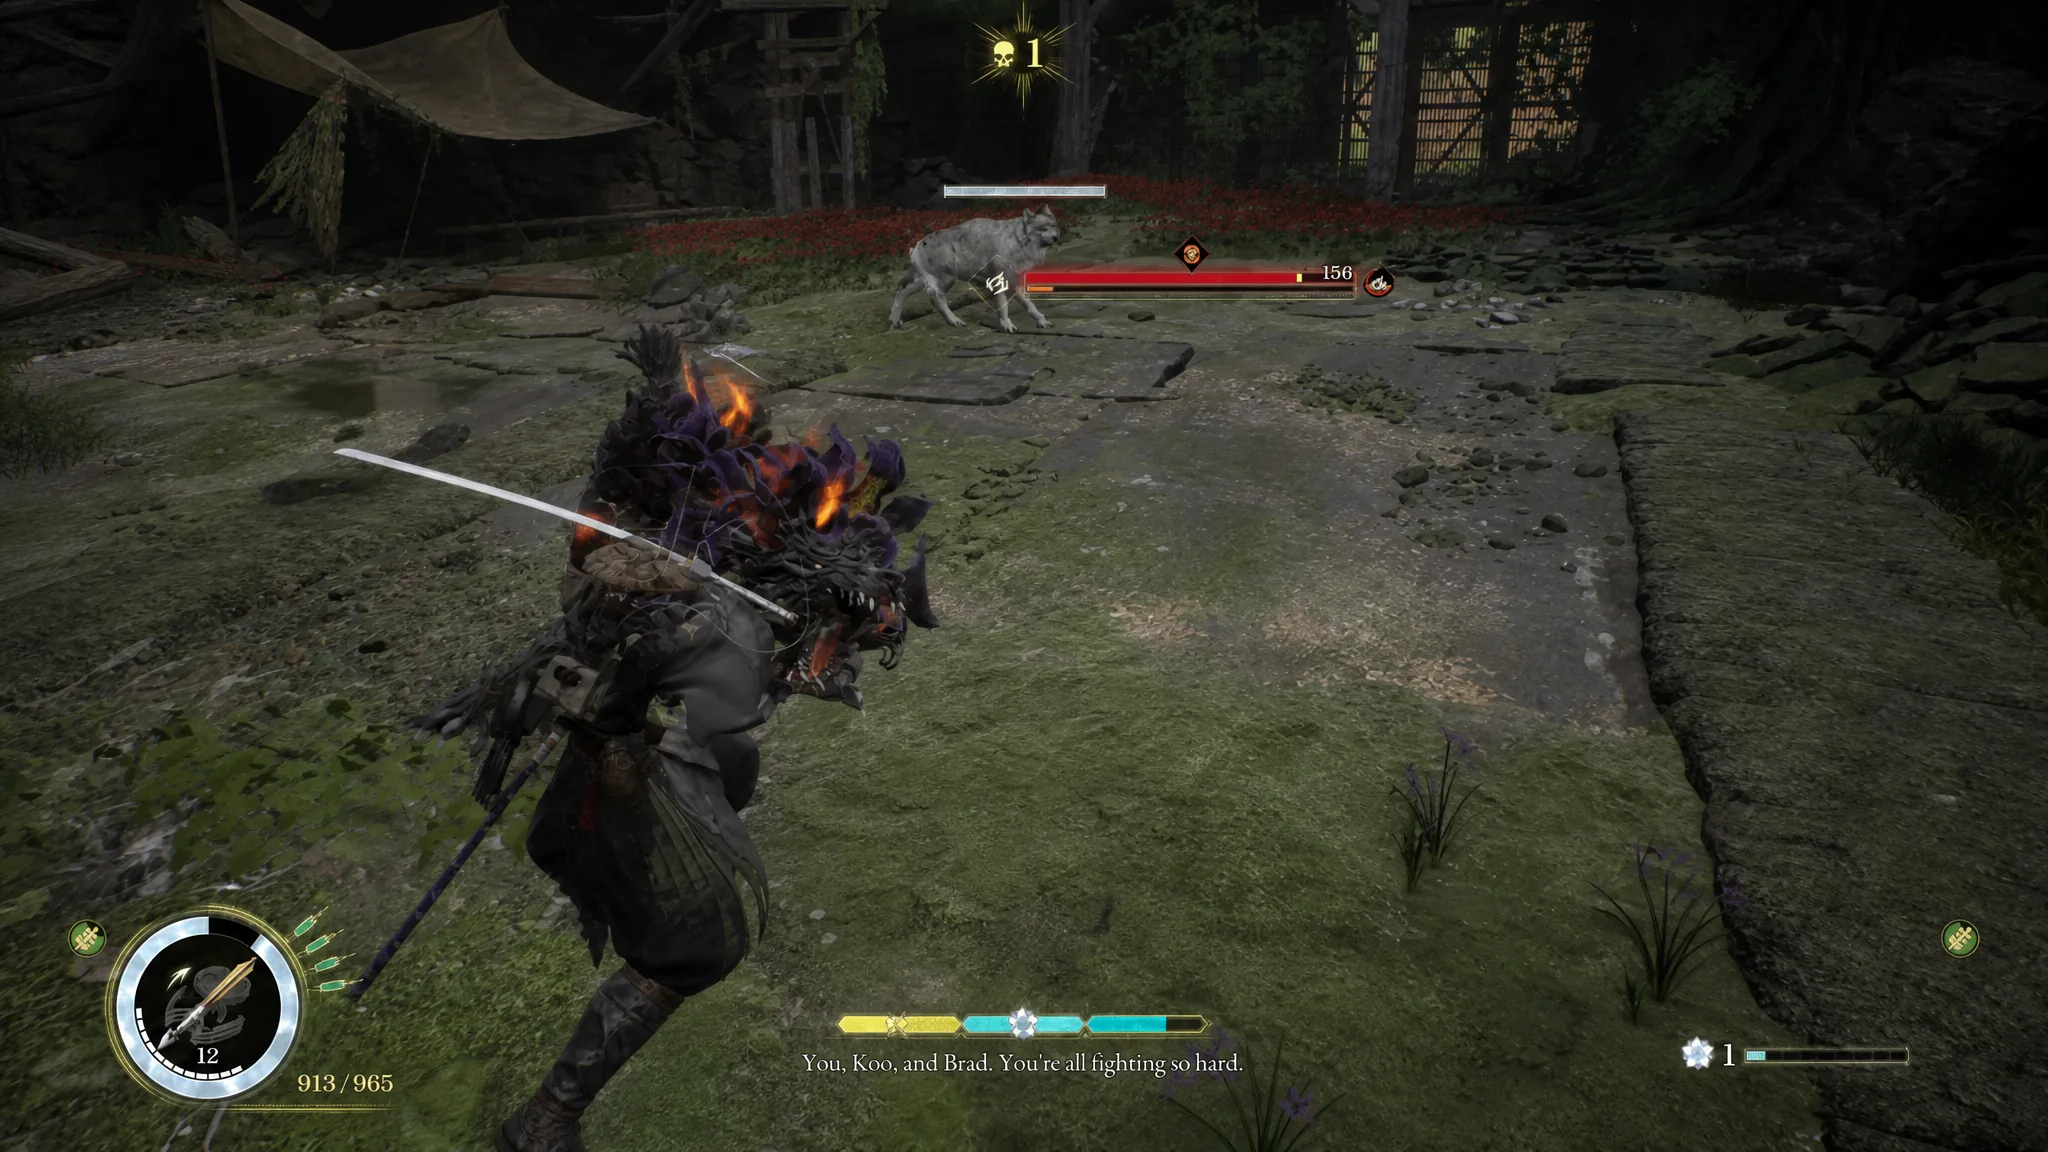
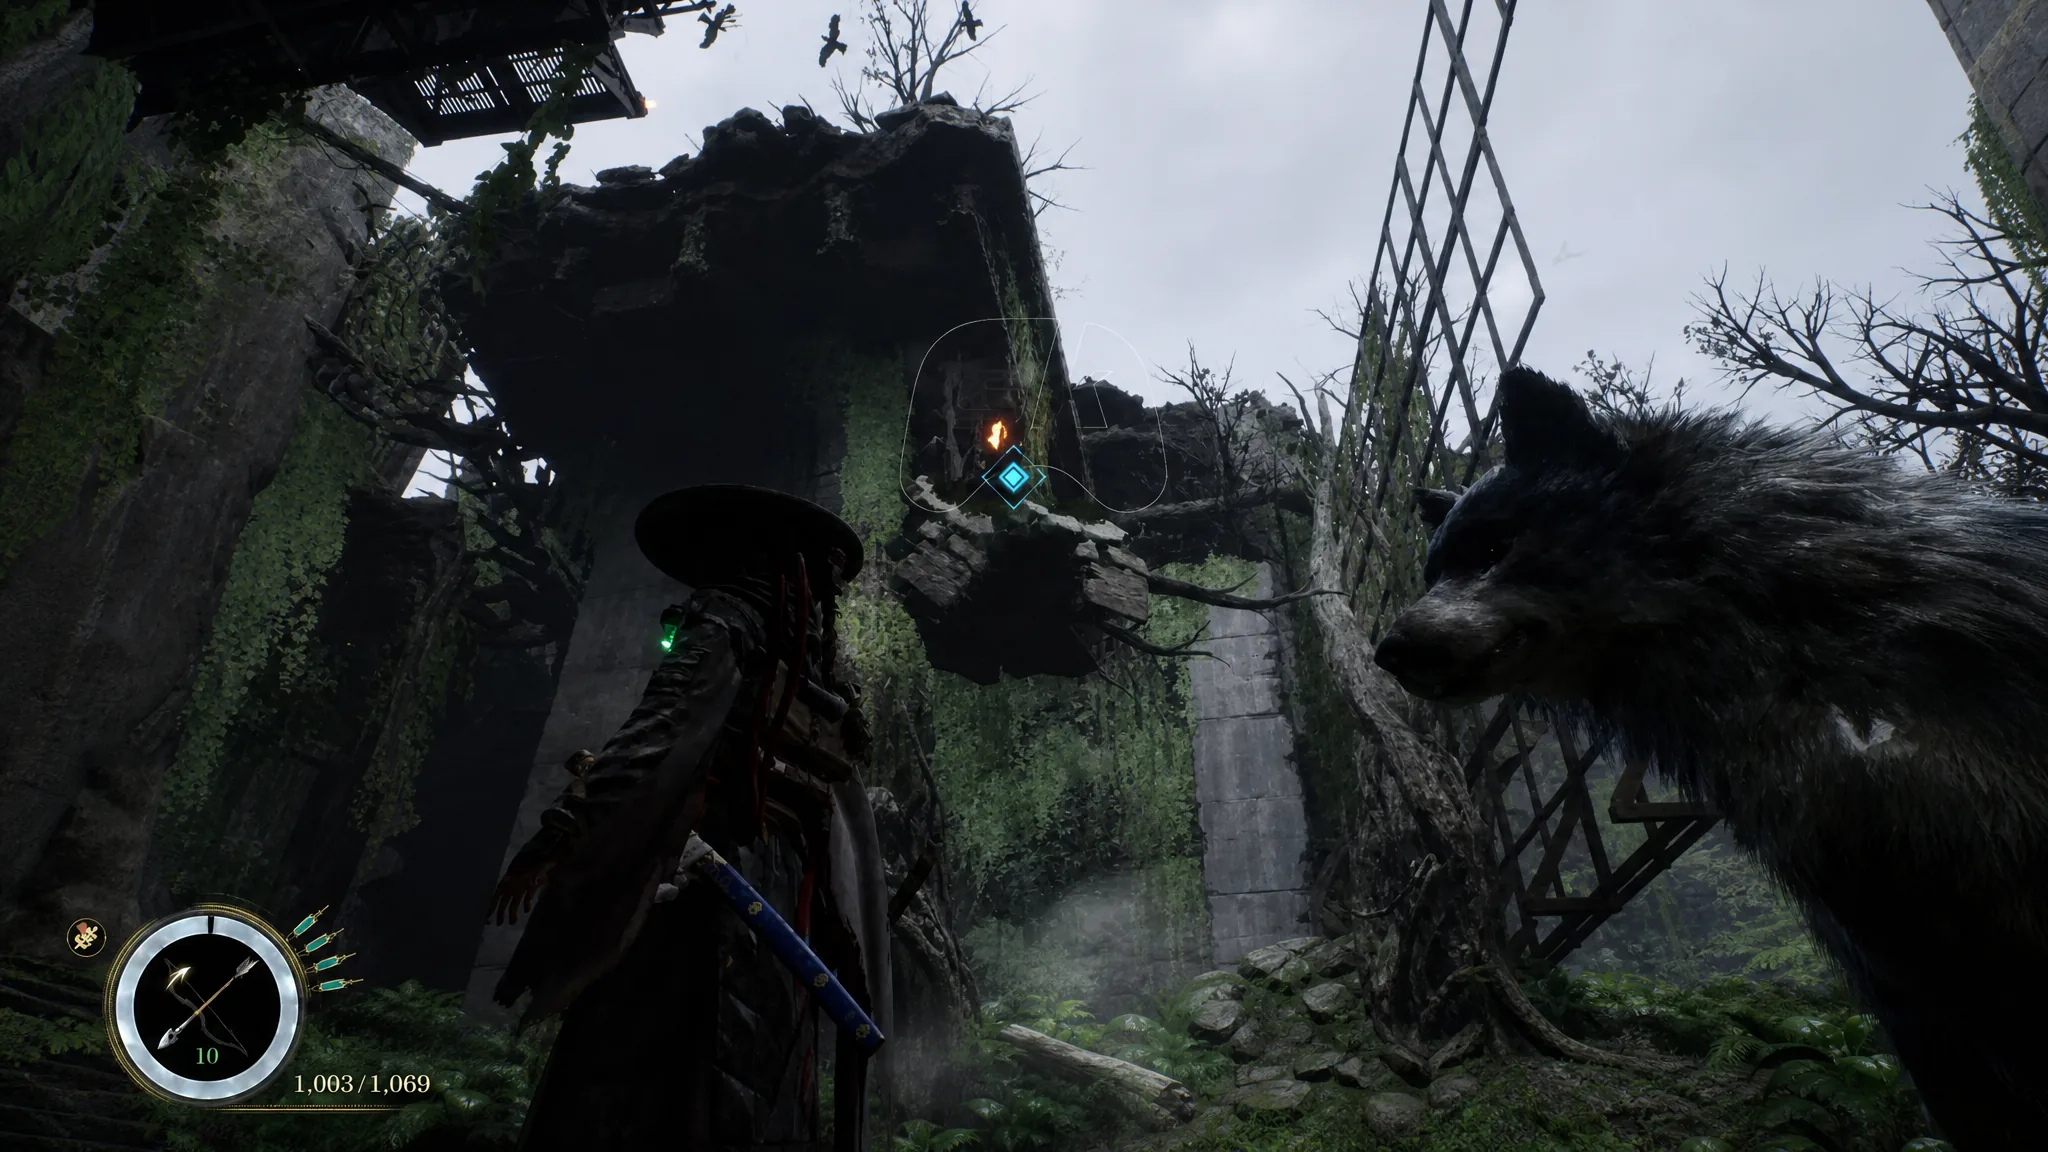
From the Campsite, use Emma’s ability to cross to the area on the right. A corrupted wolf-like miniboss waits there. Its swings are slow and easy to read, so focus on parrying, then punish each opening with a short string of sword strikes.
The wolf’s telegraphs are slow, so parry and counter. (Image via Game Freak)
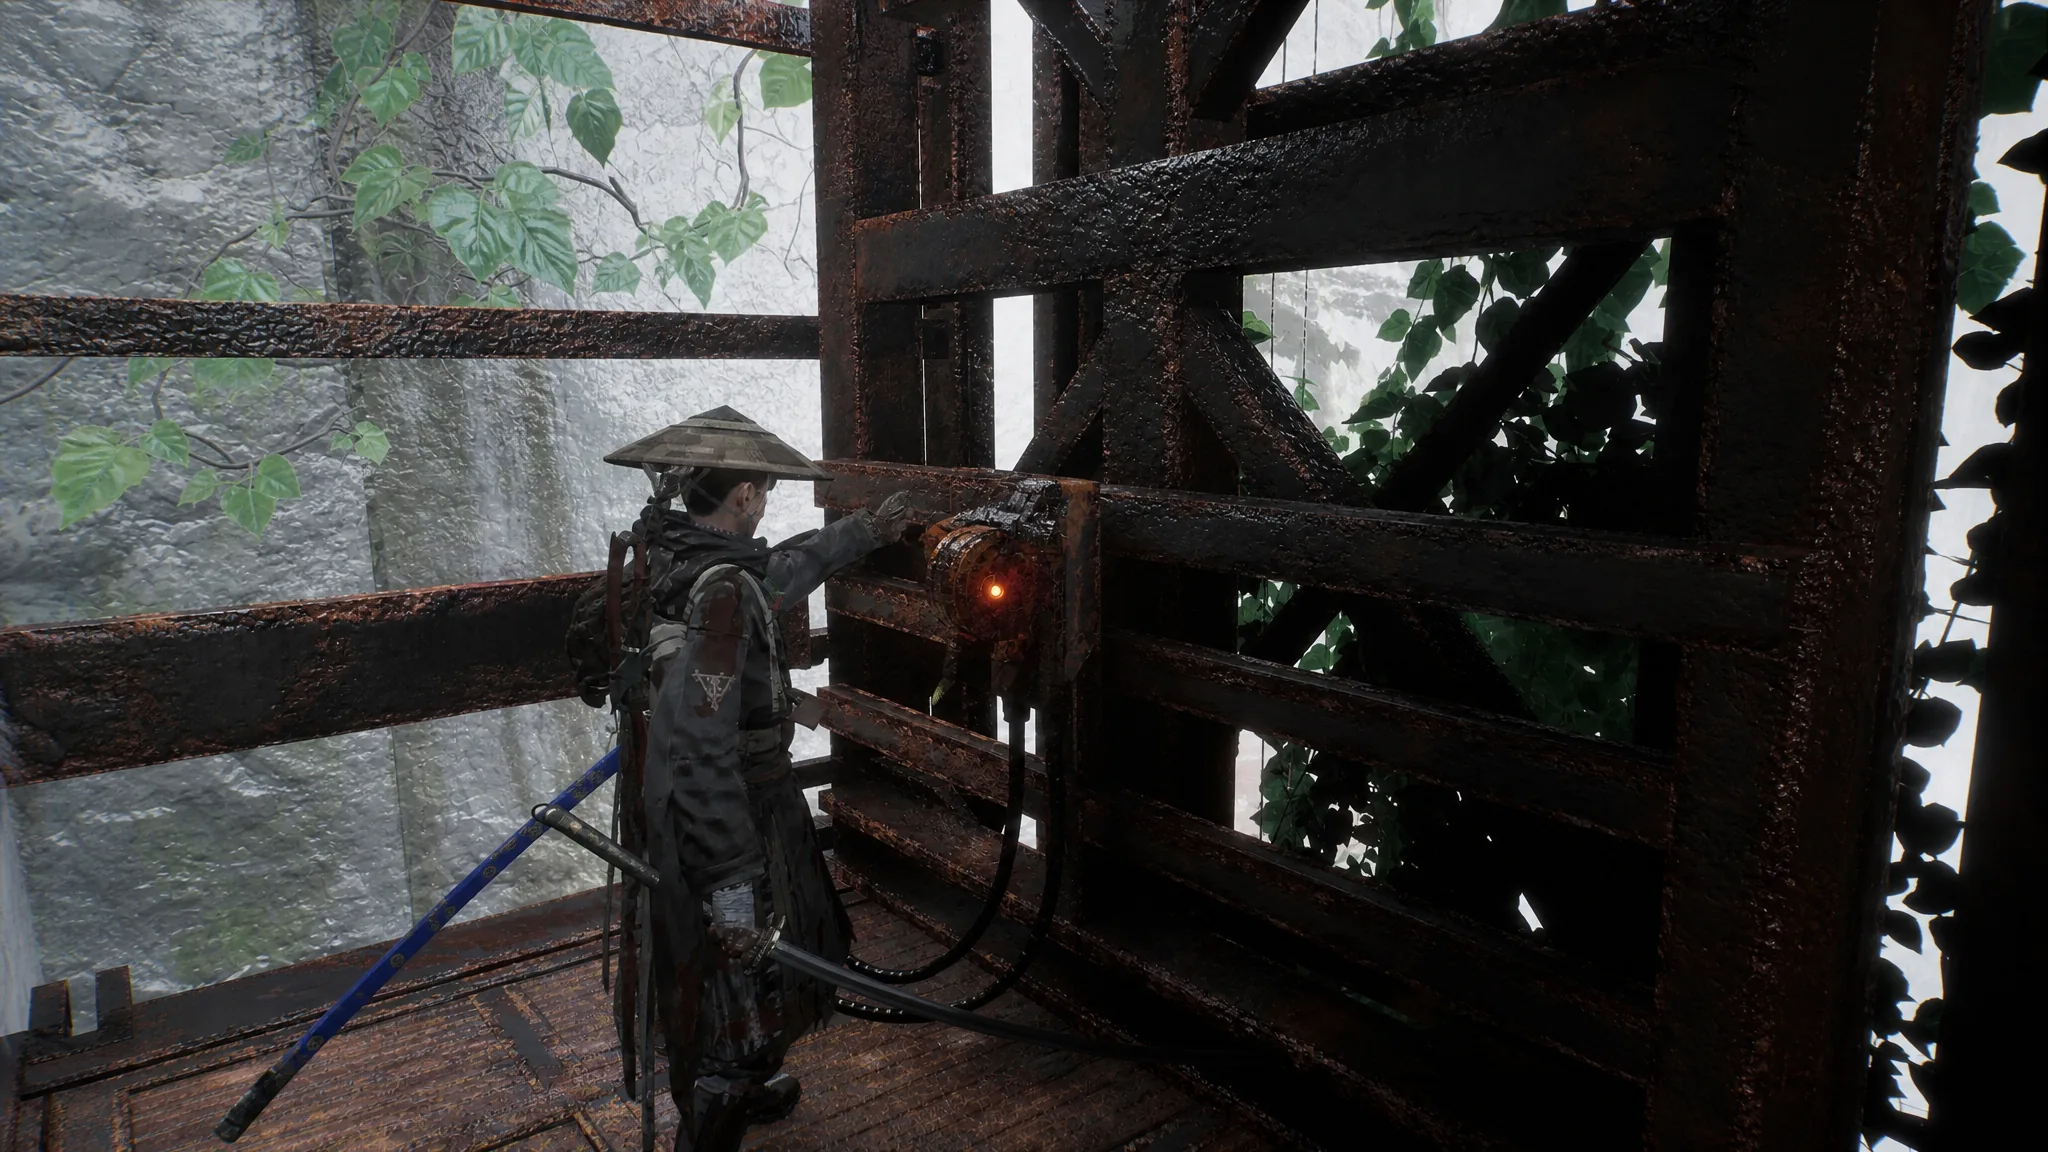
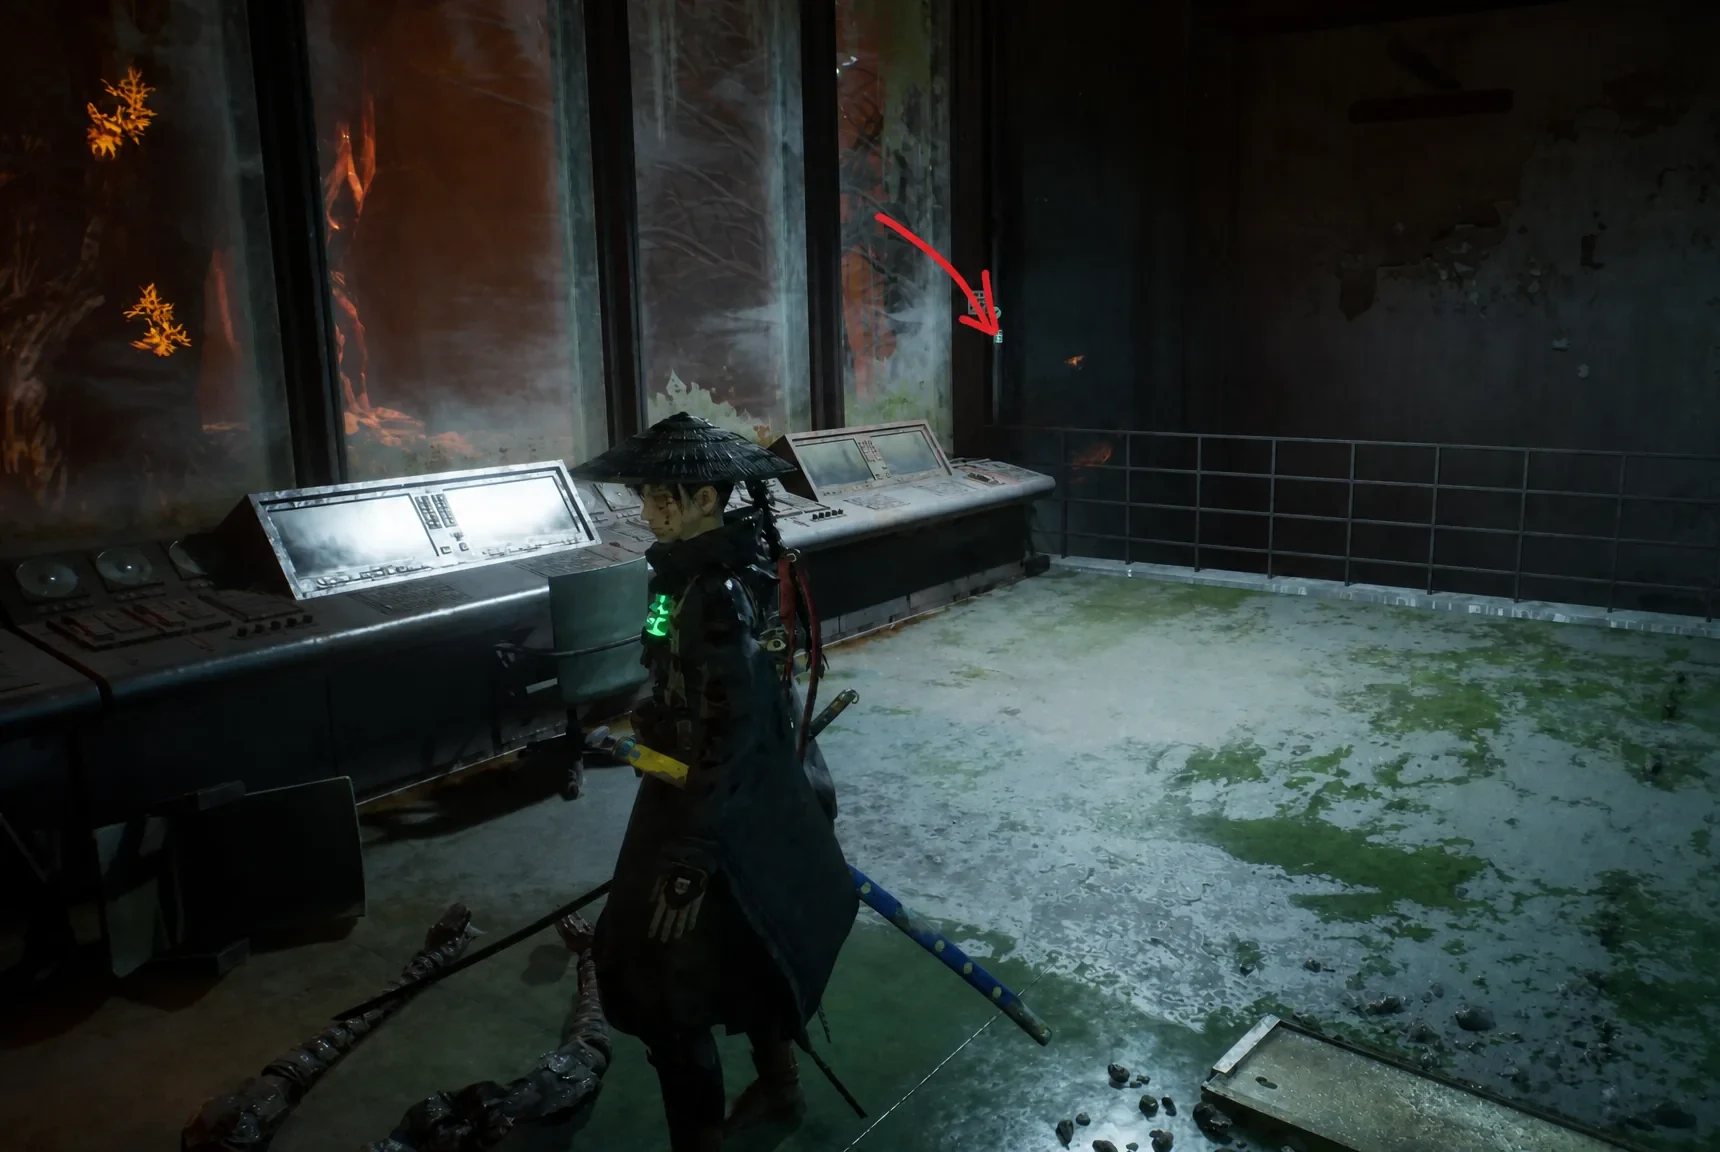
Stand at the cliff edge and look up for a blue grapple marker. Grapple to the higher platform, push forward, take the left path, and grapple again. Follow the marker to the Control Room, pull the lever to open the large gate below, and ride the elevator down through the newly opened doorway.
Pull the lever to open the gate below. (Image via Game Freak)
Use the blue grapple points to climb higher until you find another elevator. Ride it down, follow the single path, and speak with the Ancient Golem. It explains the reservoir gate needs power, which sets the Toward the Reservoir objective. The Golem also sells Manuals, Seedlings, and Spirit Stones, so spend Amber here if you need supplies. Activate the nearby Campsite before moving on.
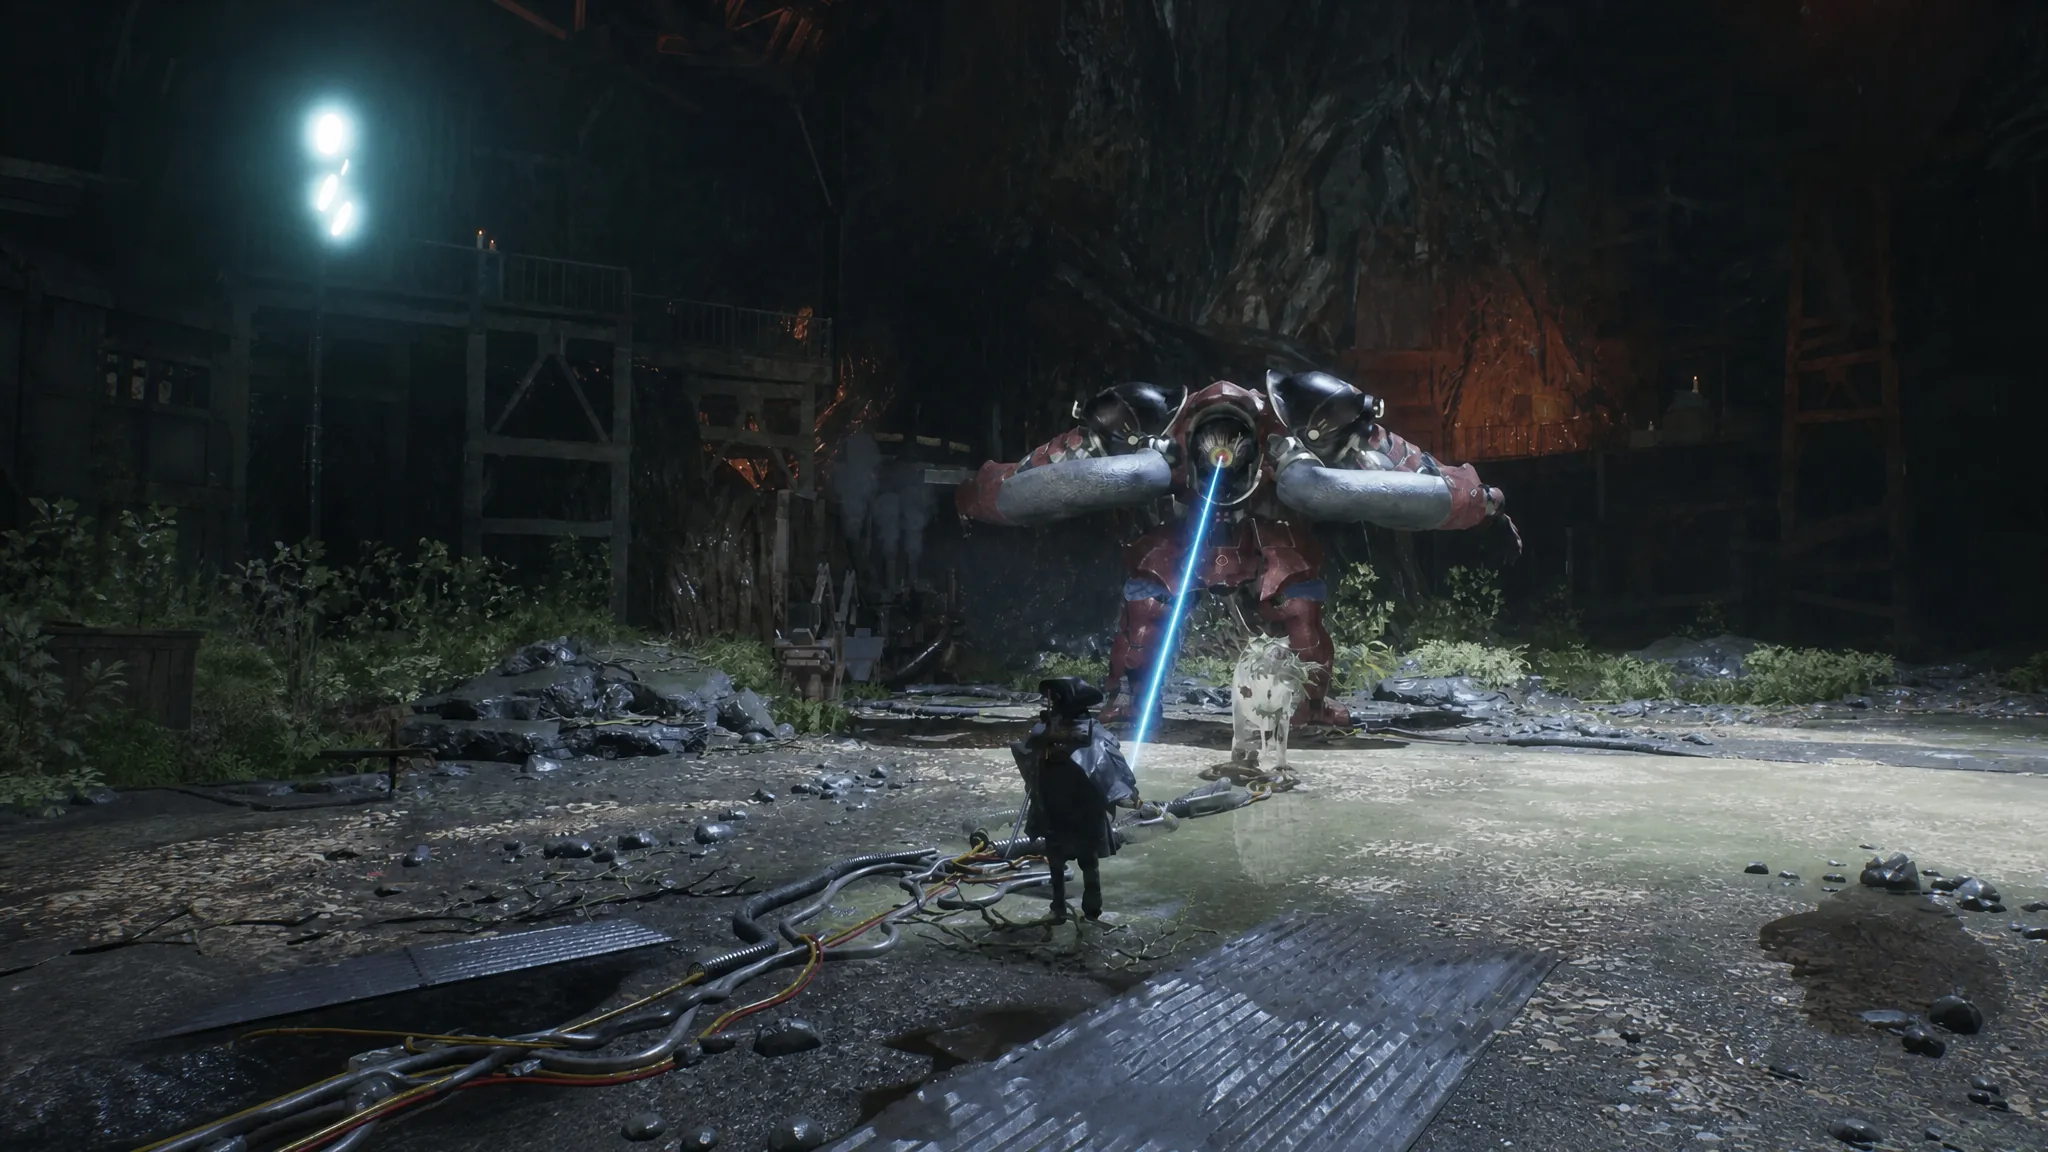
Follow the marker to a locked door and continue toward the power stations. Along the way you fight a giant red Golem miniboss. Its laser attacks hit hard, but it moves slowly, so dodge the beams and counterattack. Watch for the moment it locks a blue laser onto Emma before firing, and start dodging as soon as that windup begins. Its size makes it an easy ranged target, and Koo’s Sakura: Javelin attack works well against it.
Dodge the tracked laser, then punish from range. (Image via Game Freak)
After the fight, a mysterious woman rescues Emma in a cutscene and rewards the Biting Tempest Nushi Skill before vanishing. Grab the Thick Cuirass armor from the nearby strongbox. From here, several enemies patrol in groups, so lean on stealth and thin them out before they swarm you.
Work your way to the first power generator and pull its lever, then take the elevator up. The lift returns you to the sealed gate, which makes reaching the second generator easier. For the second, head up the stairs directly opposite the Ancient Golem, take the lift, then move to the right side of the area. You can sprint straight to the generator and skip most of the fight. Turning it on drops another lift right beside you. With both switches active, the gate has power.
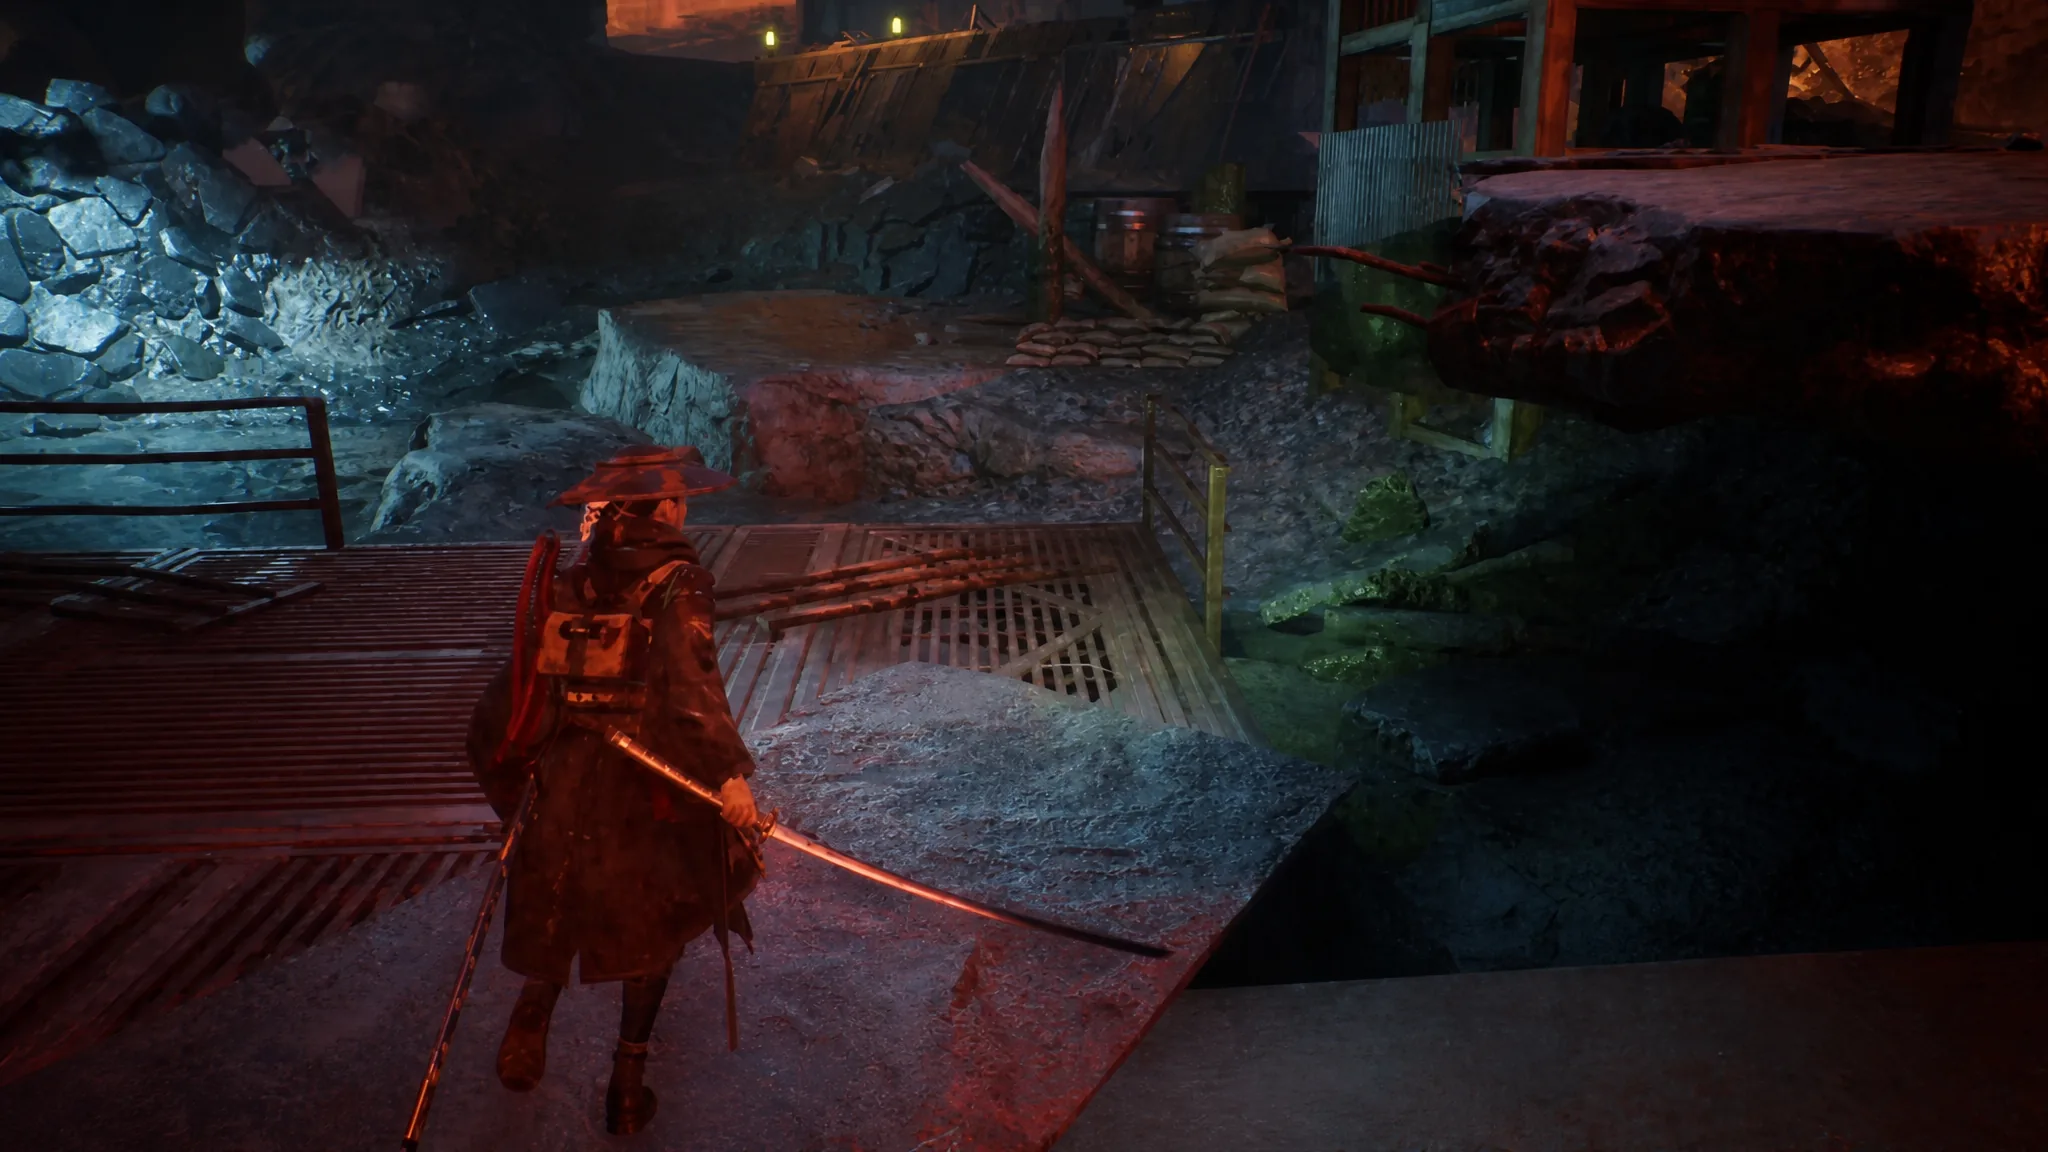
Head through the open gate. Smash the orange plants blocking the corridor with your sword and take the stairs down toward the reservoir. Bear left first to reach a Dragon Vein Shrine and claim a Life Fruit, then continue to the marker. Rest at the Campsite on the reservoir’s edge before stepping into the open water.
Entering the water begins the first boss fight against Lacerta (Lv. 13). It darts around quickly but has a short attack range, so use ranged attacks to chip it, then close in for sword combos after clean parries. Once you deal enough damage, Lacerta retreats instead of dying and drops the Lacertine Memories along with the Dokuzeri Shower Nushi Skill.
Lacerta is fast but short-ranged, so keep your distance and parry. (Image via Game Freak)
Find Mikoto, gather the Lightning Stone, and open the lair
The next objective is Clues About the Nushi. Follow the direction Lacerta fled until you hit a large hole and a locked door, then return to the reservoir and find the Control Room. Pull its lever, then head outside to collect the required Lightning Stones.
While following the new objective, a cutscene introduces Mikoto, who is losing a fight against a powerful enemy. Defeat that monster to free him, then speak with him afterward. The elite Golem here drops a Lightning Stone and the Thunderwave Sword, which carries the Tempest ability for your own lightning attacks.
Defeat the monster threatening Mikoto, then talk to him. (Image via Game Freak)
Carry the Lightning Stone back to the Control Room and activate the Water Tank Control Panel. This opens another sealed doorway and changes your objective to Defeat the Nushi.
Go through the newly opened gate, climb the circular staircase, and ride the elevator up to a new Campsite. This is the moment to fast travel back to Brad’s Walker, upgrade your equipment, and top off supplies before the rematch. When you are ready, return to the Ruins Slope Campsite.
Beat Lacerta’s rematch to finish Creeping Tendrils
From the Ruins Slope Campsite, follow the marker roughly 500 meters to the Nushi’s Lair. Open the massive gate with the nearby lever and continue toward the lake, where Lacerta (Lv. 16) waits for a rematch.
The first phase plays like the earlier encounter, but Lacerta is noticeably more aggressive. Once you drop its health bar, it fully heals and immediately enters a much tougher second phase. Stay patient, keep dodging and parrying, and grind it down safely rather than forcing damage.
Lacerta heals and turns aggressive for its second phase. (Image via Game Freak)
Clearing the second phase triggers a cutscene that fills in more of Violet’s backstory. Emma then wakes inside Brad’s Walker. That closing scene marks the end of Chapter 2: Creeping Tendrils, and the next region opens up from here.
Note: Because Lacerta appears twice, treat the first fight as practice. Learn the parry rhythm and its attack range early, and the two-phase rematch becomes far more manageable when your gear is upgraded and your Nushi Skills are ready.