
Personalizing Finder’s interface and behavior on macOS 26 directly addresses workflow bottlenecks and visual inconsistencies that slow down file management. Customizing Finder not only changes how it looks, but also how reliably it remembers your preferred window sizes, positions, and folder views—key factors for anyone who spends significant time organizing files.
Apply Default View and Sort Order to All Folders
macOS does not provide a single, universal setting to force every Finder folder to use the same view and sort order. However, you can approximate this behavior by resetting folder-specific settings and applying your preferred defaults. This method is the most effective for achieving broad consistency, though some limitations remain for deeply nested or previously customized folders.
Step 1: Remove all .DS_Store files from your system. These hidden files store folder-specific view settings. Open the Terminal and enter the following command to delete them:
sudo find / -name ".DS_Store" -delete
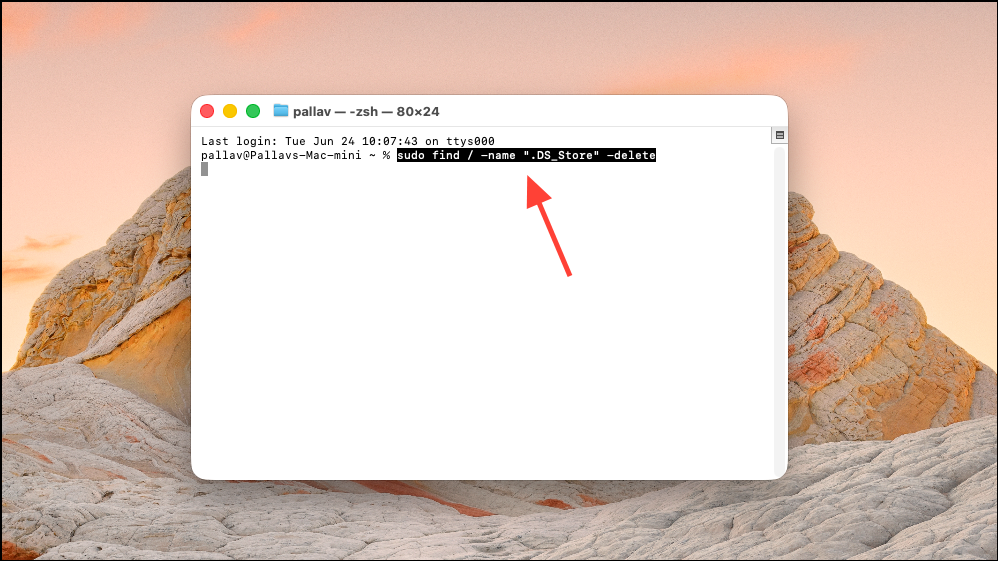
This operation resets view preferences for all folders. Depending on the number of files and storage used, this may take several minutes. Always back up important data before running system-wide delete commands.
Step 2: Open a Finder window and navigate to the root directory (press Command + Shift + G and enter /).

Step 3: Press Command + J or choose View > Show View Options from the menu bar. Set your preferred view (for example, List view), sort order (such as by Name or Kind), and other display options. At the bottom of the View Options panel, click Use as Defaults.
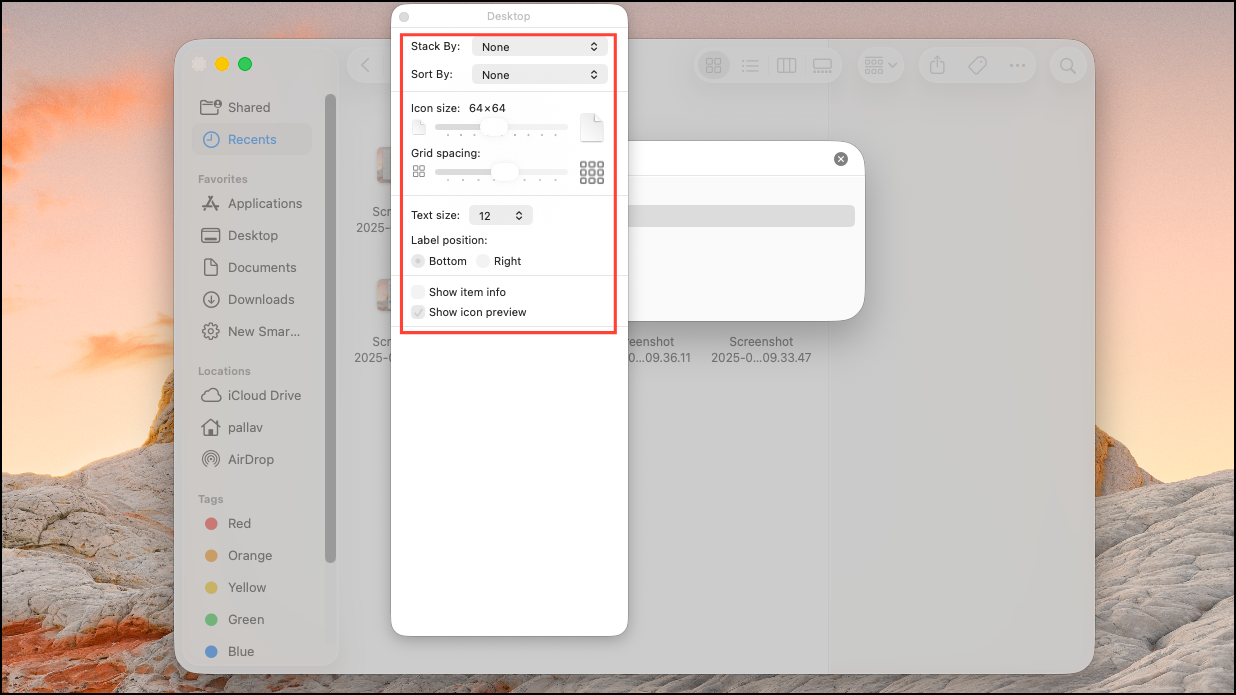
This process applies the chosen settings to all folders that do not have their own .DS_Store file. Folders with previous customizations may need to be reset individually. Note that column view has limited support for default propagation, and some settings may not carry over if you regularly switch between view types.
Customize Finder Appearance and Interface Elements
Beyond folder views, macOS 26 allows you to adjust Finder’s color scheme, highlight color, and visible interface elements for a cleaner workspace.
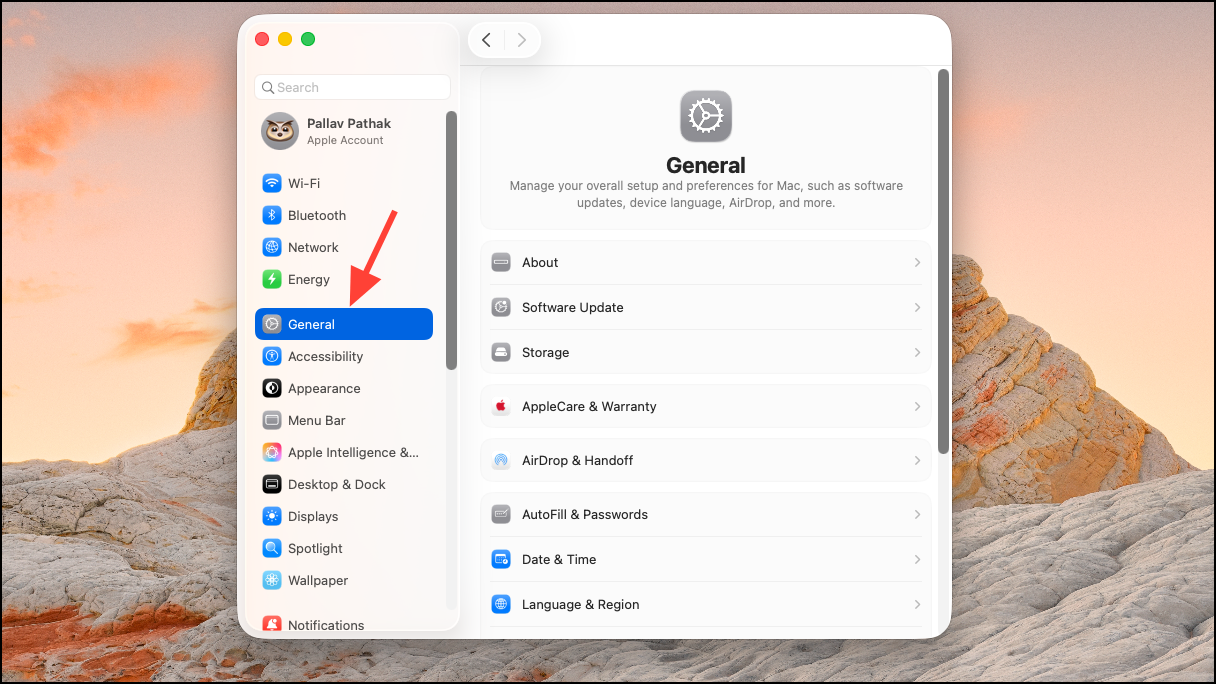
Step 1: Open System Settings and select General. Change the Appearance dropdown to select between Light, Dark, or Auto mode. Adjust the Highlight color to modify the selection color used throughout Finder.
Step 2: To declutter Finder windows, use the View menu to hide or show elements:
- Select Hide Sidebar to remove the sidebar from view.
- Choose Hide Toolbar if you prefer a minimal window header.
- Click Hide Path Bar to remove the folder path at the bottom.
- Select Hide Status Bar to eliminate item counts and storage info.
These options streamline Finder’s appearance, reducing distractions and focusing attention on file content.
Set Finder Window Size and Position Defaults
macOS 26 does not offer a persistent, built-in setting to lock Finder window size and position for all sessions. However, you can prompt Finder to remember your preferred dimensions and placement by using a specific sequence:
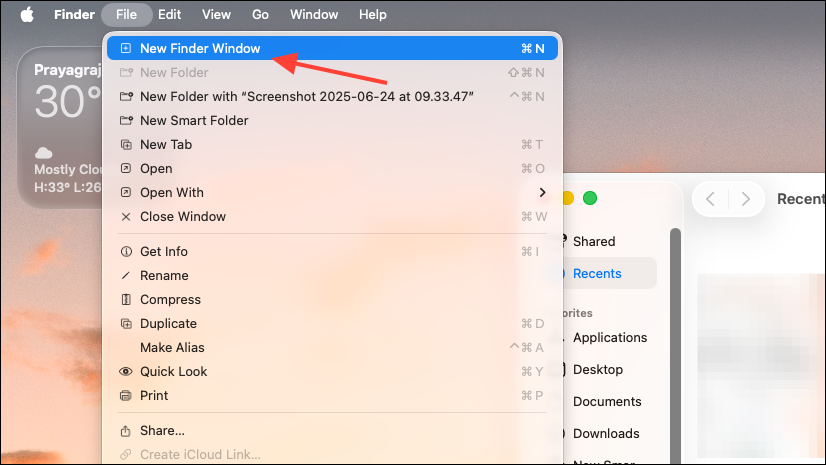
Step 1: Open a new Finder window using File > New Finder Window or Command + N.
Step 2: Resize and move the window to your desired size and location. Keep this window open.
Step 3: Open another new Finder window. The new window should match the size and position of the first. All subsequent windows will use these settings until the next system update or Finder reset.
If Finder fails to remember these preferences, a corrupted preferences file may be the cause. To address this:
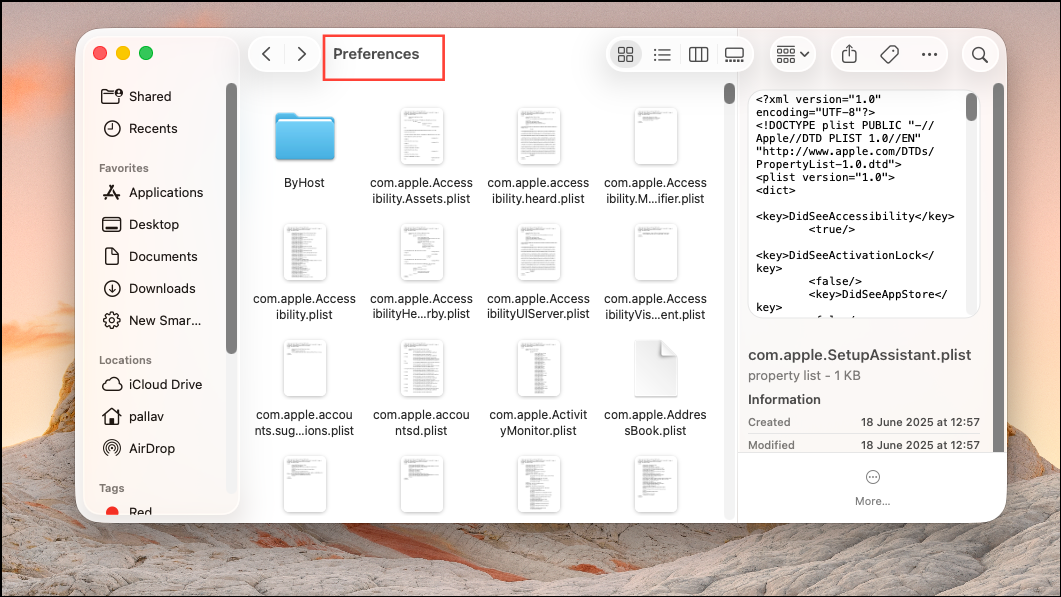
Step 4: In Finder, click Go in the menu bar, then Go to Folder. Enter ~/Library/Preferences. Locate and delete com.apple.finder.plist. After deletion, log out and back in, or restart your Mac. Finder will generate a new preferences file, allowing it to remember your window size and position settings again.
Modify Finder’s Sidebar, Tags, and Folder Icons
For further personalization, Finder allows you to control sidebar contents, manage tags, and assign custom folder icons.
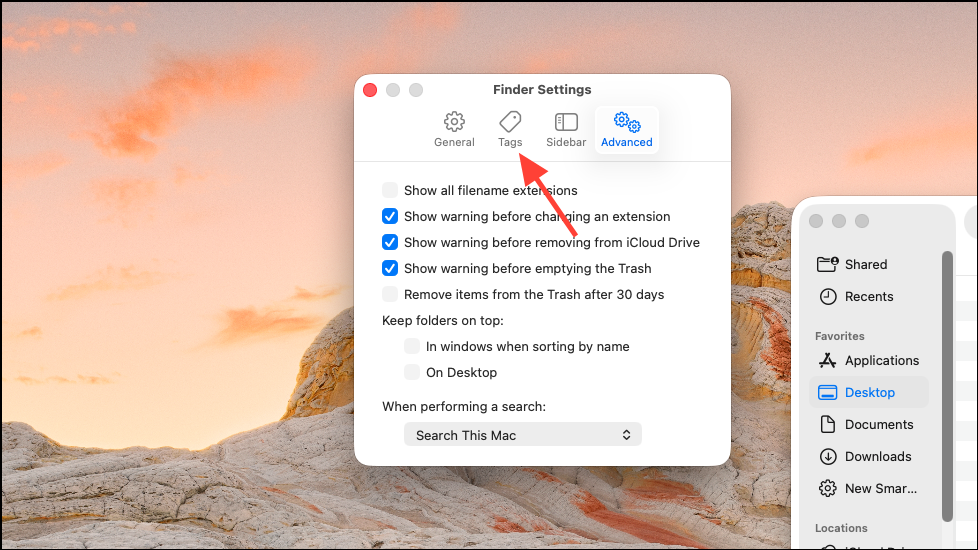
Step 1: Open Finder > Settings (or Preferences in older versions). Use the Sidebar tab to select which items appear for quick access. The Tags tab lets you add, remove, or rename file tags and choose which tags appear in the sidebar or context menus.
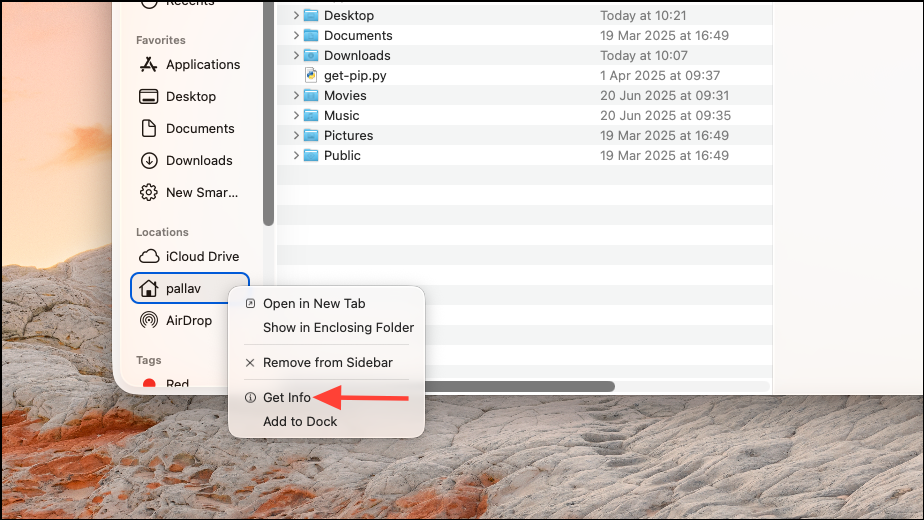
Step 2: To change a folder icon, copy an image to your clipboard, right-click the target folder, select Get Info, click the folder icon in the info window, and press Command + V to paste the new icon.
Automate View Settings with Automator
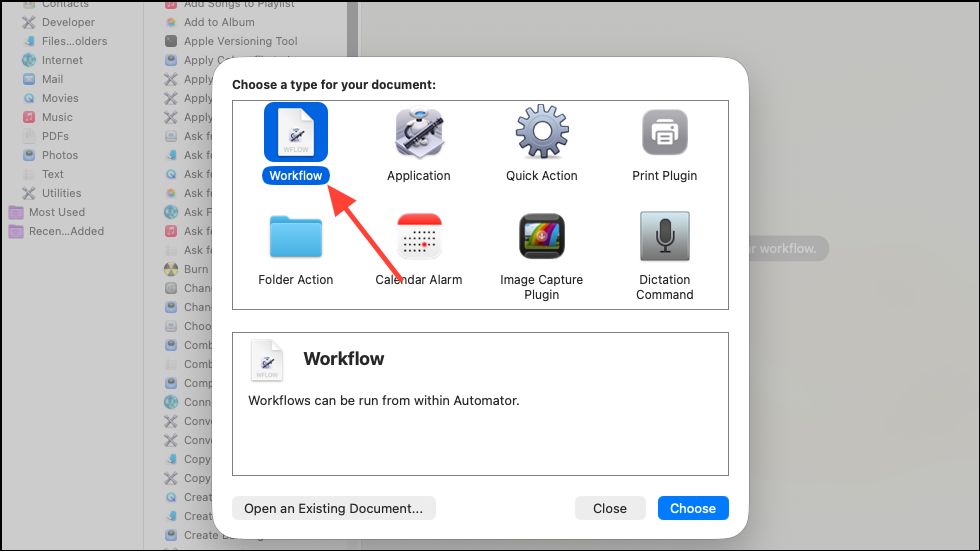
For users seeking more control or needing to apply view preferences to a large number of subfolders, Automator can streamline the process. Automator is a built-in macOS tool for creating custom workflows.
Step 1: Open Automator and create a new workflow. Use the Set Folder Views action to specify your desired view and sorting options. You can also use Sort Finder Items to define sort order across multiple folders.
Step 2: Run the workflow, targeting the parent folder whose subfolders you want to update. This method does not change grouping options or background colors for all folders, but it does allow for bulk application of view and sort settings.
Optimizing Finder’s appearance and behavior in macOS 26 reduces repetitive setup and supports faster, more predictable file management. Regularly updating your default settings and clearing out old preferences ensures Finder keeps working the way you want.