Electric Flow is a solo Sanctum within Blitzwood, in Aniimo’s Breezy Plains region. Rather than a combat gauntlet, it challenges you to complete one extended electrical circuit. Current travels from charging plates through conductive items you pick up and position, while each gate depends on a lamp that stays lit only as long as its supply remains powered. Three optional chests branch away from the main route, and restoring the Vein makes them inaccessible for good.
Quick answer: Go to Electric Flow in Blitzwood, claim trial Bolty from the statue, then energize the circuit branches in dependency order. Make sure the counter shows 3/3 before touching the Sanctum Terminus.
Electric Flow Sanctum location and entry (Blitzwood, Breezy Plains)
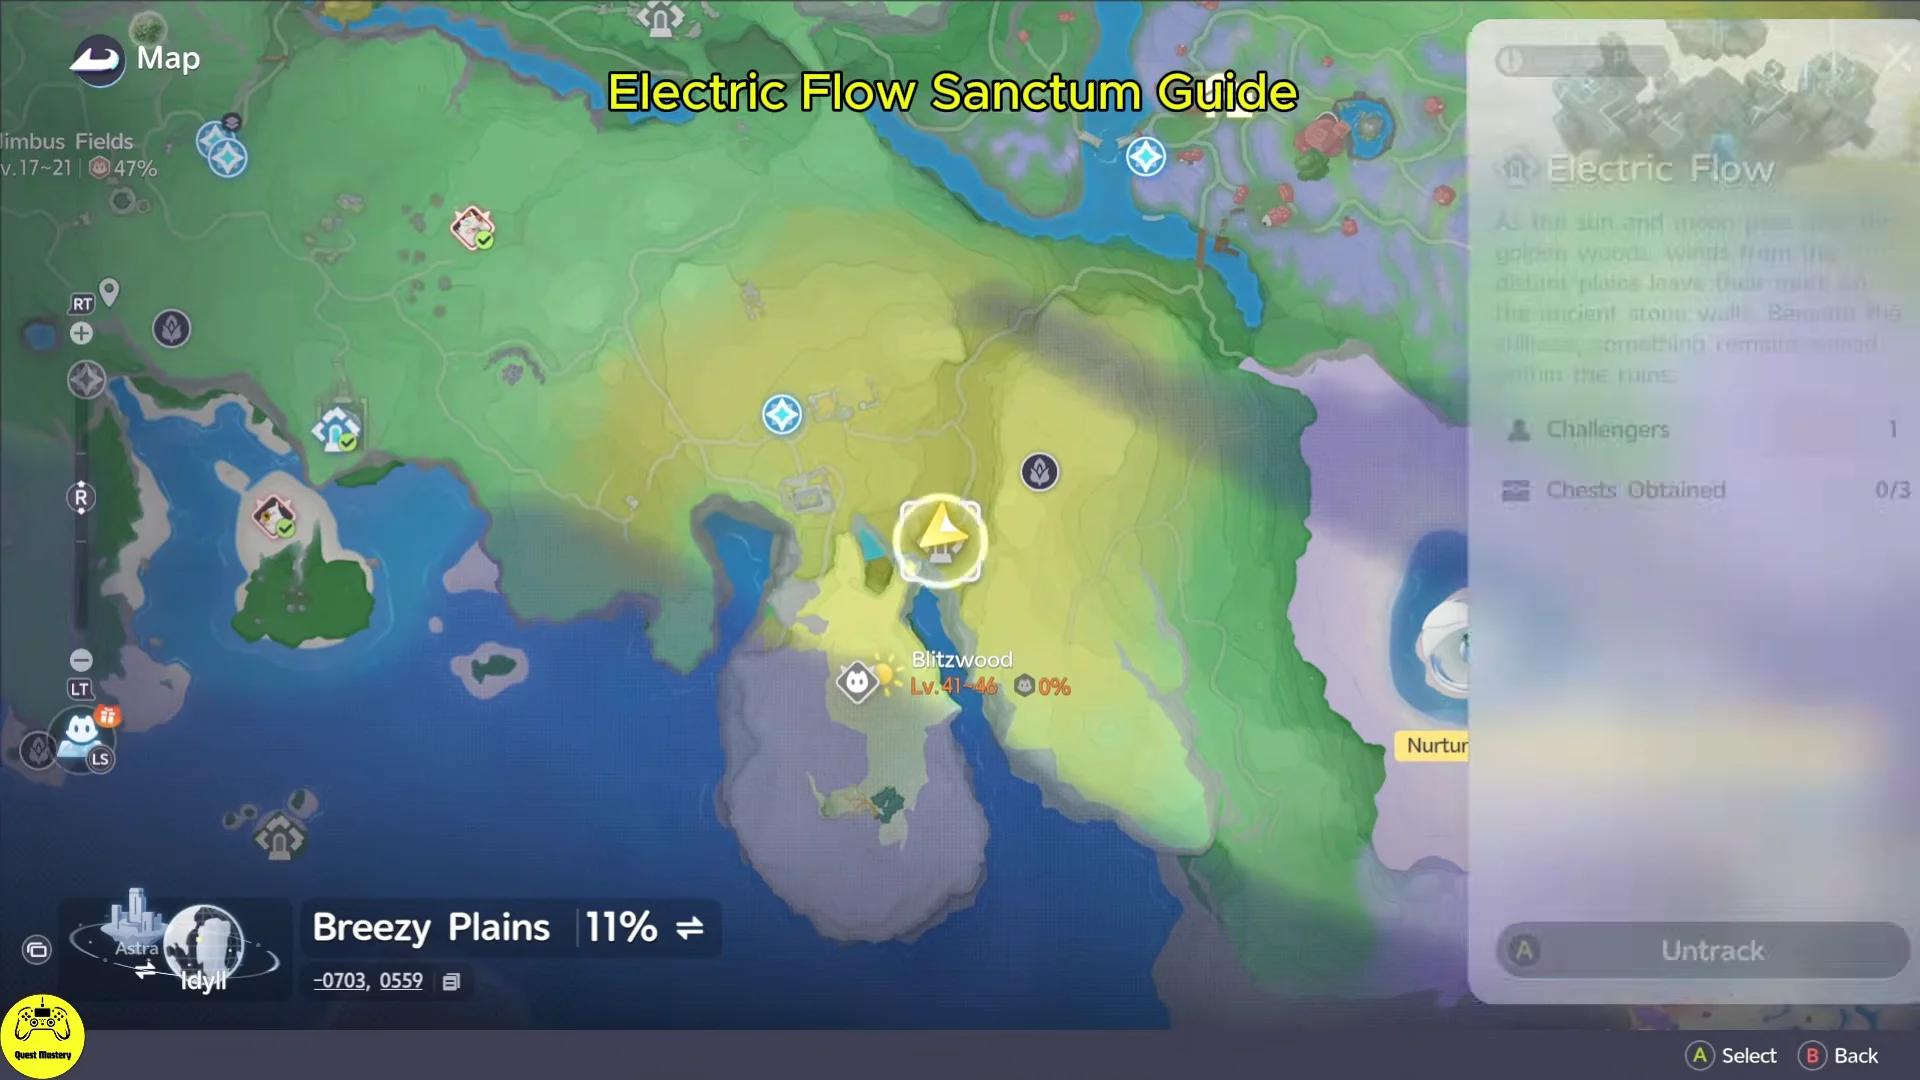
A floating stone cube marked with violet circuit lines marks the entrance near Blitzwood, at map coordinates -0703, 0559. Open your map, track Electric Flow, and travel there. Interact with the cube to activate it and add it as a Transport destination; interact a second time to enter. During the closed beta, the room was called Electric Surge, so older checklists refer to this same entrance.
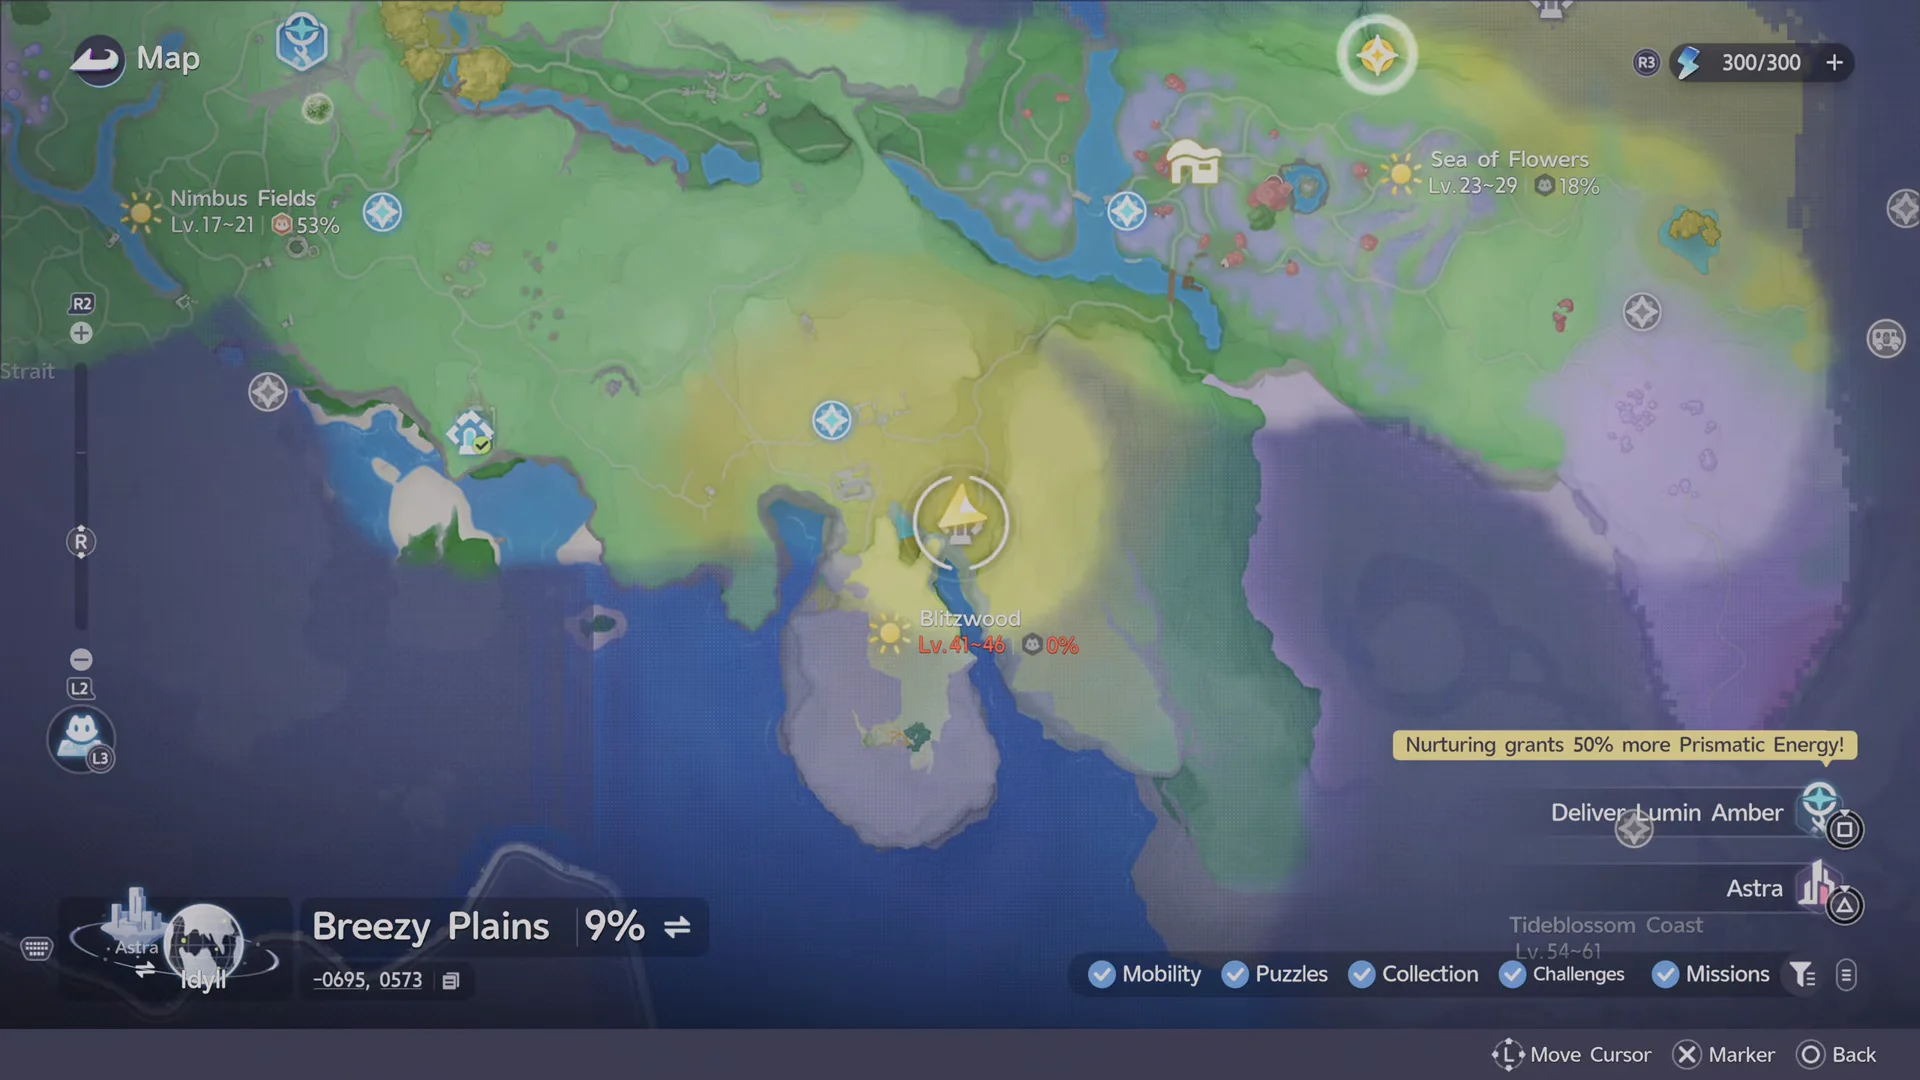
Before entering, check the card at the entrance: it shows the run’s exact chest count and verifies the location.
| Check | Value |
|---|---|
| Entrance title | Sanctum: Electric Flow |
| Area | Blitzwood, Breezy Plains (Lv. 41–45) |
| Challengers | 1 (solo) |
| Chest counter at entry | 0/3 |
| First clear reward | Lumin Amber: Breezy Plains ×1, 500 EXP |
You receive the first-clear reward only once. Later visits retain the Transport pin but offer no additional rewards.
Chest rewards inside Electric Flow
Each chest has a set grade rather than a randomized one, letting you know the payout before taking a detour. There is one chest of each grade in Electric Flow.
| Chest | Grade | Currency | Held item |
|---|---|---|---|
| Chest 1 (east wall) | Standard | 10 Glimmer, 10 Sparkling Crystal, 10,000 Credits |  Ferocious Fang (Rare) Ferocious Fang (Rare) |
| Chest 2 (shelf) | Basic | 5 Glimmer, 5 Sparkling Crystal, 5,000 Credits | None |
| Chest 3 (lift) | Premium | 20 Glimmer, 15 Sparkling Crystal, 20,000 Credits | Ferocious Fang (Epic) |
The chest tally and the Vein track completion independently. Restoring the Vein will not raise the count, so any chest you skip is gone for that clear.
Trial Bolty, controls, and how the circuits read
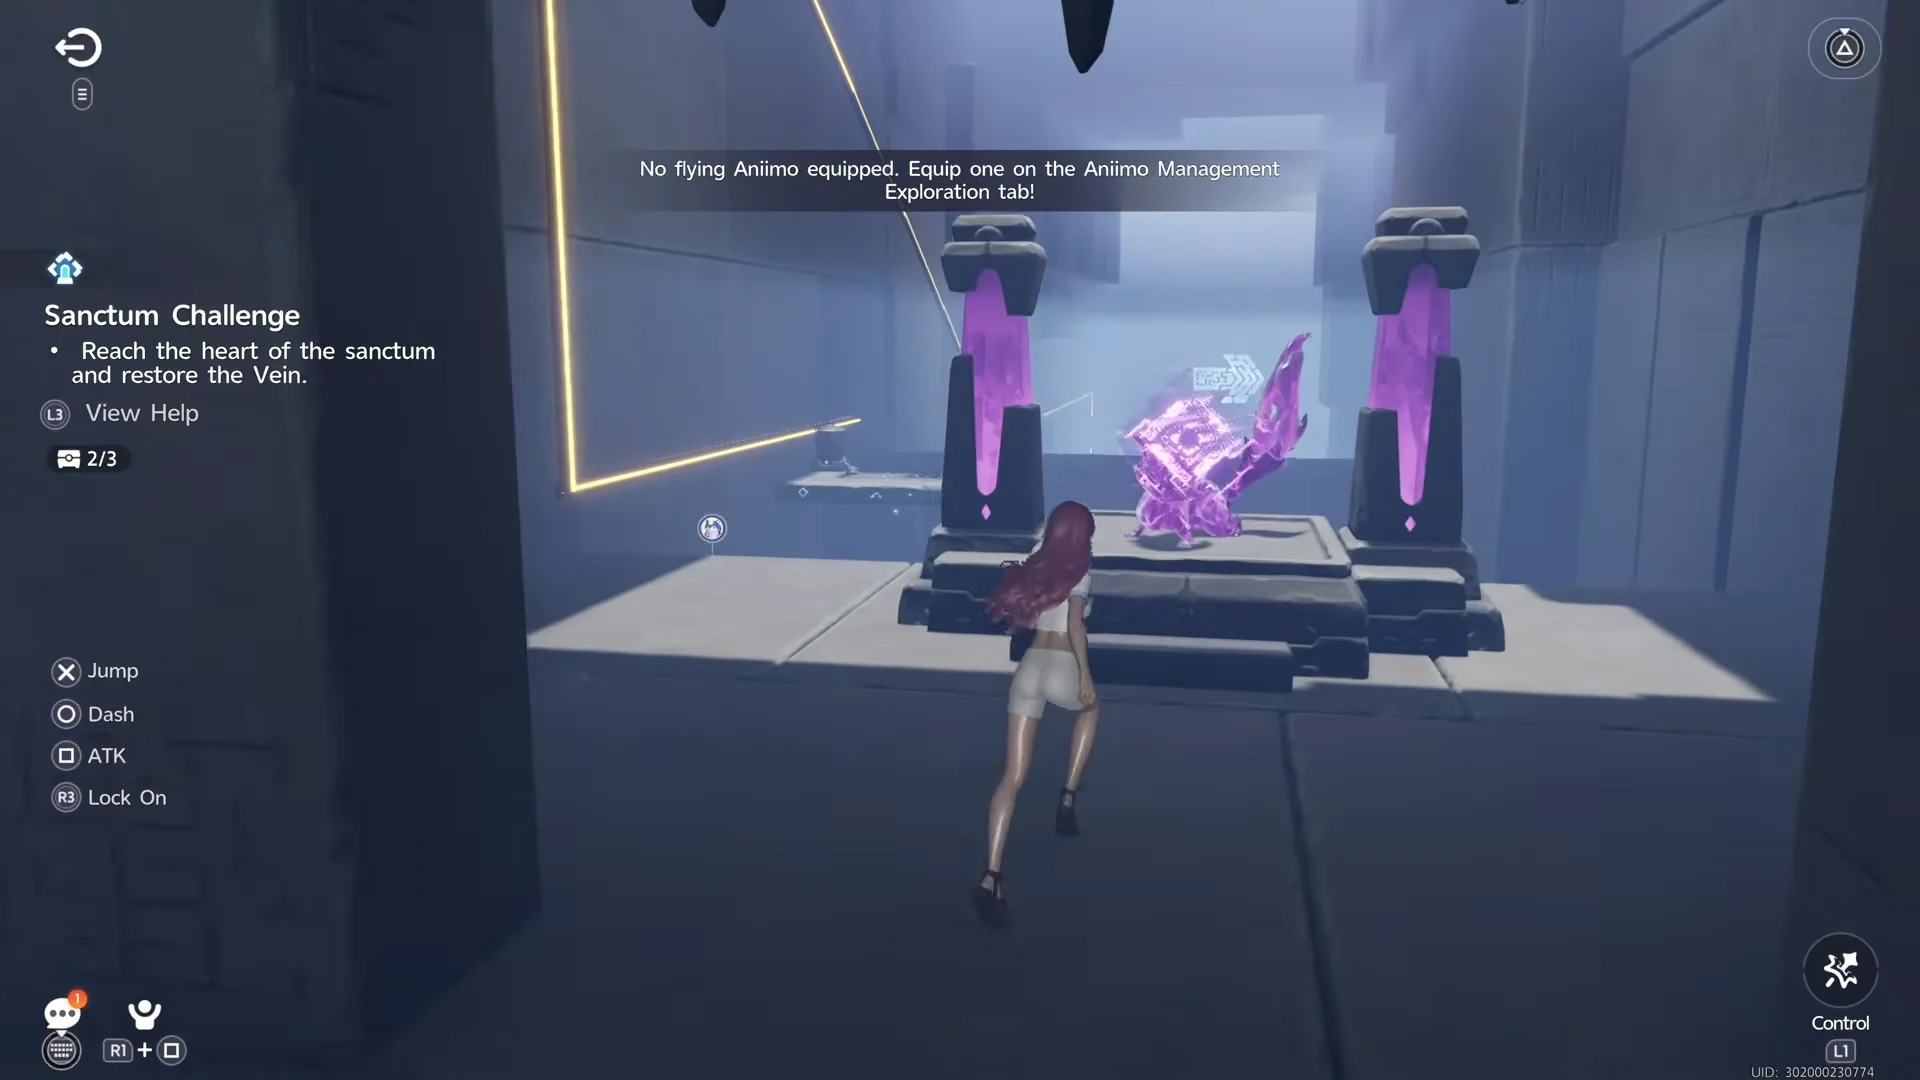
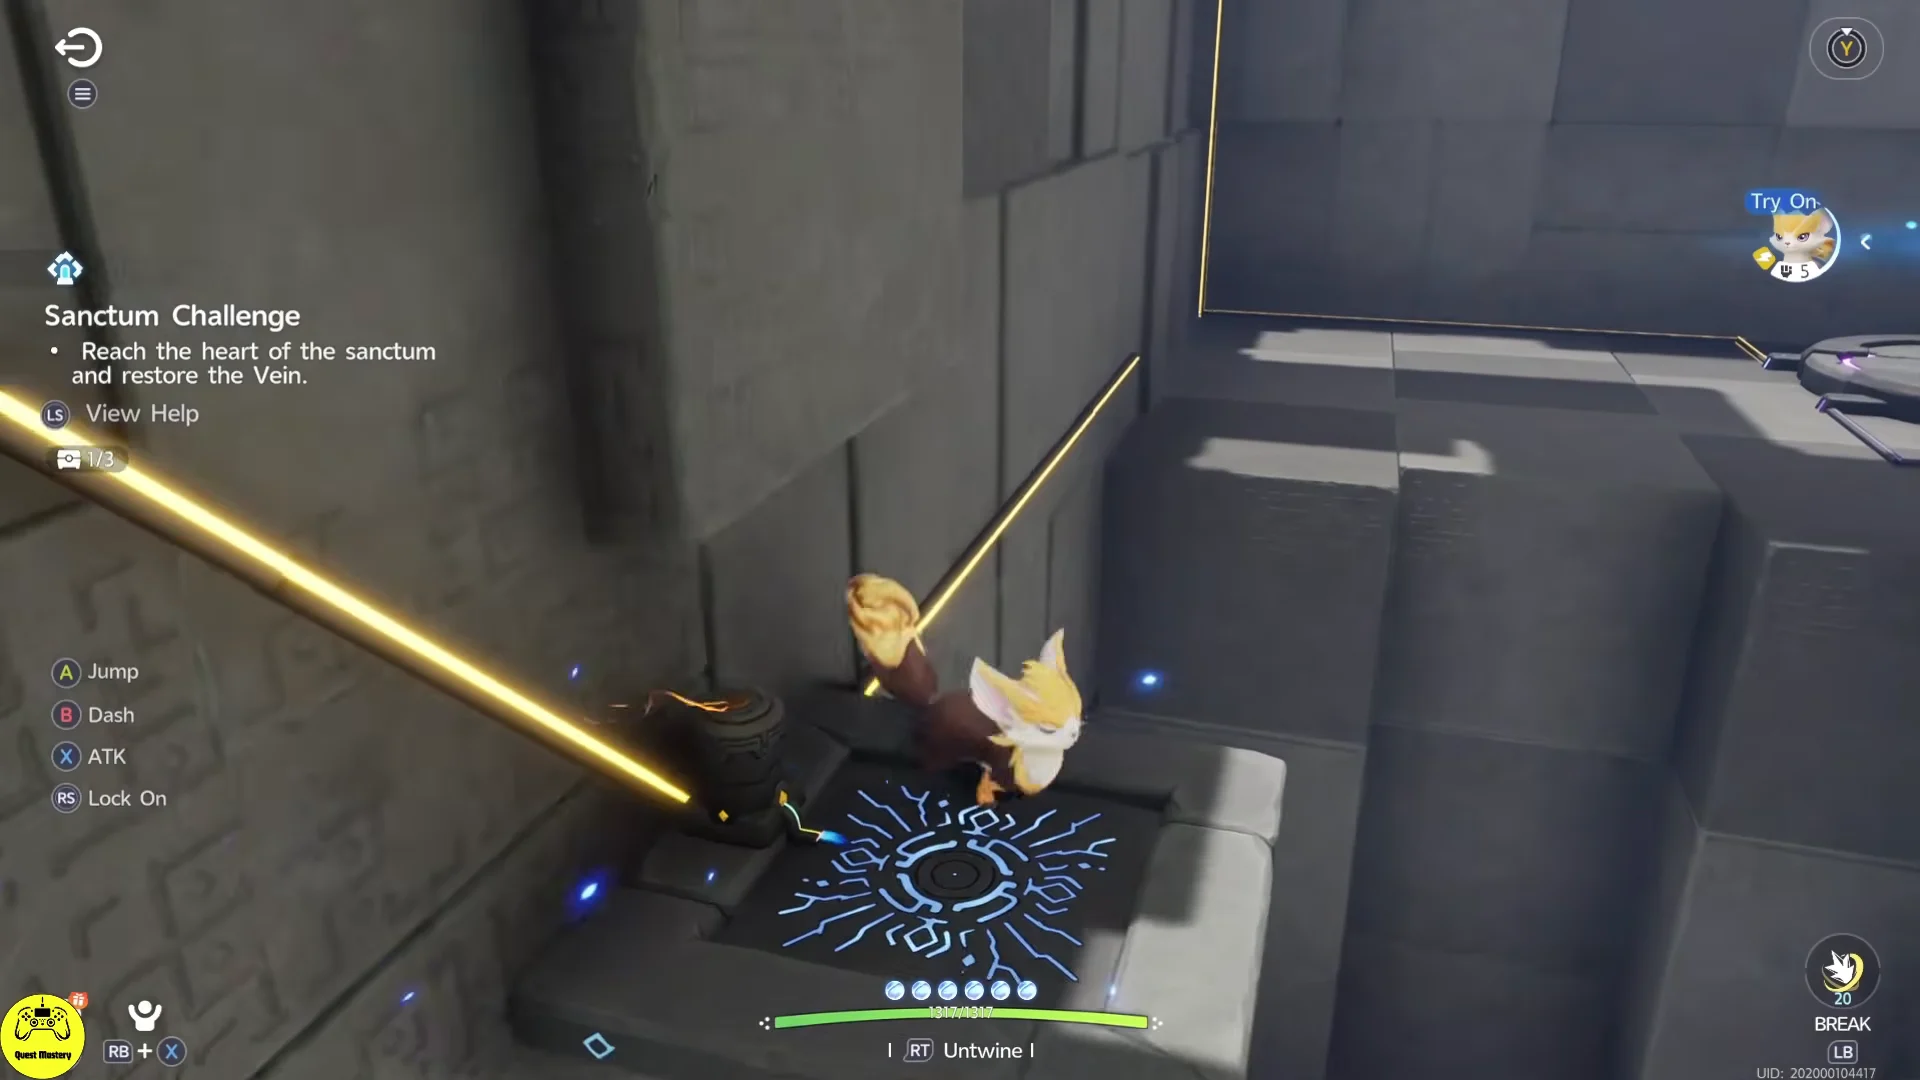
The statue at the beginning provides Bolty for the trial: this electric fox Animo fills the BREAK role, so ownership is not required. Twine with Bolty to send electricity into marked conductors and charging plates. To pick up or place anything, Untwine and control your Wayfarer; only the Wayfarer can place objects.
| Control | Action |
|---|---|
| G (Grab) | Lift and aim an object; Drop to seat it on a node, E to throw |
| 9 (BREAK) | Bolty’s electric discharge to charge batteries and conductors |
| Twine / Untwine | Swap between Bolty and your Wayfarer |
| Try On | Claim trial Bolty at the statue |
Read the lines on the floor and walls to know where power is missing:
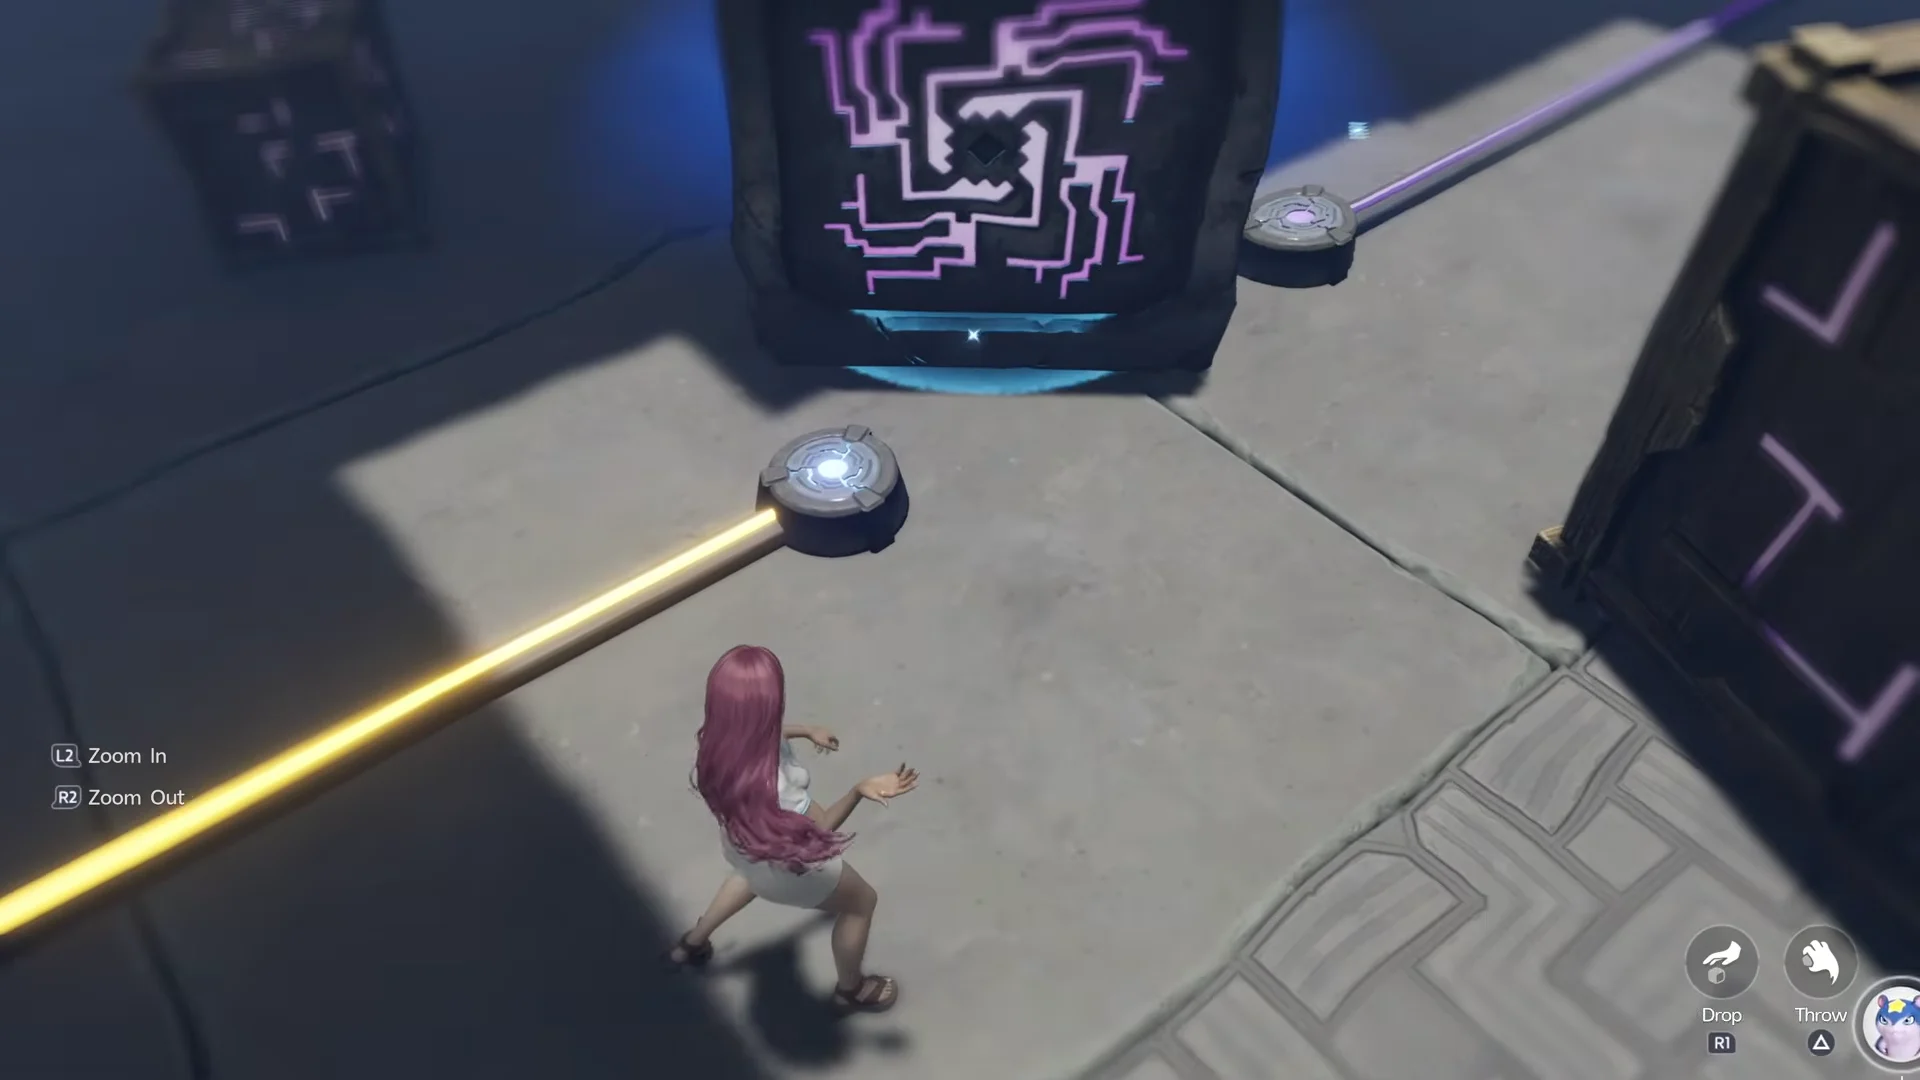
- Violet line: current has not reached this branch; follow it back toward the source.
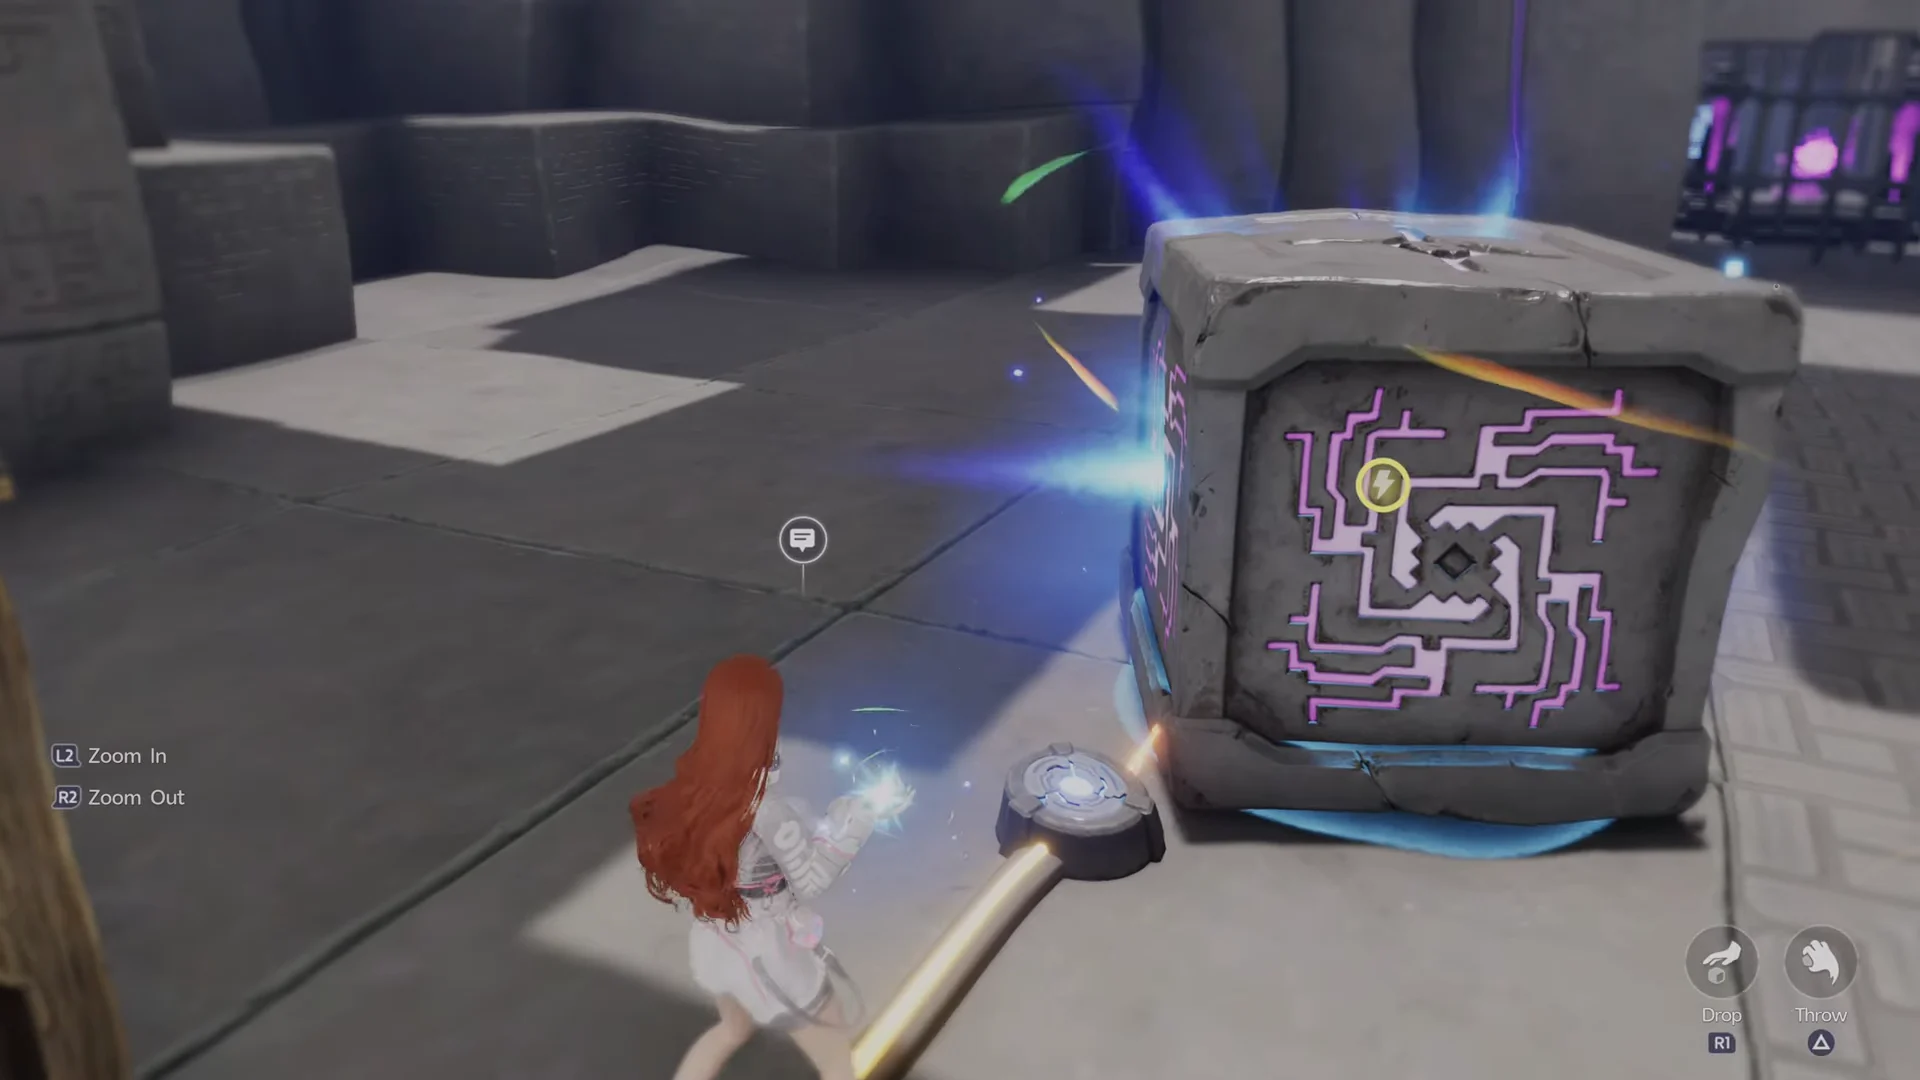
- Gold line: current is flowing all the way from the source to its destination.
- Cyan doorway trim: the gate connected to it is open right now.
- Blue hold aura: this indicates an object in your hands, not a power level.
Current passes through the room’s two junctions only if each receives a feed simultaneously. Keep the Sanctum’s entrance section energized while handling the west wall for that reason. Water and metal are both conductive, a detail that becomes important for a wooden crate later.
Full Electric Flow walkthrough (all three chests)
Opening hall and Chest 1
Bolty, the moving platforms, and Chest 2

The cage, the lift, and Chest 3
Final door and the Sanctum Terminus
Lethal drops and the interior checkpoint
No timer runs in Electric Flow, so take time to inspect each feed before moving an object. The hazard comes from drops, and the route’s one interior checkpoint is positioned about halfway through.
- You unlock the only interior respawn point while crossing the narrow gate powered by the wall run, just before reaching the shelf chest.
- Fall before reaching that point, and you return to the entrance pad.
- Four drops kill outright: the shaft west of the statue, the pit under the long platform, the void beneath the east corridor, and the low floor under it.
- Cross the gaps on the four moving platforms. Each handles a different drop, so there is no need to jump.
Each of the four cyan gates depends on its lamp staying lit, not on a one-time trigger; when its feed loses power, the gate closes. Should a doorway shut behind you, retrace the feed to the most recent plate or terminal pair you powered rather than searching for another puzzle.
Confirming the clear
A completed run has two checks: the entrance card and the map entry must each show 3/3 for the chest count, and touching the Terminus must resolve the Sanctum Challenge with the Vein restored. When you leave, the result screen reports 3/3 chests obtained and grants the first-clear reward, Lumin Amber: Breezy Plains and 500 EXP. This payout happens once only. The entrance remains a Transport point for getting around Blitzwood, but the interior offers nothing else, making the 3/3 check before the Terminus your final decision of the run.