Fairy Forest Raid Act 3 on Hard is the stage you loop to unlock Bon in Anime Origins, and it clears reliably without an immortal trait or any secret unit. The whole run works because a small set of damage, control, and economy units stacks enough on-screen effects to delete the Wave 20 boss before it becomes a threat. Once the team and placement are locked in, the round finishes the same way every time, which is exactly what an AFK loop needs.
Quick answer: Enter Fairy Forest Act 3 on Hard, place Bluma and Leo for income on Wave 1, drop Vegita then Goki side by side on Waves 2–3, add Melio and Roxi on Wave 4, max your money units and then Vegita and Goki, and after the King boss dies on Wave 20 wait 2–3 seconds before clicking Replay so the loop restarts cleanly.
Team composition for Fairy Forest Act 3
The build uses six units split across damage, magic support, status control, and economy. Goki and Vegita carry the run, so their adjacency bonus is the single most important thing to get right. The rest of the team exists to keep enemies slowed, softened, and constantly funding upgrades.
| Unit | Role | What it does |
|---|---|---|
| Goki (Super 3) | Main DPS | Primary damage, pairs with Vegita for the crit synergy |
| Vegita (Super) | Main DPS | Gains +25% crit chance while Goki is nearby |
| Roxi (Mage) | Magic support | Slows enemies 15%, adds +10% magic damage taken, buffs magic range 5% |
| Melio | Status control | Applies slow, burn, pushback, and brittle for +10% damage |
| Bluma (Data Analyst) | Economy | Generates money for upgrades |
| Leo | Economy | Second income source alongside Bluma |
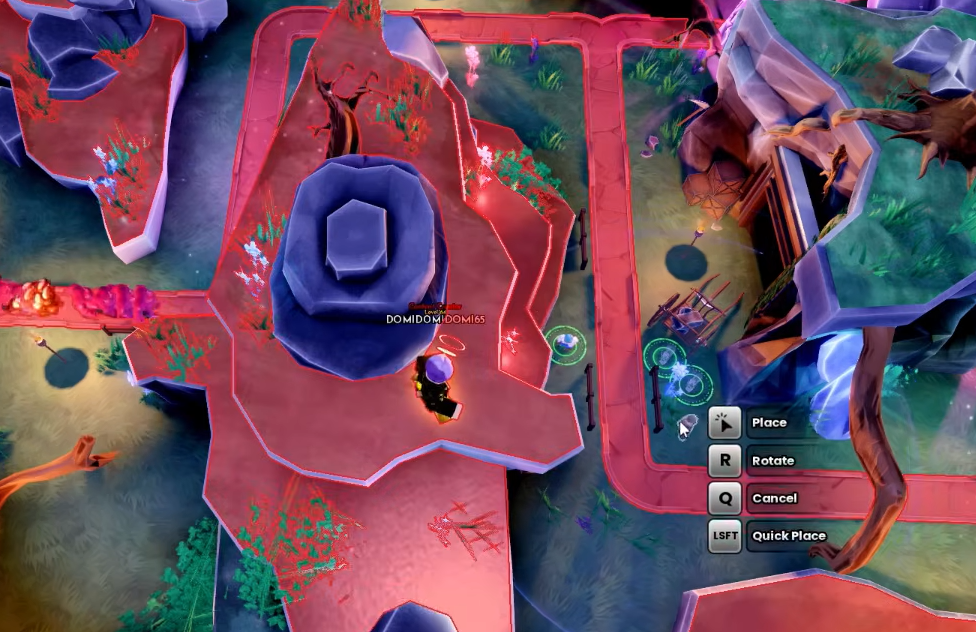
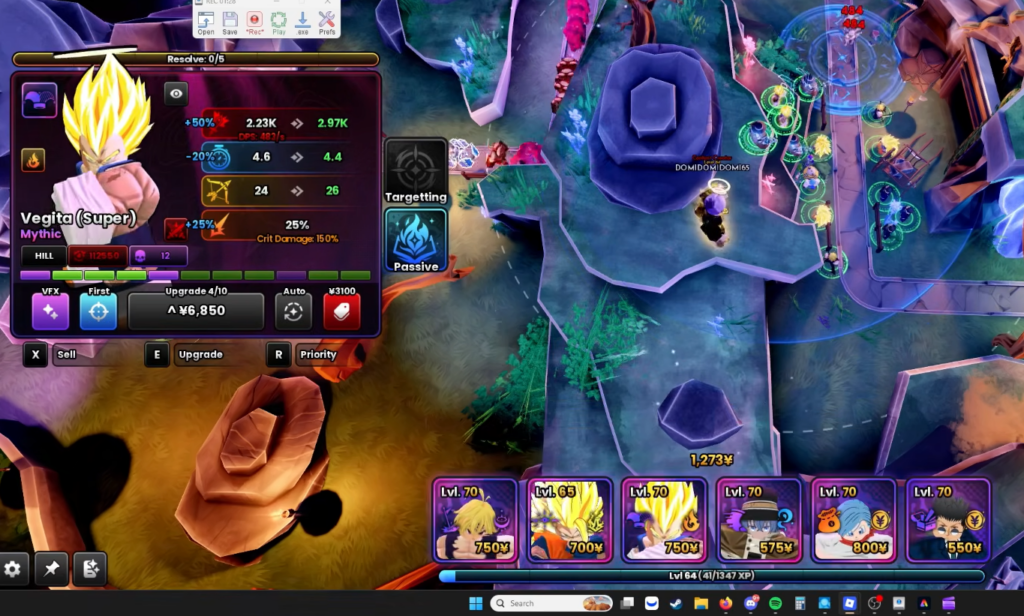
Goki and Vegita must sit next to each other for the +25% crit chance to apply. If they drift apart, Vegita loses the bonus, and the run slows down.
Placement order wave by wave
Placement follows the wave clock, not a fixed timer. Get the economy down first, then the damage core, then the control units. Doing it in this order means your money units start paying before enemies get dangerous.
Upgrade priority through Waves 5–19
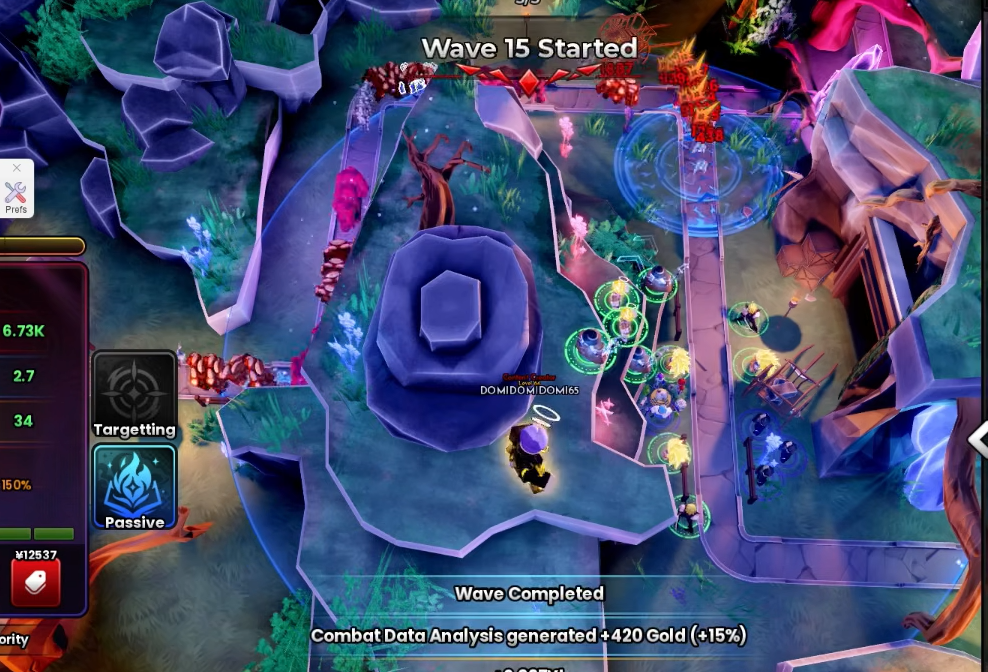
Money comes before damage. Push Bluma and Leo up first so the yield funds everything else, then pour the rest into Vegita and Goki until they are maxed. You can upgrade manually or lean on the auto-upgrade menu to keep the process hands-free across the middle waves.
- Max Bluma and Leo first to lock in income.
- Then focus all money on maxing Vegita and Goki.
- Let Roxi and Melio keep enemies slowed and brittle while the DPS scales.
Wave 20 King boss
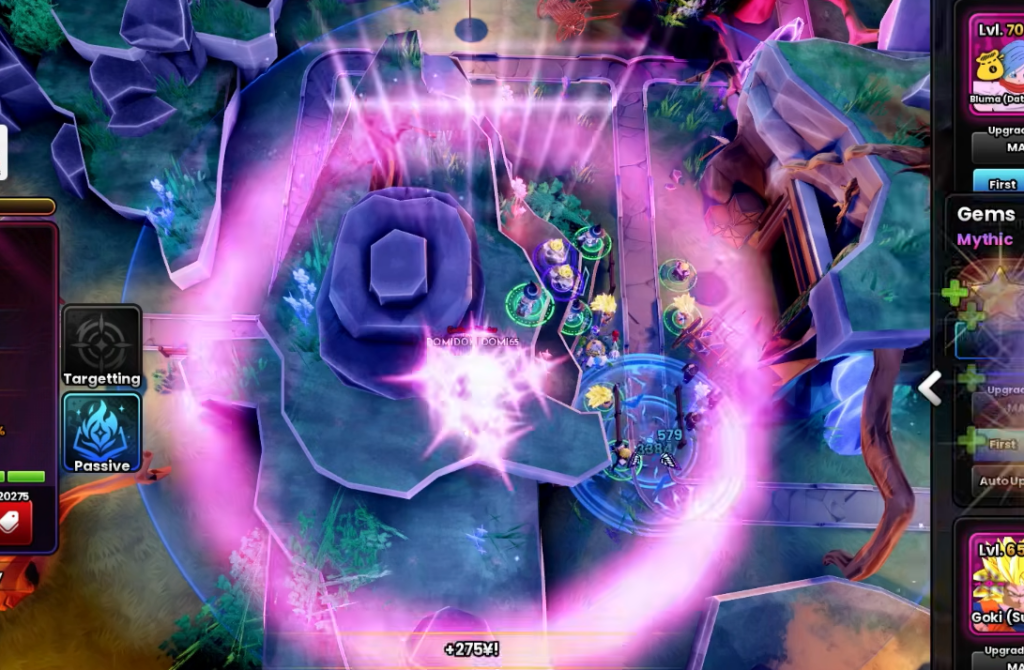
The boss called King spawns on Wave 20. With Vegita and Goki maxed and the brittle plus magic-vulnerability effects stacked, King goes down almost immediately. A full clear pushes around 6.06M total damage and roughly 360.06K money earned across all 20 waves, which confirms the defense is strong enough to loop unattended.
Timing the macro loop
The loop lives or dies on the restart timing. After King dies, the game briefly ticks health regeneration, so clicking Replay too early can throw the sequence off. Wait 2–3 seconds once the boss is down, then hit Replay before the game returns you to the lobby. Recording your macro around that same window is what keeps an overnight session in sync instead of drifting into a failed loop.
Rewards per clear
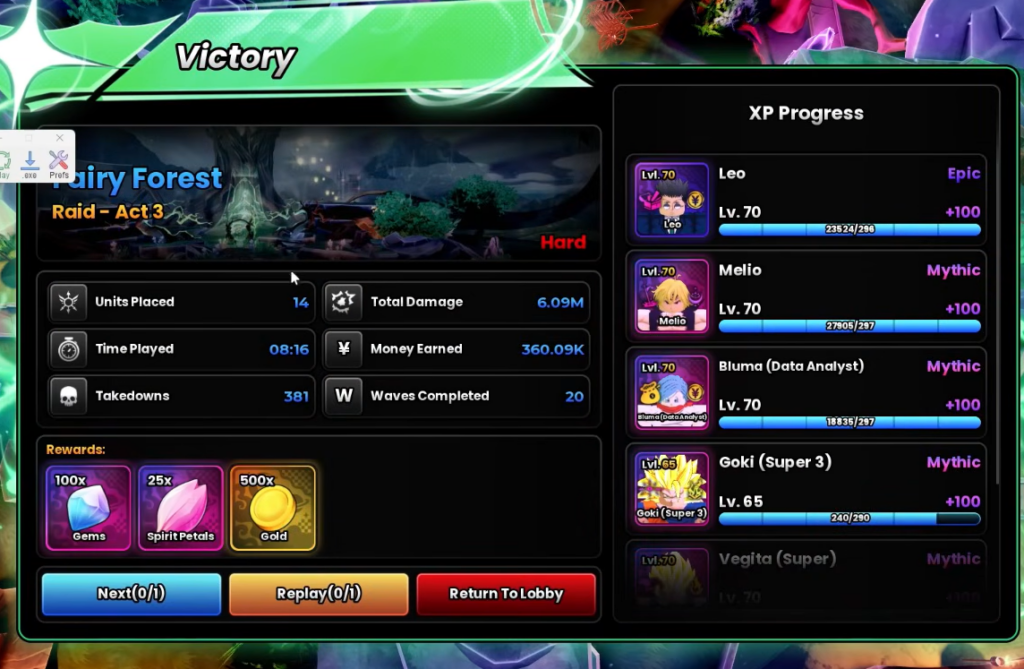
Each completed run pays out currency and materials on top of your progress toward Bon. The Victory screen also shows your match stats so you can verify the loop is actually finishing rather than stalling.
| Reward | Amount |
|---|---|
| Gems | 350 |
| Star | 10x |
| Spirit Petals | 5x |
| Gold | 1000 |
How to confirm the loop is working
You know a run succeeded when the Victory screen appears showing Waves Completed 20 and the reward payout. If your macro starts clicking on the wrong screen, the usual cause is restarting before the 2–3 second regen window, or Goki and Vegita being placed too far apart so King survives long enough to break the timing. Keep the two DPS units adjacent, max the money units first, and hold the restart click until the boss is fully dead, and the same clear repeats for as long as you leave it running.