After an Expedition Project reset in Arc Raiders, every learned recipe is wiped, and you start the blueprint hunt from scratch. The fastest way to rebuild a competitive workshop is to ignore the common drops and go straight for the ones gated behind a specific map, map condition, boss event, or quest. Those are the blueprints that almost never show up in a normal raid, and they are what separate a stocked Speranza from another month of grinding.
Quick answer: The rarest blueprints sit in four buckets, which is where to focus your runs: Harvester event drops (Jupiter, Equalizer), Stella Montis exclusives (Aphelion, Trailblazer, Deadline, Pulse Mine, Gas Mine, Seeker Grenade), condition-locked spawns during Electromagnetic Storm, Hurricane, Night Raid, Cold Snap, or Close Scrutiny (Snap Hook, Surge Coil, Bobcat, Canto, Vulcano, Tempest, Wolfpack, Fireworks Box, Dolabra, plus the rarer Mk.III mods), and quest-only unlocks (Hullcracker, Burletta, Lure Grenade).
How the Expedition reset changes blueprint priority
Learned blueprints are tied to your Expedition Project. When the project resets, every recipe is removed from your workshop and has to be relearned. Blueprints themselves are physical items, so any unconsumed copies you carry in your stash or extract on the next run remain valid and can still be learned with “Learn and Consume” at Speranza.
That makes the post-reset window the right time to stop selling rare blueprints for 5,000 coins and start banking them. Duplicates are only useful for coins once the recipe is relearned, and several of the rarest recipes only appear under conditions you may not see for days.
Harvester-only blueprints (the hardest tier)
Two weapons drop only from the Harvester, the giant ARC machine that arrives during the Harvester map condition. They cannot be found in containers, are not awarded by trials, and have no quest path.
| Blueprint | Source | Notes |
|---|---|---|
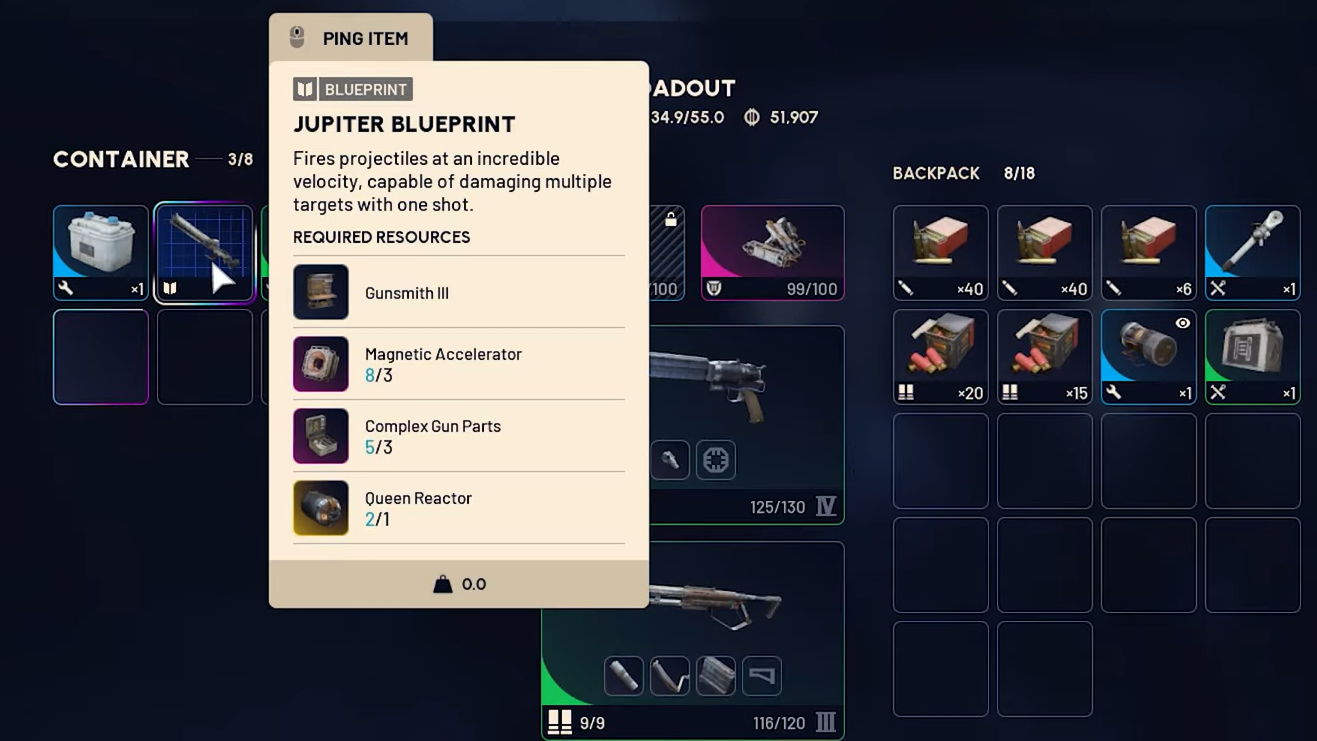
| Jupiter | Harvester drop, Harvester condition only | Gunsmith Level 3 craft, needs a Queen Reactor |
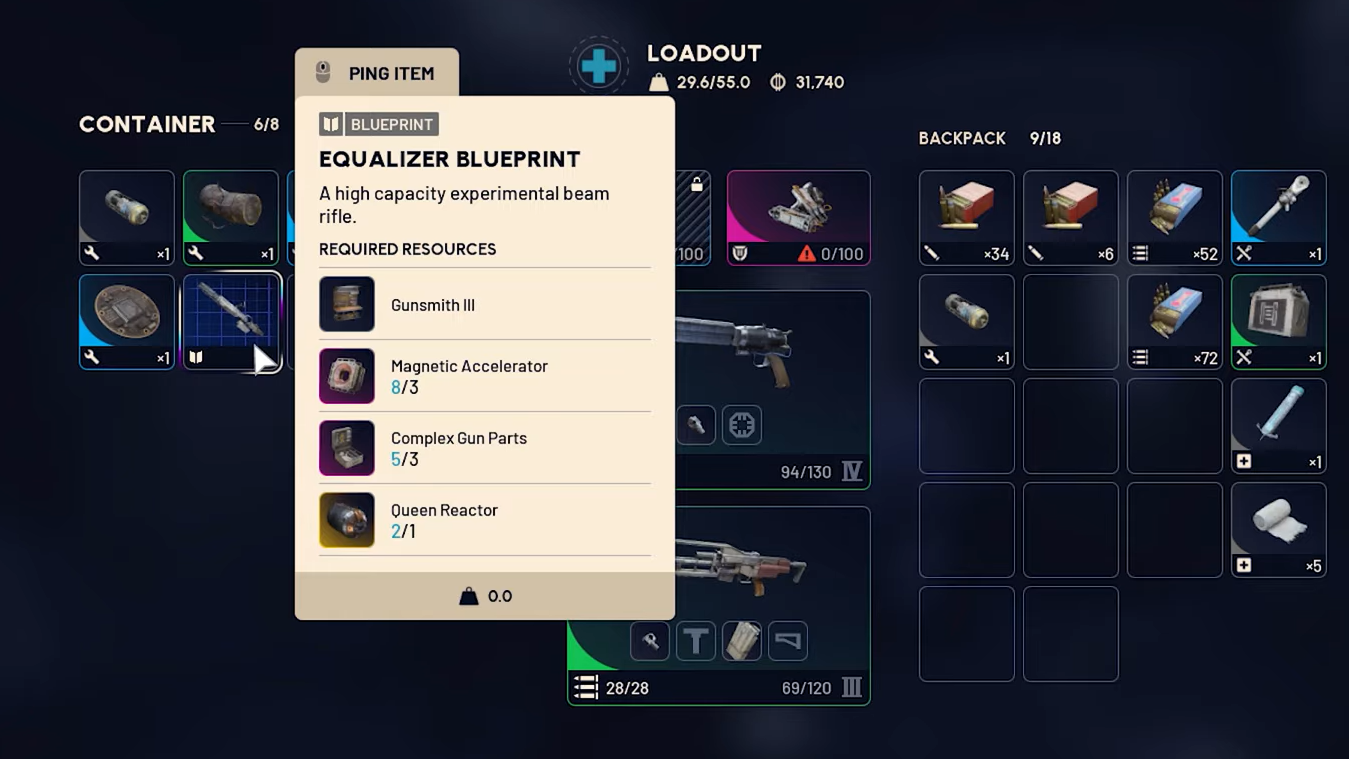
| Equalizer | Harvester drop, Harvester condition only | Gunsmith Level 3 craft, needs a Queen Reactor |
To trigger a drop, you have to commit to the Harvester fight when it appears on the map, deal meaningful damage to it, and survive the wreckage long enough to loot. Bring energy weapons and a clear extraction plan, because the fight pulls in other raiders fast.
Stella Montis exclusives
Several blueprints can only be scavenged on Stella Montis. They spawn in any container category on that map (“Anywhere” in the loot pool), which means you cannot farm them on Dam Battlegrounds, Buried City, Spaceport, or Blue Gate at all.
| Blueprint | Type | Where on Stella Montis |
|---|---|---|
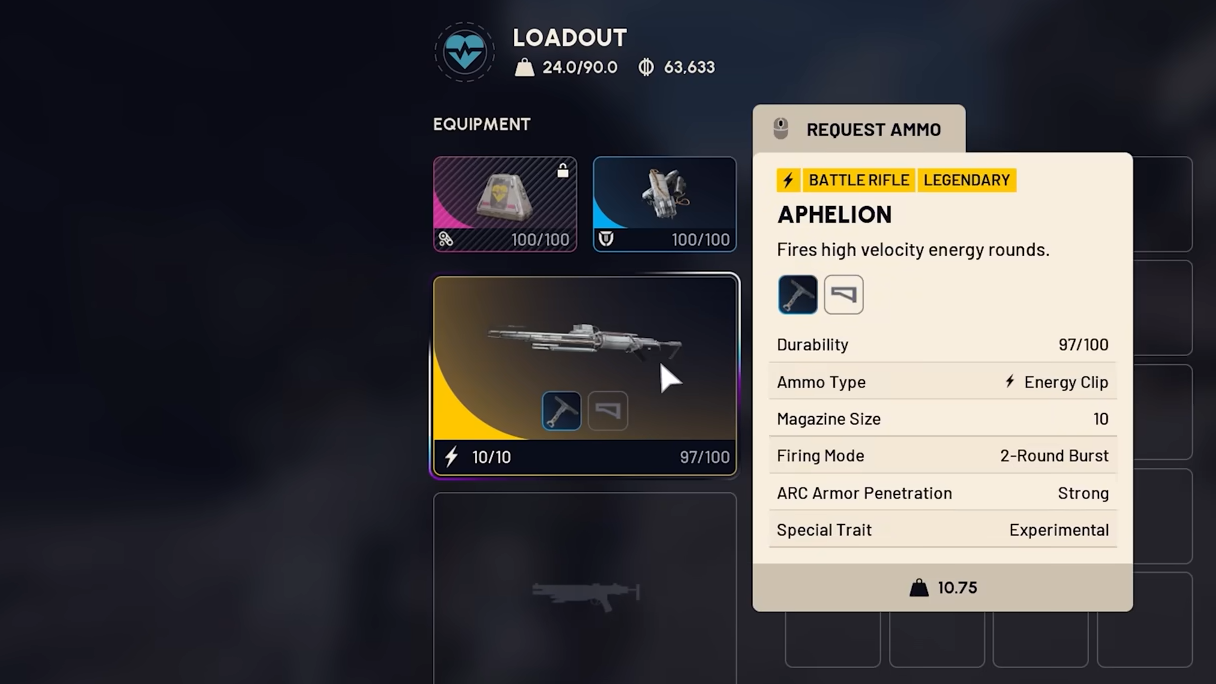
| Aphelion | Weapon (Gunsmith 3, Matriarch Reactor) | Anywhere |
| Trailblazer | Explosive utility | Anywhere |
| Deadline | Explosive | Anywhere |
| Pulse Mine | Explosive | Anywhere |
| Gas Mine | Explosive | Anywhere |
| Seeker Grenade | Explosive | Anywhere |
The Combat Mk.3 and Tactical Mk.3 augments (Aggressive, Flanking, Defensive, Healing, Revival) spawn on Stella Montis and Blue Gate only, from Medical and Security containers. They are not Stella Montis-exclusive, but they share the same high-tier farming routes and are worth grabbing on the same runs.
Practical loop: spawn western Stella Montis, run Assembly Workshops, hit Medical Research only with a squad, and extract through the Assembly Workshops hatch with a Raider Hatch Key for a silent exit.
Condition-locked blueprints
Most of the truly rare blueprints only enter the loot pool when a specific Major Map Condition is active. Rare and epic blueprints also drop at roughly double the rate while a x2 Major Map Condition is in effect, so a condition night is when you push the dangerous routes.
| Blueprint | Required Condition | Container |
|---|---|---|
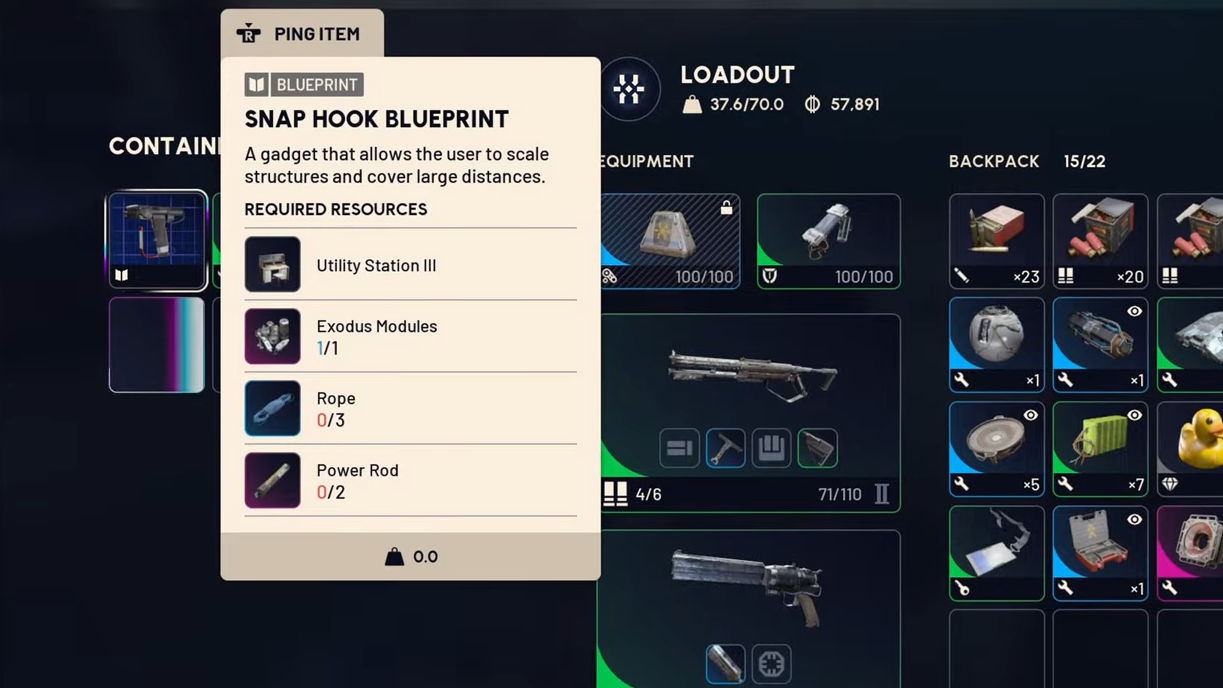
| Snap Hook | Electromagnetic Storm | Anywhere |
| Surge Coil | Electromagnetic Storm | Anywhere |
| Bobcat | Locked Gate or Hurricane | Anywhere, First Wave Cache |
| Canto | Hurricane | First Wave Cache |
| Vulcano | Hidden Bunker or Hurricane | Anywhere, First Wave Cache |
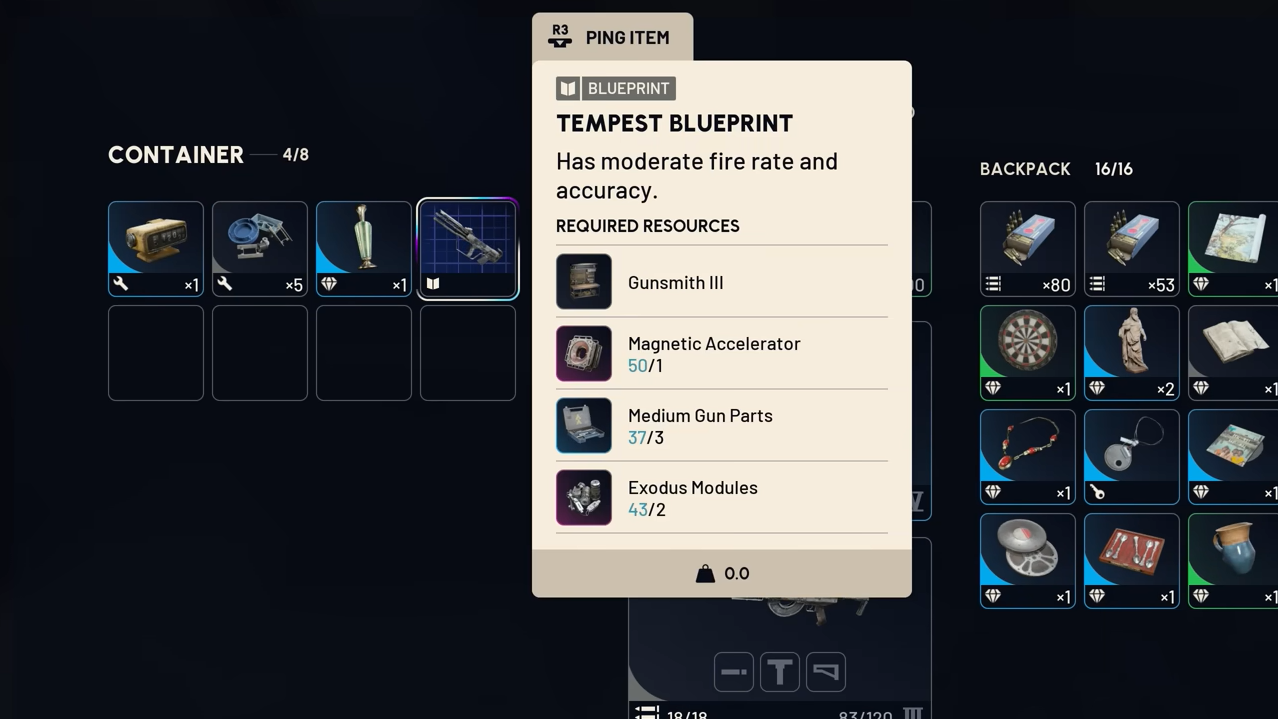
| Tempest | Night Raid or Hurricane | Residential Containers, First Wave Cache |
| Wolfpack | Night Raid | Residential Containers |
| Dolabra | Close Scrutiny | ARC Assessor |
| Fireworks Box | Cold Snap | Anywhere (also quest reward) |
The Mk.III weapon mods (Angled Grip III, Compensator III, Muzzle Brake III, Vertical Grip III, Shotgun Choke III, Extended Magazine III variants, Stable Stock III, Lightweight Stock, Padded Stock, Shotgun Silencer, Extended Barrel) are also condition-locked. They appear in Residential Containers during Electromagnetic Storm, Locked Gate, or Night Raid, with Padded Stock and Shotgun Silencer also rolling in Hidden Bunker.
Quest-only blueprints
A small group of blueprints cannot be found in containers at all. They are locked to a specific quest reward and will never drop again, no matter how many raids you run.
| Blueprint | Quest |
|---|---|
| Burletta | Industrial Espionage |
| Hullcracker | The Major’s Footlocker |
| Lure Grenade | Greasing Her Palms |
| Vita Spray | Worth Your Salt (also scavengeable) |
| Trigger ‘Nade | Sparks Fly (also scavengeable) |
| Fireworks Box | Test Case (also Cold Snap drop) |
After an Expedition reset, finish these quests before chasing scavenged blueprints. Hullcracker in particular is the only path to that weapon recipe, and missing The Major’s Footlocker leaves a permanent gap in your Gunsmith.
Container categories to remember on every map
Blueprints follow a strict category-to-container relationship outside of the Stella Montis “anywhere” pool. Knowing which container types to prioritise saves time on long routes.
| Category | Primary Container | Examples |
|---|---|---|
| Weapons and gun parts | Raider Containers | Anvil, Bettina, Il Toro, Osprey, Torrente, Venator |
| Weapon mods | Residential Containers | All Mk.II/III mods, Silencers, Magazines |
| Explosives | Industrial Containers | Blaze Grenade, Showstopper, Jolt Mine |
| Utilities | Electrical Containers | Barricade Kit, Tagging Grenade, Remote Raider Flare |
| Medical | Medical Containers | Vita Shot, Vita Spray, Defibrillator |
| Augments (Mk.3) | Security and Medical Containers | Combat Mk.3, Tactical Mk.3, Looting Mk.3 |
The Tempest is the one exception in the weapon set, since it spawns from Residential containers instead of Raider containers. ARC Surveyors can also drop blueprints, and they are the only non-Harvester ARC enemy worth fully clearing for blueprint hunts.
Trials and ARC Surveyors as a backup
Every blueprint in the scavengeable loot pool can be unlocked as a 3-star reward in weekly Trials. That makes Trials the safest replacement source for scavengeable items after a reset, especially condition-locked mods you would otherwise need to chase across multiple Electromagnetic Storms.
Trials cannot deliver Harvester-only (Jupiter, Equalizer), quest-only (Hullcracker, Burletta, Lure Grenade), or pure-trophy entries such as Snap Hook, which the wiki marks as “Trophy Only” for Trials. Plan those around live raids, not Trials rotations.
Extraction discipline matters more than the drop
A blueprint only counts when it returns to Speranza. Several rules apply across every map and condition:
- If you die in-raid carrying an unlearned blueprint, it is gone for that run.
- Public extractions (Cargo Elevator, Metro Station, Airshaft) run a 90-second timer and a loud alarm. Treat them as a last resort on Harvester or x2 condition nights.
- Raider Hatch Keys are silent, instant, and work on every map. Carry one whenever you push Stella Montis or a Harvester event.
- To verify the blueprint is yours, return to Speranza, open inventory, select the blueprint, and use Learn and Consume. The recipe appears at the matching workshop station with a ✓ on future duplicates.
The fastest post-reset rebuild is sequential rather than scattered. Clear the three quest-only blueprints first, run Stella Montis with a hatch key for the exclusives, time one Hurricane and one Electromagnetic Storm window for the condition-locked weapons and mods, and only commit to a Harvester fight when you have an energy-weapon squad and a guaranteed exit. Everything else can be filled in through Trials over the following weeks.