ARC Raiders’ weekly Trials rotate objectives every seven days, and hitting three stars on each one is the single most efficient way to earn epic-tier blueprints and rare loot. The point thresholds are fixed, the reward structure is straightforward, and with the right loadout choices, you can finish most objectives in under 20 minutes per match — even solo.
Quick answer: You earn three stars by reaching 4,000 points on a trial objective. That awards an epic (pink) reward, often a blueprint. You can only claim each star’s reward once per objective per week, so there is no reason to grind beyond 4,000 unless you want a higher leaderboard rank.
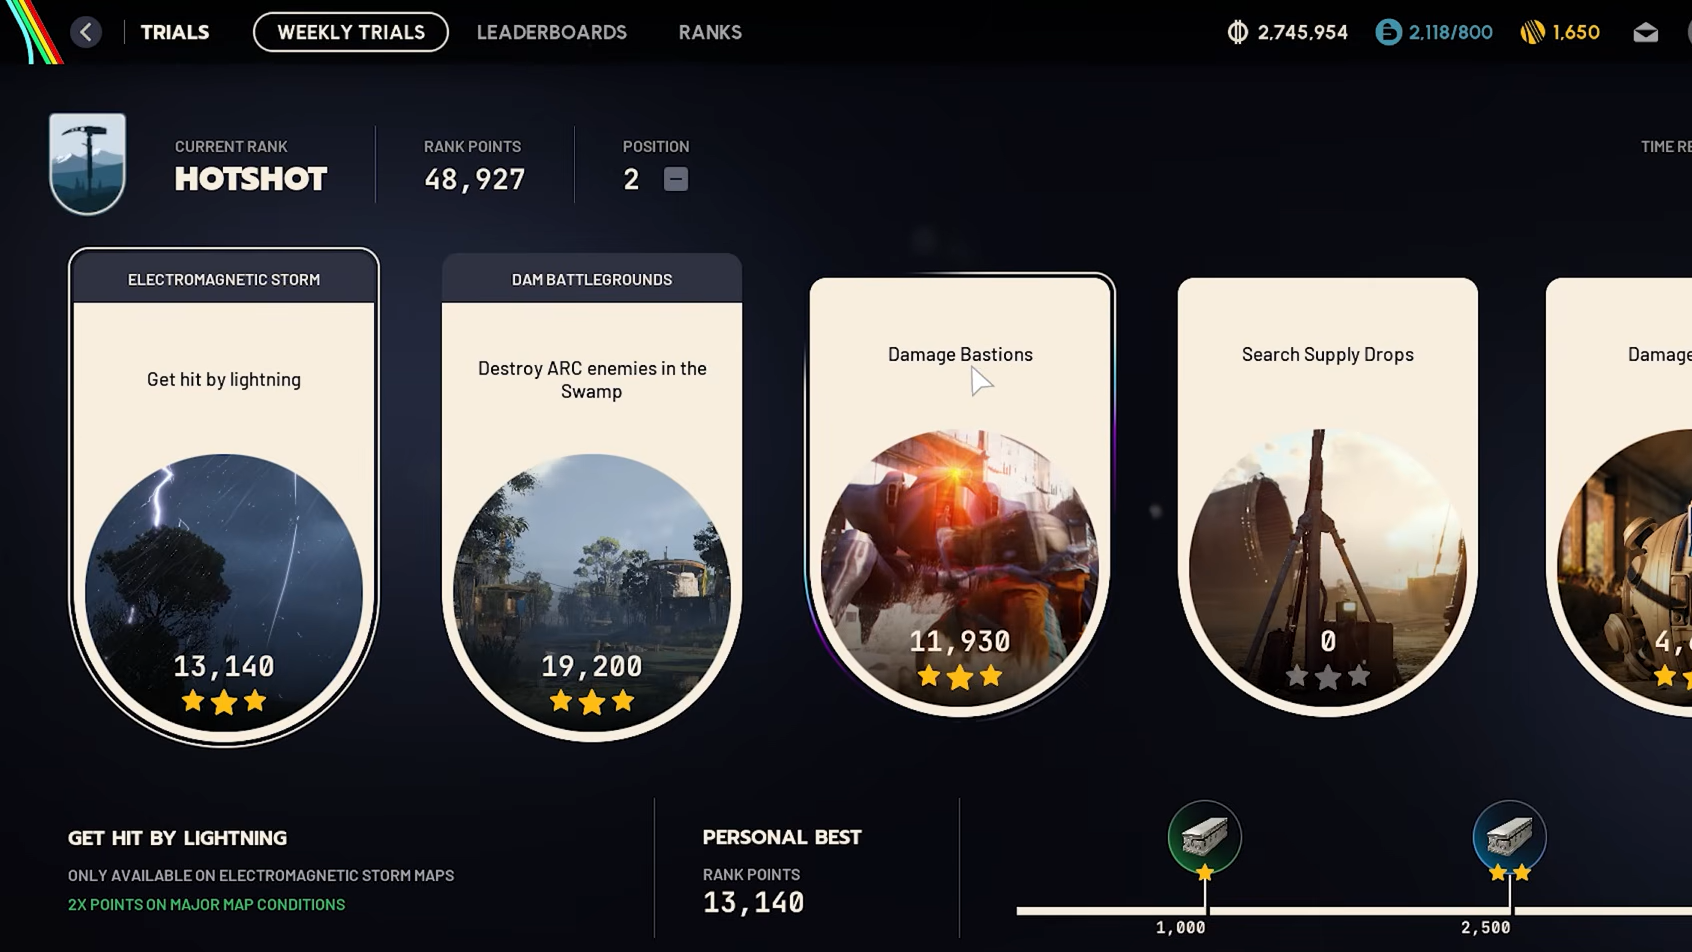
Trial star thresholds and rewards
| Stars | Points required | Reward rarity |
|---|---|---|
| 1 ★ | 1,000 | Uncommon (green) |
| 2 ★★ | 2,000 | Rare (blue) |
| 3 ★★★ | 4,000 | Epic (pink) |
Rewards are granted immediately after the match ends. Even if you skip the post-mission briefing screen, the items go straight into your stash. If your stash is full, the trial rewards are still added — you simply won’t be able to move anything else from your inventory until you free up space.
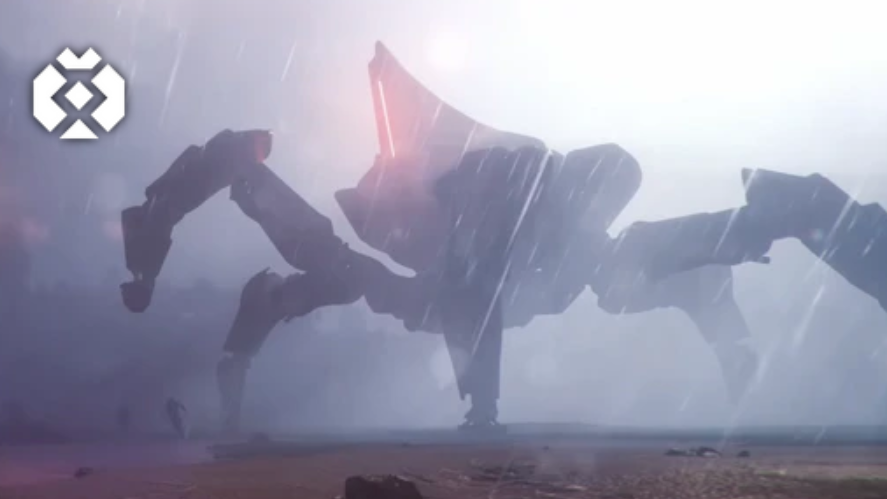
Damage Queens or Matriarch
When the weekly rotation includes a “damage Queens or Matriarch” objective, the Queen is generally the safer pick. The Matriarch is tougher and more unpredictable, and your experience will vary significantly depending on whether you’re in PvE or PvP lobbies.
PvP lobbies: Players in PvP lobbies tend to be less coordinated against the Queen, which means it stays alive longer and you have more time to rack up damage. Climb to the top of the Primary Generation Complex — you’ll need a Snap Hook or a Zip Line to reach the roof. From this elevated position, fire down at the Queen with an Osprey. The height also lets you watch for hostile players trying to push you. Focus on exposed weak points whenever possible, and use a Bettina to strip armor plating first.
PvE lobbies: The opposite problem exists here. Coordinated PvE groups can melt the Queen in minutes, leaving you very little time to contribute enough damage. If you spawn far from the Queen, you may not even reach it before it dies. The most reliable approach is to find a safe spot close enough to Snap Hook onto the Queen. Fire at it with a Bettina or Equalizer until other players draw its attention, then Snap Hook up, land on the Queen’s brain, and plant two Deadlines on the exposed core. If the core isn’t cracked open yet, an Equalizer breaks it fastest — or you can wait for other players to expose it. After placing the Deadlines, roll off and run. Two Deadlines plus sustained gunfire should push you past the 4,000-point threshold.
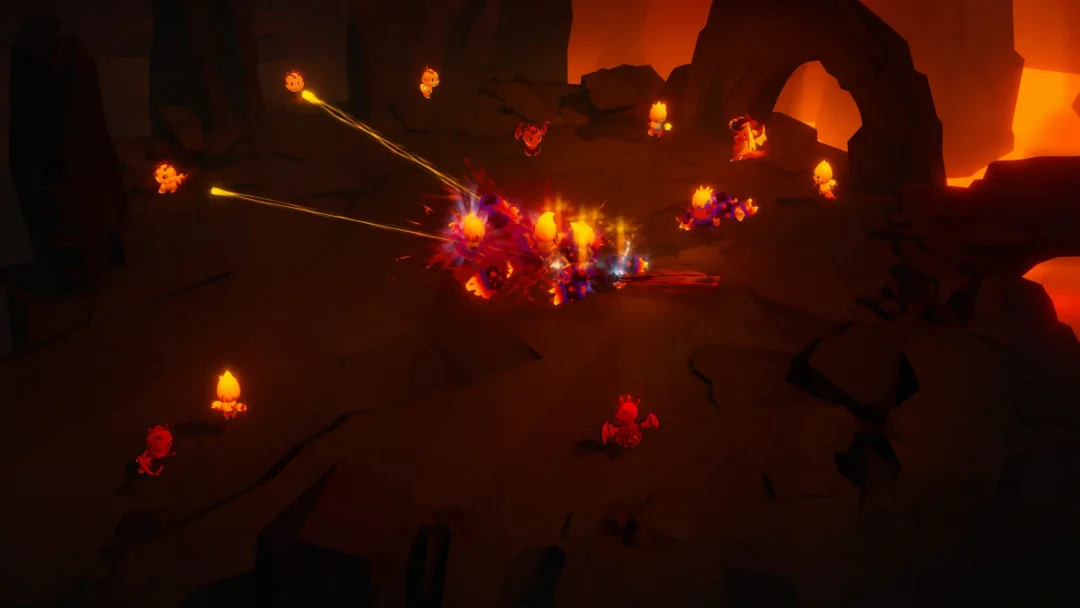
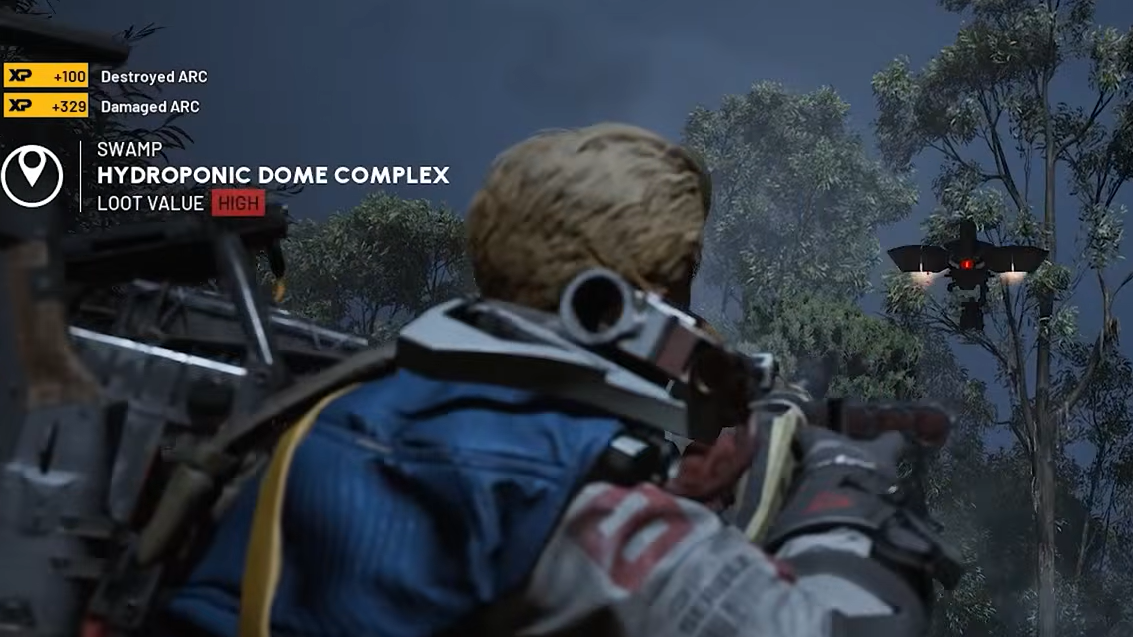
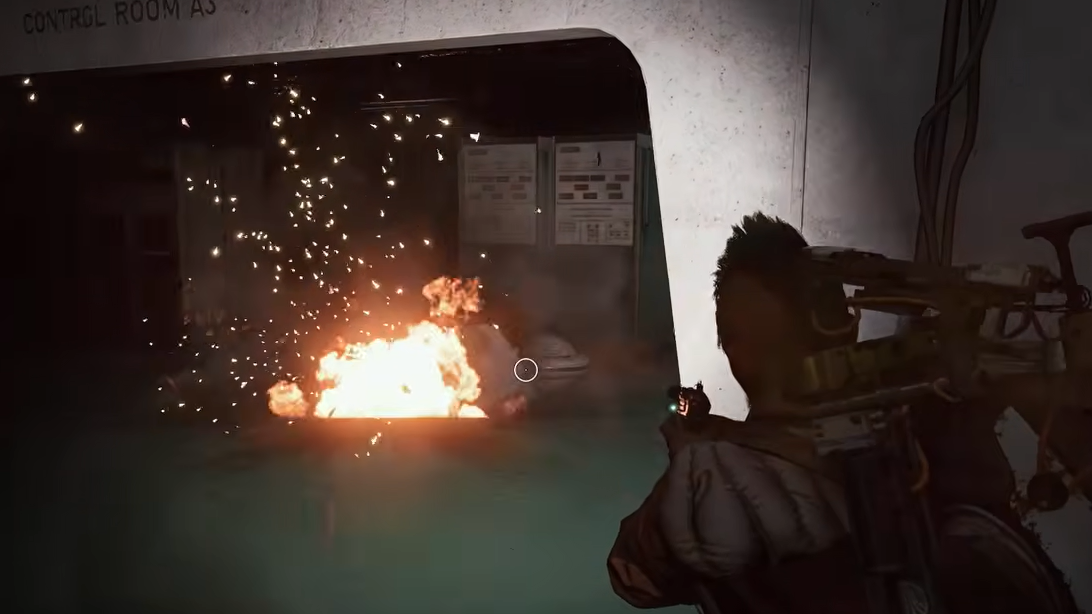
Damage flying ARC enemies
Rocketeers are the highest-value flying ARC targets. Taking down just two Rocketeers usually gets you close to three stars, and you can finish the remaining points by shooting Wasps or Hornets along the way.
The Osprey and Bettina make a strong, affordable pairing for this objective. Start by shooting a Rocketeer’s thrusters with the Osprey to keep it from flying away. If two Rocketeers are active, alternate shots between their thrusters to prevent either from disengaging. Once they’re close, switch to the Bettina and focus fire on the main body. Remember that the trial tracks damage dealt, not kills — so every bullet counts even if another player lands the finishing blow.
Electromagnetic storm events on maps like Bluegate, Spaceport, or Dam are ideal for this objective because flying ARC enemies spawn more frequently during storms. If you have Wolf Packs available, they trivialize the encounter, but they’re far from necessary.
Search First Wave Husks
First Wave Husks come in three varieties: Rocketeer Husks, Wasp Husks, and Barren Husks. All three count toward the trial. You need to search seven husks total for three stars.
Husks tend to spawn around the outskirts of the map. On Bluegate, the Trapper’s Glade area, the village, and the barren husk zone near the north side of the map (close to the Ancient Port puzzle) are reliable hunting grounds. Spawn locations are static, though husks don’t appear in every single match. If you’re running this during an electromagnetic storm, visibility drops, so keep your eyes peeled.
The community-built Metaforge app can help you memorize spawn locations if you’re struggling to find husks in the dark. It shows player-reported locations with screenshots, which is especially useful on your first few attempts.
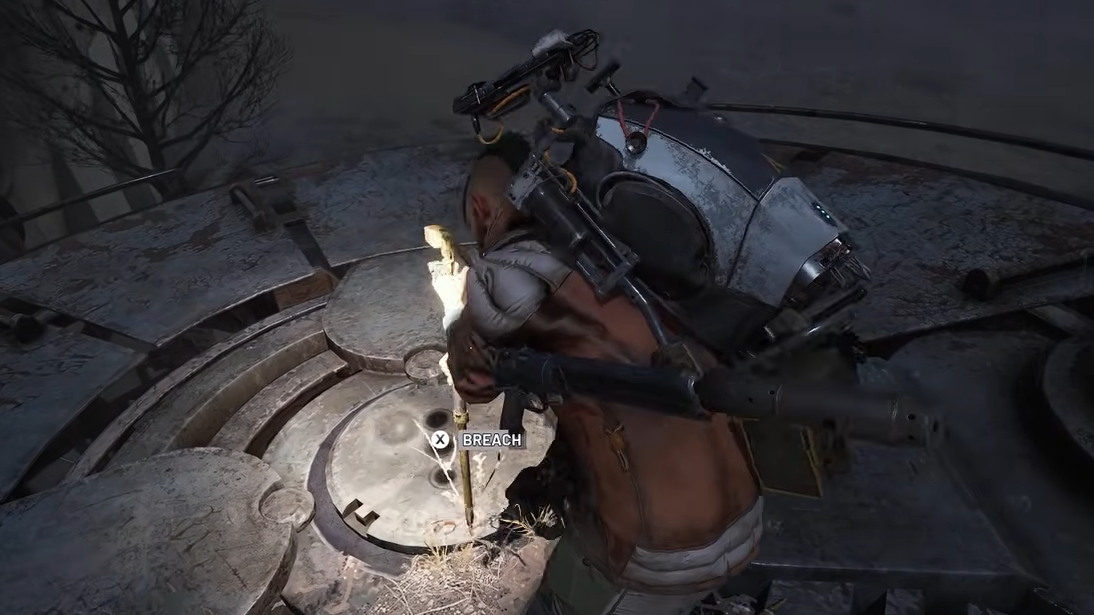
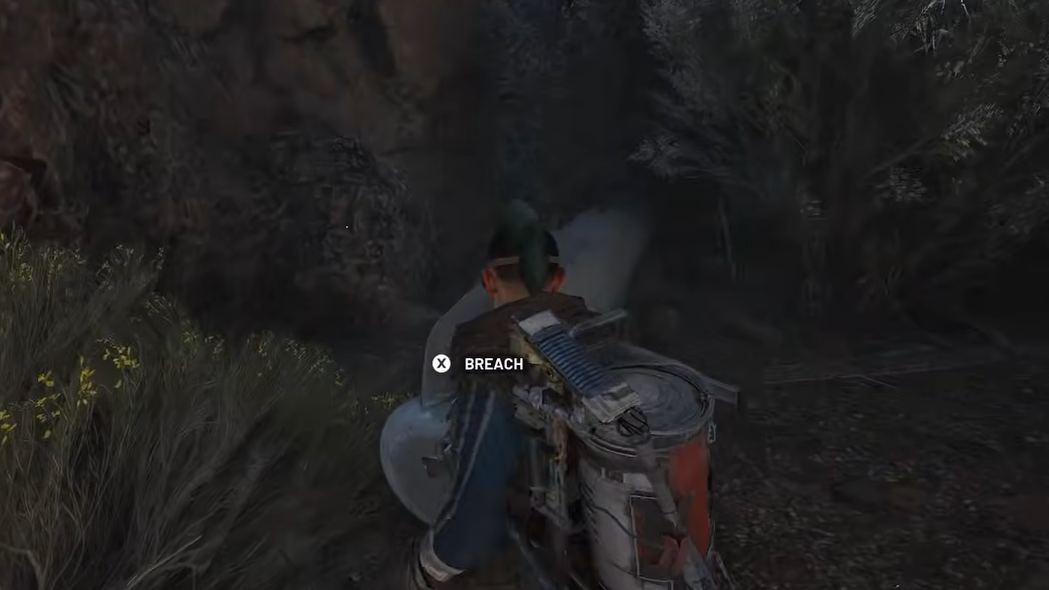
Open ARC Probes
ARC Probes also spawn around map edges and are easiest to find during electromagnetic storms. You only need to open three for three stars, and — critically — you do not need to breach a probe yourself. If another player has already cracked one open, you can still interact with it and receive full credit. Look for columns of smoke rising into the air; that visual cue marks either an ARC Probe or an ARC Carrier.
The gas station area on Bluegate is a consistently strong spot for probe spawns. Since the point requirement is low and partially opened probes still count, this is one of the fastest trials to complete in any given week.
Deal damage to Shredders
Shredders are best farmed during night raids, where roughly half as many kills are needed compared to day raids (about four Shredders at night versus eight during the day). The trade-off is that other players are also hunting them, so you may need to compete for spawns. Shredders do respawn fairly quickly, though.
For weapons, an Anvil or El Toro works well. The Bettina is also surprisingly effective at chewing through Shredders if you’d rather save resources. Below are the most reliable spawn zones in the bunker area:
| Location | Notes |
|---|---|
| Central Archives | Usually has a couple of spawns |
| Lobby | Common spawn point; good starting location |
| Between Assembly and Medical Research | One spawn in the connecting corridor |
| Medical Research | A couple of spawns inside |
| Loading Bay | Spawns here, but a Bastion may be present |
| Atrium | Usually a couple of spawns |
| Seed Vault (underground) | One spawn |
| Sandbox (underground) | A couple of spawns |
| Lobby Metro (underground) | Occasional single spawn |
An efficient farming loop starts in Lobby, moves up through Business Center, drops into Atrium, then takes the zipline down to Cultural Archives before looping back up. From the metro area, you can shortcut into Assembly and check Sandbox. Running this circuit repeatedly keeps you cycling through respawns without much downtime.
General tips for maximizing efficiency
Multiple trial objectives can often be completed in a single match. Damage to flying ARC, searching First Wave Husks, and opening ARC Probes all work well together during an electromagnetic storm event — pick a map like Bluegate or Dam and knock out all three in one run. The Queen or Matriarch objective and the Shredder objective typically require their own dedicated matches, bringing the total to roughly three matches per week for full three-star completion.
If you don’t care about leaderboard rank, there’s no benefit to scoring beyond 4,000 points per objective. Rank progression favors trios and rewards players who push far past the three-star threshold, but the actual loot rewards cap at three stars. Solo players in particular are better off collecting their epic rewards and moving on.
Running an electromagnetic storm event with even a modest loadout — something as simple as an Anvil and 80 rounds of ammo — can net you a full set of three-star rewards in around 15 minutes. That’s often more blueprints than hours of standard play would yield, making Trials one of the most time-efficient activities in ARC Raiders each week.