
Automatic file backups to an external hard drive prevent data loss from unexpected events such as hardware failure, accidental deletion, or ransomware attacks. Windows and macOS offer built-in tools to create scheduled backups, streamlining the process and reducing manual effort. Third-party backup software can provide additional flexibility and features for specialized needs.
Using Windows File History
Step 1: Connect your external hard drive to your computer. Wait until the device is detected and appears in File Explorer. Make sure the drive has enough free space for your backups.
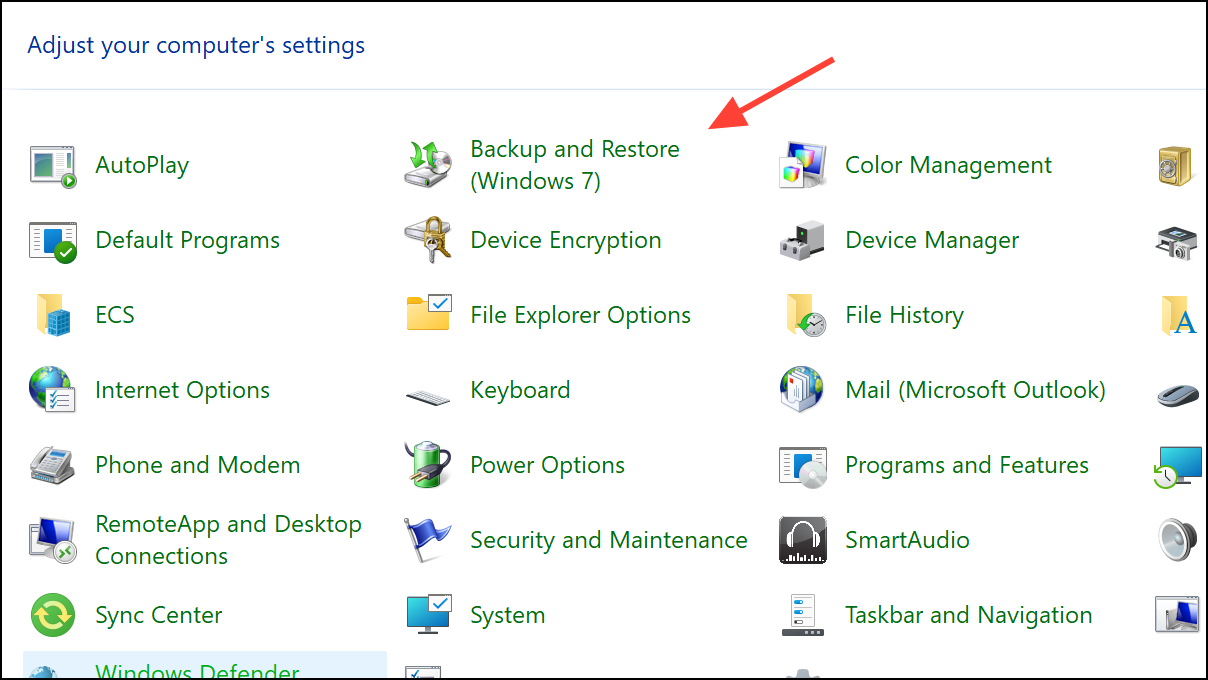
Step 2: Open the Control Panel and select Backup and Restore (Windows 7).
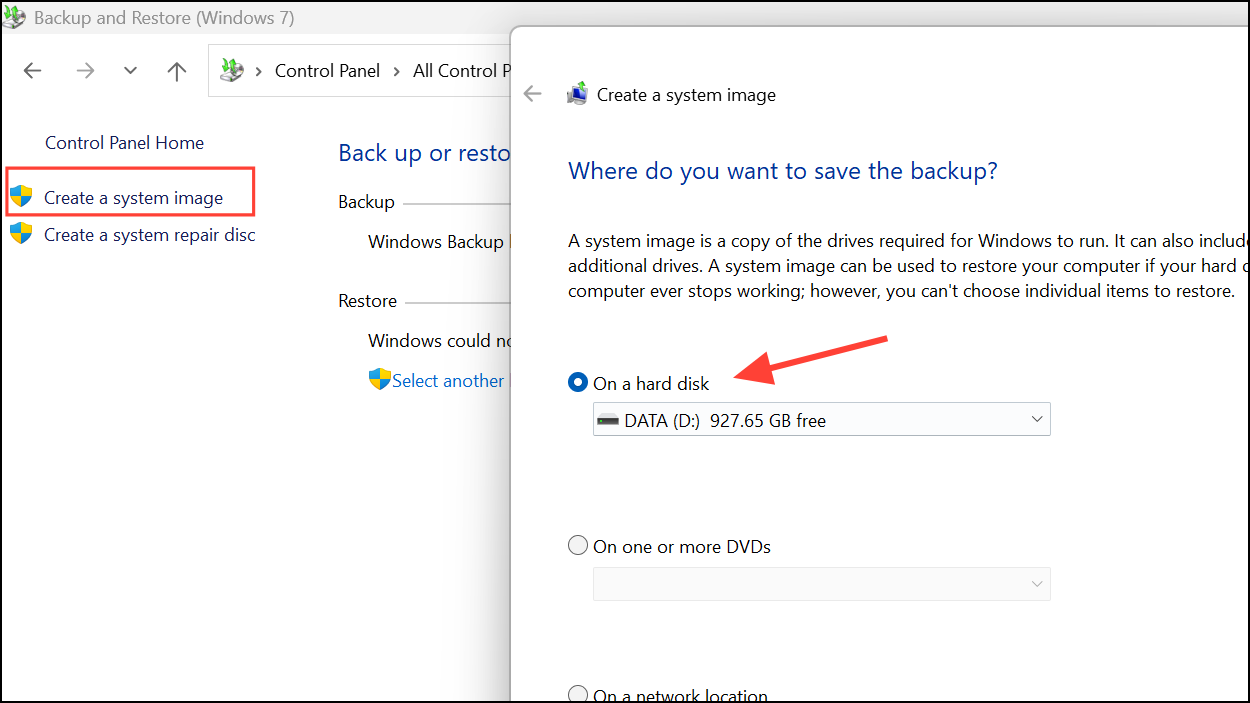
Step 3: Click on Create a system image from the left, and then select On a hard disk. Select your external drive before clicking the Next button.
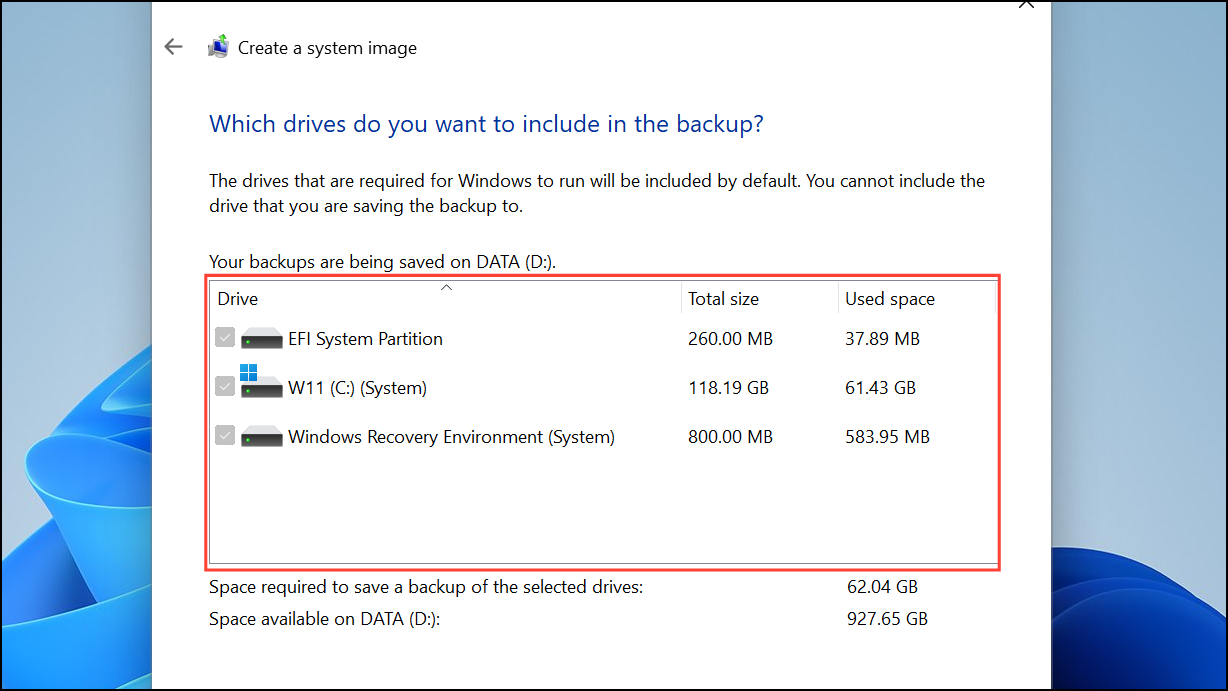
Step 4: On the next page, you will see the components that will be backed up to your external drive and how much space they will use.
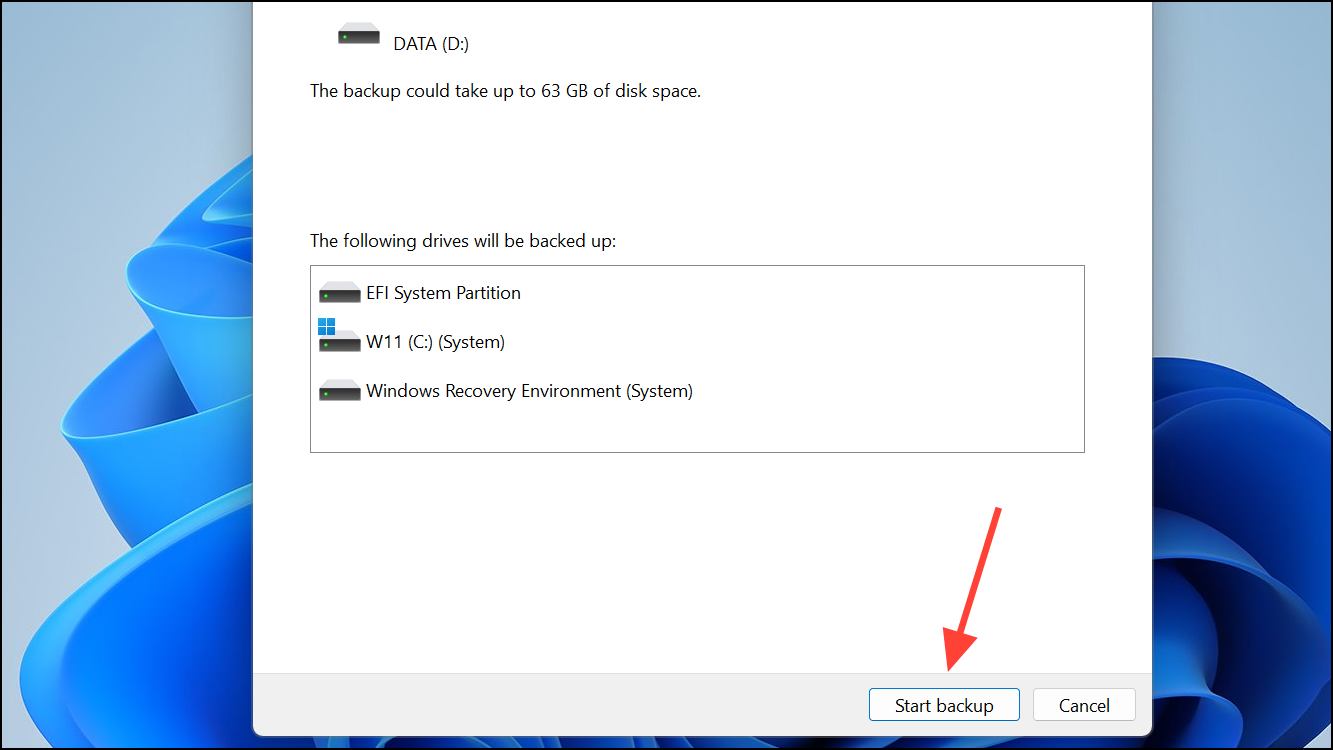
Step 5: Finally, click the Start backup button at the bottom to begin the backup process. By default, Windows backs up user libraries (Documents, Pictures, etc.), but you can add or remove folders as needed.
Step 6: You can periodically back up your data to this external drive so it remains updated and has the latest data. This will make things easier in case something goes wrong and you lose the data stored on your Windows machine.
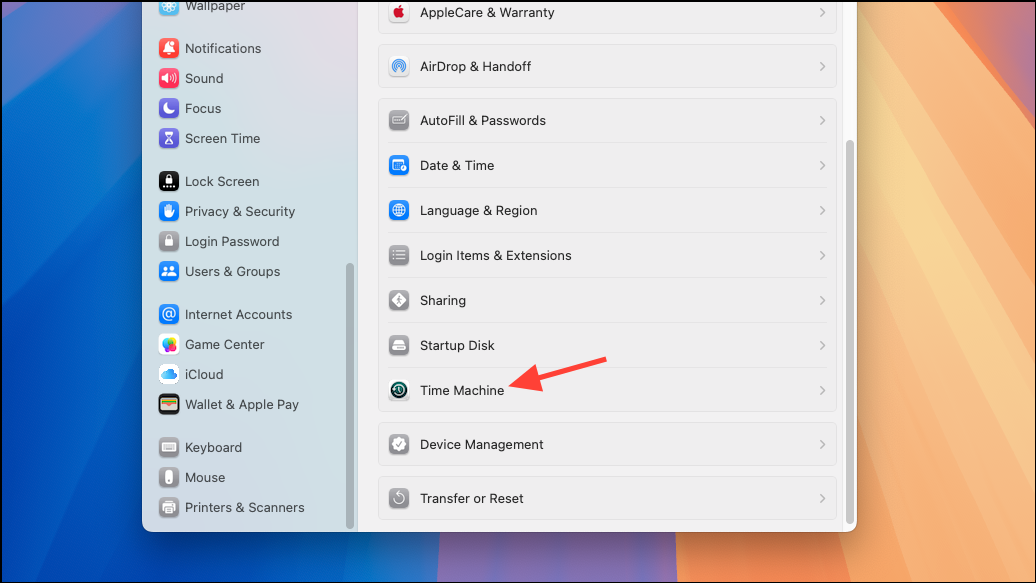
Using macOS Time Machine
Step 1: Plug in your external hard drive. If it’s the first time connecting, macOS may prompt you to use the drive with Time Machine. If prompted, click Use as Backup Disk.
Step 2: Open System Settings (or System Preferences on older macOS versions) and go to Time Machine.
Step 3: Click Select Backup Disk, choose your external hard drive, and confirm your selection. Time Machine will now be enabled for this drive.
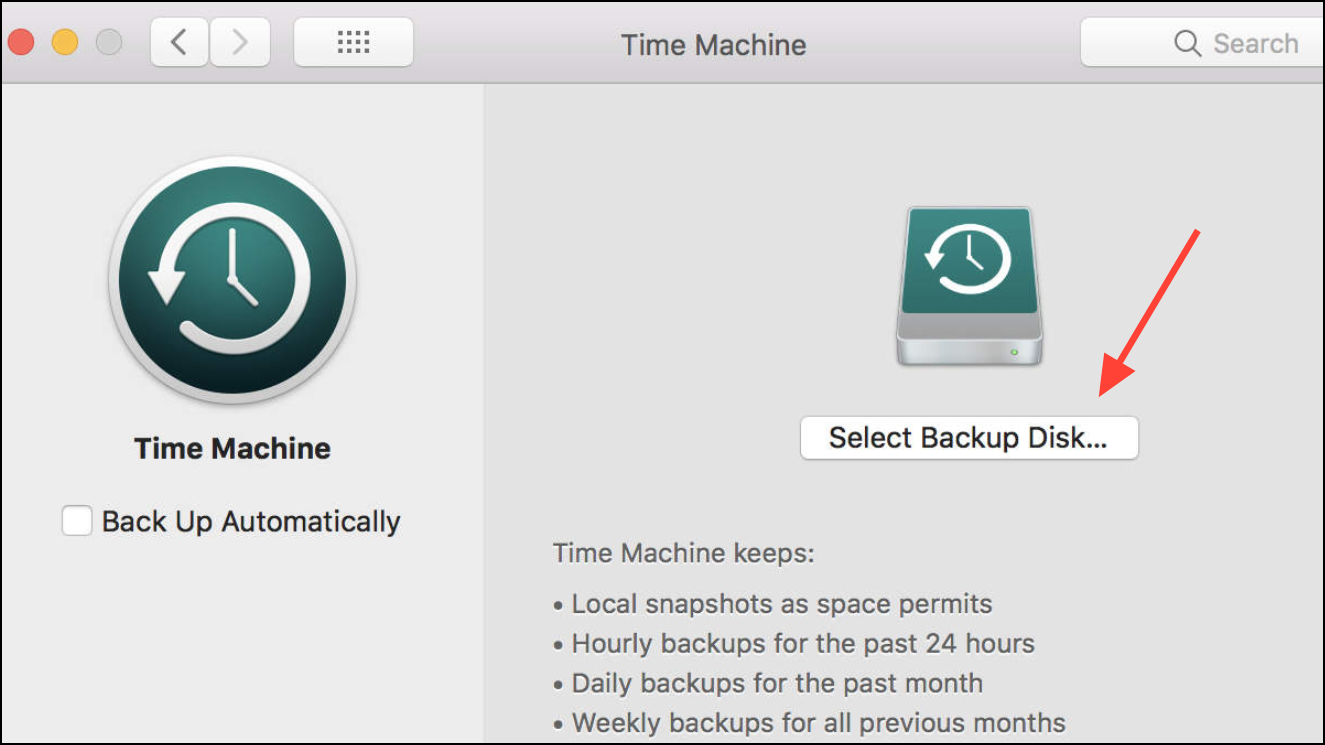
Step 4: Time Machine automatically performs hourly, daily, and weekly backups. You can exclude specific folders by clicking Options and adding them to the exclusion list.
Time Machine maintains a rolling archive of backups, making it easy to restore files or your entire system. The process is automatic as long as the drive remains connected. If you disconnect it, Time Machine resumes backups when the drive is available again.
Using Third-Party Backup Software
Some users may prefer more advanced scheduling, encryption, or backup to multiple locations. Third-party tools like Acronis True Image, Macrium Reflect, or EaseUS Todo Backup offer additional features.
Step 1: Download and install your preferred backup software. Make sure it is compatible with your operating system and supports external drives.
Step 2: Launch the software and select the option to create a new backup plan or job. Choose your source folders and set your external hard drive as the destination.
Step 3: Configure the backup schedule—daily, weekly, or at custom intervals. Many tools also let you choose between full, incremental, or differential backups, which can save storage space and reduce backup time.
Step 4: Review additional options such as backup encryption, email notifications, or backup retention policies. Save and activate your backup plan.
Most backup software will run in the background and notify you if backups fail or if the external drive is not connected. Check the software’s documentation for recovery procedures and best practices.
Setting up automatic backups to an external hard drive protects files from accidental loss and system failures. Regularly check your backup status and test file restoration to ensure everything works as expected.