The Battery Terminal is the interior facility in Subnautica 2 that recharges depleted Basic Batteries inside your base. It holds up to six batteries at once, sits flat against a wall, and replaces the need to keep crafting new ones from Copper and Acidic Raion Pouches.
Where to find the Battery Terminal fragments
Both fragments sit inside the Old Habitat, a wrecked two-building structure roughly 370 meters directly north of the Lifepod at around 45 to 60 meters depth. If you have already picked up the Quaker Blackbox signal, toggle it on your HUD and follow the marker straight to the area.
The easiest entry is the ruptured floor underneath the lower structure. Once inside, climb the ladder in the adjacent room to reach the upper floor where the Quaker signal terminates.
Fragment 1: On the same floor as the Quaker Blackbox signal, in the sunken section of the lower habitat.
Fragment 2: Across the long corridor that connects the two halves of the Old Habitat, on the same level as the ladder.
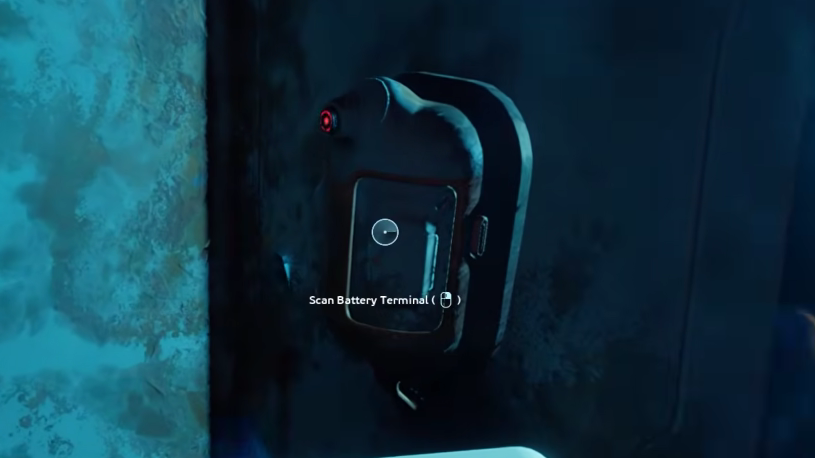
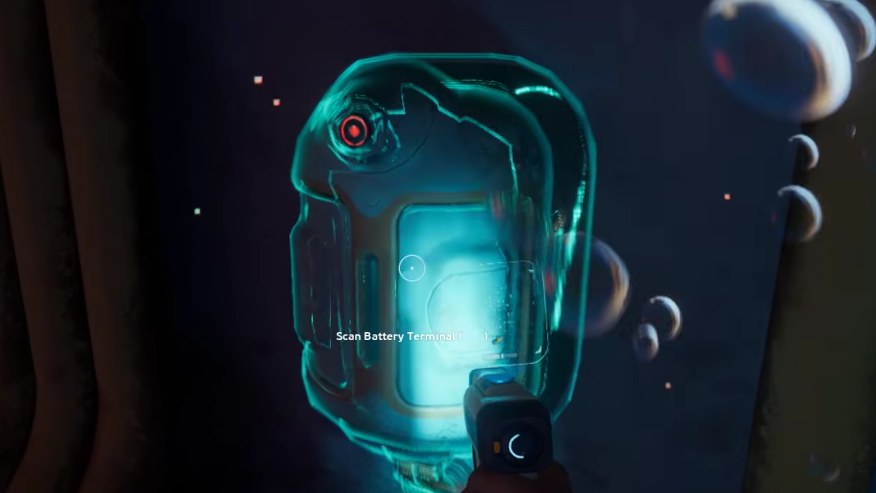
Scan both with the Scanner, and the blueprint unlocks automatically. Bring a charged Basic Battery for the Scanner before heading out — there is no way to scan without one.
Recipe and how to build it
The Battery Terminal is one of the cheapest interior modules in the game. Everything required is found in the shallow zones around the Lifepod.
| Material | Quantity | Where to get it |
|---|---|---|
| Titanium | 2 | Metal salvage on the seafloor near the Lifepod |
| Quartz | 2 | Near coral formations in the early biomes |
| Copper Wire | 1 | Crafted at the Fabricator from 2 Copper ore |
Open the Habitat Builder, find the Battery Terminal under interior facilities, and place it on any wall or corridor segment inside a powered base. It mounts vertically and only needs one wall slot.
How the Battery Terminal works
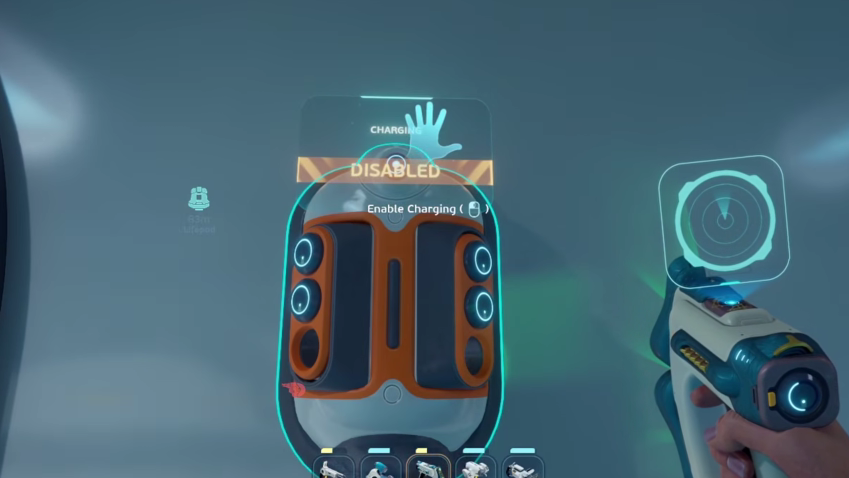
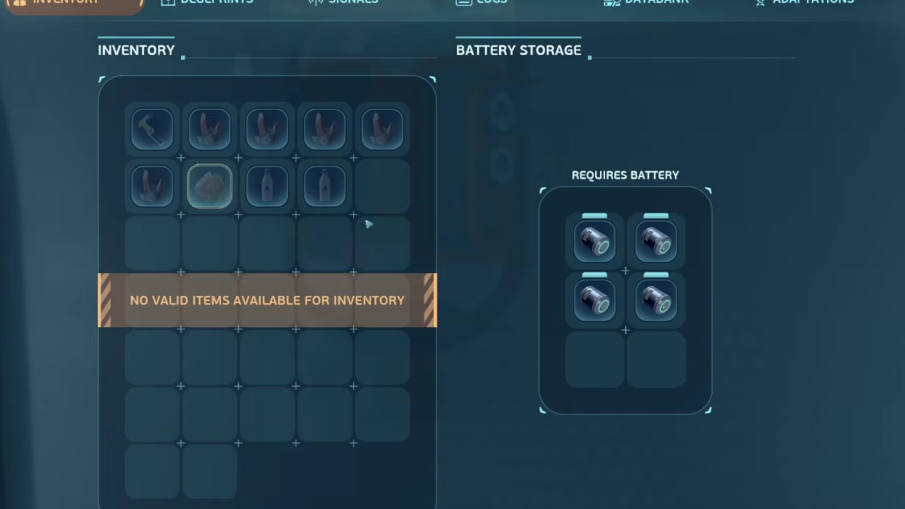
Interact with the device to open its inventory grid. Drop any depleted or partially drained Basic Battery into one of the six slots, and it will charge over time using your base’s power supply. Each charging battery draws 1 unit of energy, so the cost scales with how many you have inside.
The top of the unit has a toggle button that turns charging on or off. It is easy to bump accidentally while interacting with the slots. If batteries are sitting inside but the charge level is not moving, check that the toggle is enabled before assuming the base has a power problem.
Your base needs to maintain a positive power balance for the terminal to function. Solar Panels work fine during the day, but a Hydroelectric Turbine or backup source helps keep charging running through the night cycle.
Swapping batteries in and out of tools
You cannot charge a tool directly — only the battery inside it. Tools like the Scanner, Flashlight, Sonic Resonator, Wakemaker, and Repair Tool all run on the same Basic Battery type, so a single rotation of spares covers every tool you carry.
R on PC (or D-pad up on controller) to open the swap menu.R again and left-click (or press A on controller) to load it into the tool. The power bar refills immediately, and any lights on the tool model turn back on.You can swap at any charge level — there is no need to wait for a battery to fully drain. Before a long dive with a power-hungry tool like the Wakemaker, slot in a fresh battery and leave the partial one in the terminal to top off while you are gone.
Battery Terminal vs. Power Cell Terminal
The Battery Terminal only charges Basic Batteries. Power Cells, which run the Tadpole submarine, use a completely separate module called the Power Cell Terminal. Do not confuse the two when scanning fragments or selecting a build option.
| Module | Charges | Slots | Recipe |
|---|---|---|---|
| Battery Terminal | Basic Batteries | 6 | 2 Titanium, 2 Quartz, 1 Copper Wire |
| Power Cell Terminal | Power Cells (Tadpole) | Separate slot system | 3 Titanium, 3 Copper, 1 Wiring Kit |
The Tadpole can also recharge passively by docking at the Tadpole Dock, or you can climb on top of the submarine and manually swap a fresh Power Cell into it for an instant refill.
Common reasons batteries are not charging
- The toggle button on top of the unit is set to off — interact with the top of the device to flip it back on.
- The base has lost power. Check solar panels, turbines, or other generators connected to the structure.
- You placed Power Cells instead of Basic Batteries in the slots. The Battery Terminal only accepts the smaller Basic Battery type.
Once the toggle is on and the base has any positive power balance, charging resumes on its own. There is no manual confirmation prompt — the percentage indicator on each slot ticks upward until it reaches full.
Build the Battery Terminal as one of your first interior modules after the Fabricator. Keeping three to six spare Basic Batteries cycling through its slots is the simplest way to stop burning Copper and Acidic Raion Pouches on replacement crafting for the rest of the run.