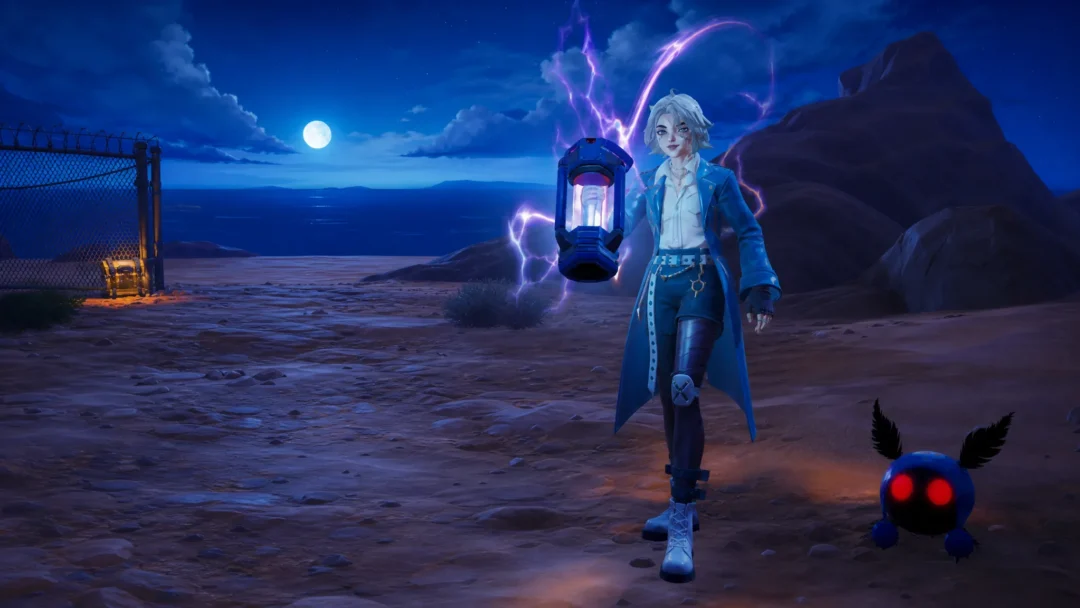
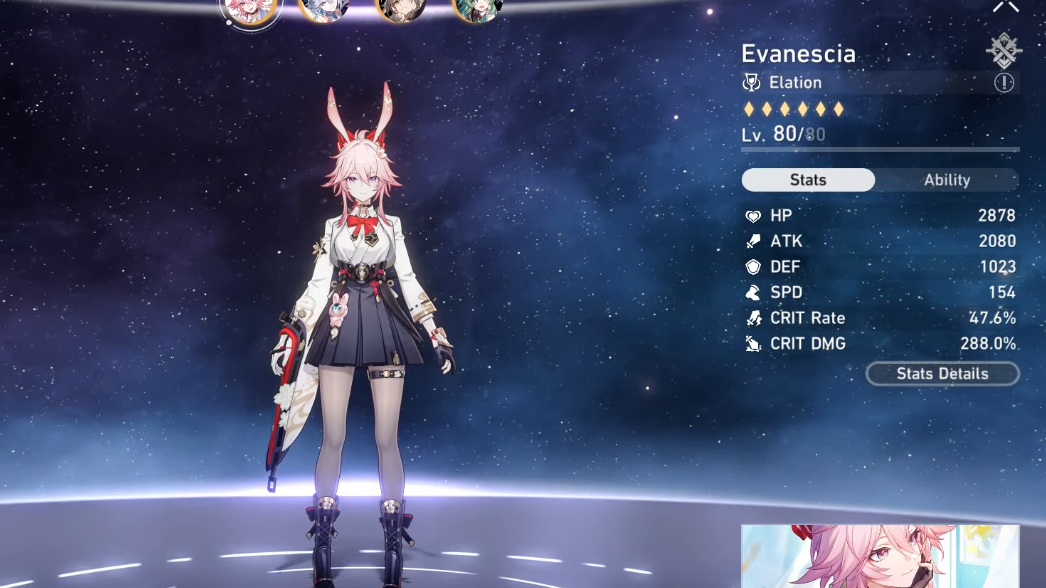
Evanescia is a 5-star Physical damage dealer on the Path of Elation in Honkai: Star Rail. Her kit loops Energy and Certified Banger stacks to spam a 240-cost Ultimate, with a Max Energy cap of 480 and damage that scales primarily off CRIT DMG. The right Light Cone protects that loop by feeding her Energy Regeneration Rate, raising her CRIT stats, or amplifying her Elation damage.
Quick answer: Equip Until the Flowers Bloom Again if you own it. The strongest free-to-play substitute is Today’s Good Luck at Superimposition 5.
Light Cone selection criteria for Evanescia
Three stats decide whether a Light Cone fits her. CRIT DMG is the largest multiplier because her Talent converts CRIT DMG into Elation damage. Energy Regeneration Rate matters because her Ultimate costs 240 Energy, and she can pre-charge a second cast up to 480. Elation DMG bonuses and team-wide vulnerability debuffs round out the value when CRIT DMG and Energy Regen are already covered.
Anything that locks her into a Skill-Point-heavy rotation also has a hidden cost, since Evanescia already spends Skill Points to fire her main blast attack. Cones that reward Ultimate or Elation Skill usage tend to slot in cleanly; cones built around shielding, healing, or follow-up niches do not.
Ranked Light Cones for Evanescia
| Rank | Light Cone | Rarity | Best use case |
|---|---|---|---|
| 1 | Until the Flowers Bloom Again | 5★ (Signature) | Best-in-slot for every team |
| 2 | Dazzled by a Flowery World | 5★ | Mono-Elation teams with multiple Elation units |
| 3 | Tomorrow, Together | 4★ | Strong all-round backup, team Elation support |
| 4 | Today’s Good Luck | 4★ | F2P pick when CRIT Rate substats are low |
| 5 | Mushy Shroomy’s Adventures | 4★ | Budget option leaning on Elation amplification |
Until the Flowers Bloom Again (signature, best-in-slot)
This is Evanescia’s signature Light Cone and the clear top choice. At Superimposition 1 it grants 60% CRIT DMG and 10% Energy Regeneration Rate. Once Max Energy exceeds 120, every additional 10 Max Energy adds 0.3% Energy Regen, up to 360 excess Max Energy counted, which lines up exactly with her 480 cap and pushes Energy Regen significantly higher than any other cone.
The passive also applies a 15% increased damage taken debuff on enemies for 2 turns whenever Evanescia uses an Elation Skill. Since her Elation Skill is part of her core rotation, the debuff is effectively permanent uptime against the main target. The CRIT DMG, Energy Regen, and vulnerability stack together to amplify both her own hits and her teammates’ damage on the same enemy.
Dazzled by a Flowery World
Sparxie’s signature is the strongest non-signature 5-star option in Elation-heavy teams. It grants 48% CRIT DMG at S1 and, while the wearer is on field, increases the Skill Point cap by 1 for each Elation character on the team, up to +3. Each Skill Point Evanescia spends lets her Elation DMG ignore 5% of enemy DEF per stack, up to 4 stacks. Spending 4 or more Skill Points in a single turn also grants “Stream Promo,” which boosts all allies’ Elation by 20%.
The trade-off is the Skill Point pressure. In a Mono-Elation lineup with the Trailblazer (Elation) and another Elation unit, the expanded SP cap is genuinely useful. In mixed teams it loses value quickly because the conditional buffs scale with Elation teammates.
Tomorrow, Together (4-star)
The strongest 4-star backup. At S5 it provides 24% CRIT DMG and, after Evanescia uses her Ultimate, increases all allies’ Elation by 12% for 1 turn. Because she casts her Ultimate frequently, the team Elation buff has high uptime, and the CRIT DMG line plugs directly into her primary damage stat. It is the cleanest option when the signature is unavailable, and the player is not chasing a 4-star limited cone.

Today’s Good Luck (4-star, free-to-play)
Today’s Good Luck is the recommended free-to-play pick when relic substats leave CRIT Rate below the 60% target. At S5 it provides 20% CRIT Rate and adds 20% Elation per Elation Skill use, stacking up to 2 times. The CRIT Rate floor it sets makes it easier to itemize CRIT DMG on the Body relic rather than CRIT Rate, which raises her effective output despite the lower raw CRIT DMG ceiling compared to the signature.
Mushy Shroomy’s Adventures (4-star)
A reasonable budget option that does not provide CRIT stats. At S5, it grants 20% Elation and, when the wearer uses an Elation Skill, increases Elation DMG taken by all enemies by 10% for 2 turns. The vulnerability is team-wide, similar in spirit to the signature’s effect, but without the CRIT DMG and Energy Regen. Treat it as a fallback only when none of the cones above are available.
Stat targets to pair with the Light Cone
| Piece | Main stat | Endgame target |
|---|---|---|
| Body | CRIT Rate or CRIT DMG | 60% CRIT Rate / 245% CRIT DMG |
| Feet | SPD (ATK if running an action-advance support) | 150+ SPD |
| Planar Sphere | Physical DMG or ATK | 1,900–2,000+ ATK |
| Link Rope | Energy Regeneration Rate | Sufficient to cast Ultimate twice per rotation |
The Body main stat choice depends on the Light Cone. Until the Flowers Bloom Again and Today’s Good Luck both pad CRIT Rate, freeing the Body for CRIT DMG. With Tomorrow, Together or Mushy Shroomy’s Adventures, a CRIT Rate Body is often required to hit a usable crit ratio.
For most accounts, the decision tree is straightforward. Pull the signature if you are already pulling Evanescia and want her to perform at her ceiling. If you skip the weapon banner, S5 Today’s Good Luck or Tomorrow, Together will cover the build until a stronger 5-star becomes available, and Dazzled by a Flowery World is only worth considering inside a committed Mono-Elation roster.