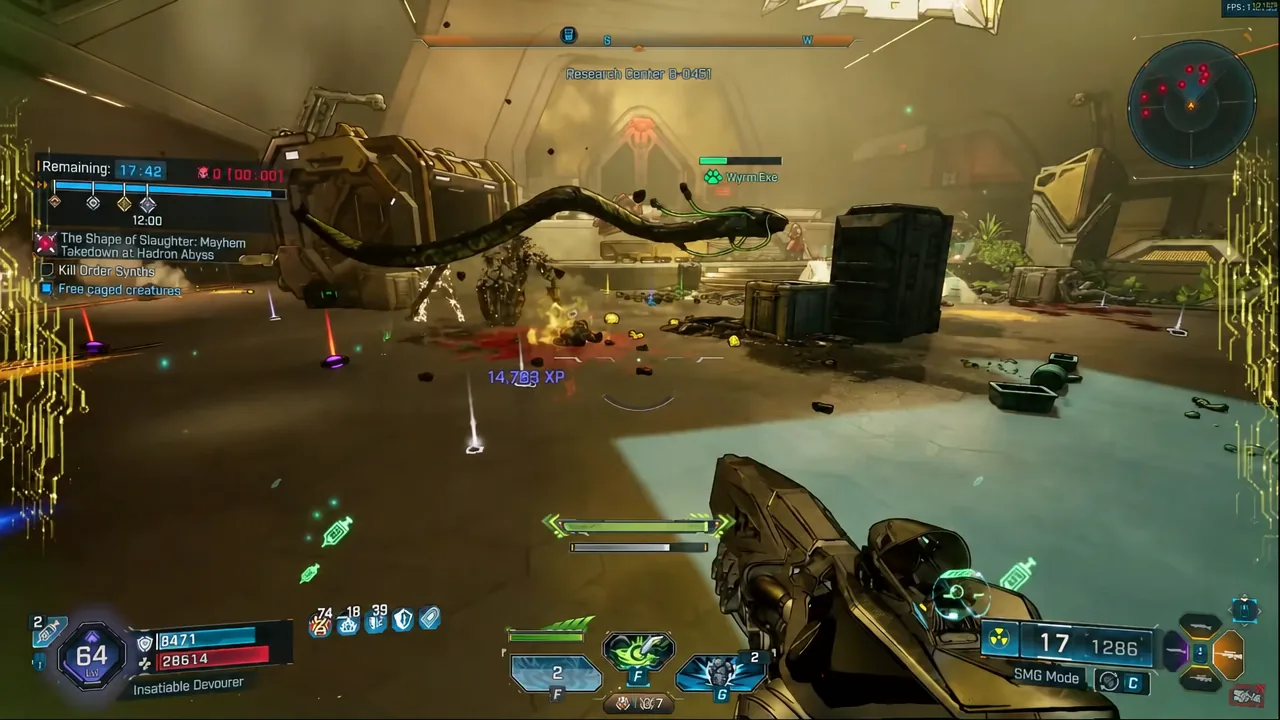
Loveless has a few endgame directions, but the Wyrm setup known as BaeBlade Loveless is the one that blends gun damage, melee, and a summoned pet into a single package that holds up at level 70 on True UVH7. It leans on the Malignant Construct action skill, a class mod that scales damage off enemy health, and a constant stream of radiation shurikens that kill crowds without you aiming much at all.
Quick answer: Run Malignant Construct with the Insatiable Devourer class mod and the Dark Web augment, stack radiation weapons, keep Symbiosis active, and cash out with Empowered Melee.
Insatiable Devourer class mod: The core of the build
Everything here is built on the Insatiable Devourer Hacker class mod. It adds a Devour chance to your damage, and Devour deals damage as a percentage of the target’s health pool rather than a flat number. That is the reason True UVH7 health bars stop mattering. Enemy scaling goes up, and the damage scales with it.
The mod also feeds Symbiosis stacks, which is the buff Loveless gets while the Wyrm is out. Symbiosis is the glue between the pet and your own damage, so the build wants Wyrm alive and Symbiosis topped up as close to permanently as possible. Even when the Wyrm goes down, the Symbiosis effect keeps working for you until you revive it.
Dark Web, IHATEYOU, and Second Impact: The shuriken chain
The mob-clearing half of the build comes from three pieces working together. The Dark Web augment tethers enemies, so damage and Devour triggers spread instead of staying on one target. IHATEYOU throws radiation shurikens into that tethered group, which is where most of your passive kill pressure comes from.
Second Impact then spawns extra shurikens whenever radiation damage lands. Because the weapons in this build are already radiation-heavy, the chain feeds itself. You apply radiation, Second Impact produces more shurikens, those shurikens apply more radiation, and Devour procs start deleting whatever is tethered.
Radiation is not optional here. Swapping to a non-radiation weapon quietly turns off Second Impact’s extra shurikens and slows the whole loop down.
Skill tree priorities for the Wyrm build
Red tree (Corruption)
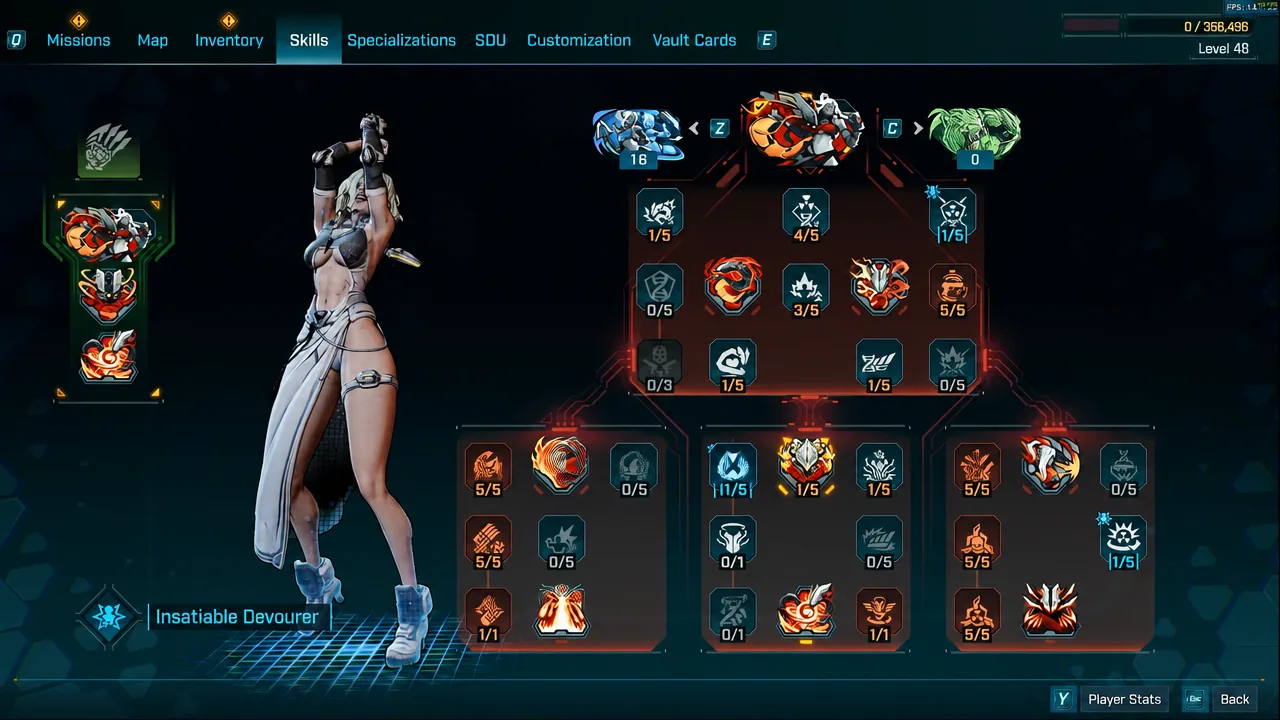
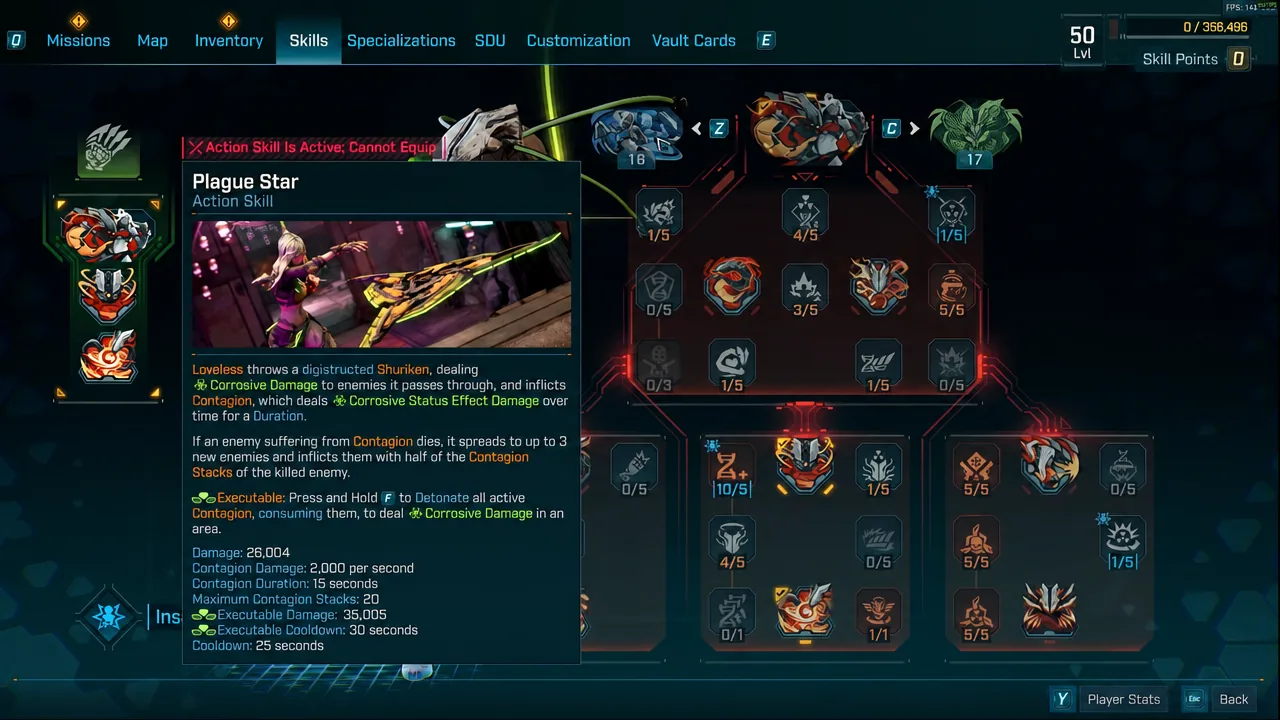
The red side handles raw output and resource economy. Points go into Drift Compatible, Corrupted Path, Overclock, Finisher, Pure Fusion, Optimization, Storage Upgrade, Power Overwhelming, and Intrusion. Overclock is the standout for action skill damage and duration, while Optimization and Storage Upgrade keep RAM flowing so your Empowered Melee comes back quickly.
Green tree (Dominion)
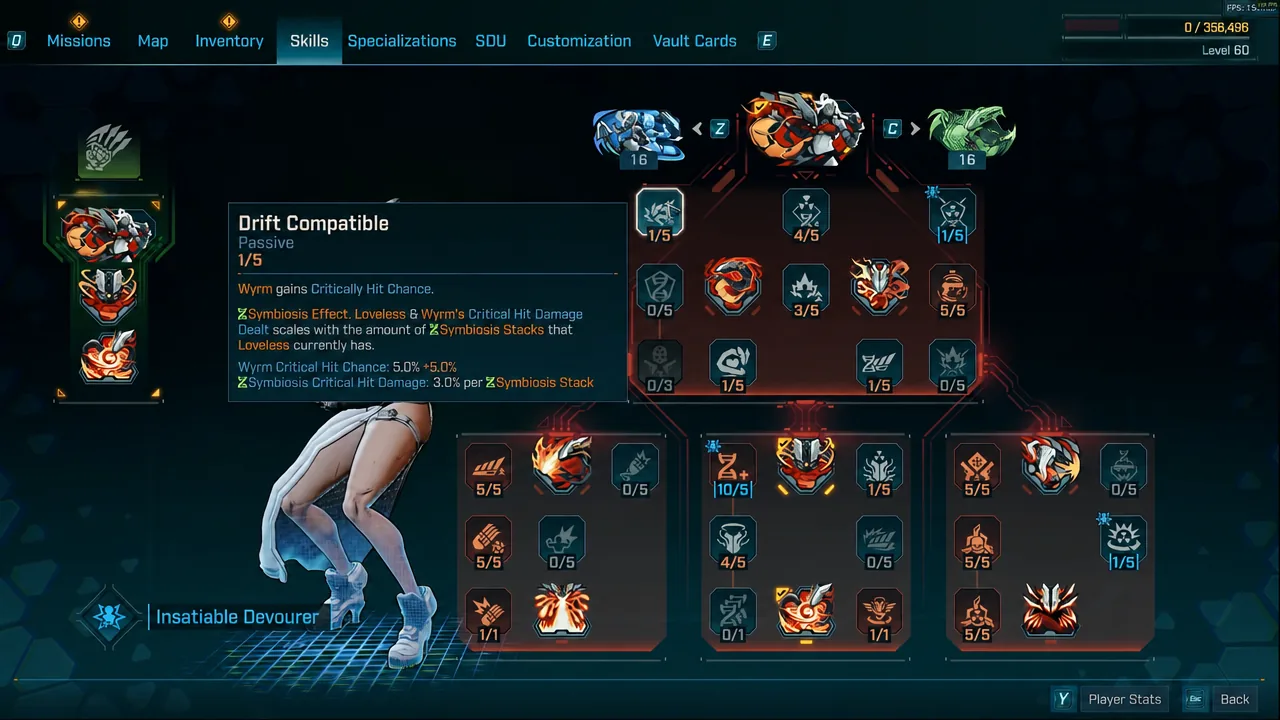
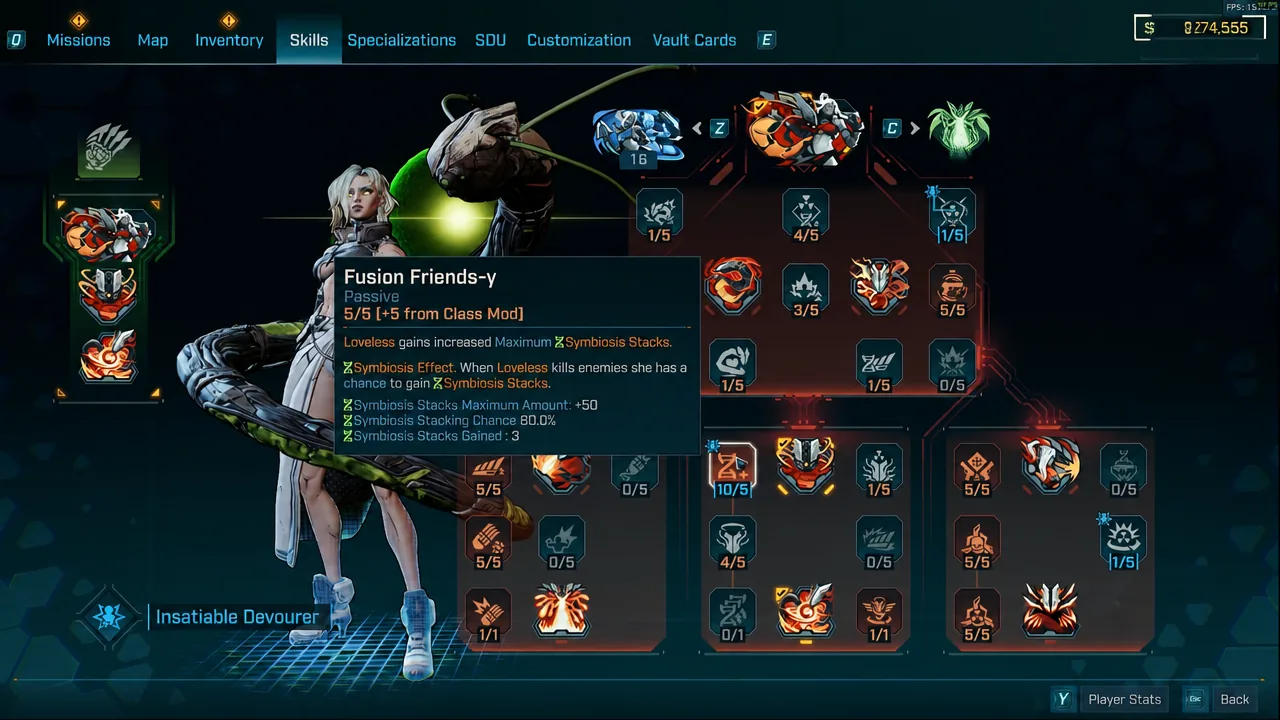
Green is the pet package. Fusion Friends-y is the priority because it drives Symbiosis stacks, and the class mod bonus on it is worth chasing. Great Wyrm and In Memoriam improve what the pet does, Status Update and High Data Rate support the elemental side, and UUDDLRLRBA5 is the skill that lets you bring the Wyrm back when it dies mid-fight.
Blue tree
Blue is a short dip rather than a commitment. Disdain and Odium cover critical hit damage, Death Begets Death refunds action skill duration on kills, and Flurry and Biathlon round out the melee and movement side. Keep Malignant Construct as your equipped action skill. Only one can be slotted at a time, so picking up Plague Star from another tree means giving up the Wyrm and everything Symbiosis provides.
Specializations
Four specialization skills matter. CQC supports close-range damage, Now With Caffeine knocks time off your action skill cooldown when you use a repkit, I Am A Gun pushes gun damage bonuses into your action skill damage, and Groundbreaker stores recent damage and dumps it into your next melee hit. Groundbreaker is what turns Loveless’ Empowered Melee into a burst finisher.
Best weapons for the level 70 Wyrm Loveless build
Weapon choice follows one rule. You want high fire rate and radiation, because every radiation hit is another chance to spawn shurikens and trigger Devour. Single-shot damage is far less important than how often you apply an element.
| Weapon | Preferred part | Role |
|---|---|---|
| Charged Vestigial | Stealth 6 | Primary mobbing gun |
| Rad Stellium | Beam Tosser | Sustained radiation application |
| Benefix Decompiler | — | Close-range shotgun burst |
| Seeping Devourer | — | Devour and status pressure |
Repkit, grenade, shield, enhancement, and firmware
The support slots exist to keep RAM climbing and the action skill off cooldown. The grenade in particular is doing real work, since every elemental proc it causes feeds the RAM gauge that powers your Empowered Melee.
| Slot | Pick | Purpose |
|---|---|---|
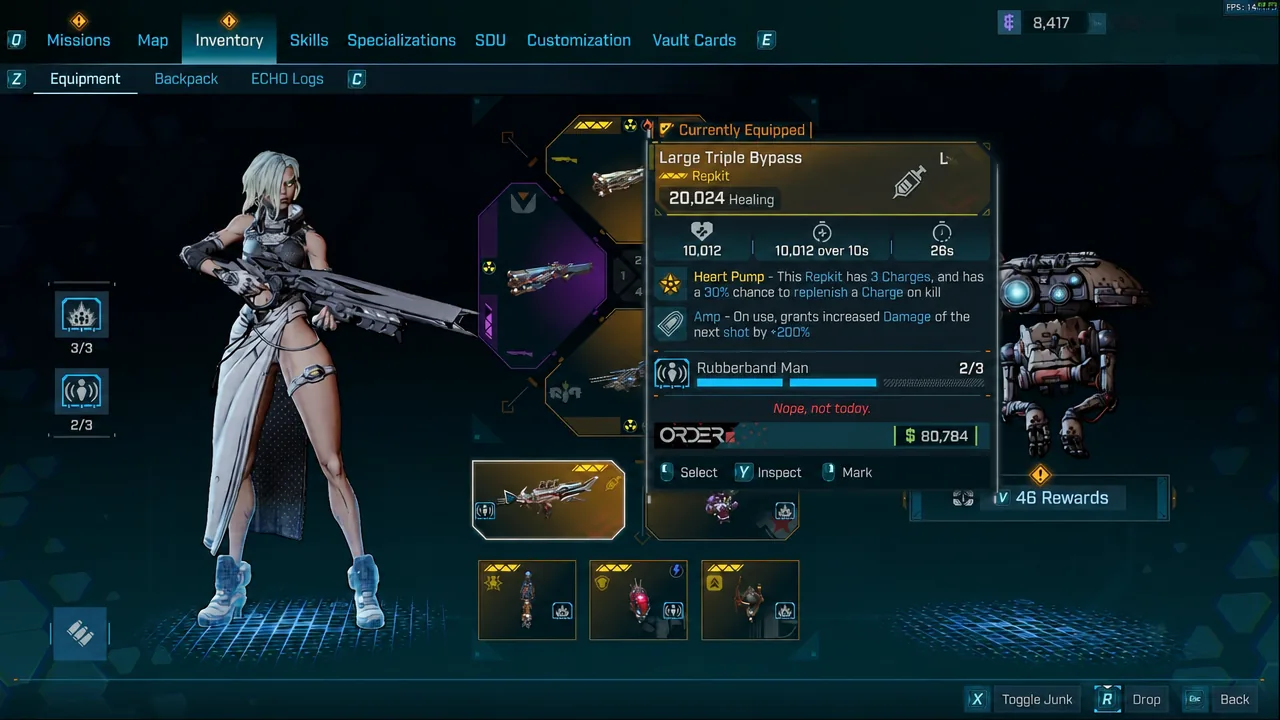
| Repkit | Large Triple Bypass | Healing plus cooldown refund with Now With Caffeine |
| Grenade | Collateral Erupting Waterfall | Stacks RAM quickly |
| Shield | Watts 4 Dinner or Clutch Exfoliatrix | Bonus element or survivability |
| Enhancement | Crushing Scion | Bullet Fabricator and Accelerator rolls |
| Firmware | Rubberband Man, 3 Bullets to Spare, Skillcraft | Ammo economy and skill damage |
How to play the build in True UVH7
Pure Wyrm variant for passive bossing
There is a second configuration that shifts skill points and specializations toward the pet itself, so the Wyrm handles most of the damage while you stay mobile. It is the setup to use on long boss fights where standing still to melee is risky, and it clears encounters like Primordial Guardian Drigo and Celis the Ripper Queen with a largely hands-off rotation.
The trade-off is speed on trash. The hybrid version clears mobs faster because your guns and shurikens are doing the work directly, while the pet-focused version front-loads everything into the Wyrm and asks you to keep it alive.
How to confirm the build is working
Three things tell you the loop is running correctly. Symbiosis should be visibly stacked while the Wyrm is out, shurikens should keep spawning on their own once radiation is applied to a tethered group, and your RAM gauge should hit maximum often enough that the Empowered Melee prompt appears in most fights rather than once per encounter.
If damage numbers on tough enemies are scaling with their health pool instead of flattening out, Devour is doing its job and the build is set up the way it should be.