

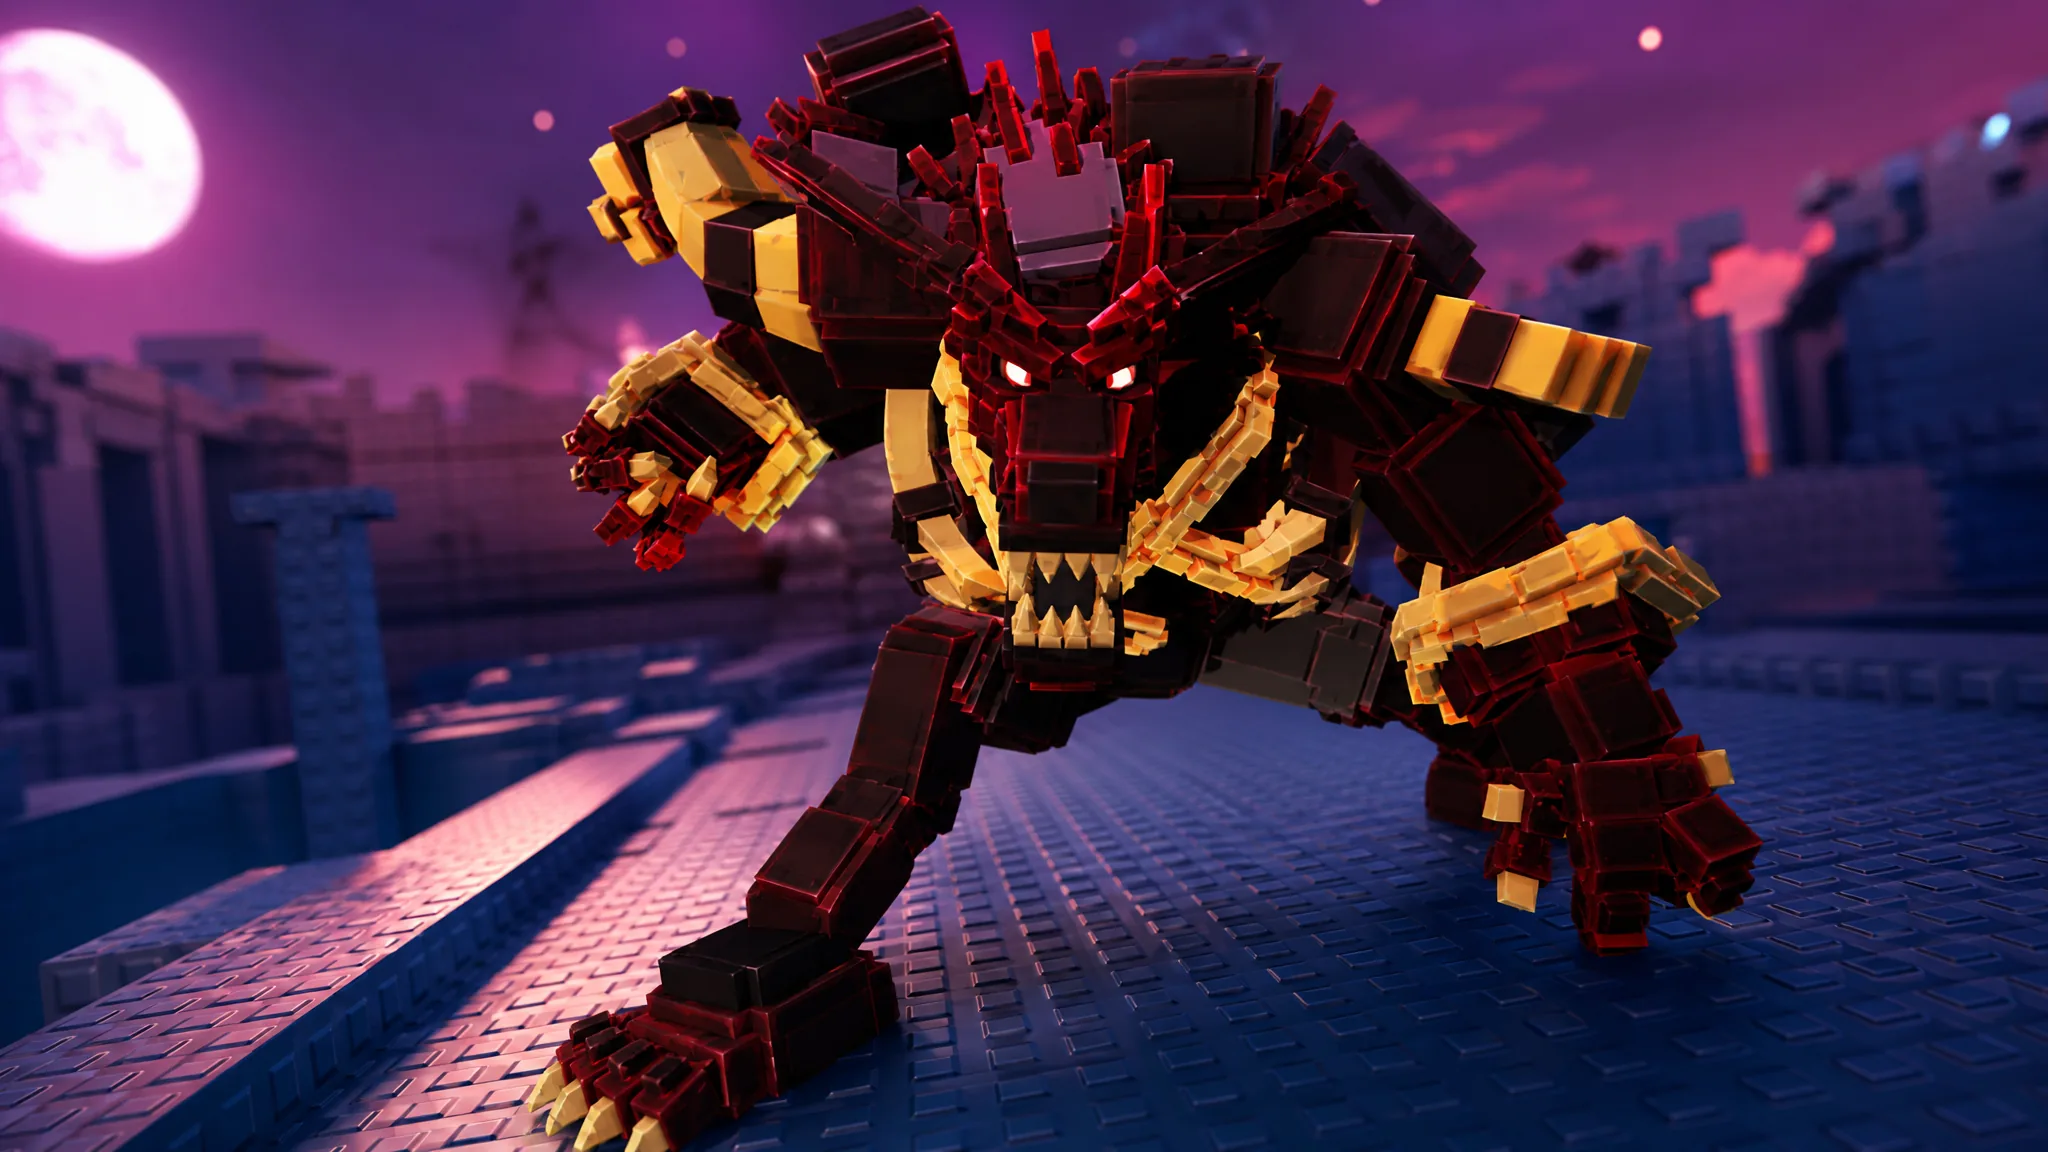
Winning fights in Catch a Brainrot comes down to the moves you roll, not the Brainrot that holds them. Higher-level and higher-rarity Brainrots hit harder and heal for more, but their raw stats only scale numbers that already exist on a move. The real decisions live in which skills you slot and how their energy costs fit together.
Quick answer: Farm four or more Level 60+ Brainrots in the highest-level area you can reach, aim for a few Insane rarities, then build each one around a 2-cost damage move plus either Shield or Heal, adding a 5- or 6-cost finisher like Arm or Whirlpool for burst.
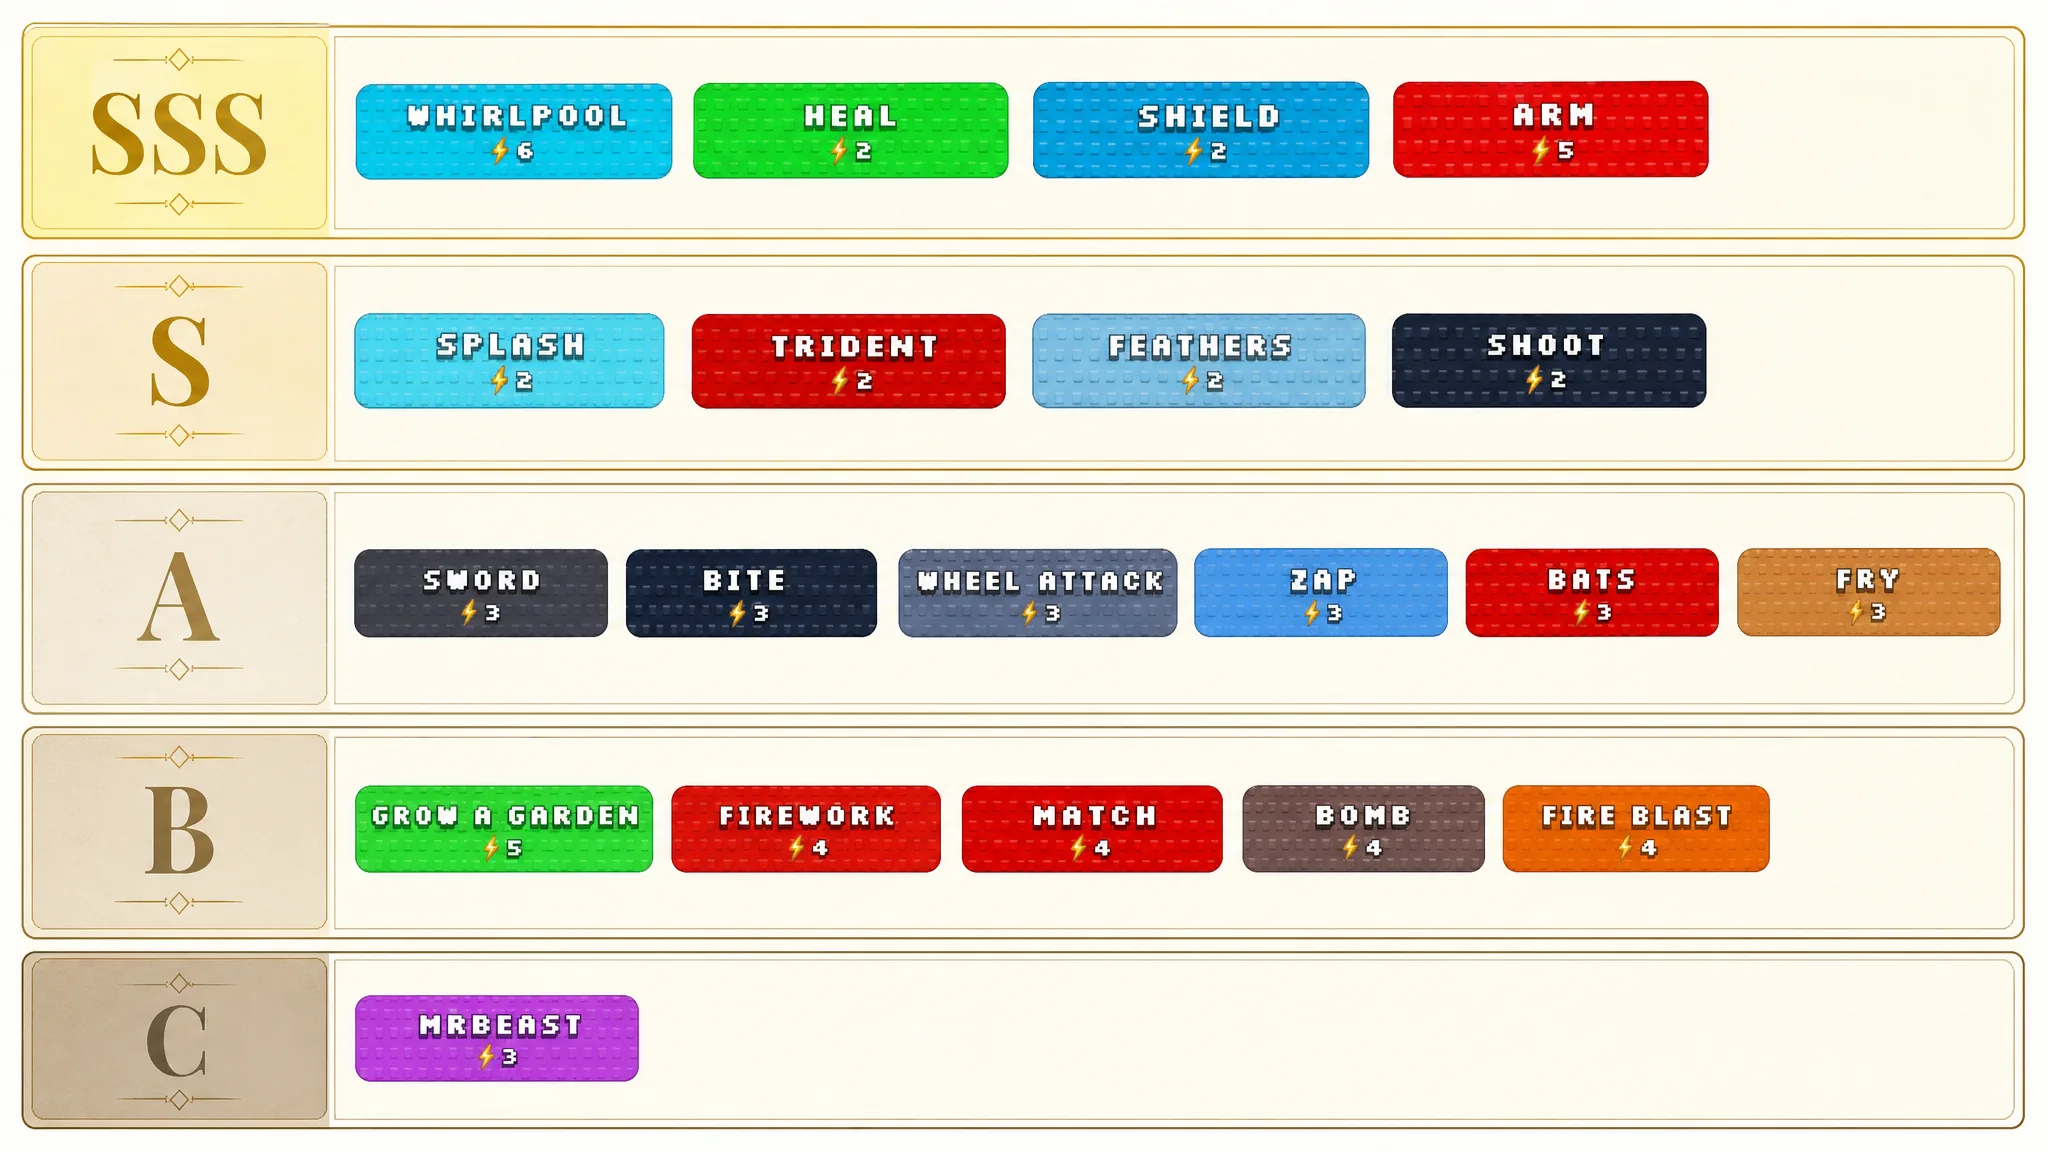
Catch a Brainrot move tier list
Every combat move is ranked below by how much value it returns per energy point and how easily it fits into a working loadout. The ranking reflects the current release build as of July 2026.
| Tier | Move | Energy cost |
|---|---|---|
| SSS | Whirlpool | 6 |
| SSS |  Arm Arm | 5 |
| SSS | Shield | 2 |
| SSS |  Heal Heal | 2 |
| S | Shoot, Trident, Feathers, Splash | 2 |
| A | Sword, Bite, Wheel Attack, Zap, Bats, Fry | 3 |
| B |  Grow a Garden Grow a Garden | 5 |
| B | Fireworks, Match, Bomb, Fire Blast | 4 |
| C |  Mr Beast Mr Beast | 3 |
How these moves were ranked
Placement is driven by damage or utility per energy point, and by how many loadouts a move slots into cleanly. Damage per energy has diminishing returns past 2-cost moves, so cheap attacks anchor most builds while expensive moves earn their place only as burst finishers.
- SSS-Tier: Moves that stay useful in every build and are never build-specific.
- S-Tier: Cheap damage moves you almost always want at least one of for energy economy.
- A-Tier: The 3-cost group. Weaker early, stronger later when paired with 2-cost and 5/6-cost moves.
- B-Tier: The 4-cost group plus Grow a Garden. Strong early, then situational once 5- and 6-cost moves arrive.
- C-Tier: The weakest return per energy point.
Why the top moves stand out
Whirlpool holds the highest damage in the game and is the clearest pick for bursting bosses and clearing Brainrots fast. Because charging it wastes value, you fire it right after defeating a Brainrot and absorbing its energy. The only time charging pays off is when you already sit on 4 energy from a kill, charge once, gain another point at the start of your turn, then release.
Arm works as a cheaper Whirlpool with the same rule against charging beyond a single turn. It trails Whirlpool slightly on raw burst and PVP energy breakpoints, but it fills the finisher slot well when you want a 5-cost instead of a 6-cost.
Shield is the strongest skill-based move for PVP and remains solid against bosses. It always makes you act first, but the protection lasts a single turn, so time it for a predicted high-damage hit when the opponent holds 4 or more energy. Heal is the flexible companion. Running Heal followed by a 2-cost attack usually outperforms Grow a Garden, since you gain both the recovery and separate damage.
The S-tier 2-cost attacks (Shoot, Trident, Feathers, Splash) are the backbone of energy economy. Any single one of them is worth keeping, and every loadout should carry at least one 2-cost damage move. Grow a Garden sits in B-tier because its damage and healing are low for a 5-cost slot; it would be far better as a 4-cost. Mr Beast lands in C-tier for one plain reason, since it deals less damage than other 3-cost moves like Sword.
There are currently no working elemental interactions, and the Ice trait on some Brainrots does nothing. Moves that share an energy cost are interchangeable, so it does not matter which one you roll among equals. Rarity still matters, since Insane and Exclusive Brainrots have higher stat potential and a better chance of rolling top-tier moves.
Best moveset setups for PVP and PVE
Energy-cost variety matters more than any single move. The numbers below represent the energy cost of each slot, so mix costs to hit clean breakpoints instead of stacking identical moves.
| Mode | Setup | Notes |
|---|---|---|
| Defensive PVP | 2, 2, 3/4 | One 2-cost is Shield or Heal, one 2-cost is damage, the last slot is any DPS. Shield is best; boosted Heal needs an Insane rarity Brainrot or higher. |
| Offensive PVP | 2, 3, 6 | All damage, with the 6-cost as Whirlpool. Manage energy carefully and release Whirlpool after stealing energy on a kill. |
| PVE | 2-3-4 or 2-3-6 or 2-2-X | Go full DPS, or run one 2-cost damage plus a 2-cost Heal with a 4/5/6 finisher depending on what you own. |
Setups to avoid
- Three moves of equal cost, which wreck energy economy since same-cost moves usually do the same thing.
- Any loadout with no 2-cost move, since 2-cost damage is the base of your energy economy even when you also run a 2-cost Heal or Shield.
- Late-game builds leaning on Grow a Garden, where its damage and lifesteal are too weak for the energy spent.
Once you have four or more strong Level 60+ Brainrots carrying these moves, you will know the setup is working when your team clears the highest-level farming zones quickly and trades favorably against end-game bosses. If you want free rolls to speed up the grind, redeemable codes exist on the game’s dedicated codes page.





