
File extensions in Windows 11 determine which applications open your files and how the system interprets them. For example, changing a file’s extension from .txt to .jpg will prompt Windows to treat the file as an image instead of a text document. By default, Windows hides file extensions, so you’ll need to make them visible before you can change them directly. Adjusting file extensions can resolve compatibility issues or allow you to use files with different programs, but it’s important to follow each step carefully to avoid corrupting your files.
Changing File Extension Using File Explorer
Step 1: Open File Explorer by pressing Windows + E on your keyboard or by clicking the folder icon on your taskbar. File Explorer lets you browse and manage files on your system.
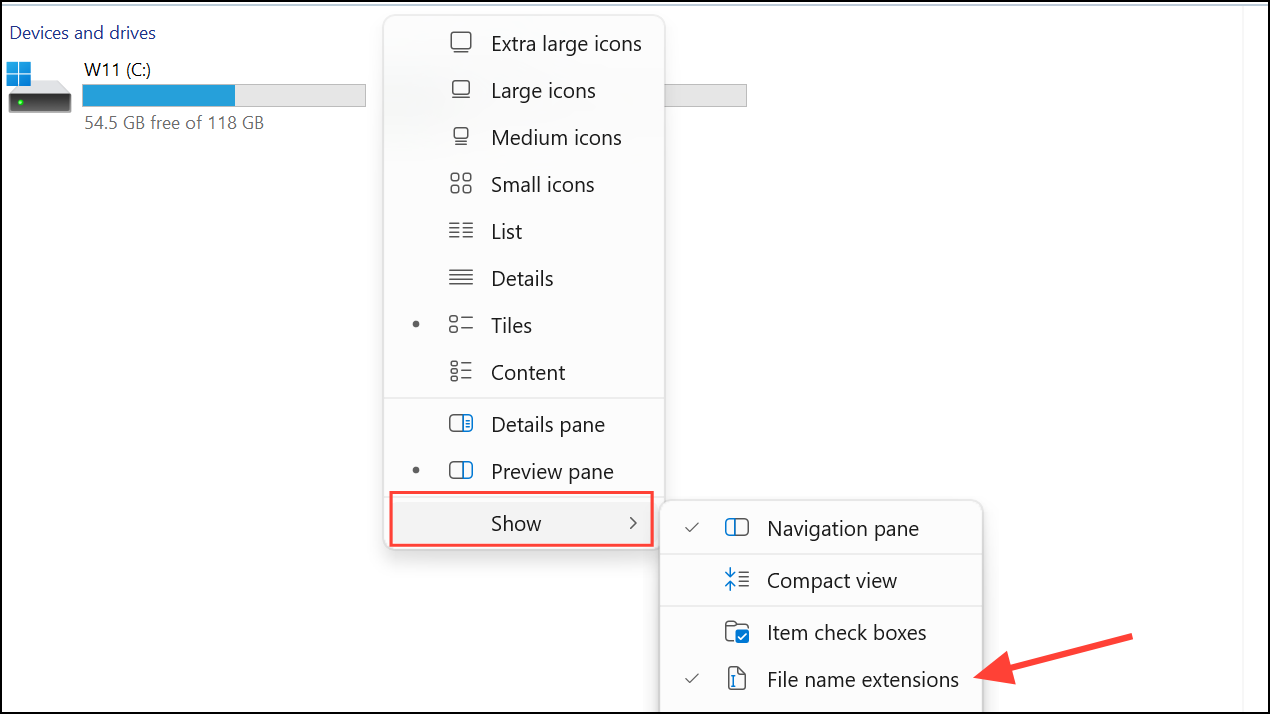
Step 2: Make file extensions visible. Click the View tab at the top of the File Explorer window. Then, select Show and click File name extensions from the dropdown menu. This action displays the extensions (like .docx, .png, etc.) after file names, allowing you to edit them directly.
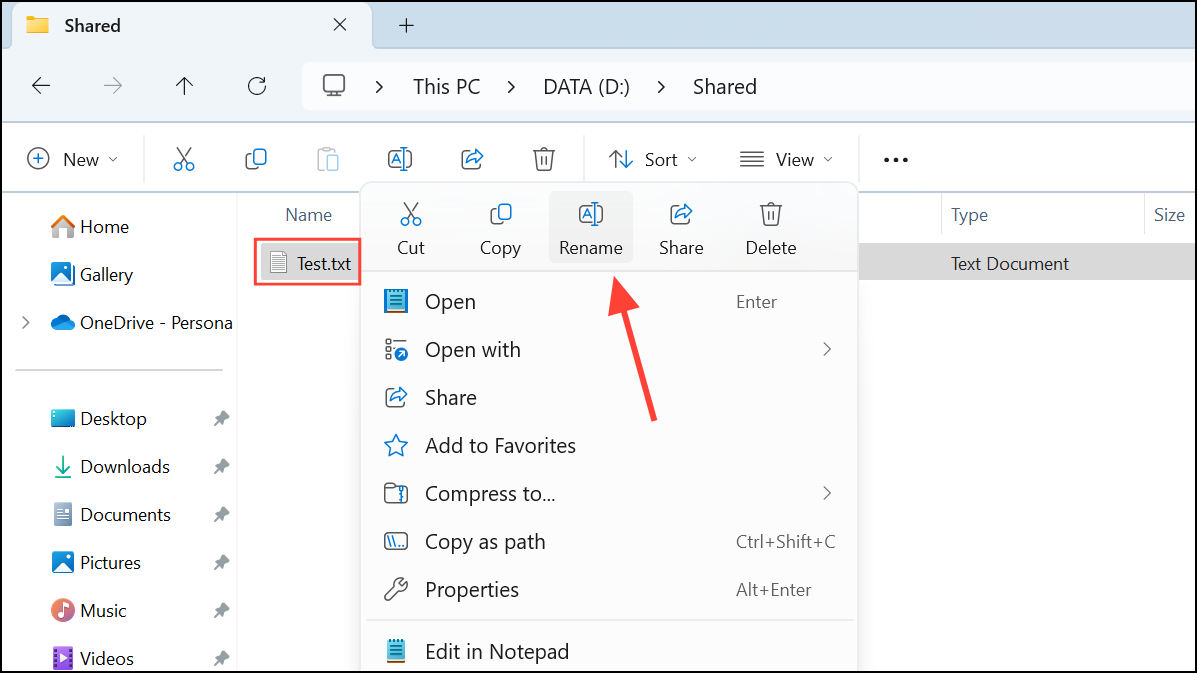
Step 3: Navigate to the file whose extension you want to change. Right-click the file and select Rename, or select the file and press F2 on your keyboard. The file name becomes editable.
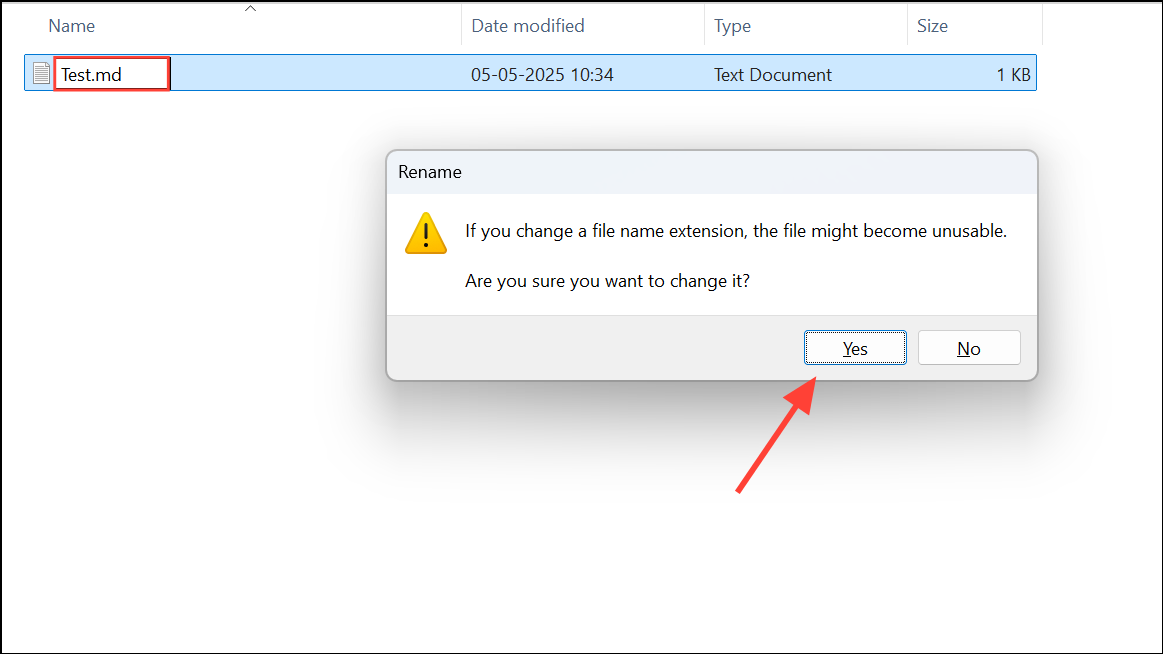
Step 4: Carefully delete the current extension (the part after the last dot) and type the new extension you want. For example, change document.txt to document.md. Press Enter to confirm.
Step 5: A warning message appears: “If you change a file name extension, the file might become unusable.” Click Yes to proceed. Windows issues this warning because changing an extension can make a file unreadable by certain programs if the format does not match the extension.
After completing these steps, your file will appear with the new extension. Make sure the new extension matches the actual file type; otherwise, the file may not open correctly.
Changing File Extension Using Command Prompt
For users comfortable with command-line tools, Command Prompt provides a fast way to change file extensions, especially for multiple files at once.
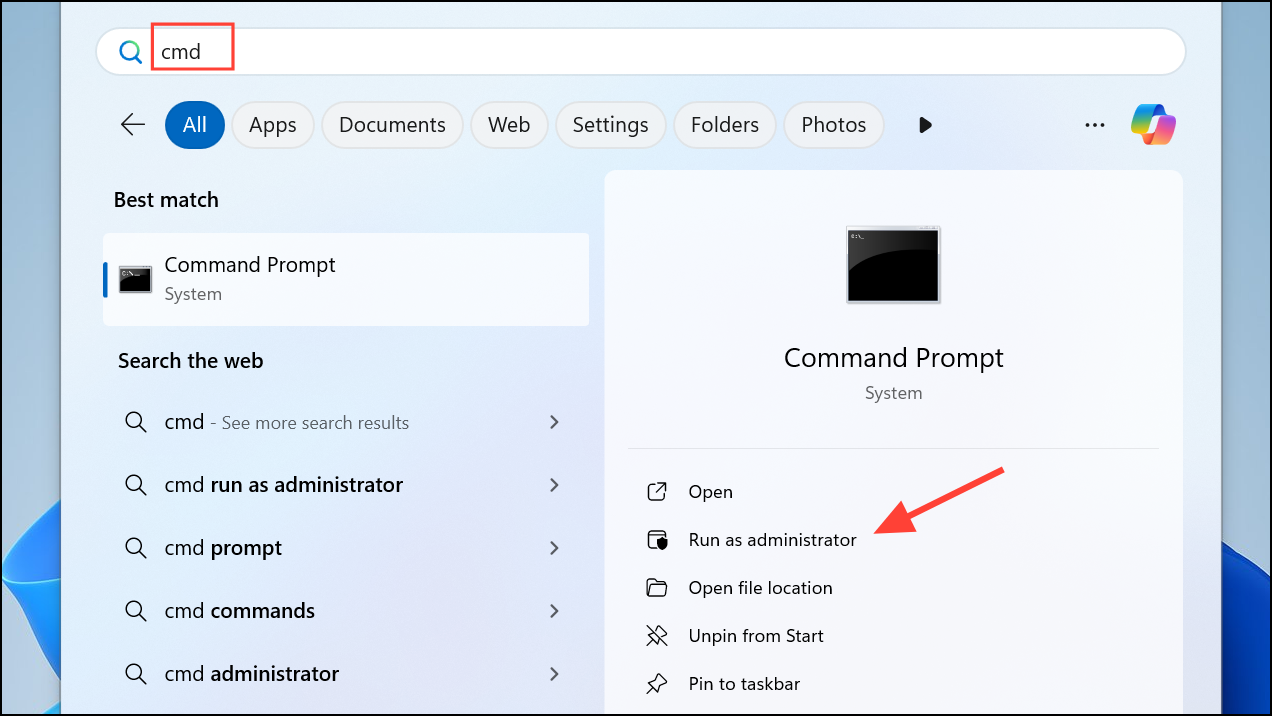
Step 1: Open Command Prompt by pressing Windows + S, typing cmd, and pressing Enter. Right-click and select Run as administrator if you need elevated permissions.
Step 2: Use the cd command to navigate to the folder containing your file. For example:
cd C:\Users\YourName\Documents\TargetFolder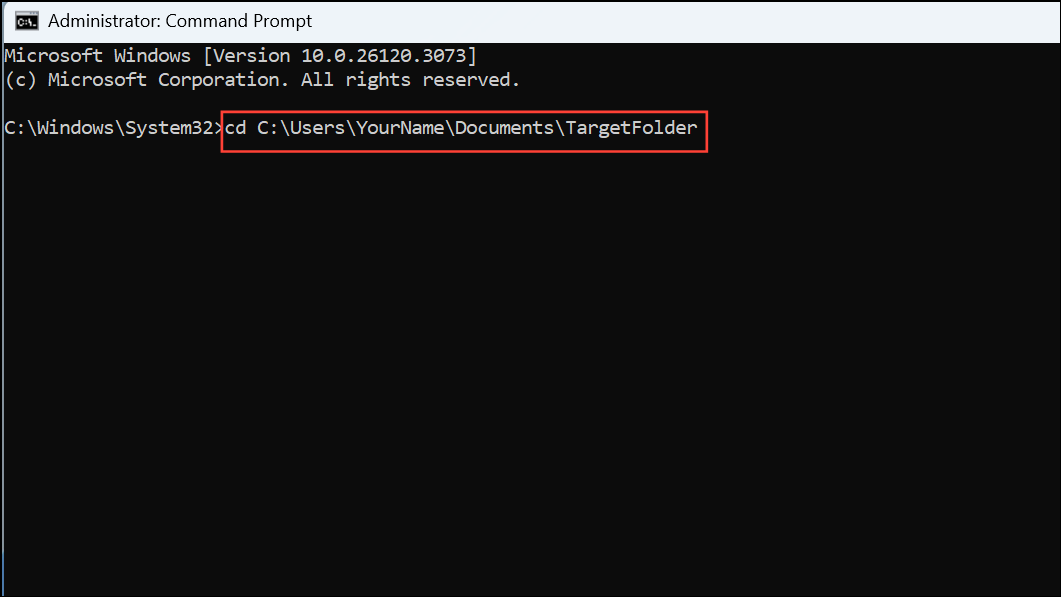
Step 3: Rename the file by typing the following command:
ren oldfilename.txt oldfilename.md
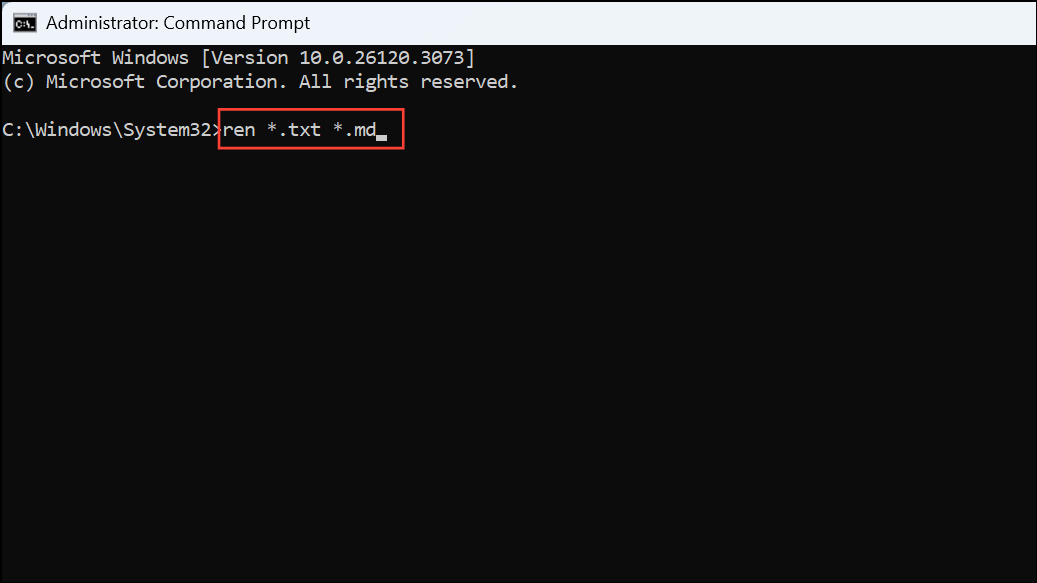
This command changes the extension from .txt to .md. For batch changes, you can use wildcards:
ren *.txt *.mdThis command changes all .txt files in the directory to .md.
Step 4: Close Command Prompt when finished. Check your folder to confirm the extensions have changed.
Changing File Extension Using PowerShell
Windows PowerShell offers advanced scripting capabilities for changing file extensions, particularly useful for batch operations with more control.
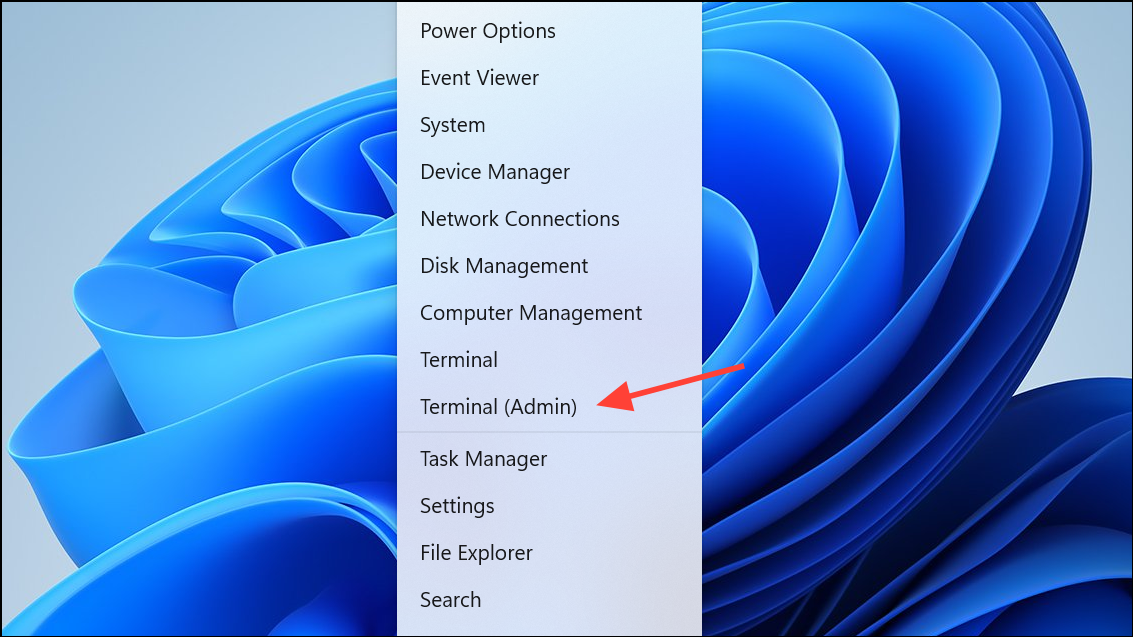
Step 1: Open PowerShell by pressing Windows + X and selecting Windows Terminal or Windows PowerShell.
Step 2: Navigate to the directory containing your files using the cd command.
Step 3: Use the following script to rename a single file:
Rename-Item "oldfilename.txt" "oldfilename.md"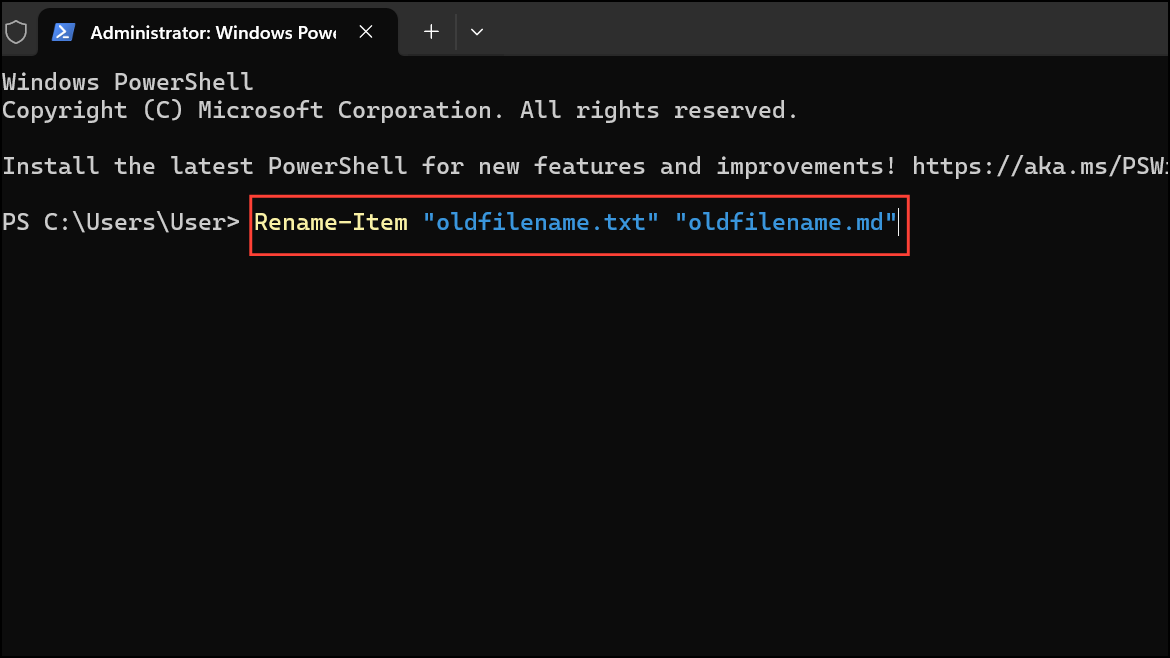
For multiple files, use this command:
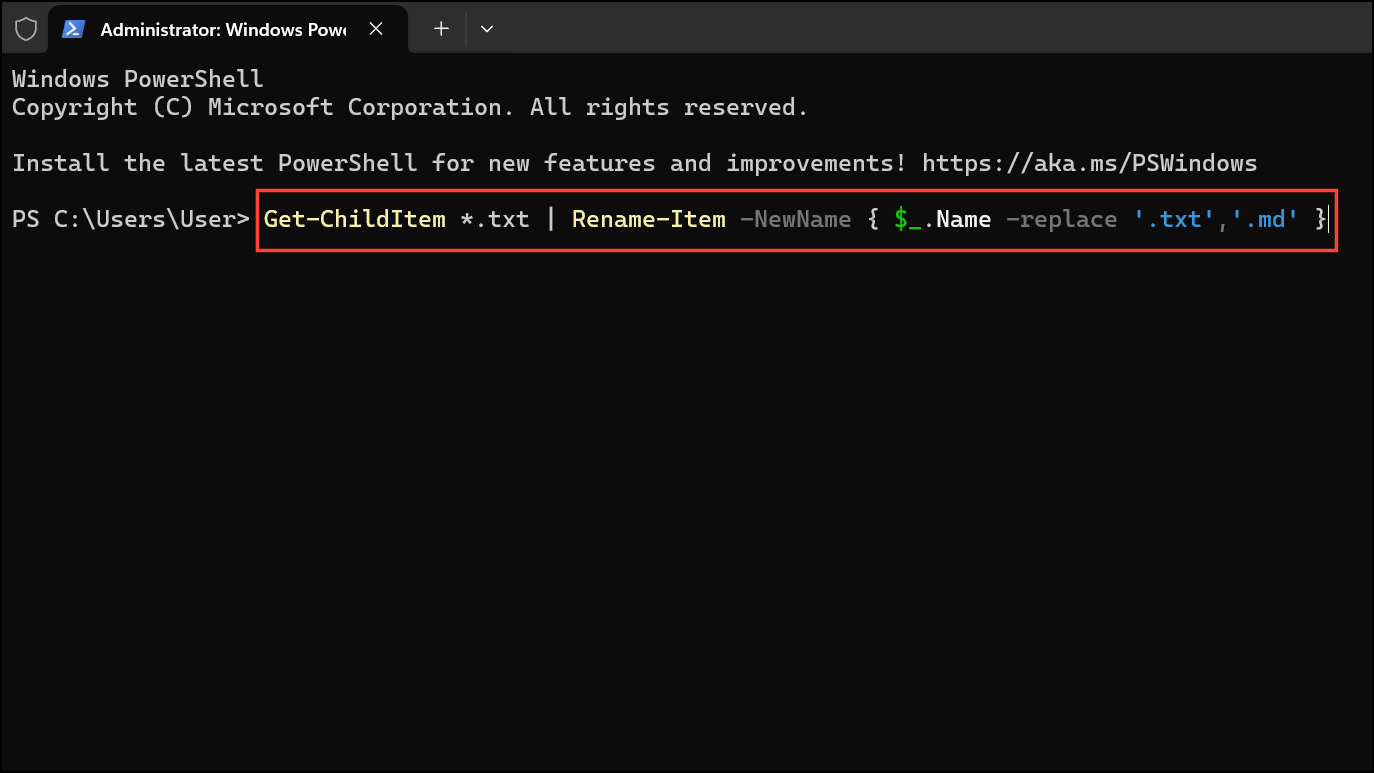
Get-ChildItem *.txt | Rename-Item -NewName { $_.Name -replace '.txt','.md' }This script finds all .txt files and changes their extensions to .md.
Step 4: Verify that the files have the new extensions in File Explorer.
Changing file extensions in Windows 11 is straightforward once you make them visible and follow the correct steps. Always double-check the file format before renaming, as mismatched extensions can prevent files from opening properly.