
Upgrading to an internal M.2 SSD by cloning data from an external NVMe drive allows you to keep your operating system, applications, and files intact without reinstalling everything from scratch. This process is especially useful when migrating to a faster or larger drive, or when setting up a new system with an existing installation.
Cloning With Disk Imaging Software
Disk imaging software provides a straightforward way to copy all contents from your external NVMe to an internal M.2 SSD. Popular tools include Macrium Reflect, Clonezilla, Acronis True Image, and EaseUS Todo Backup. These applications can create an exact replica of your drive, including boot partitions and system files.
Step 1: Connect your external NVMe drive and ensure your internal M.2 SSD is installed in your computer. Confirm both drives are recognized by your operating system. If you’re working on a desktop, you may need to use an NVMe-to-USB adapter for the external drive.
Step 2: Download and install your chosen disk imaging software. Most tools offer a free version with basic cloning functionality. Launch the software and select the option to clone a disk or create a disk image.
Step 3: Select the external NVMe drive as the source disk. Carefully choose the internal M.2 SSD as the destination. Double-check these selections to avoid overwriting the wrong drive.
Step 4: Review the partition layout. Many tools allow you to resize partitions during the cloning process if your target SSD is a different size. Adjust as needed, ensuring you leave enough space for system and recovery partitions.
Step 5: Start the cloning process. This can take anywhere from several minutes to a few hours, depending on the amount of data and drive speeds. Avoid interrupting the process, as this could result in incomplete data transfer.
Step 6: Once cloning is complete, shut down your computer. If you intend to boot from the new internal M.2 SSD, disconnect or remove the external NVMe drive. Enter your system’s BIOS or UEFI settings and set the internal SSD as the primary boot device.
Step 7: Boot the system. If everything was cloned correctly, your operating system should load as it did before, but now from the internal M.2 SSD. Check that all files and applications are accessible and functioning.
Cloning With Built-in System Tools (Windows Only)
Windows users can use built-in tools like wbadmin or the Backup and Restore utility to create a system image and restore it to a new SSD. This method is less flexible than third-party software but can be useful if you prefer native solutions.
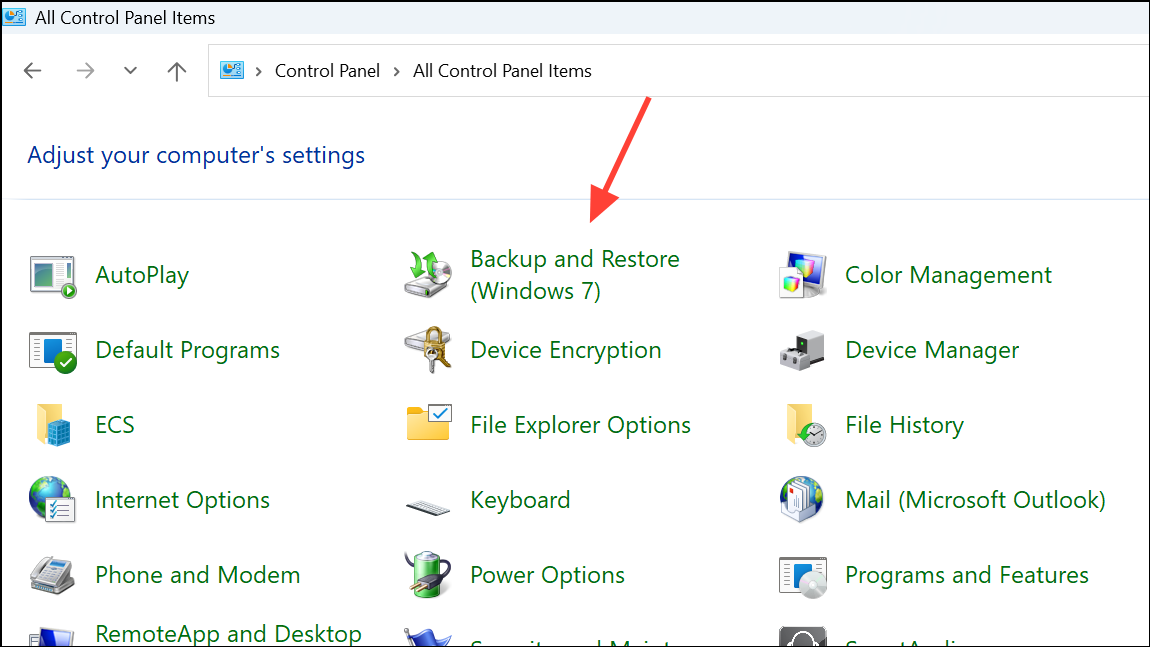
Step 1: Open the Control Panel and navigate to Backup and Restore (Windows 7) (even on Windows 10/11).
Step 2: Select Create a system image and choose your external NVMe as the source.

Step 3: Create a recovery USB or DVD if you don’t have one already. This will help you boot into the recovery environment later.
Step 4: After creating the system image, shut down your computer and ensure the internal M.2 SSD is installed. Boot from the recovery USB or DVD.
Step 5: In the recovery environment, select Restore your computer using a system image you created earlier. Point to the image stored on the external NVMe and follow the prompts to restore it to the internal SSD.
Step 6: Once restoration is complete, restart your computer and verify that Windows boots from the internal M.2 SSD.
Cloning With Command Line Utilities (Advanced Users)
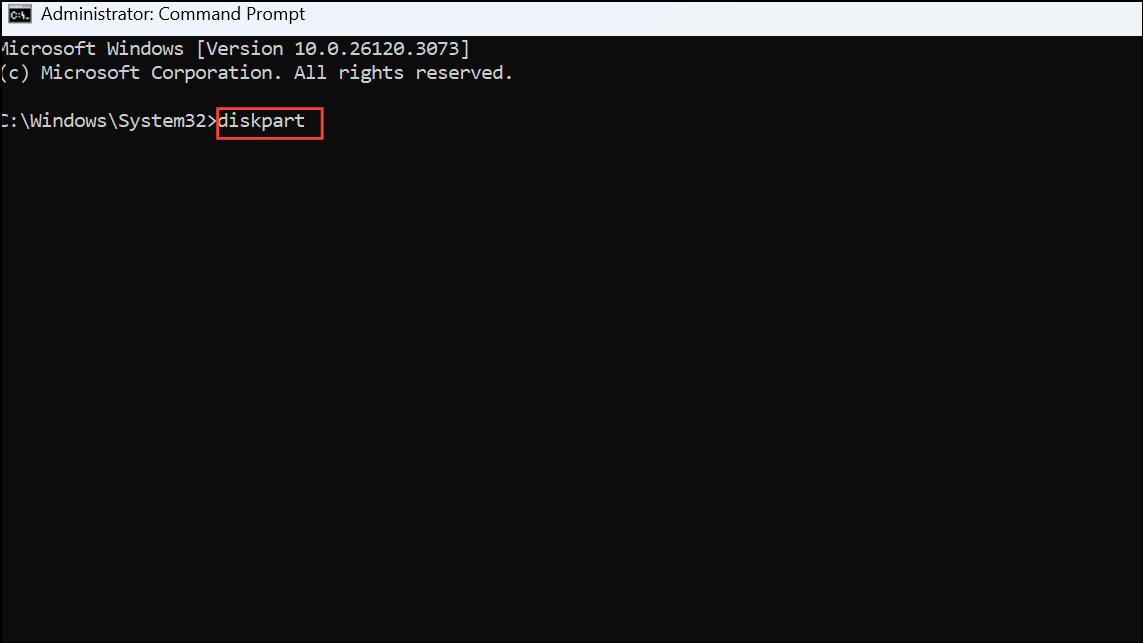
Advanced users may prefer command line tools like dd on Linux or diskpart on Windows for direct disk cloning. This approach gives granular control but carries a higher risk of data loss if commands are entered incorrectly.
Step 1: Identify disk device names for both the external NVMe and internal M.2 SSD. Use commands like lsblk or diskpart to list drives.
Step 2: Use a command such as the following (Linux example):
sudo dd if=/dev/sdX of=/dev/sdY bs=64K conv=noerror,sync
Replace /dev/sdX and /dev/sdY with the correct device names for your source and target drives. Double-check these values to avoid overwriting the wrong drive.
Step 3: Wait for the process to finish. The terminal will display progress or return to the prompt when complete. Reboot and verify that the internal SSD boots as intended.
Cloning from an external NVMe to an internal M.2 SSD streamlines upgrades and system migrations, letting you keep your setup intact with minimal downtime. Always double-check source and destination drives to avoid accidental data loss, and keep your original drive as a backup until you confirm the new SSD works as expected.