

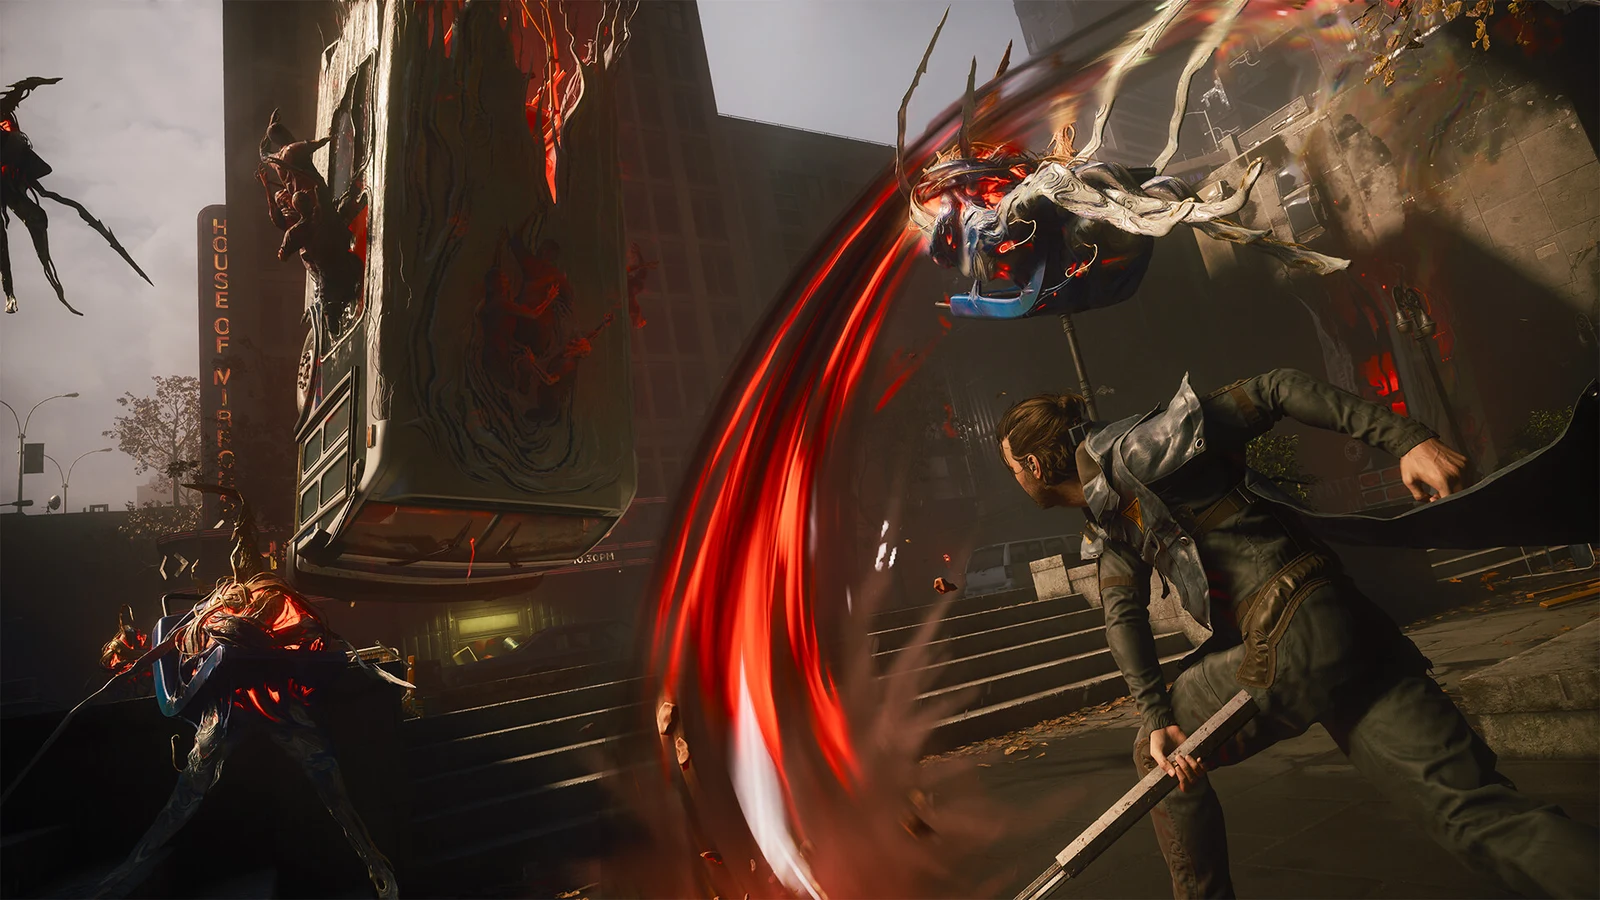
Control Resonant does not offer Easy, Normal, or Hard in its menus. Instead, Assist Mode contains all difficulty controls through sliders and toggles attached to your current save. Combat can be made easier or tougher at any time, and these adjustments have no effect on trophies or achievements.
Quick answer: From a loaded save, pause and follow Options → Gameplay → Assist Mode, then turn it to Enabled. Choose a preset or tune the sliders one by one before resuming play.
Enable Assist Mode from the pause menu
Assist Mode only appears while a save is active, because every setting attaches to that specific save slot. You will not find it on the front-end menus before you start playing, and beginning a new game does not lock anything in permanently. Each playthrough can keep its own configuration.

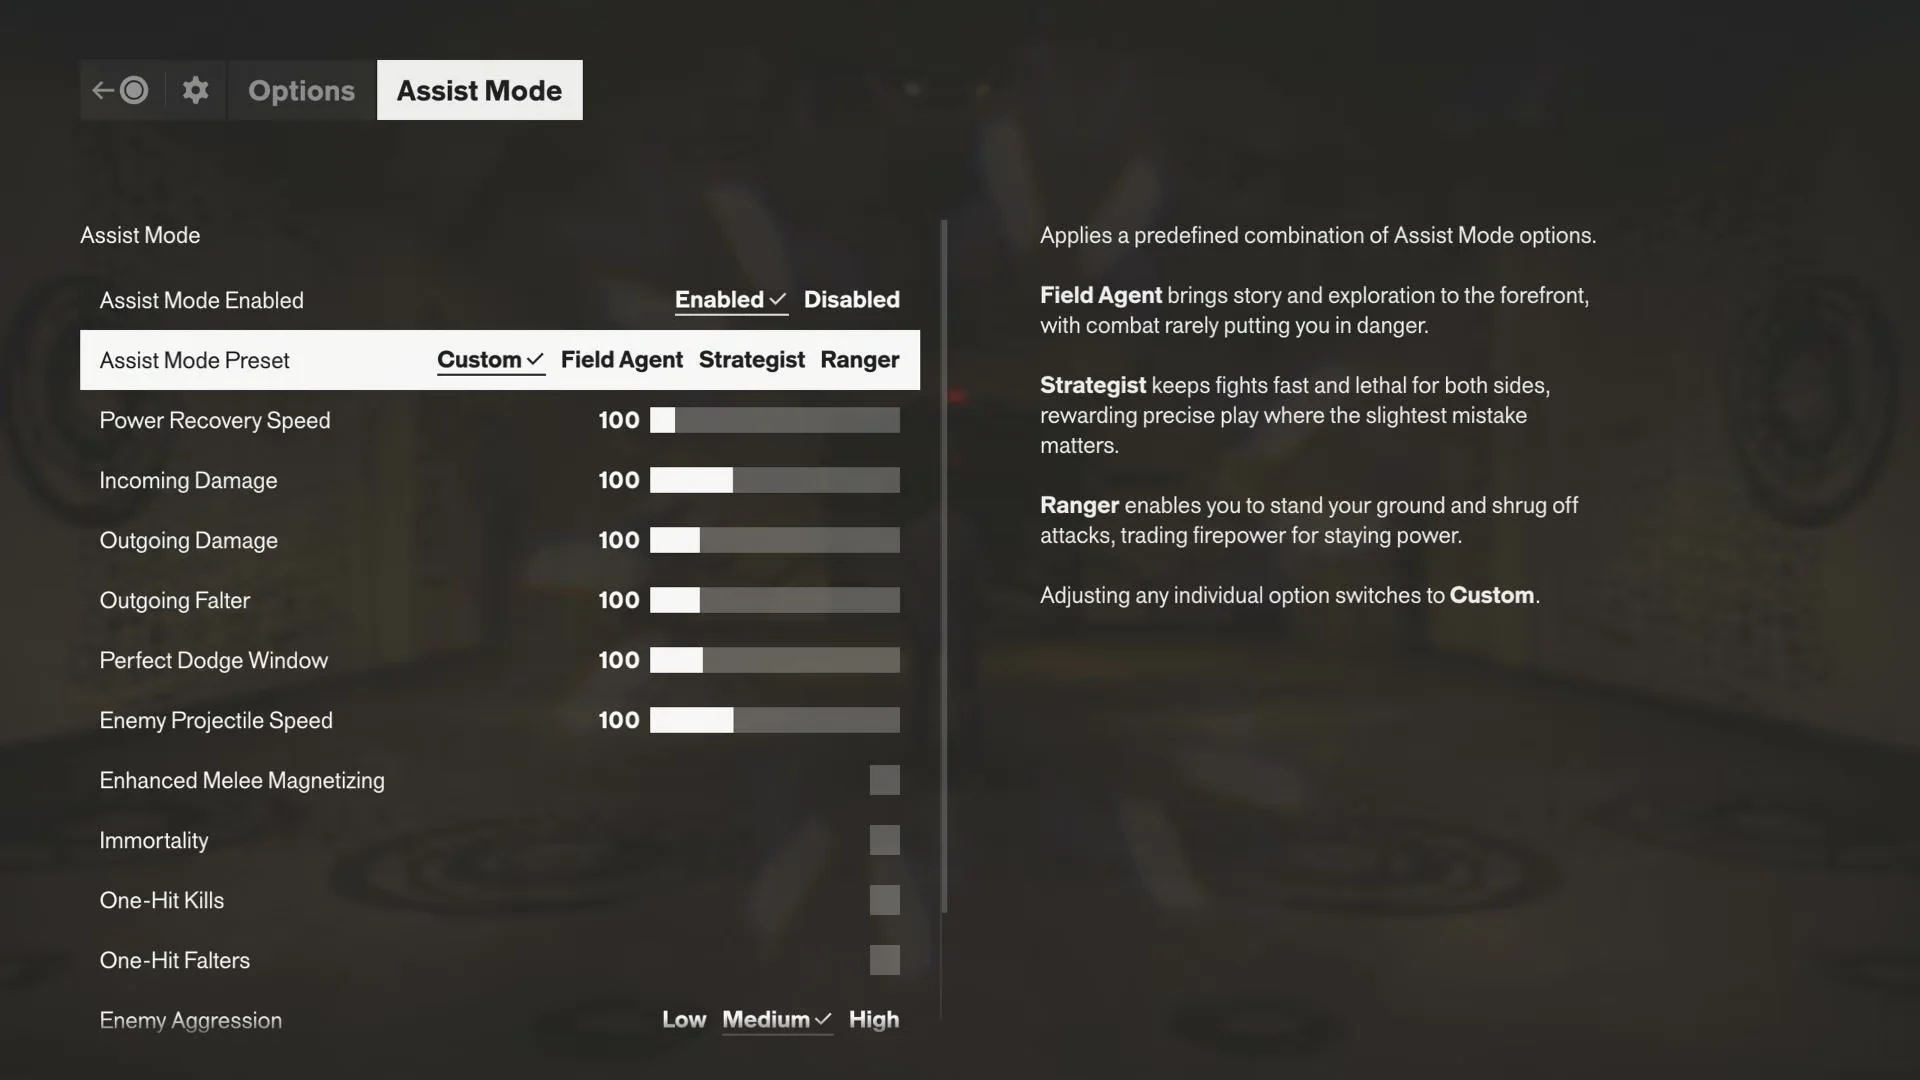
If you disable Assist Mode afterward, your configured values remain saved. Only the modifiers stop applying.
Assist Mode presets and their exact values
You get three named starting points and Custom. Each preset sets all sliders together, after which you may fine-tune individual values. Altering even a single setting changes the label to Custom; that is normal and has no effect on rewards.
| Preset | Feel | Best for |
|---|---|---|
| Field Agent | Easiest; combat rarely threatens you | Story and exploration |
| Strategist | Fast and lethal for both sides | Precise, high-risk play |
| Ranger | High durability, low damage output | Longer, sturdier fights |
The values show exactly how far apart the presets are. Field Agent uses Power Recovery 500, Incoming Damage 40, Outgoing Damage 150, Outgoing Falter 300, a 350 Perfect Dodge Window, Enemy Projectile Speed 60, Enhanced Melee Magnetizing on, and Low aggression. Strategist uses Power Recovery 200, Incoming Damage 200, Outgoing Damage 400, Outgoing Falter 400, a 30 dodge window, Projectile Speed 150, and High aggression. Ranger sets Incoming Damage to 25, Outgoing Damage to 60, Power Recovery to 300, Outgoing Falter to 200, the dodge window to 250, Projectile Speed to 70, Enhanced Melee Magnetizing on, and Medium aggression.
Every Assist Mode setting and what it changes
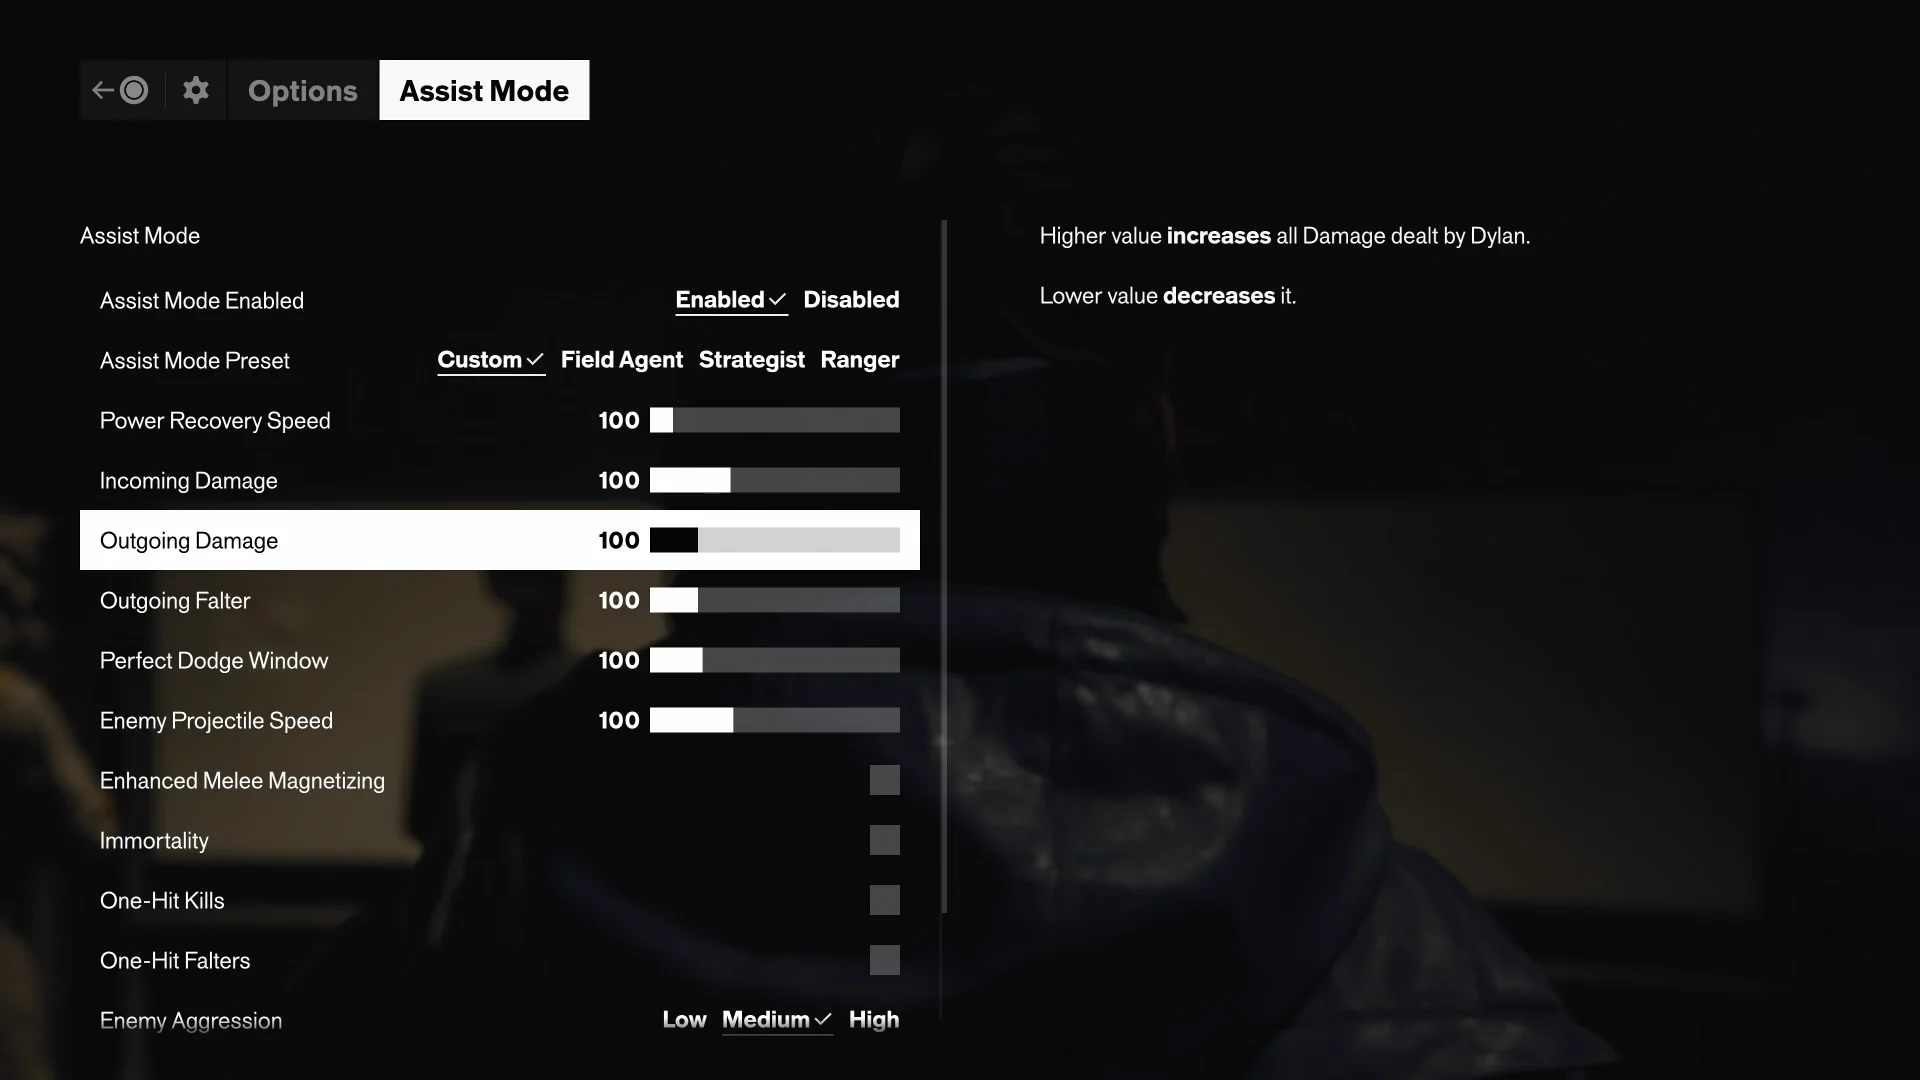
Assist Mode contains two kinds of controls: bidirectional sliders and toggles that directly remove difficulty. Dylan is the character under your control, so each option changes either him or the enemies he encounters.
| Setting | Effect |
|---|---|
| Power Recovery Speed | Sets how fast Dylan refills Power from all sources |
| Incoming Damage | Sets how much damage Dylan takes from hits and hazards |
| Outgoing Damage | Sets how much damage Dylan deals |
| Outgoing Falter | Sets how fast enemy posture breaks for an Execution |
| Perfect Dodge Window | Widens or tightens the timing for a Perfect Dodge |
| Enemy Projectile Speed | Speeds up or slows down ranged attacks aimed at you |
| Enhanced Melee Magnetizing | Lets Dylan reach melee targets from farther away |
| Immortality | Dylan still takes damage but cannot die |
| One-Hit Kills | A single blow kills any enemy, including bosses |
| One-Hit Falters | Fills an enemy’s Falter bar instantly for an immediate Execution |
| Enemy Aggression | Sets how many enemies attack at once (Low, Medium, High) |
A balanced setup for faster combat
To speed up fights without stripping out the challenge, start with Outgoing Damage. Some enemies soak up a lot of punishment, so a value between 150 and 250 shortens encounters while keeping them meaningful. Once Dylan gains levels, you can pull it back down.
For packed groups and encounters dominated by ranged enemies, change two additional options. Put Enemy Projectile Speed in the 80s to gain a little more reaction time against ranged opponents, including tougher Mold-powered enemies, although their shots still require movement. Choosing Low or Medium for Enemy Aggression limits how many attackers converge at once, making World Events such as Hold the Line and Firebreak easier to manage.
For a demanding boss, widen the Perfect Dodge Window to create more defensive breathing room, and increase Power Recovery Speed so Dylan gets his abilities back more frequently. One workable configuration:
- Power Recovery Speed: 500
- Incoming Damage: 50
- Outgoing Damage: 250
- Outgoing Falter: 300
- Perfect Dodge Window: 300
- Enemy Projectile Speed: 60
- Enhanced Melee Magnetizing: On
- Enemy Aggression: Medium
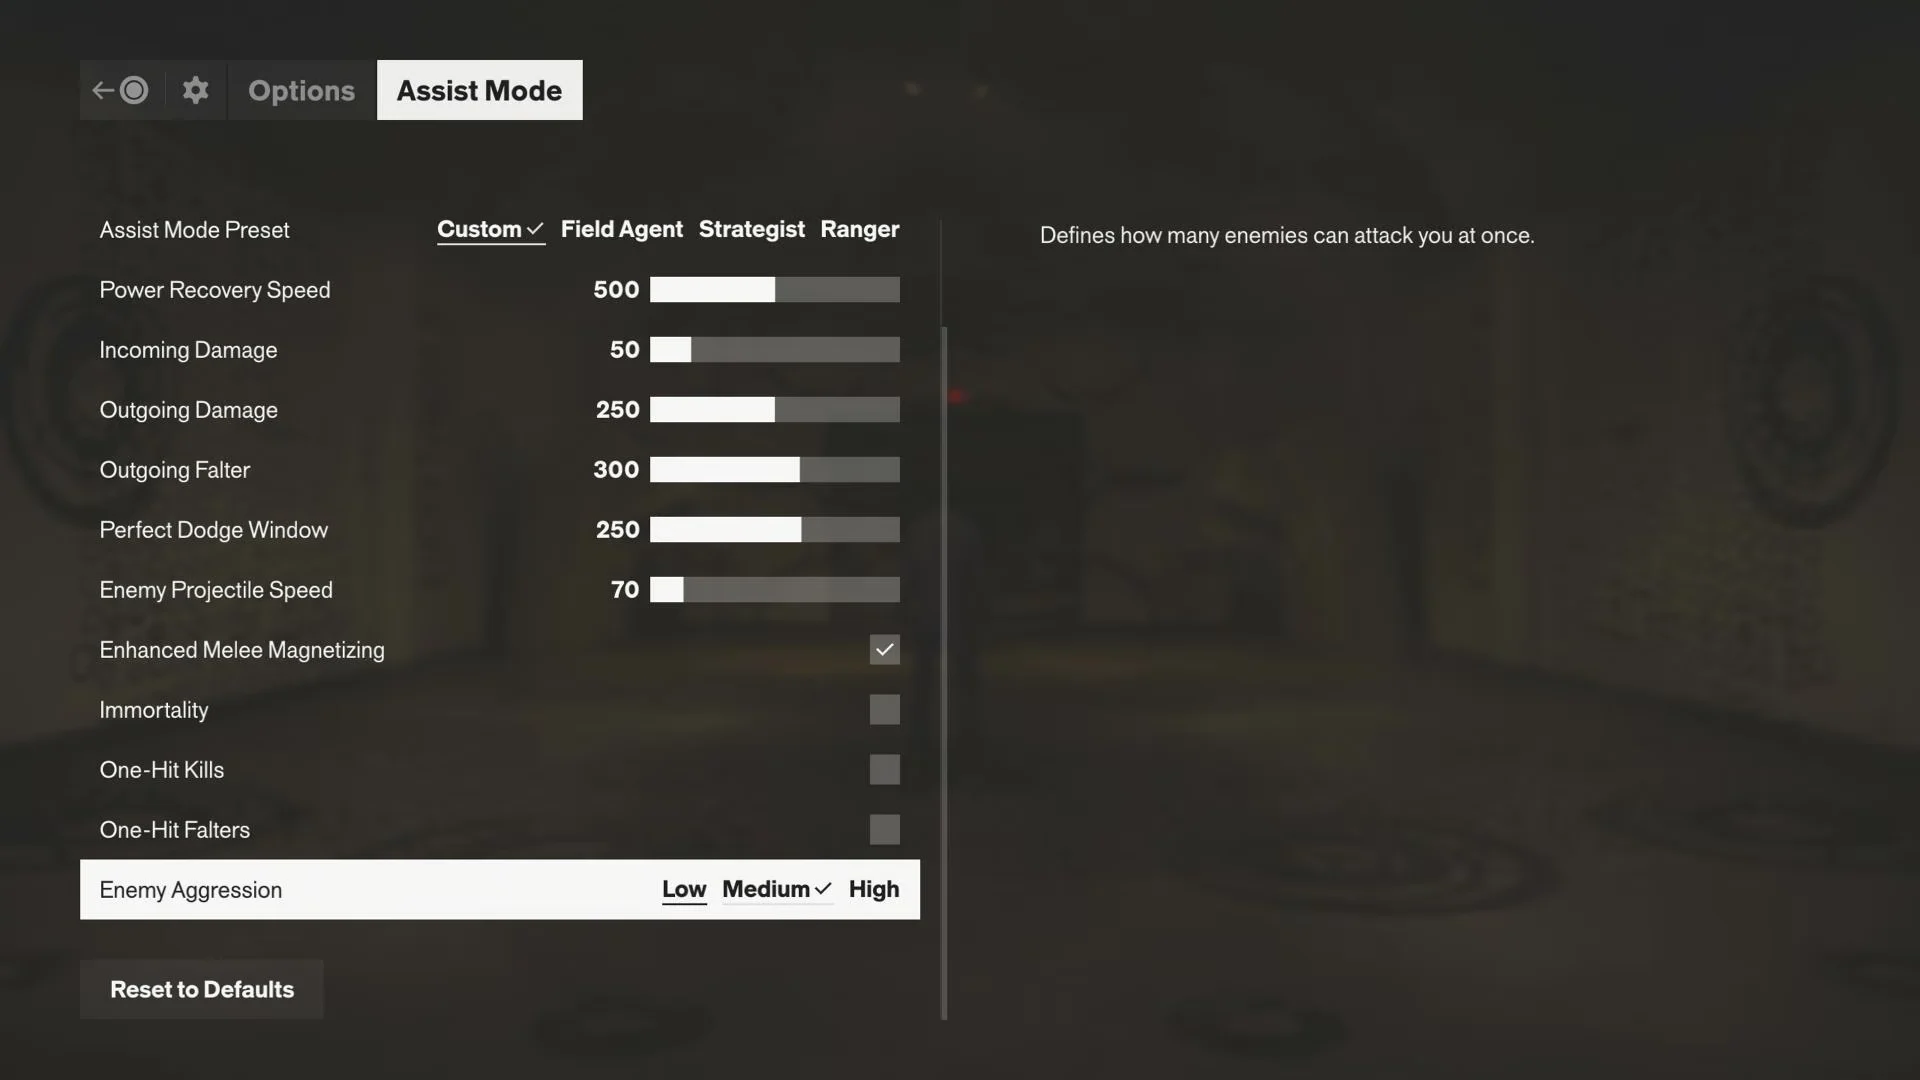
Leave Immortality, One-Hit Kills, and One-Hit Falters off if you still want combat to matter. Those toggles do not fine-tune the challenge, they remove it entirely.
Make Control Resonant harder
The original Control’s sliders only moved one way; these controls do not. To make the game tougher than any preset, move the same options toward their more demanding ends when the base experience feels too lenient.
- Set Enemy Aggression to High, causing more enemies to attack you simultaneously.
- Raise Enemy Projectile Speed so ranged attacks become more difficult to evade.
- Reduce the Perfect Dodge Window to require more exact timing.
- Reduce Power Recovery Speed so abilities take longer to return.
- Increase Incoming Damage to make hits substantially more punishing.
Confirming your settings and trophy safety
The change registers immediately. The header reads Assist Mode Enabled, and the values you set govern the next fight on that save, whether that is an enemy swarm or a boss like The Artist. Because the setup belongs to the save slot, different playthroughs can run completely separate rules.
Assist Mode does not prevent rewards. Every setting still allows trophies and achievements, even extreme selections such as Immortality or One-Hit Kills. Lead gameplay designer Sergey Mohov described the purpose as helping players keep going instead of quitting when difficulty spikes: change the rules and continue forward. Increase the options for a fight or puzzle that will not yield, then restore your usual configuration afterward; completion progress remains intact.





