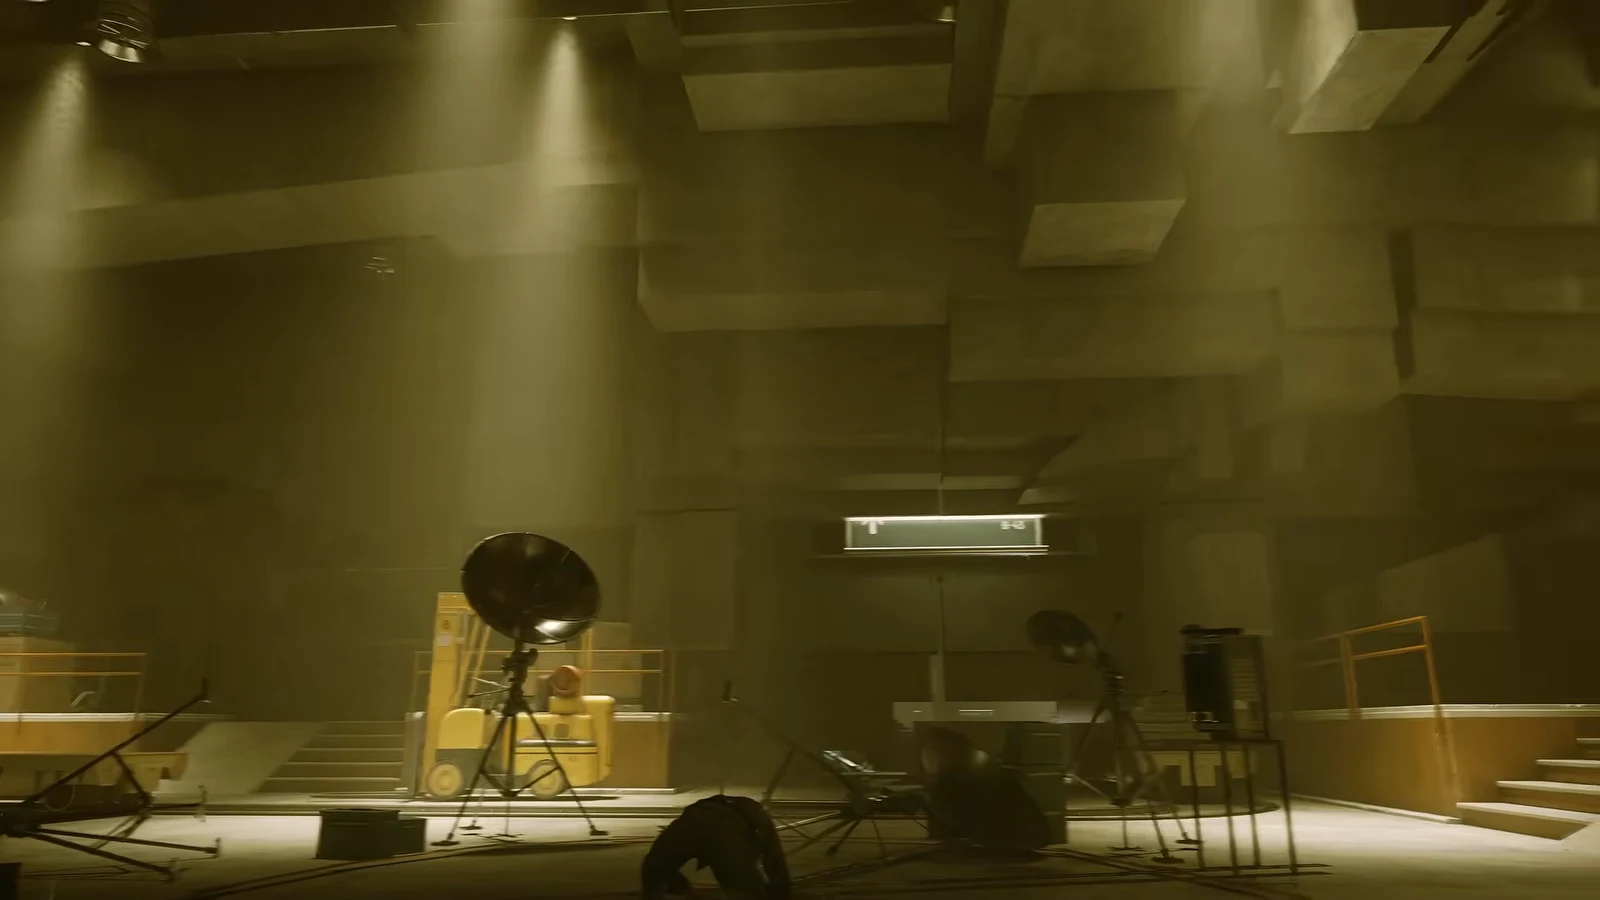
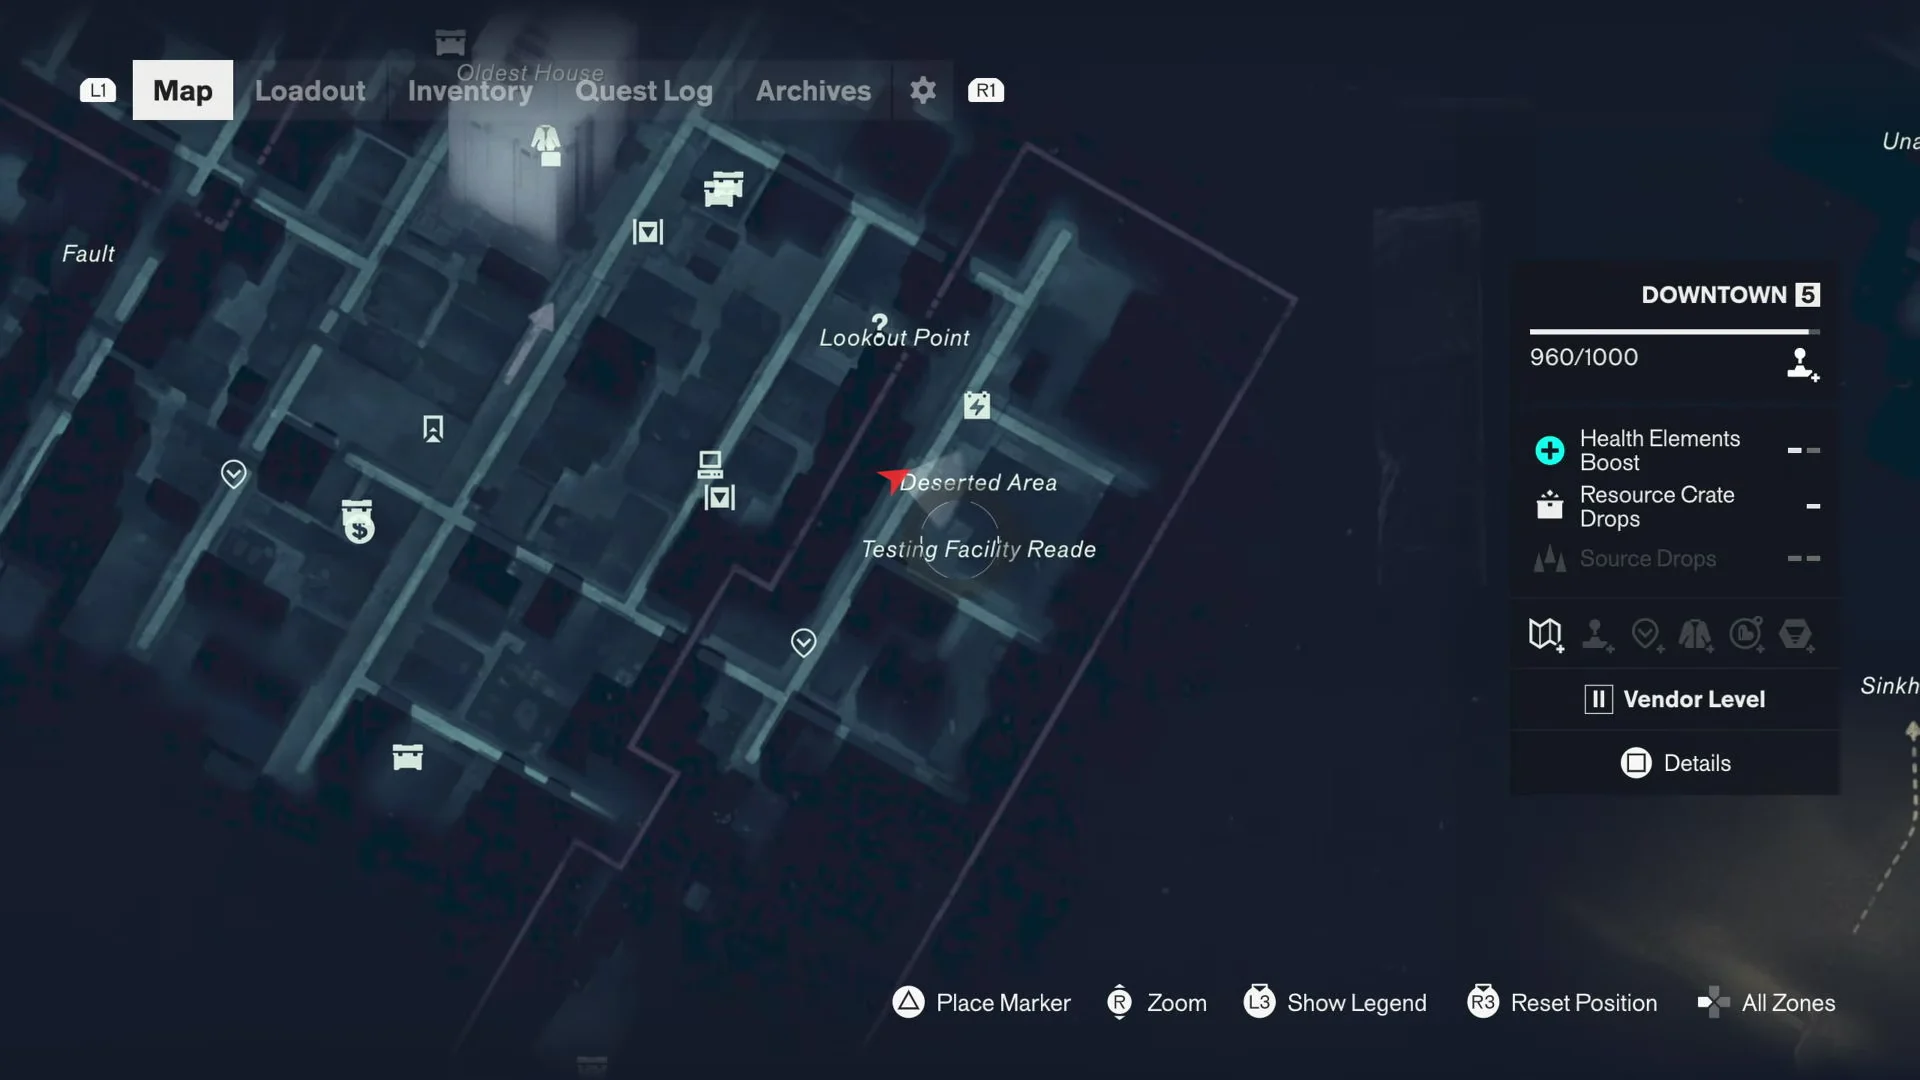
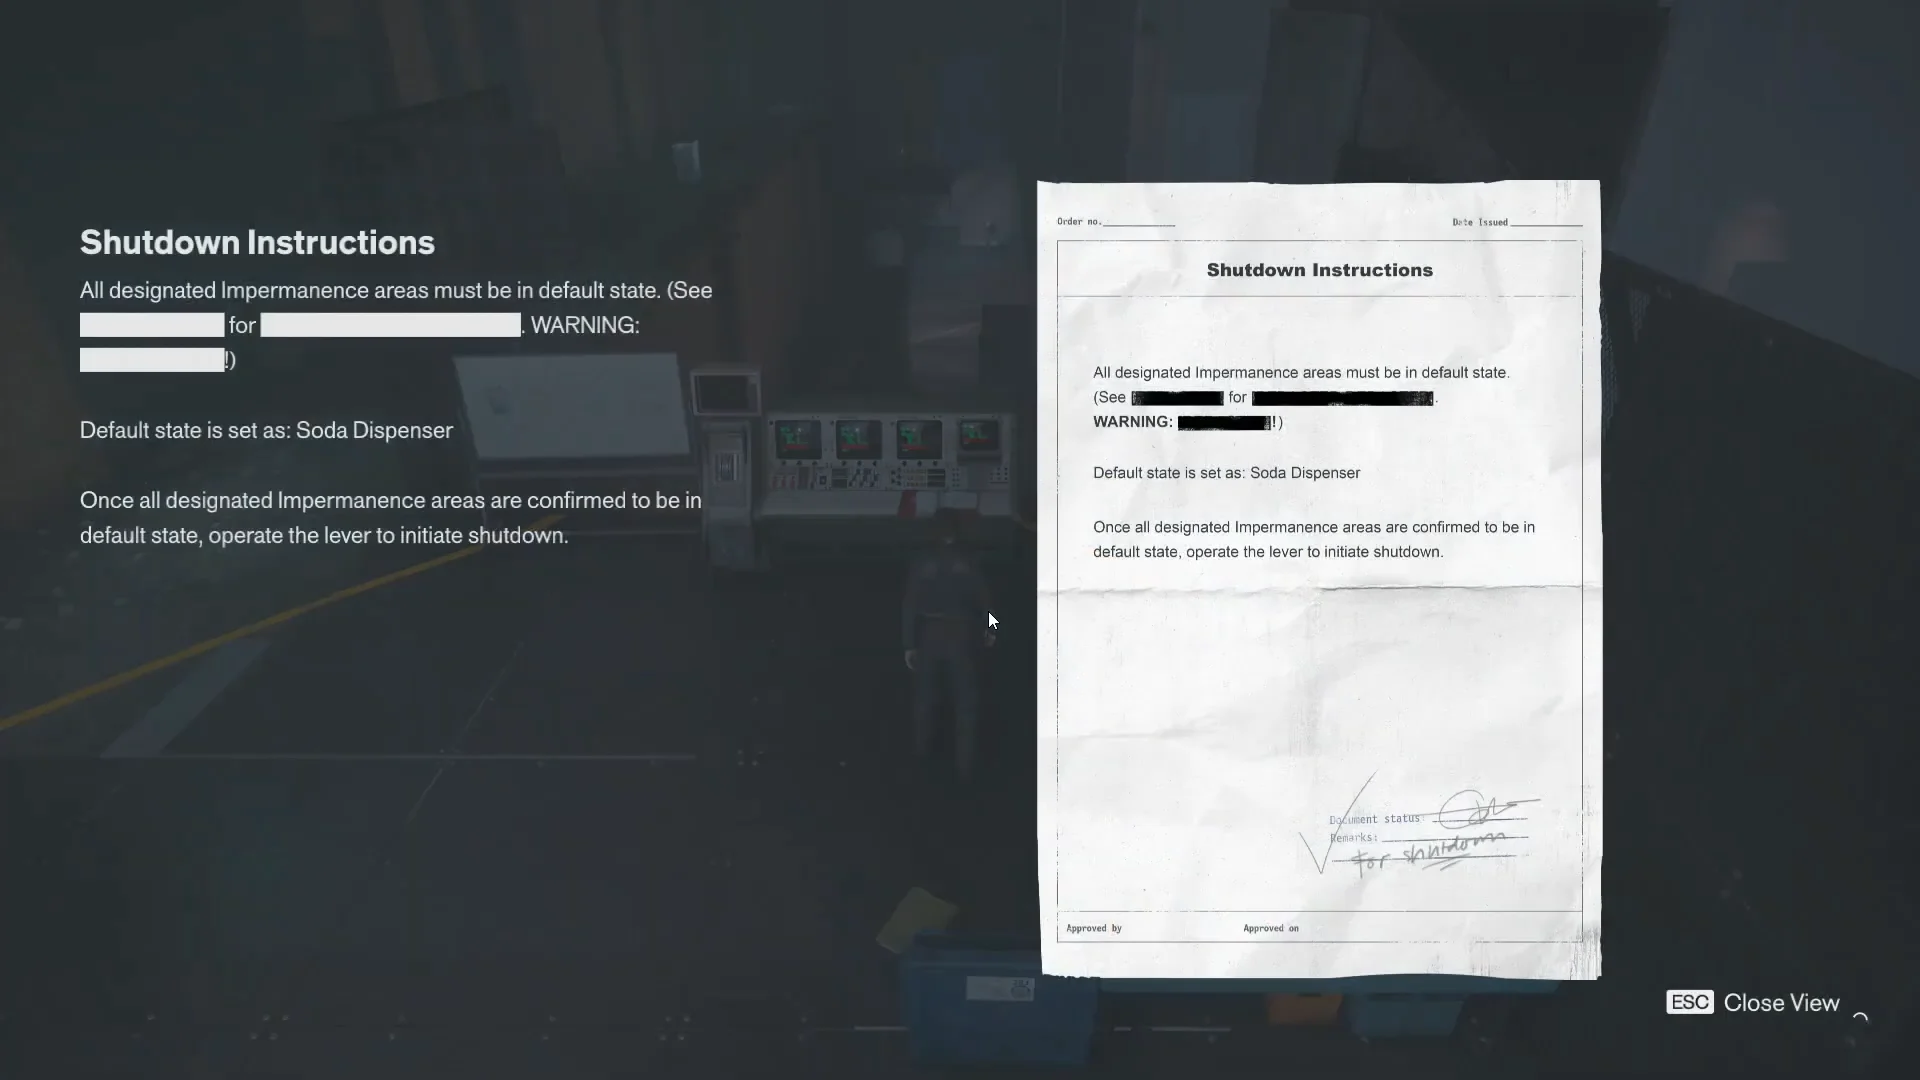
Testing Facility Reade is one of six concealed labs to deactivate during the Unsupervised Science side mission in Control Resonant. Located beneath eastern Downtown, it can only be shut down by transforming objects until a Thirsty Station soda dispenser occupies every marked floor square; then the lever will work.
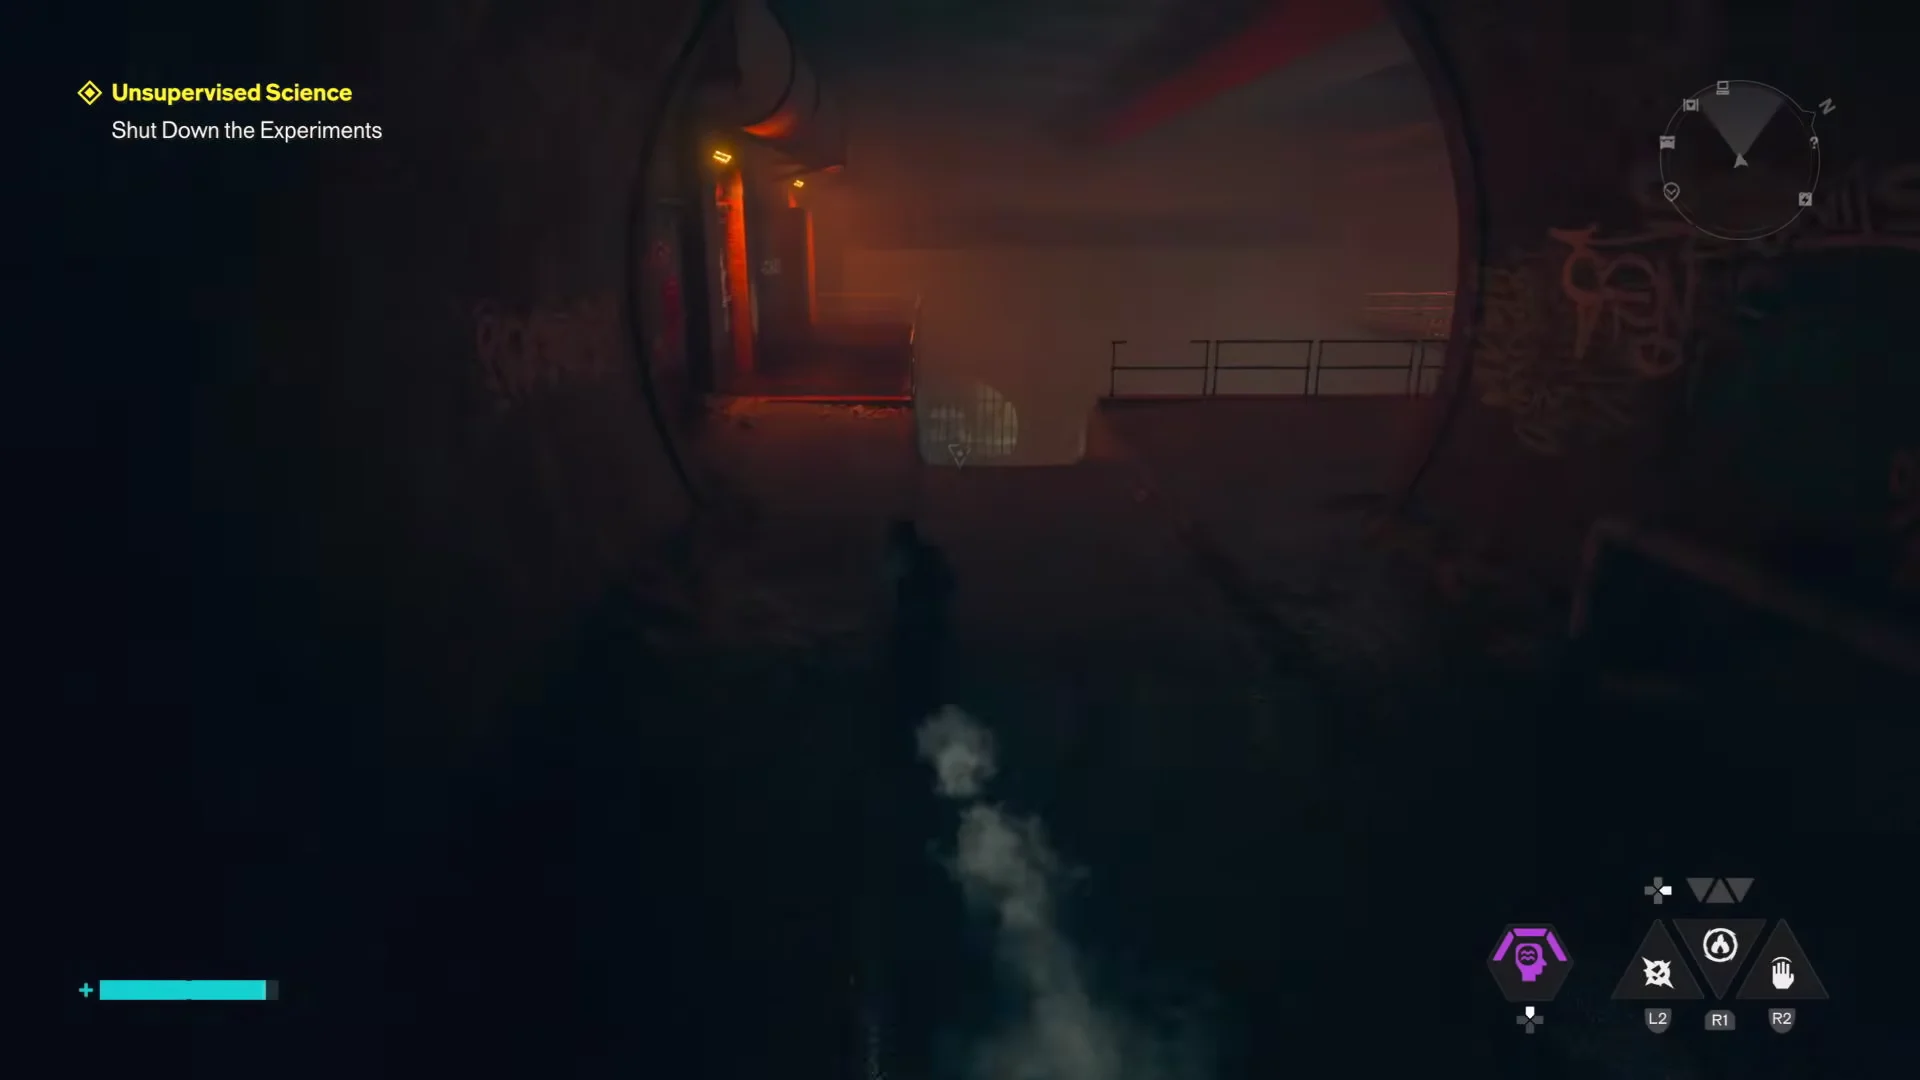
Quick answer: Drop into the drainage pipe inside the Restricted Facility southeast of Lookout Point, cycle each shifting object into a Thirsty Station dispenser, place one in every yellow square, then pull the console lever.
What you need before heading to Testing Facility Reade
This is not an early-game stop. Getting onto the rooftops and across the gap to the entrance takes high-mobility traversal, so most players reach it well into a playthrough, around the 30-hour mark.
- Gliding and air-dash abilities unlocked
- Access to Downtown 3, near Lookout Point
- Enough combat capability to clear the Hiss inside the building
Route to the underground entrance
How the impermanence puzzle works
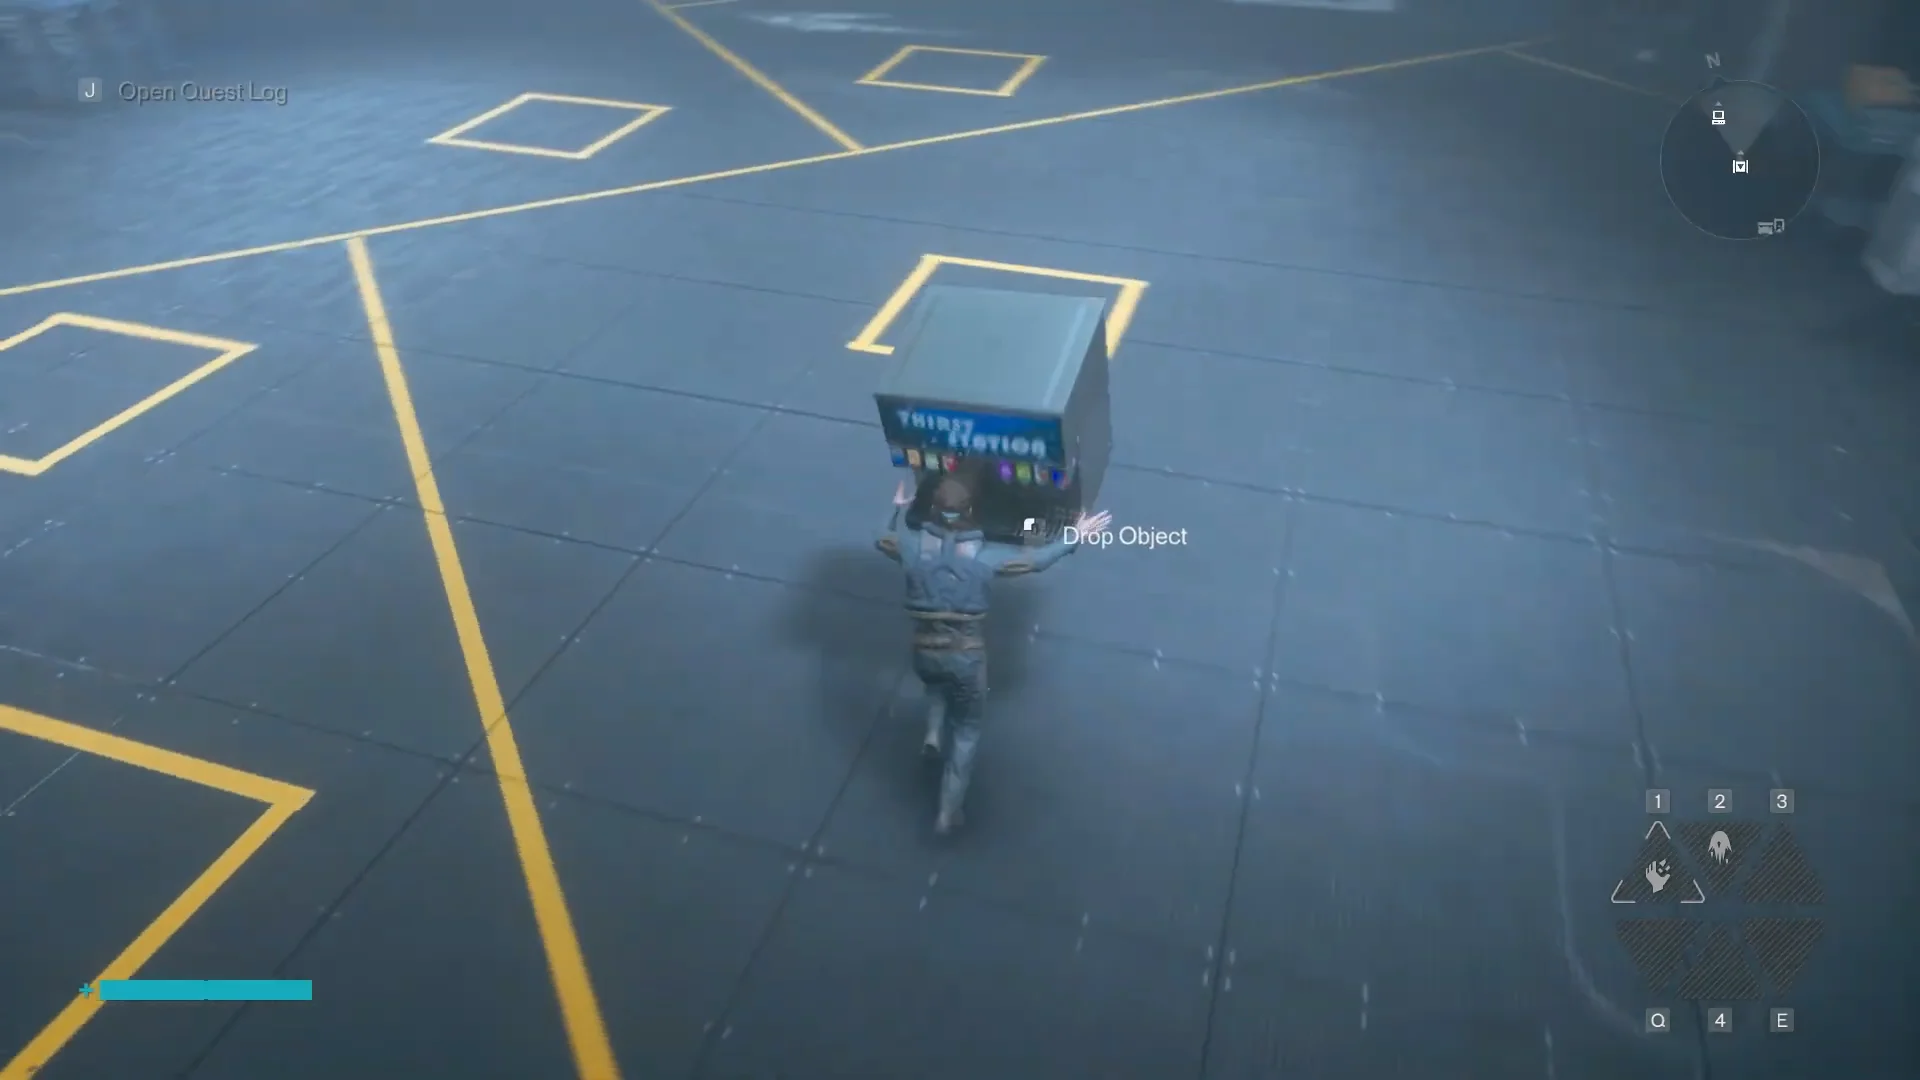
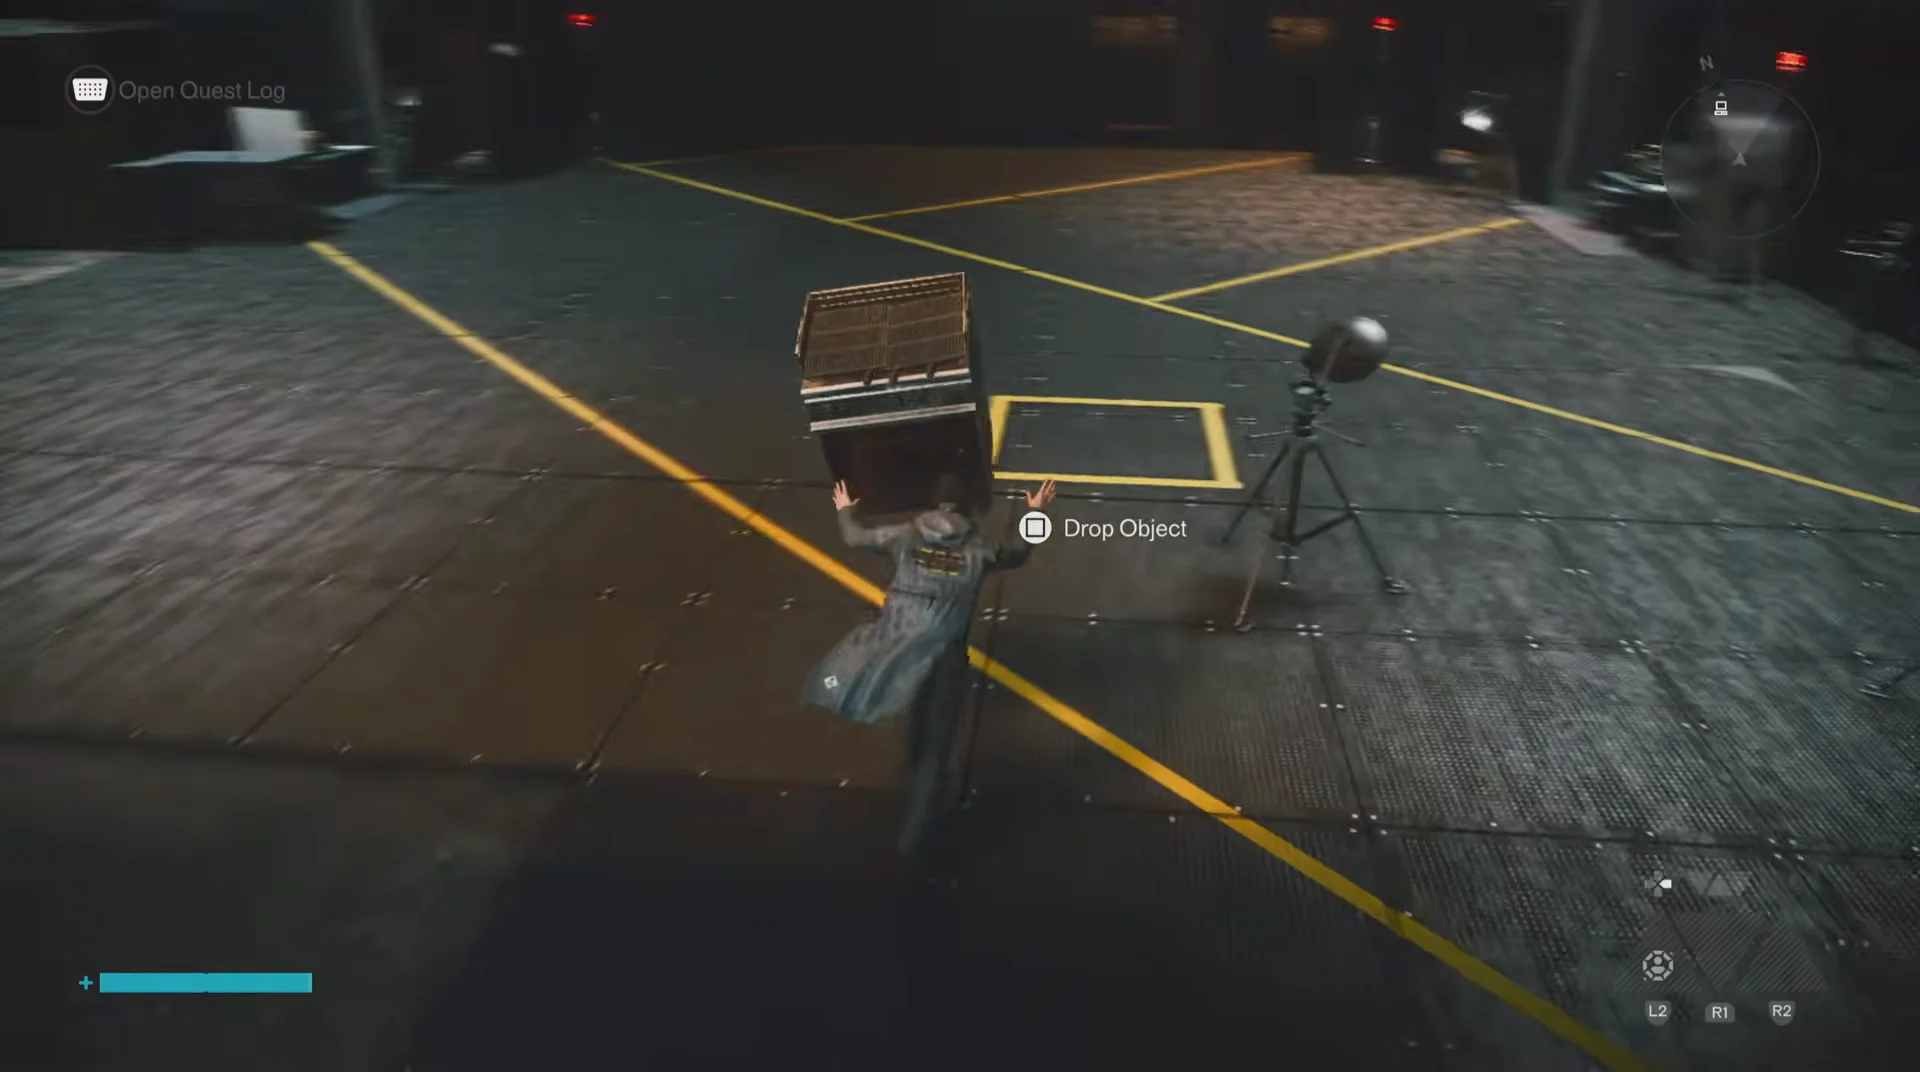
Yellow square outlines cover part of the chamber floor, alongside a collection of “impermanent” Altered objects. Handling them changes their forms: they become sinks, stoves, photocopiers, washing machines, or soda dispensers. The dispenser is the only form that counts for shutdown.
The default state the system wants is the blue-and-black Thirsty Station soda dispenser. To change an object’s form, carry it through the yellow lines running across the room. Passing an item through a line advances it to the next shape in the cycle.
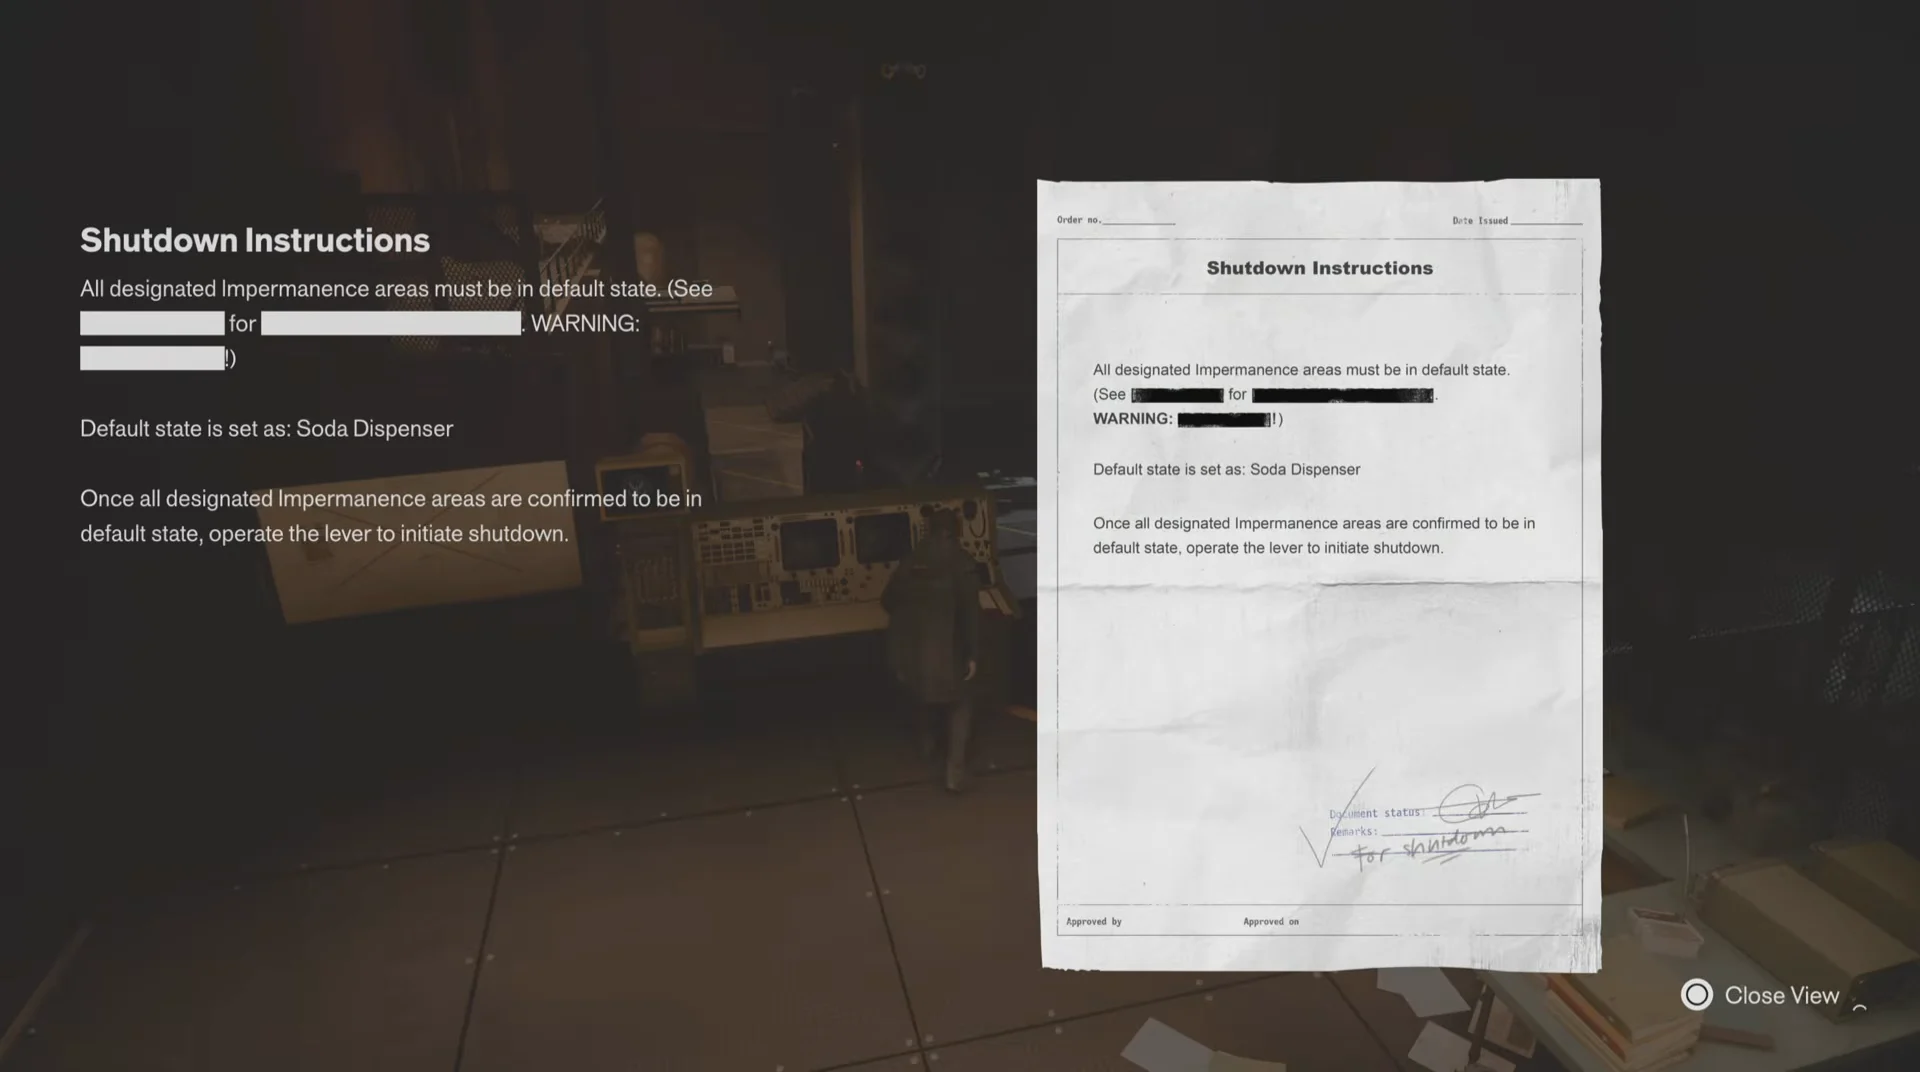
Check the whiteboard beside the terminal for the complete transformation order; it reveals the next form as you cycle an object. After crossing a line, jump sideways to accelerate the cycle until the object becomes a dispenser.
Solving the Soda Dispenser puzzle
Pull the lever and confirm the shutdown
After placing a dispenser on each square, return to the upper control console and activate the lever. The shutdown has taken effect when the sealed door on the far side of the upper catwalk opens and the reward notifications show up.
Pulling the lever awards +120 points and +1 Undefined Reading, updates your Quest Log for Unsupervised Science, and opens the secure room at the far end of the catwalk. If the door stays shut, one of the squares is holding the wrong form or a dispenser is not fully inside its outline.
Rewards inside the unlocked room
Go over the catwalk and enter the research office that has just opened to claim the facility’s contents.
- Interact with the Altered object on the center table for a Power Upgrade Point — collect three of these across the facilities to improve your Power.
- On the room’s right-hand side, take “A Note From Dr. Milbeck’s Cardiologist” from the desk. Cardiologist Irina Hedlund wrote the letter.
Once both items are in your inventory, Testing Facility Reade is fully cleared, and you can move on to the remaining labs in Central, the Evacuation Zone, the West Incursion Zone, The Park, and the Unknown region to finish Unsupervised Science.