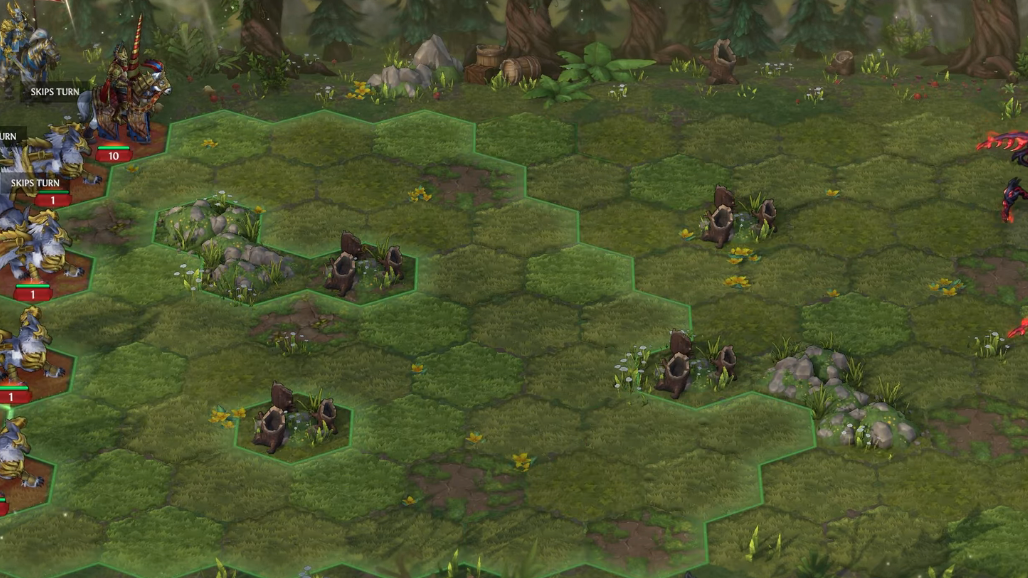
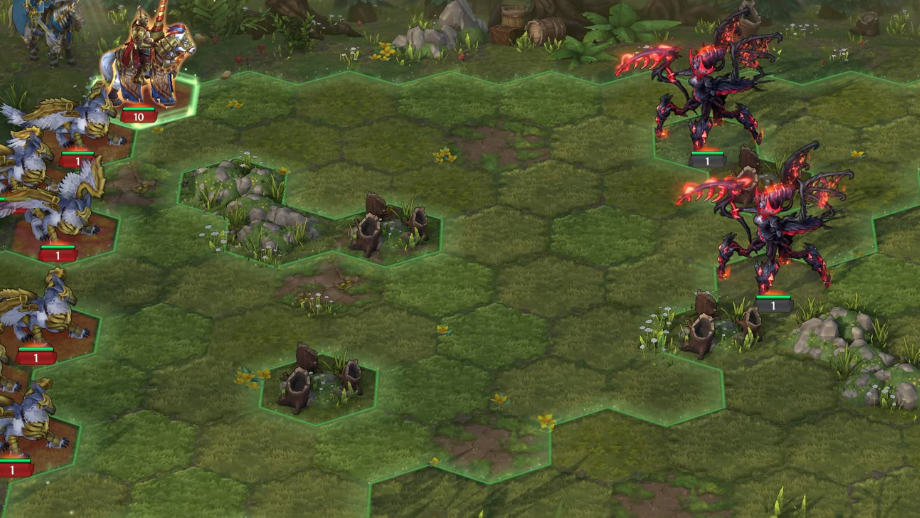
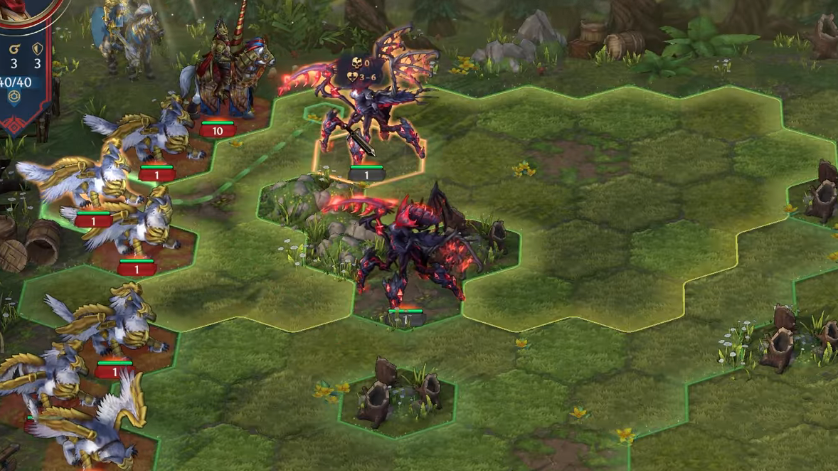
The Counterattack mission is one of eight tutorial challenges in Heroes of Might and Magic: Olden Era, and it is widely considered the trickiest of the set. You command 10 Sunspear Cavaliers (Champions) and six single-stack Temple Griffins, with a choice between an eastern path against basic Hive Queens or a northern path against tougher Hive Huntresses. The encounter is rigged so that a single retaliation will wipe most of your cavalry, which is exactly what the lesson wants you to learn how to avoid.
Quick answer: Press Wait at the start of every round so your stacks act last, bait each Hive Queen’s retaliation with one griffin, then finish the queen with cavaliers from the maximum possible distance to maximize jousting damage. Block remaining queens with lines of griffins so they cannot reach your champions.
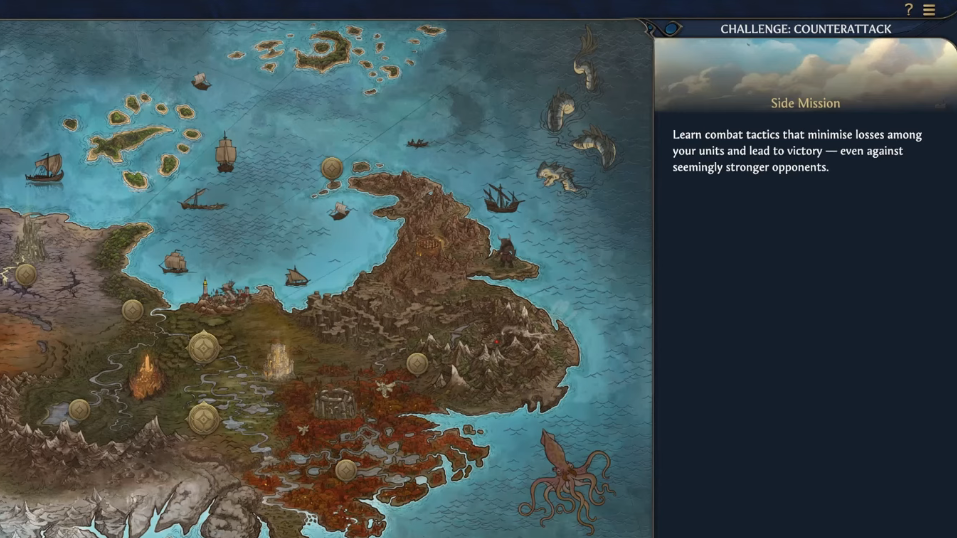
Mission setup and victory condition
You start with one Temple hero leading a fixed army. The objective is to defeat the enemy stacks on the chosen path with minimal losses. Either path completes the challenge, and clearing all eight tutorial challenges grants the Bachelor of Heroism achievement.
| Detail | Eastern path | Northern path |
|---|---|---|
| Enemy | Hive Queens (basic) | Hive Huntresses (upgraded queens) |
| Stacks | Three queens, one is a 2-unit stack | Three single huntresses |
| Difficulty | Lower (slower enemy movement) | Higher (more damage, more reach) |
| Your army | 10 Sunspear Cavaliers, 6×1 Temple Griffins | 10 Sunspear Cavaliers, 6×1 Temple Griffins |
Core mechanics that make the fight winnable
Three rules drive every decision in this battle. Memorize them before clicking attack.
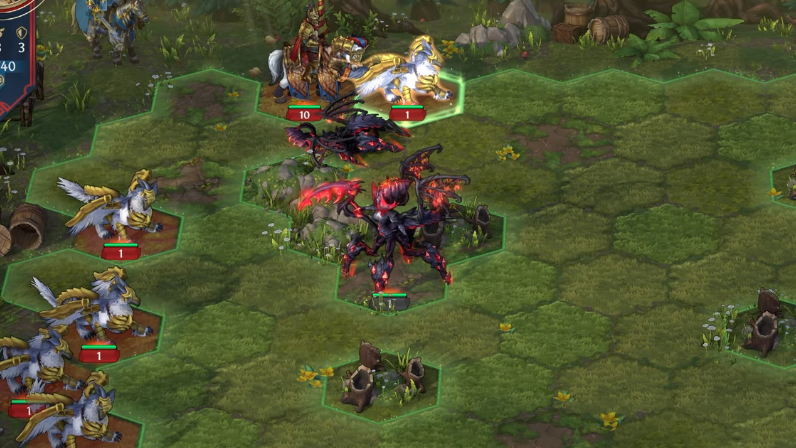
- Wait pushes a stack to the end of the round. If you wait with everything on turn one, the queens move first. After they finish, your turn comes around again immediately on the next round, giving you two consecutive activations.
- Killing a stack outright cancels its counterattack. If a single cavalier strike removes the entire enemy stack, no retaliation occurs.
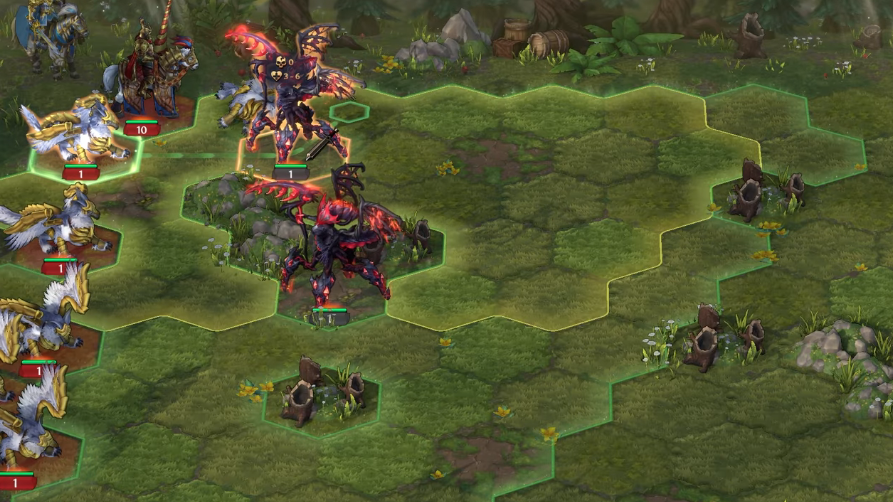
- Cavaliers gain damage per hex traveled before striking (jousting bonus). The further a cavalier moves before contacting an enemy, the harder it hits. Always charge from the farthest reachable hex.
One more detail matters. A stack that has already used its retaliation that round cannot retaliate again, so a sacrificial griffin attack “burns” the queen’s retaliation and opens a safe cavalier strike.
Eastern path: Two single Hive Queens and a 2-unit stack
This is the recommended path for a clean clear because the basic Hive Queens have lower movement.
Northern path: Three Hive Huntresses
The northern fight uses the same logic but demands tighter spacing because the huntresses move further and hit harder.
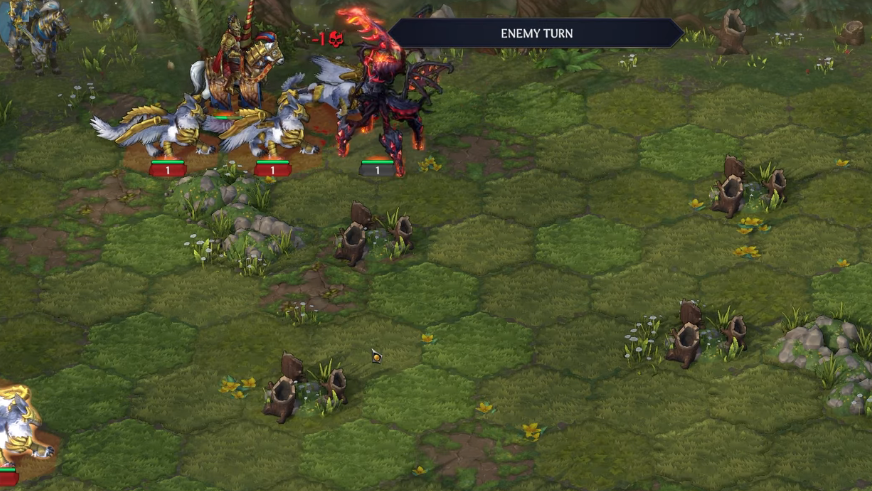
How to know it worked
The challenge ends the moment the last enemy stack dies on the chosen path. The Counterattack tile in the Challenges menu will show a completion mark. Once all eight tutorial challenges show that mark, the Bachelor of Heroism achievement triggers automatically.
Common reasons the mission fails
| Failure | Cause | Fix |
|---|---|---|
| Most cavaliers die in one hit | Attacked a queen without burning her retaliation | Send a single griffin in first to soak the counterattack |
| Cavalier strike does not kill the stack | Charged from too few hexes, so jousting damage was low | Reposition with Wait, then charge from the maximum reachable distance |
| Queens reach cavaliers anyway | Griffin wall left a gap or blocked the wrong side | Form a continuous line on the side facing your champions |
| Lost initiative on round two | Acted instead of waiting on turn one | Restart and wait with every stack on the opening round |
| Unable to finish the last 2-unit stack | Cavaliers too close, low jousting damage | Move cavaliers to the far side of the map, wait, then charge |
The lesson the mission teaches is simple once the mechanics click. Wait to control turn order, sacrifice cheap griffins to remove retaliation, and always charge cavaliers from the longest possible path. Apply those three rules in sequence and either path resolves cleanly, with the achievement following once the rest of the challenge set is cleared.