
macOS 26 Tahoe introduces a redesigned approach to folder customization, allowing users to assign colors and symbols—including emojis—to folders directly from Finder. This update removes the need for third-party utilities or complex workarounds, making it faster to visually distinguish and organize files across your system. The following instructions detail the most direct built-in method, as well as additional approaches for advanced customization.
Personalizing Folder Colors and Adding Emojis in macOS 26 Tahoe
Assigning distinct colors and symbols to folders now takes just a few clicks, providing immediate visual cues for project status, importance, or content type. This system-level feature works across all folders, streamlining navigation and reducing the time spent searching for files.
Step 1: In Finder, locate the folder you want to customize. Right-click (or Control-click) the folder to open the context menu.
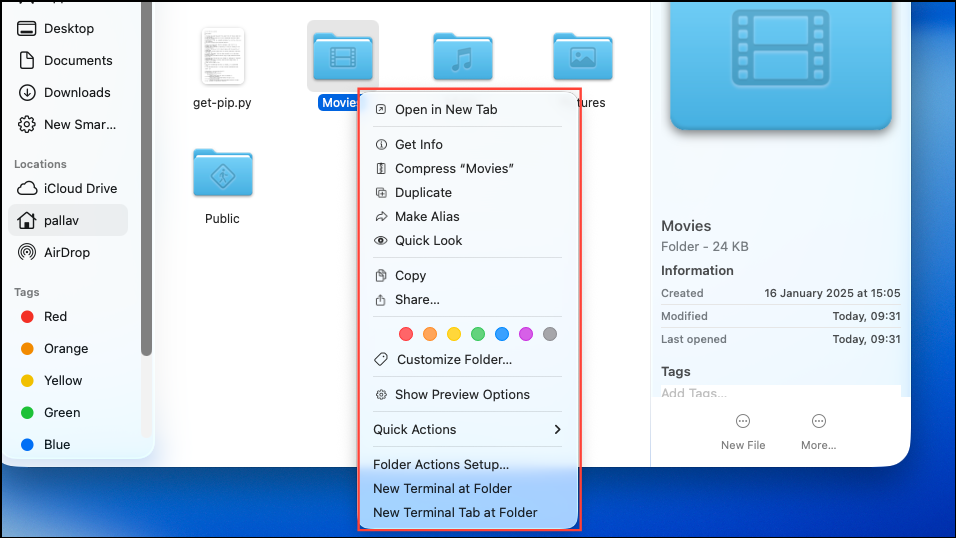
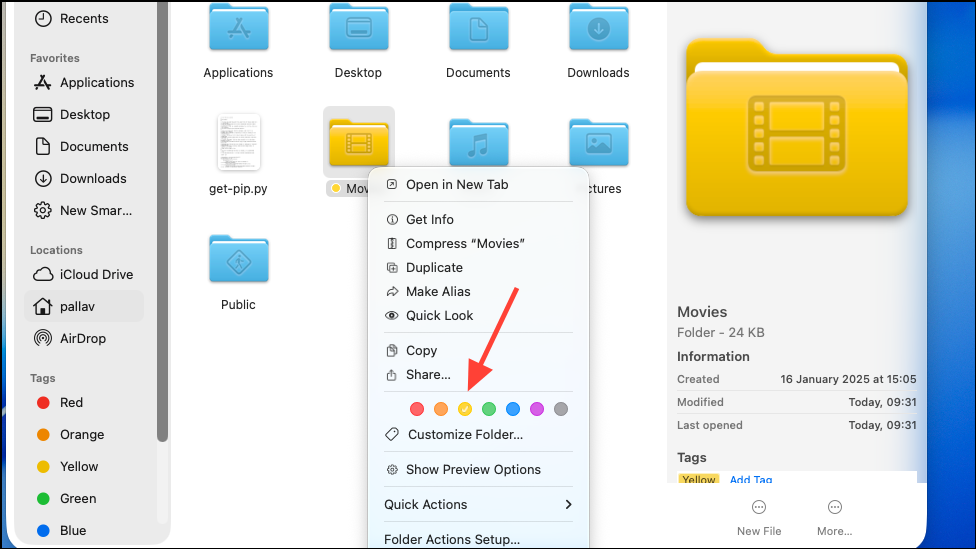
Step 2: At the bottom of the menu, you'll see a row of colored circles. Click any color to instantly apply it to the folder. The folder icon updates in real time, making it stand out in any Finder view.
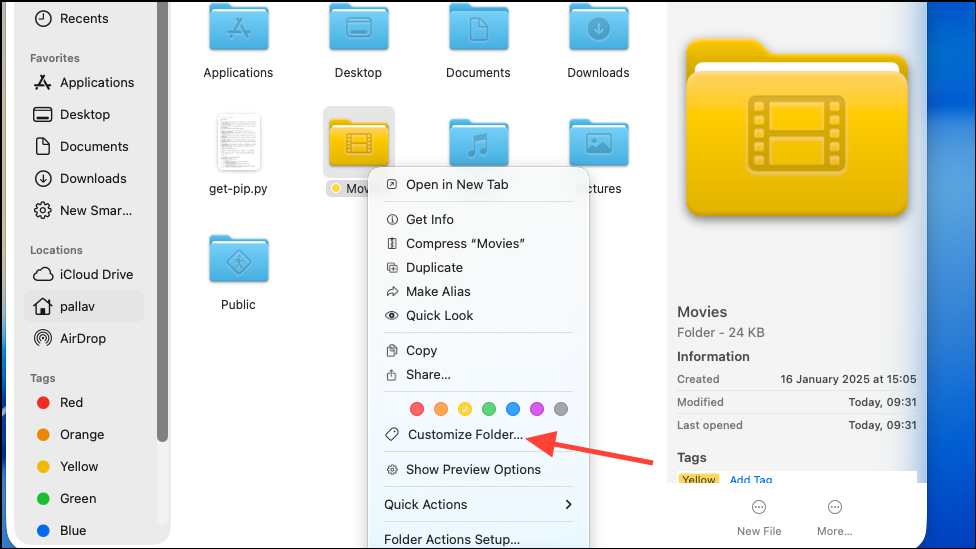
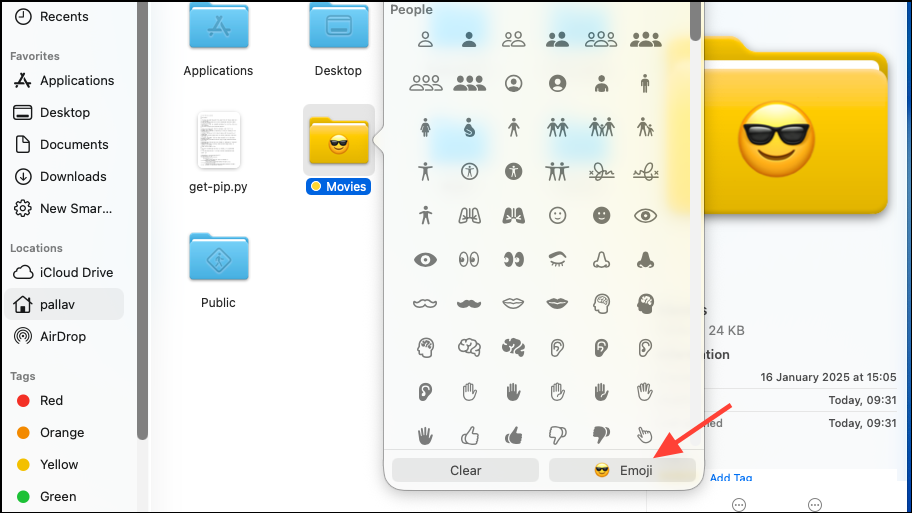
Step 3: For more options, select Customize Folder… below the color choices. This brings up a customization panel with two main features: symbol selection and emoji search.
Step 4: Choose a symbol from the built-in list for a subtle, embossed look, or click the Emoji button to open a searchable picker. Select an emoji to overlay it as a vivid, full-color sticker on the folder icon. Only one symbol or emoji can be applied at a time, but you can change it as often as needed.
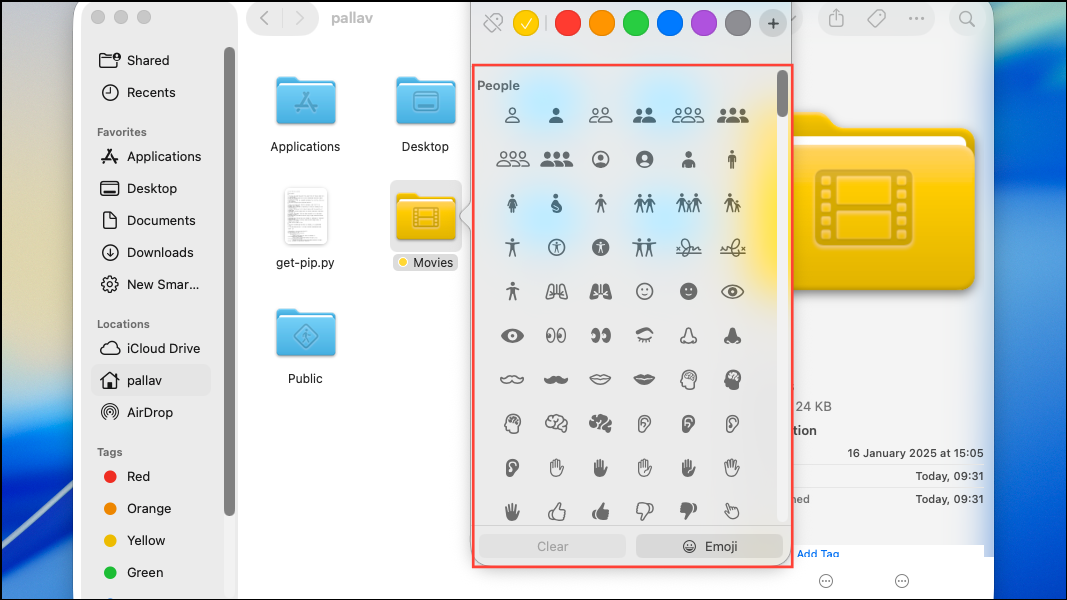
Step 5: Click outside the customization window or on the desktop to confirm your changes. The folder now displays the selected color and symbol or emoji, both in Finder and on the desktop.
This method is optimized for speed and consistency, letting you update folders in seconds without leaving Finder or using additional software. Color assignments help categorize folders by urgency or content, while emojis or symbols provide instant, at-a-glance recognition—especially useful for shared Macs or complex project structures.
Applying System-Wide Folder Color Themes
macOS 26 Tahoe introduces broader theming options through System Settings > Appearance. Users can now adjust folder colors globally, applying a single color to all folders for a unified look or to differentiate drives and user environments.
Step 1: Open System Settings and navigate to Appearance.
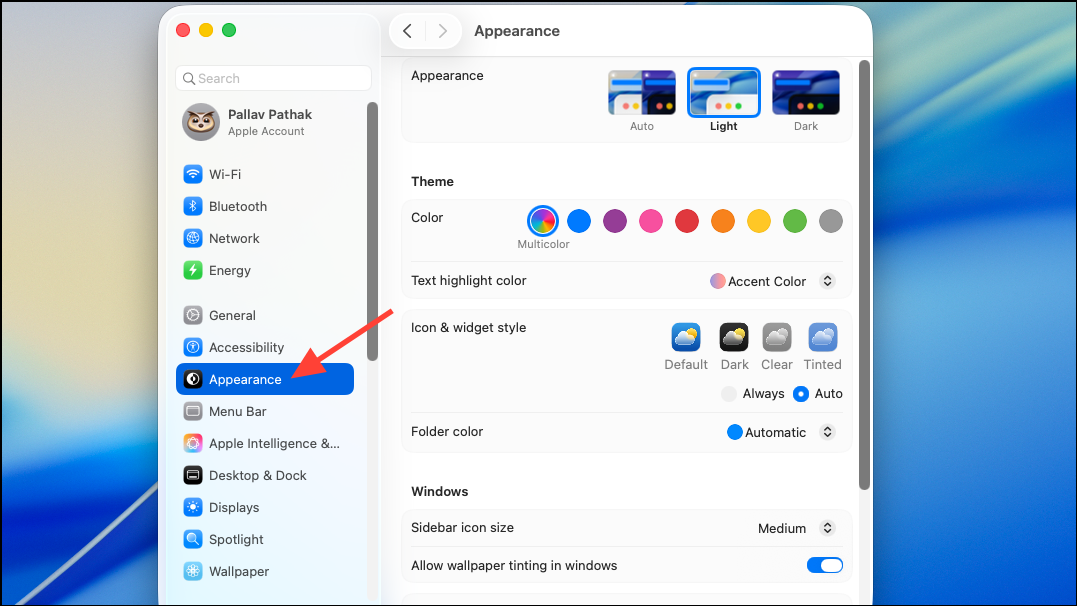
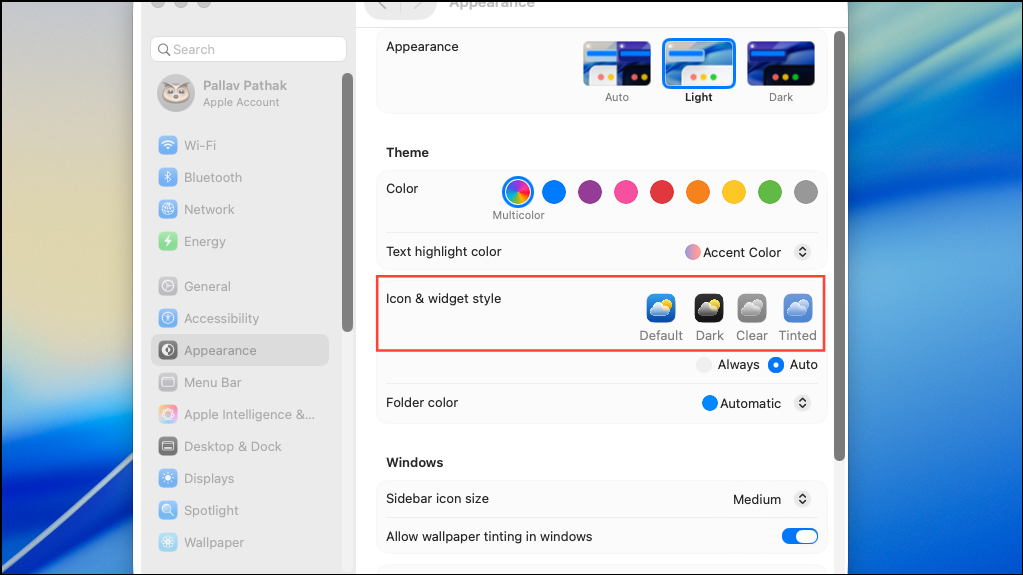
Step 2: Locate the Folder Color or Icon, Widget & Folder Color option, depending on your chosen theme mode (Default, Tinted, Clear, or Dark).
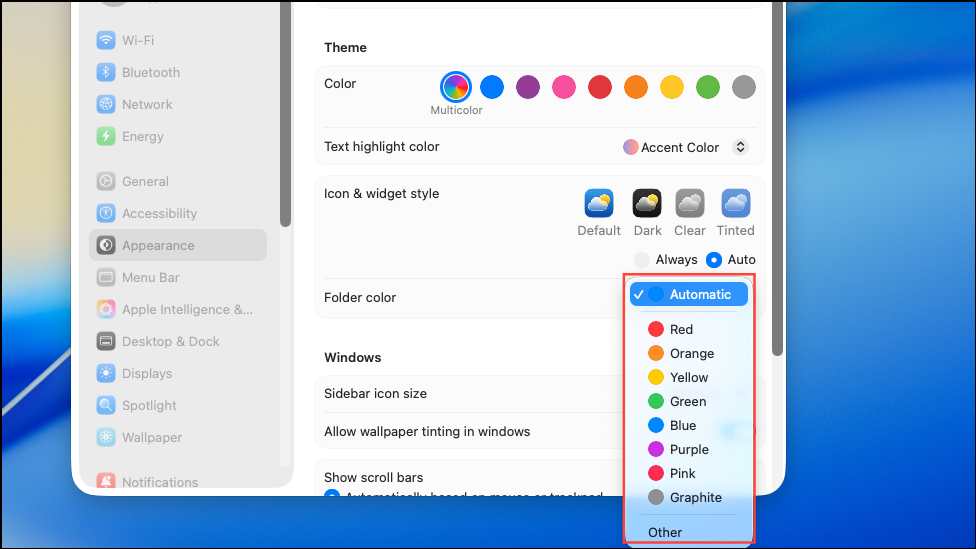
Step 3: Select a preset color or use the color picker for a custom shade. When set, all folder icons across Finder and the desktop adopt the selected color, creating a cohesive visual environment. This is especially useful for users who prefer a minimalist or branded workspace.
Switching between theme modes (such as Tinted or Clear) further adjusts icon and folder appearance, matching your preferred style and improving usability in different lighting conditions.
Batch Customization and Advanced Folder Icon Editing with Third-Party Apps
For users who need more granular control or want to batch-customize multiple folders, third-party apps like Iconize Folder and Iconed offer expanded capabilities. These tools allow you to apply custom icons, add text labels, import image files, and automate color assignments based on folder location or drive.
Step 1: Download and install a customization app such as Iconize Folder from the Mac App Store.
Step 2: Launch the app and select one or more folders for customization. Features typically include:
- Choosing from thousands of built-in symbols or importing custom icons.
- Applying color tints and adjusting icon opacity or size.
- Adding text labels or emojis directly onto the folder icon.
- Batch processing to update multiple folders at once.
- Setting rules to automatically change folder colors based on their drive or location.
Step 3: After configuring your preferences, apply the changes. The app updates the folder icons and colors, which then display system-wide. Some apps also allow exporting custom icons for reuse or sharing.
While these tools provide advanced options, they may require background permissions to monitor folder changes or start at login for automation features. Always review app permissions and ensure compatibility with your macOS version.
Manual Folder Icon Replacement Using Finder’s Get Info
For complete control over folder appearance, including replacing the entire icon with an image or application logo, macOS still supports manual icon editing via Finder’s Get Info panel.
Step 1: Create or download a PNG or ICNS image to use as your folder icon. For app icons, open the Applications folder and select the desired app.
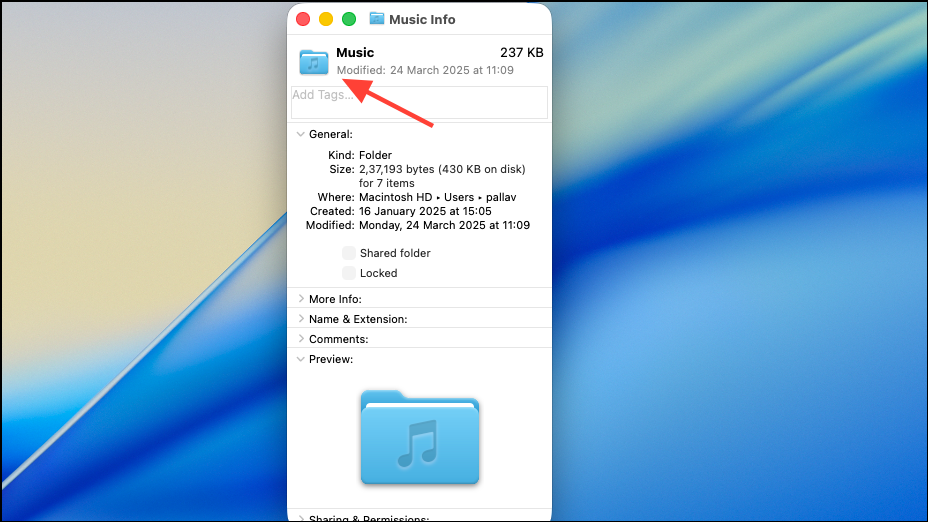
Step 2: Select the folder you want to customize, then press Command-I (⌘I) to open the Get Info window.
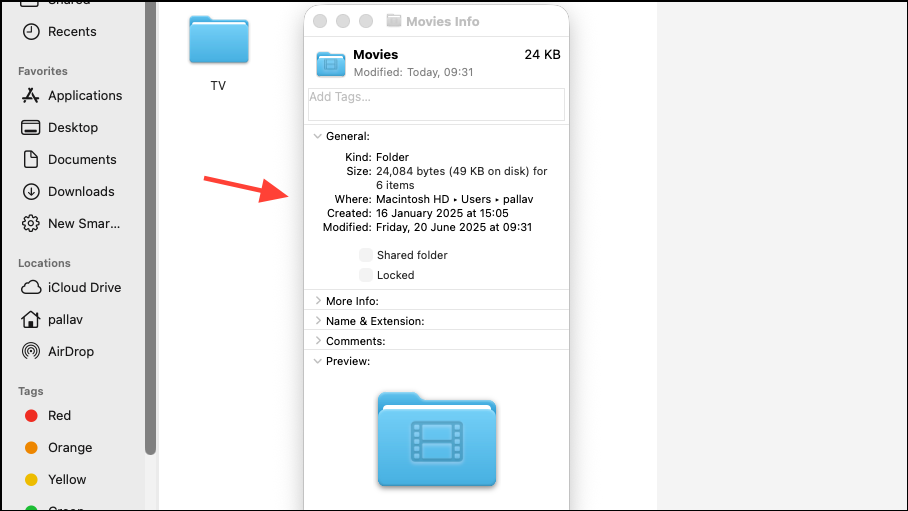
Step 3: In the Get Info window for the source image or app, click the small icon at the top left and press Command-C to copy it.
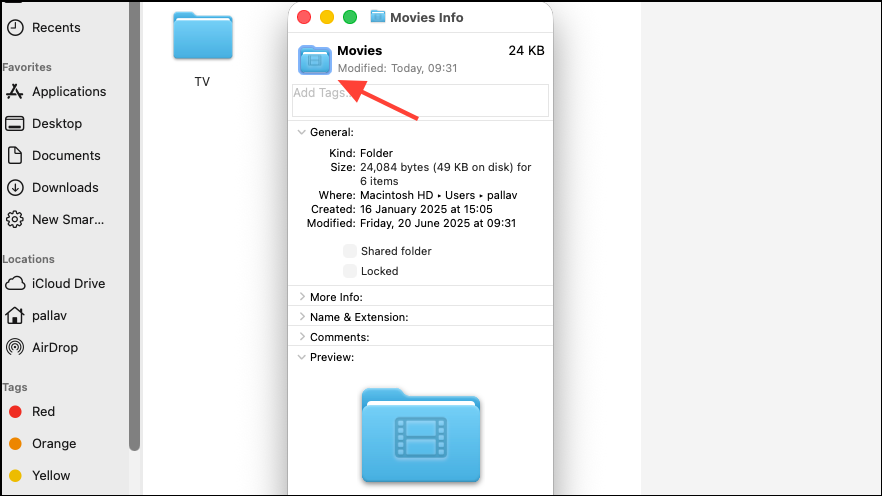
Step 4: Switch to the Get Info window for your target folder, click its icon at the top left, and press Command-V to paste the new icon.
The folder now displays your custom image as its icon. This method is ideal for creating highly specific or branded folder icons, but it requires more manual effort and does not support batch processing.
macOS 26 Tahoe’s folder customization options simplify visual file organization and reduce navigation time. Whether using built-in tools or third-party apps, you can now create a workspace that matches your workflow and style preferences.