
Attempting to remove a folder from the C:\Users directory with PowerShell can fail due to various reasons, such as permission restrictions, files in use, or inherited system protections. Addressing these obstacles with the right PowerShell commands ensures successful folder deletion and prevents leftover user profiles or unwanted data from occupying disk space.
Delete Folder Using PowerShell with Administrator Privileges
Step 1: Open PowerShell as an administrator. Press Windows + X and select Windows PowerShell (Admin) or Terminal (Admin) from the menu. This step is crucial because deleting folders in C:\Users often requires elevated permissions.

Step 2: Use the Remove-Item command to delete the folder. To ensure all contents are removed, include the -Recurse and -Force parameters. For example, to delete a folder named OldProfile:
Remove-Item "C:\Users\OldProfile" -Recurse -Force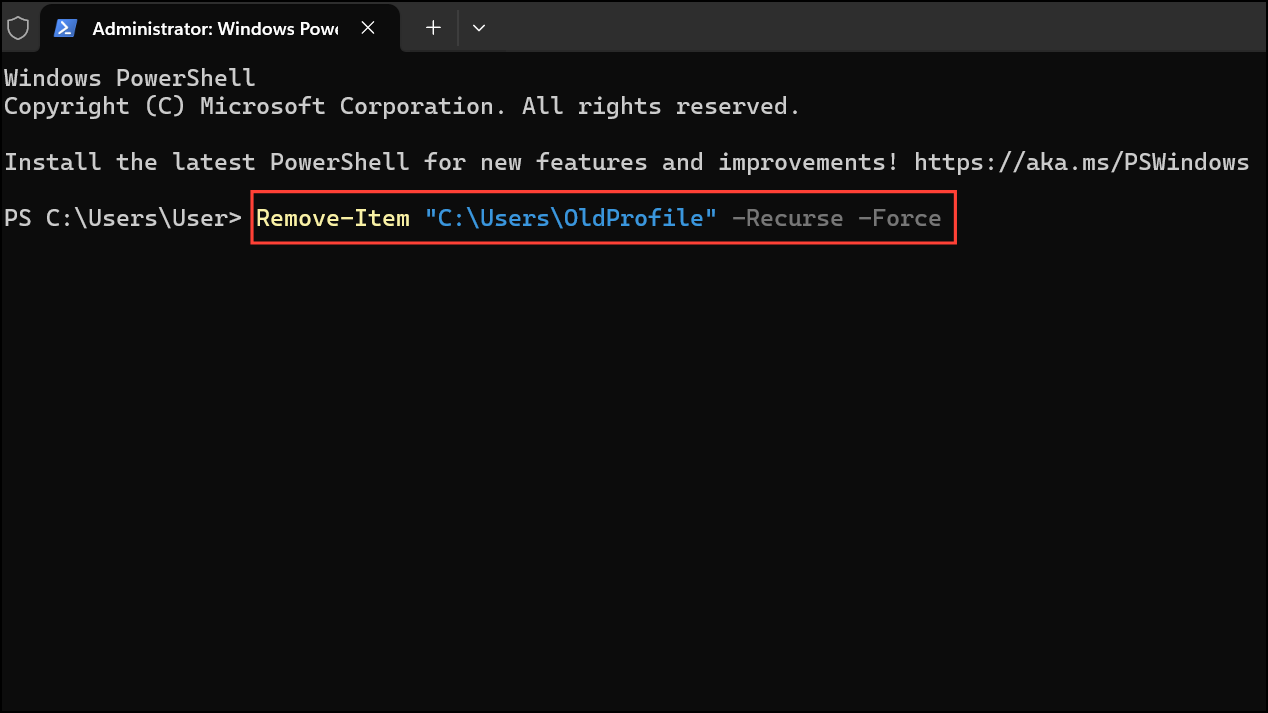
This command attempts to remove all files and subfolders, even those marked as read-only. If the folder is in use, PowerShell will display an error message.
Step 3: If you receive an error stating the folder is in use, ensure that no processes or users are accessing files within the folder. Log out of the corresponding user account or use Task Manager to end any related processes. You may also need to restart your computer to release file locks.
Take Ownership and Adjust Permissions Before Deletion
System folders or those created by other users may have restrictive permissions. Taking ownership and granting yourself full control can resolve permission errors.
Step 1: Open PowerShell as administrator.
Step 2: Use the following command to take ownership of the folder:
takeown /F "C:\Users\OldProfile" /R /D Y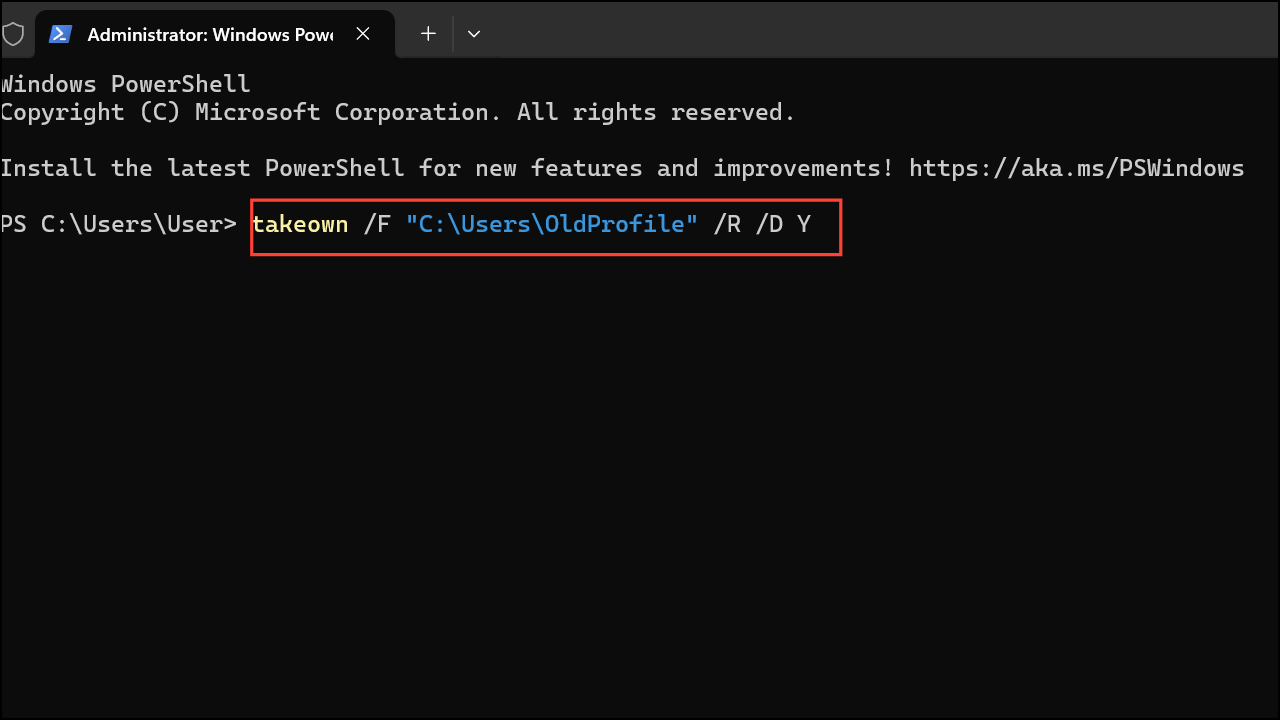
This command recursively assigns ownership of the folder and its contents to the current user.
Step 3: Grant yourself full control permissions:
icacls "C:\Users\OldProfile" /grant administrators:F /T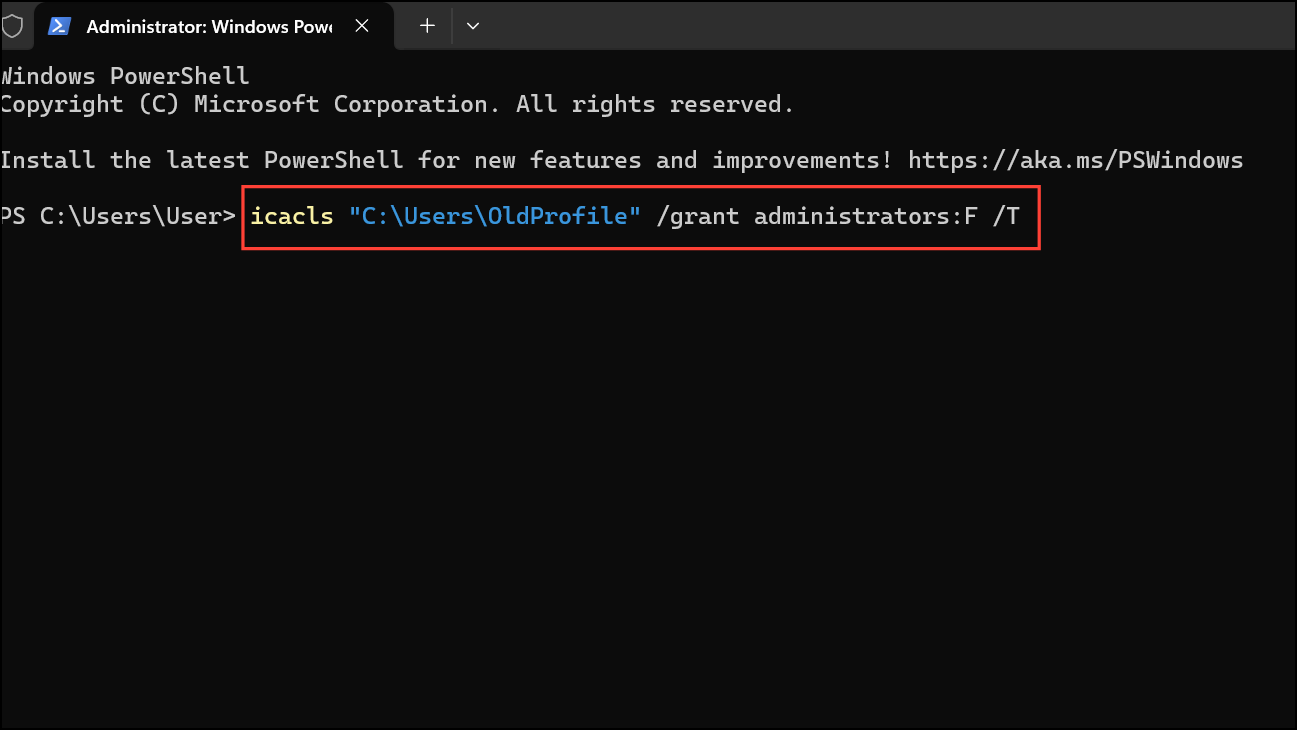
This step ensures that the administrators group has full permissions on all files and folders within OldProfile.
Step 4: Retry the Remove-Item command as described in the first method.
Delete Folder Using Safe Mode
If the folder still cannot be deleted due to system processes or stubborn file locks, Safe Mode provides a minimal environment that prevents most files from being in use.
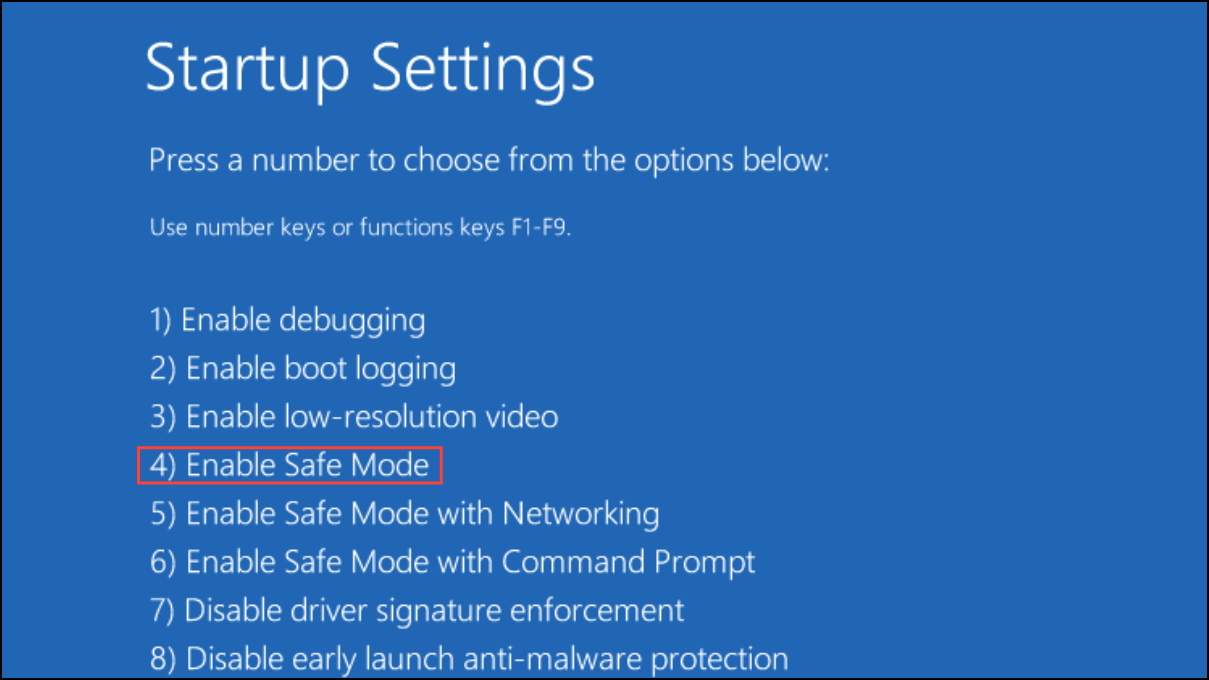
Step 1: Restart your computer and enter Safe Mode. Hold Shift while clicking Restart, then navigate to Troubleshoot > Advanced options > Startup Settings > Restart, and select Safe Mode from the menu.
Step 2: Once in Safe Mode, open PowerShell as administrator and run the Remove-Item command:
Remove-Item "C:\Users\OldProfile" -Recurse -Force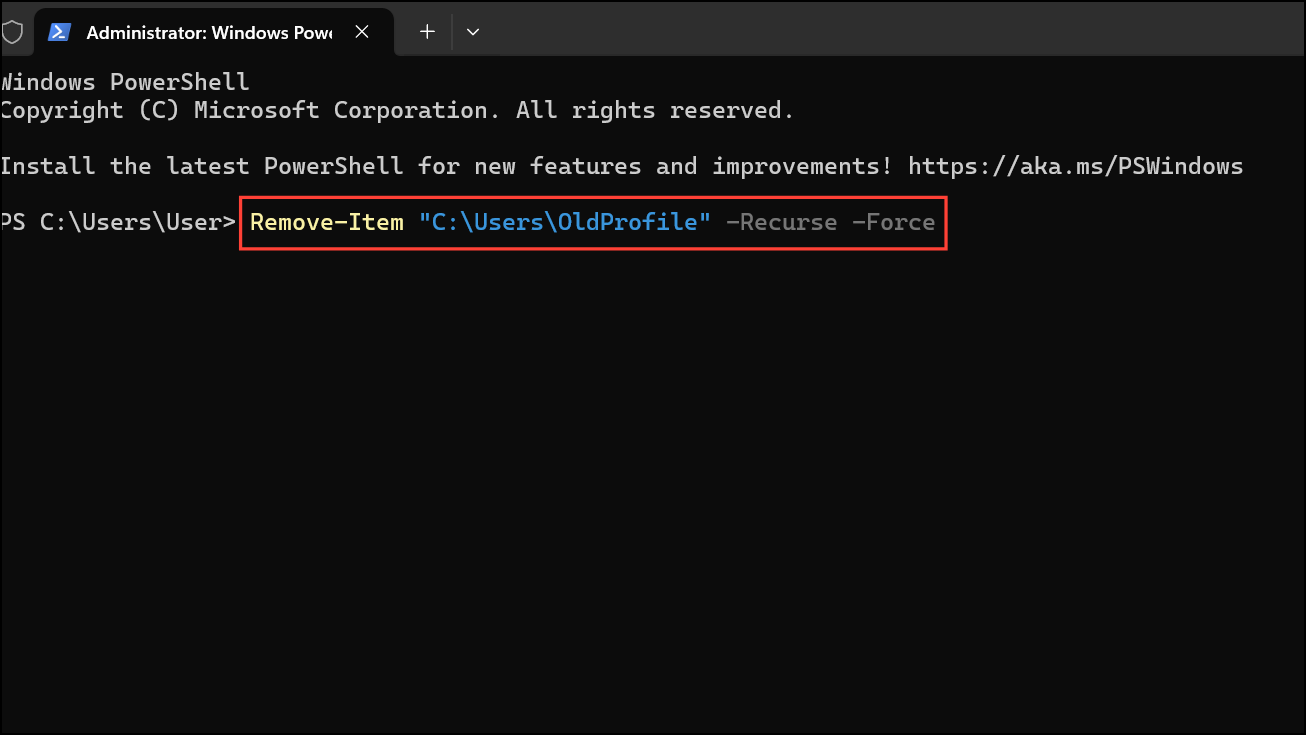
Safe Mode reduces the likelihood of files being in use, increasing the chance of a successful deletion.
Troubleshooting Common Issues
- If you receive "Access Denied" errors, double-check folder permissions and ownership using the steps above.
- If "The process cannot access the file because it is being used by another process" appears, close all related programs or restart your PC.
- For persistent issues, verify that the folder isn’t a system or active user profile. Never delete the currently logged-in user’s folder.
- Consider using a third-party tool like Process Explorer to identify and close handles locking files in the folder.
Removing folders from C:\Users with PowerShell becomes straightforward once permissions and file locks are properly managed. These steps help you reclaim disk space and keep your system organized.