
Accidental cursor jumps from a touchpad can disrupt typing and slow down your workflow, especially when you prefer using an external mouse. Windows 11 allows you to automatically disable the built-in touchpad whenever a USB or Bluetooth mouse is connected, reducing unwanted clicks and streamlining your experience. The following methods explain how to set this up, along with alternative approaches if the main option isn’t available on your device.
Disable Touchpad Automatically When External Mouse Is Connected (Recommended Method)
Step 1: Open the Windows 11 Settings app by pressing Windows + I. This shortcut brings up the main configuration panel for your device.
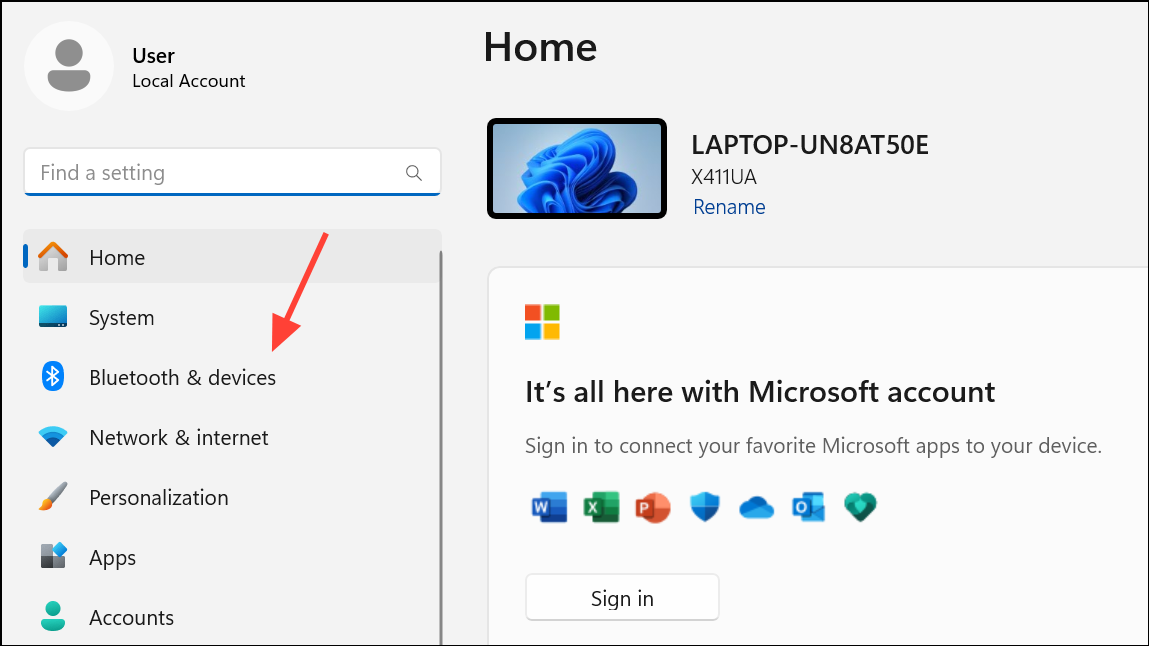
Step 2: In the Settings window, select Bluetooth & devices from the left sidebar to access device-related options.
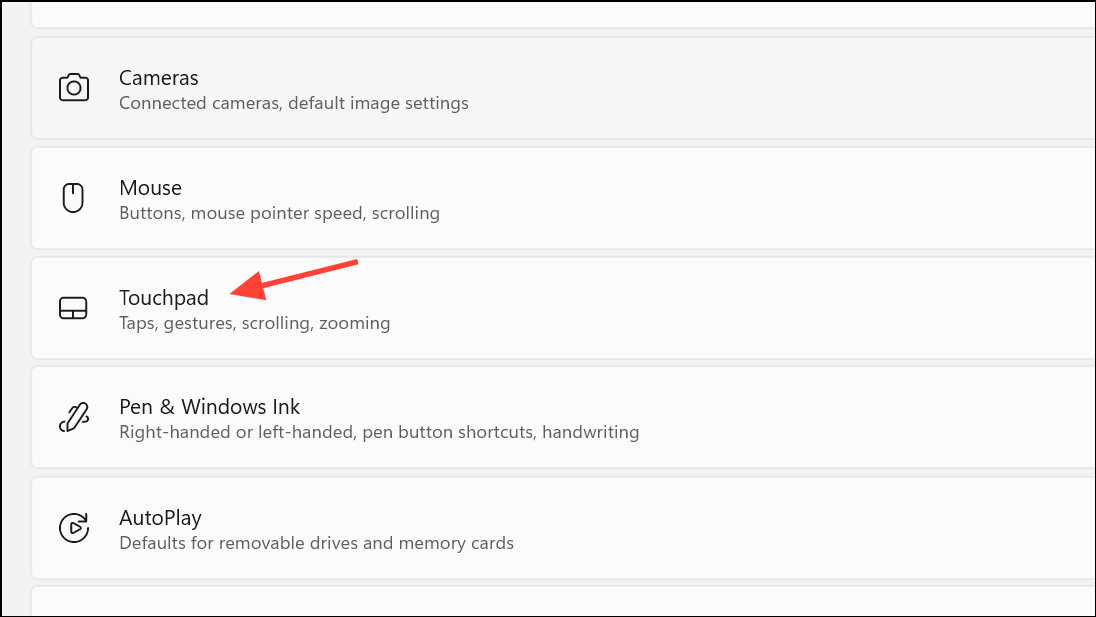
Step 3: Click on Touchpad in the right pane to open the touchpad configuration page.
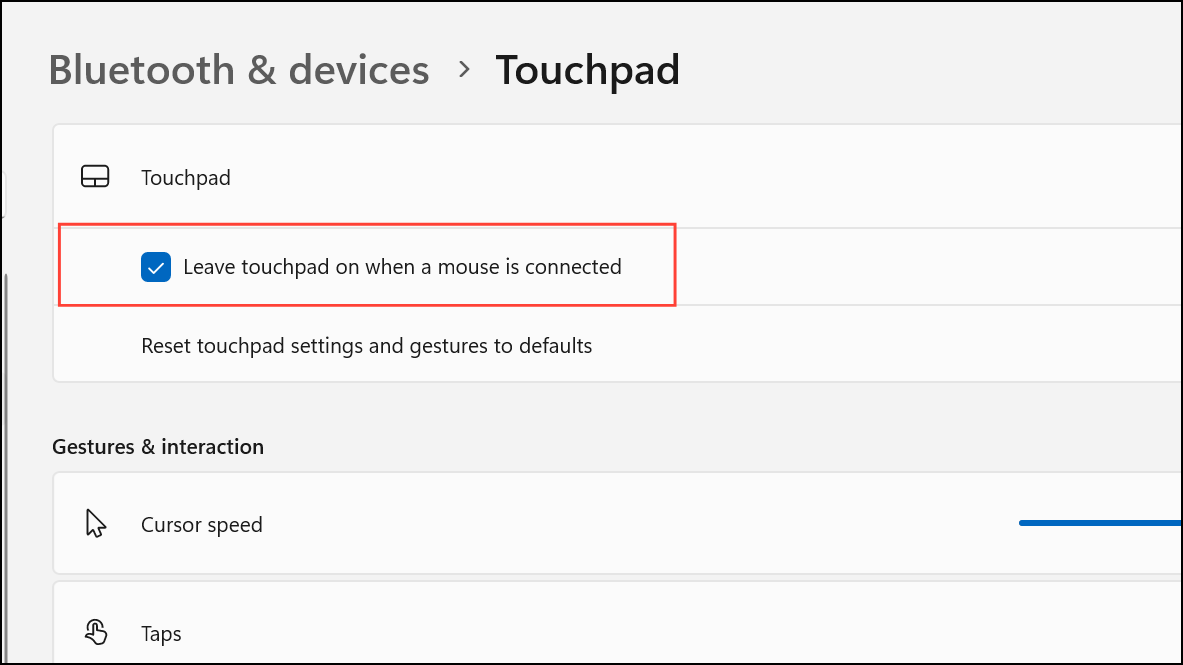
Step 4: Expand the Touchpad section by clicking the drop-down arrow if needed. Locate the option labeled Leave touchpad on when a mouse is connected.
Step 5: Uncheck this box. This setting tells Windows to automatically turn off the touchpad whenever an external mouse is detected, whether it’s connected via USB or Bluetooth.
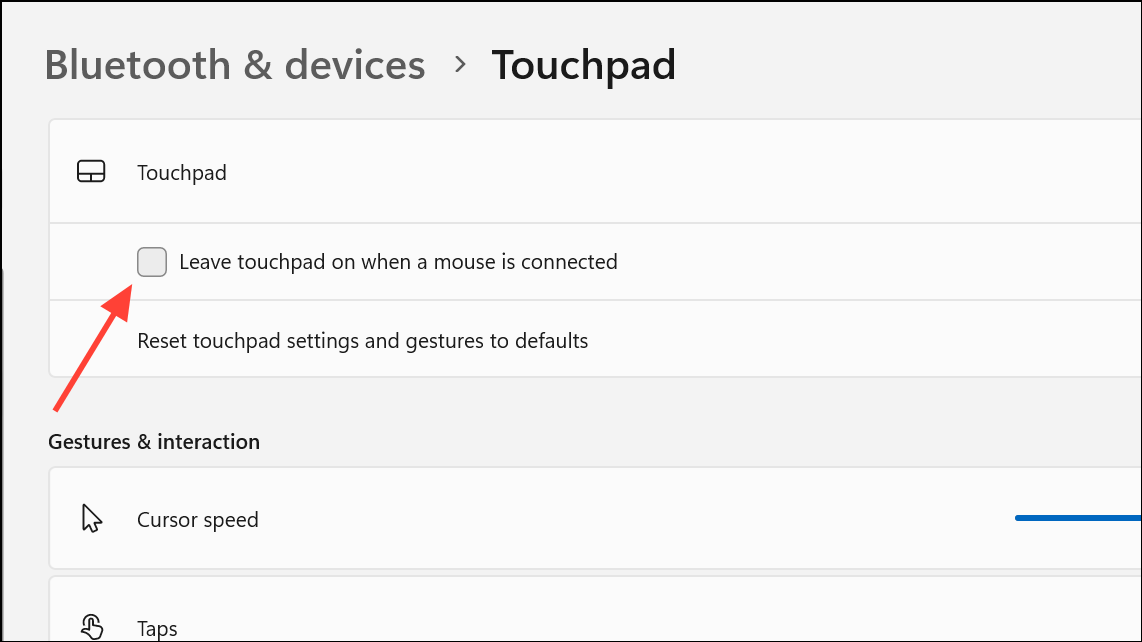
Once set, the touchpad will remain disabled as long as a mouse is connected and will automatically reactivate when the mouse is disconnected. This reduces accidental input and improves pointer accuracy during extended work sessions.
Disable Touchpad via Control Panel Mouse Settings
If your laptop does not display the touchpad option in Settings, or if you have a non-precision touchpad, use the Control Panel’s mouse settings. Some device manufacturers include additional touchpad configuration tabs here.
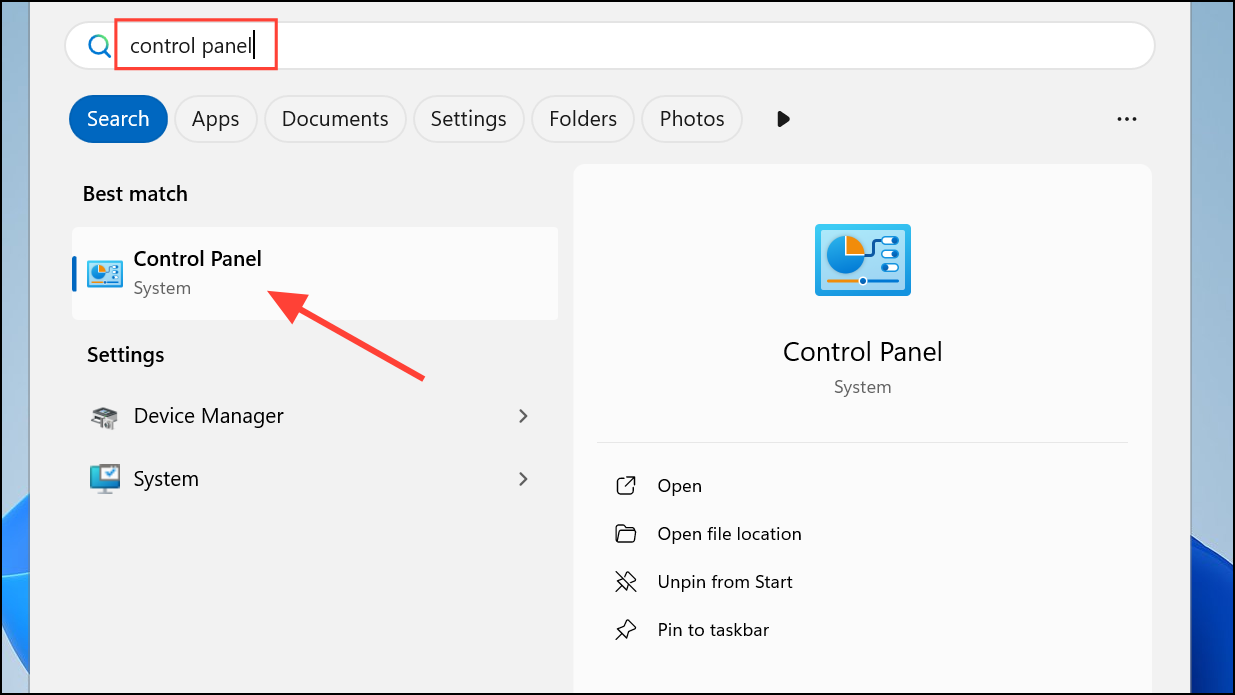
Step 1: Open the Start menu and type Control Panel, then press Enter to launch the classic Control Panel interface.
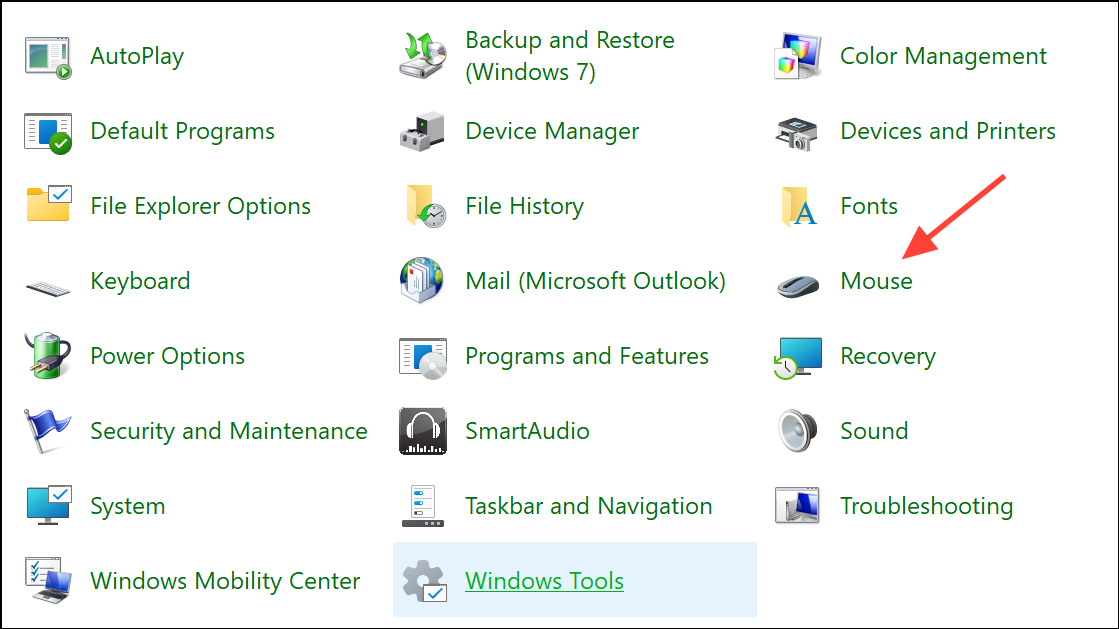
Step 2: Click on Hardware and Sound, then select Mouse to access mouse and touchpad settings.
Step 3: In the Mouse Properties window, look for a tab labeled Device Settings, ELAN, or Synaptics (the exact name varies by manufacturer). If available, locate an option such as Disable internal pointing device when external USB pointing device is attached and enable it.
Step 4: Click Apply and then OK to save your changes. This setting disables the touchpad only when a mouse is connected, restoring it when the mouse is removed.
If your laptop’s Control Panel does not include this option, check for manufacturer-specific utilities or drivers that provide similar controls.
Disable Touchpad Using Device Manager
Device Manager lets you manually disable the touchpad. This approach is less dynamic, as it requires manual re-enabling if you disconnect your mouse.
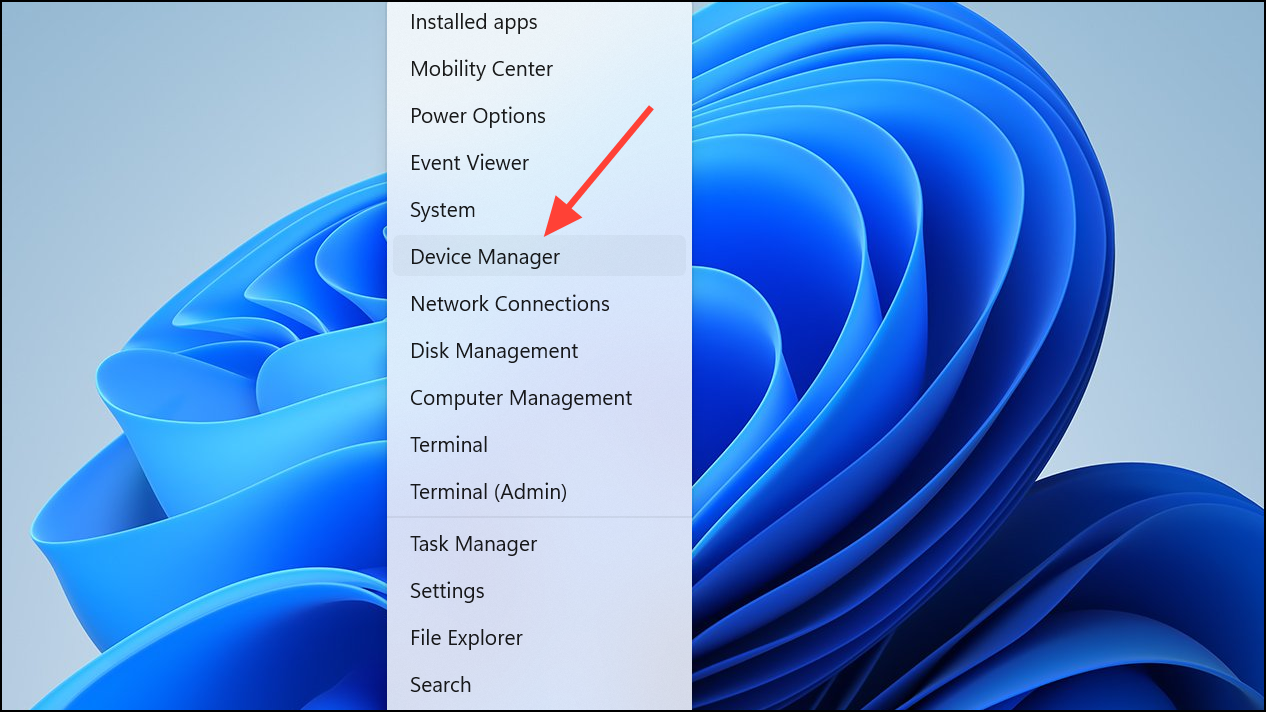
Step 1: Press Windows + X and select Device Manager from the menu to open the hardware management console.
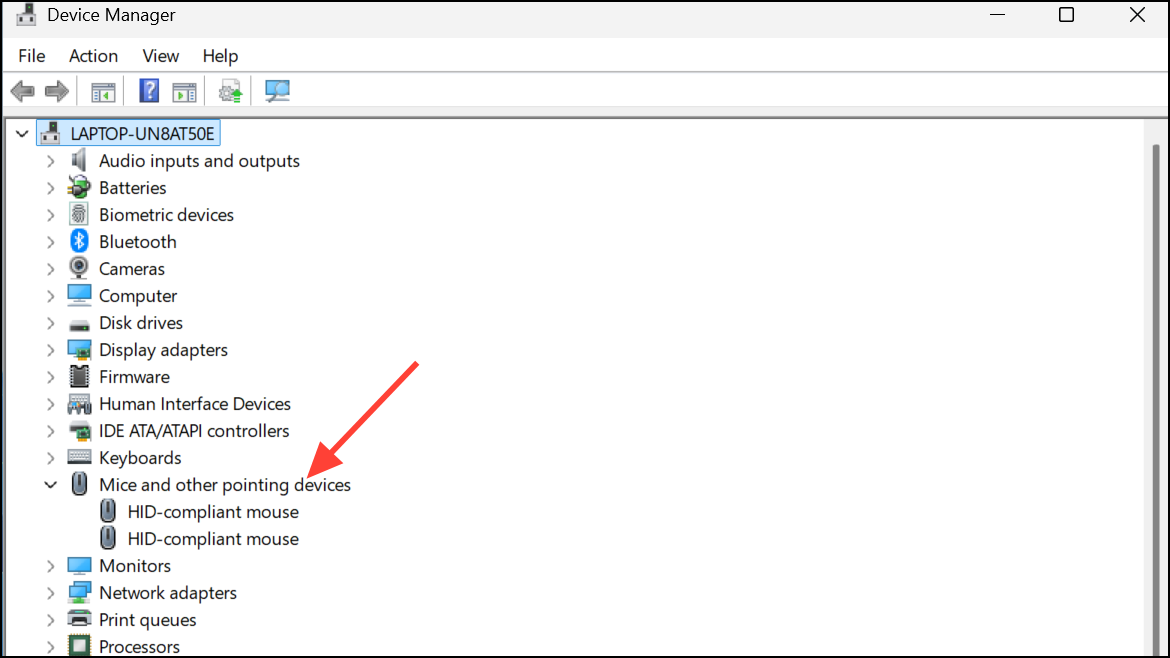
Step 2: Expand the Mice and other pointing devices section. Locate your touchpad in the list (it may be labeled as “Synaptics,” “ELAN,” or “HID-compliant touchpad”).
Step 3: Right-click the touchpad entry and select Disable device. Confirm the action when prompted.

Disable Touchpad via Registry Editor
Advanced users can use the Windows Registry Editor to control the touchpad’s behavior, especially if Settings or Control Panel options are missing or unavailable. Always back up your registry and create a restore point before making changes to avoid system issues.
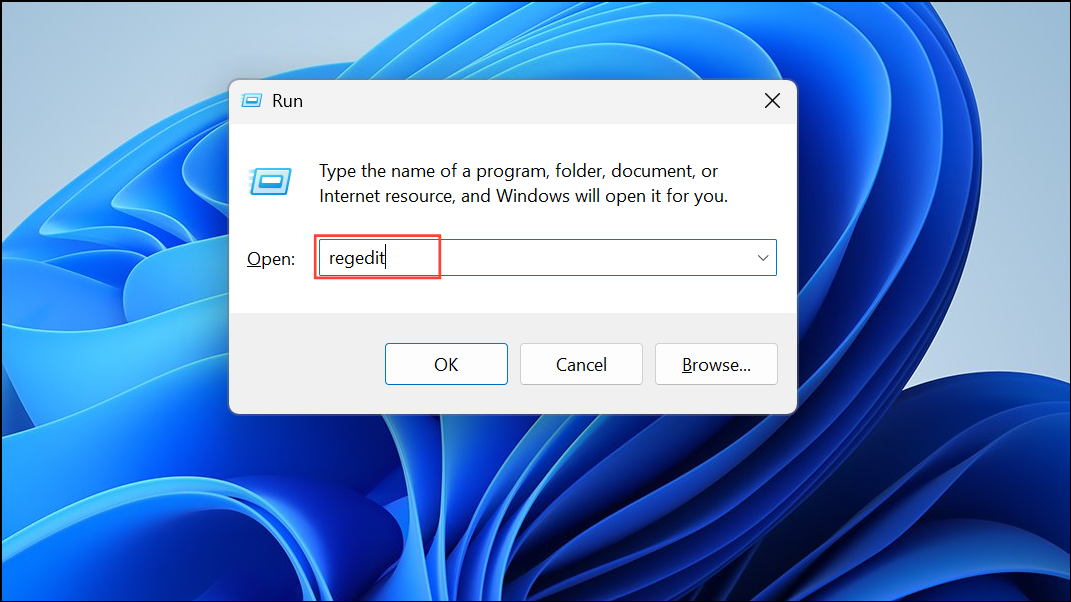
Step 1: Press Windows + R, type regedit, and press Enter to launch the Registry Editor.
Step 2: Navigate to:
HKEY_CURRENT_USER\Software\Microsoft\Windows\CurrentVersion\PrecisionTouchPad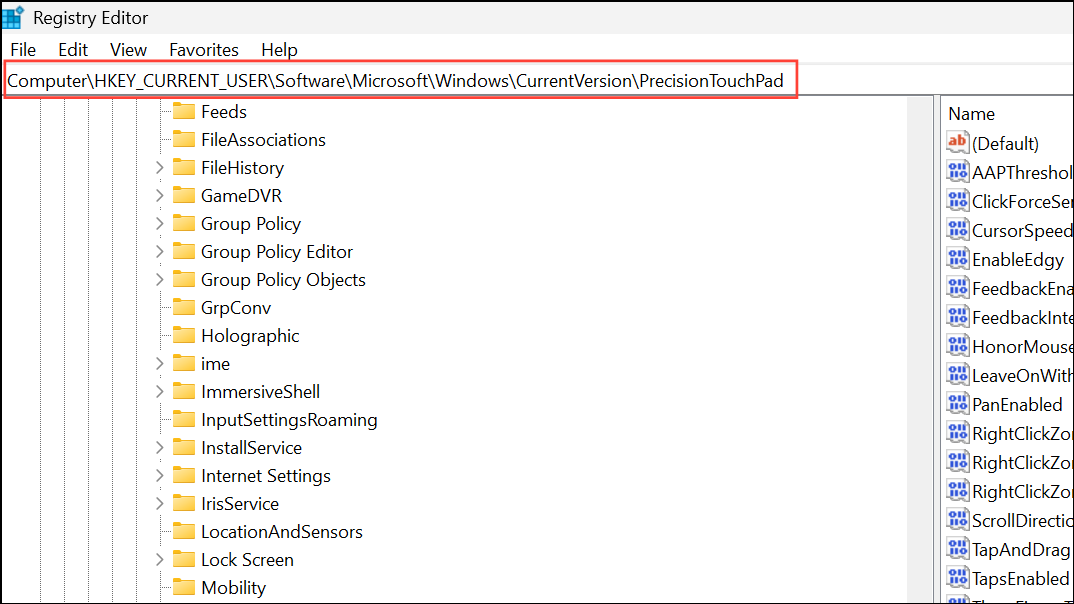
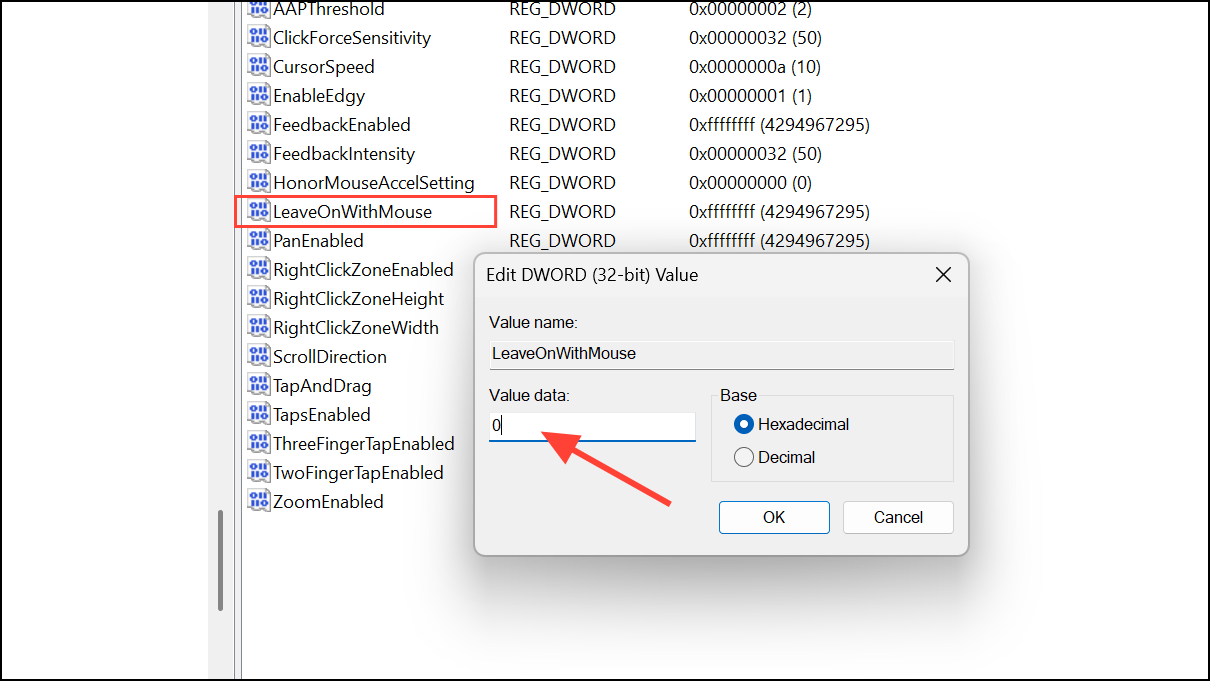
Step 3: Find the value named LeaveOnWithMouse. Double-click it and set its value to 0 to disable the touchpad when a mouse is connected, or 1 (or ffffffff for some systems) to always leave the touchpad on.
Step 4: Restart your computer for the changes to take effect. This registry tweak instructs Windows to automatically manage the touchpad based on mouse connection status, but is only available for devices with precision touchpads.
If your device uses a non-precision touchpad, this registry key may not exist or have any effect. In that case, check your laptop manufacturer’s support pages for additional instructions or proprietary touchpad utilities.
Alternative Approaches and Troubleshooting
If none of the above methods are available, try these alternatives:
- Check for a dedicated touchpad function key (often labeled with a touchpad icon) on your keyboard. Press it with the
Fnkey to toggle the touchpad. - Look for manufacturer-specific software (such as Lenovo Vantage, Dell Touchpad, or HP Control Center) for additional touchpad controls.
- Some laptops support double-tapping a corner of the touchpad to disable or enable it. Refer to your device manual for details.
- Third-party utilities like “Touchpad Blocker” can help suppress unwanted touchpad input if built-in options are insufficient.
On certain devices, disabling the touchpad may not turn off integrated touchpad buttons. If accidental clicks persist, consult your laptop’s documentation or support forums for model-specific solutions.
By configuring Windows 11 to disable your laptop’s touchpad when an external mouse is connected, you can speed up navigation and reduce accidental cursor movement. If your device lacks the built-in option, the methods above provide practical workarounds to achieve the same result.