
When Windows starts to feel unstable, the quickest way back to a clean state is often through two built‑in tools: Deployment Image Servicing and Management (DISM) and System File Checker (SFC). They work on different layers of the operating system, and the command‑line switches you choose determine whether you are only checking for problems or actively repairing them.
How DISM and SFC fit together
DISM works on the Windows image itself, specifically the component store in C:\Windows\WinSxS. That store is the master copy of many system files and packages. SFC uses that store as its reference when it scans and fixes live system files in C:\Windows.
This split leads to a simple rule of thumb:
| Tool | What it checks | What it repairs | Typical command |
|---|---|---|---|
| DISM | Windows image / component store | Files in the WinSxS store, optional features, packages | DISM /Online /Cleanup-Image /RestoreHealth |
| SFC | Protected system files in the running OS | Corrupted or missing live system files | sfc /scannow |
When system files are broken, the usual workflow is to repair the image with DISM first, then run SFC so it can use that healthy image as its baseline.
Core DISM health commands: CheckHealth, ScanHealth, RestoreHealth
The DISM command set for image health lives under the /Cleanup-Image switch. Three arguments matter most:
| Command | Purpose | Typical runtime | Repairs anything? |
|---|---|---|---|
DISM /Online /Cleanup-Image /CheckHealth |
Quickly reports if corruption has already been detected and flagged. | Almost instant | No – read‑only |
DISM /Online /Cleanup-Image /ScanHealth |
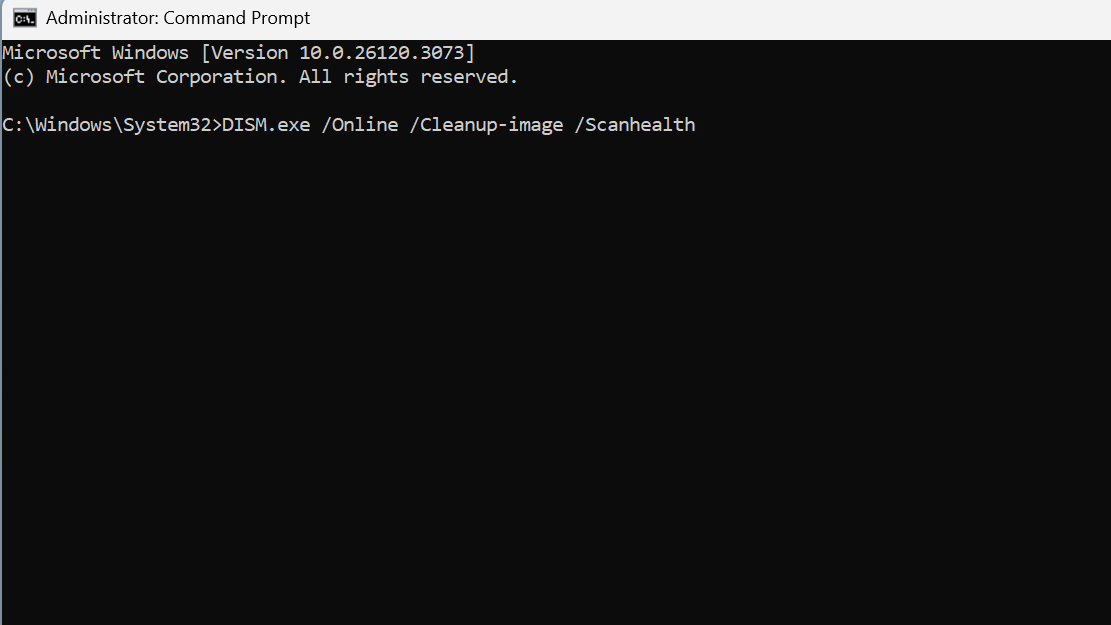
Runs a deeper scan of the image to look for corruption. | Several minutes or more | No – read‑only |
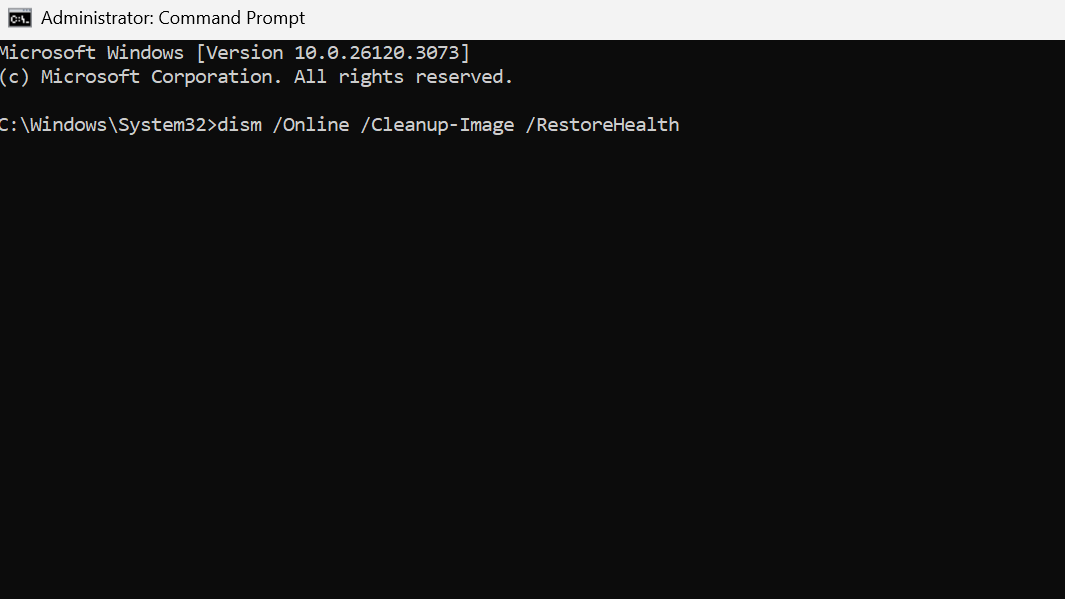
DISM /Online /Cleanup-Image /RestoreHealth |
Scans and repairs image corruption using one or more repair sources. | Several minutes to over an hour | Yes – attempts repair |
/CheckHealth is essentially a status query. It checks whether DISM has previously logged the image as healthy, repairable, or non‑repairable. It does not run a fresh scan.
/ScanHealth performs that detailed scan. It walks the component store, validates components, and updates internal flags. That is why it takes much longer than /CheckHealth, even if both end up printing the same “no corruption detected” message.
/RestoreHealth is the actual repair step. It behaves like /ScanHealth , but also attempts to replace bad components using repair sources such as Windows Update or a Windows installation image.
On a system that is already in trouble, it is common to go straight to /RestoreHealth, because that includes a scan. The lighter commands are helpful when you only want to verify the state quickly, or to decide whether running a full repair is worthwhile.
Standard repair sequence with DISM and SFC
For a machine that boots but is unstable or throwing errors about corrupted system files, a practical sequence looks like this:
DISM /Online /Cleanup-Image /RestoreHealth
sfc /scannow
This assumes you run both from an elevated Command Prompt (Run as administrator).
- The DISM command repairs the component store so that the reference copy is intact.
- The SFC command then validates all protected system files and replaces any that do not match the store.
If SFC reports that it found and fixed corruption, it is often worth running sfc /scannow a second time to confirm that it reaches a clean pass with “no integrity violations”.

When and why to add ScanHealth and CheckHealth
Some workflows include all three DISM health commands, in order:
DISM /Online /Cleanup-Image /CheckHealth
DISM /Online /Cleanup-Image /ScanHealth
DISM /Online /Cleanup-Image /RestoreHealth
This full sequence has a few advantages:
/CheckHealthlets you very quickly see if DISM already knows the image is damaged beyond repair. In that case, time spent on deeper scans is wasted and a reinstall or image replacement is the realistic next move./ScanHealthforces DISM to rescan and update those internal flags, which can be useful after you suspect new corruption but before committing to a long repair run./RestoreHealththen works with the freshest possible picture of what needs fixing.
The trade‑off is time. On modern hardware, /ScanHealth and /RestoreHealth can take similar amounts of time; if you are certain the image needs repair, running only /RestoreHealth is usually sufficient.
Using DISM repair sources: Windows Update, WIM, and ESD
By default, /RestoreHealth will try to pull clean copies of components from the same source Windows uses for Features on Demand, which is often Windows Update. When Windows Update is misconfigured or the machine is offline, repairs can fail with errors like 0x800f081f (source files could not be found).
DISM allows overriding that behavior with the /Source and /LimitAccess arguments.
| Scenario | Source argument example | Notes |
|---|---|---|
| Use a mounted install.wim | /Source:E:\Sources\install.wim |
Mount a Windows ISO and point to install.wim on the mounted drive (for example E:). |
| Use a mounted install.esd | /Source:E:\Sources\install.esd |
Same idea, but with a compressed ESD. |
| Force only local media | /Source:wim:E:\Sources\install.wim:1 /LimitAccess |
/LimitAccess tells DISM not to fall back to Windows Update. |
A full command using a WIM source might look like this:
DISM /Online /Cleanup-Image /RestoreHealth /Source:wim:E:\Sources\install.wim:1 /LimitAccess
The index :1 at the end indicates which edition inside a multi‑index WIM to use. The critical detail is that the repair source must match the installed version, edition, and language of Windows on the machine you are fixing.
For offline repair of a Windows folder that is not currently booted, DISM swaps /Online for /Image:
DISM /Image:C:\offline /Cleanup-Image /RestoreHealth /Source:C:\repair\mount\Windows
How DISM, SFC, and the component store interact
There is a common misconception that /RestoreHealth directly fixes live files like hh.exe or regedit.exe. DISM’s health commands target the component store, not arbitrary files under C:\Windows\System32. If you move or rename a system executable as a test and then run /RestoreHealth, nothing will change, because the component database itself is not corrupted.
The path is:
- DISM brings the component store back to a known good state.
- SFC uses that store to verify and, if needed, replace individual system files.
That is why official troubleshooting flows typically recommend running DISM first, then SFC. If SFC still reports unrepaired corruption afterward, the usual next steps are manual replacement of specific files (using takeown, icacls, and copy) or, for persistent issues, a repair install or reset.
Using SFC with and without Windows
SFC focuses on protected system files and follows a simpler syntax:
sfc /scannow
From a running Windows installation, use an elevated Command Prompt and wait until the verification reaches 100 percent. Outcomes fall into four broad messages:
| SFC message | What it means | Next step |
|---|---|---|
| “Windows Resource Protection did not find any integrity violations.” | No protected system files are missing or corrupted. | No further action needed. |
| “Windows Resource Protection found corrupt files and successfully repaired them.” | Corruption was detected and fixed. | Optionally run SFC again to confirm a clean pass. |
| “Windows Resource Protection found corrupt files but was unable to fix some of them.” | Some files remain corrupted after repair attempts. | Inspect C:\Windows\Logs\CBS\CBS.log and consider manual replacement or a repair install. |
| “Windows Resource Protection could not perform the requested operation.” | The scan could not complete, often due to pending operations or disk issues. | Try SFC in Safe Mode and ensure the PendingDeletes and PendingRenames folders exist under %WinDir%\WinSxS\Temp. |
When Windows cannot boot, SFC can also target an offline installation using /offbootdir and /offwindir:
sfc /scannow /offbootdir=X:\ /offwindir=X:\Windows
Here, X: is the drive letter of the Windows partition as seen from the recovery environment, which can differ from the usual C:. The bcdedit command inside the recovery Command Prompt exposes the correct mapping.

Cleaning up the component store
Over time, the component store accumulates superseded components, especially after many cumulative updates. DISM provides cleanup commands under the same /Cleanup-Image switch:
| Command | Role |
|---|---|
DISM /Online /Cleanup-Image /AnalyzeComponentStore |
Reports on the size and state of the component store and whether cleanup is recommended. |
DISM /Online /Cleanup-Image /StartComponentCleanup |
Removes superseded components to reduce disk usage. |
DISM /Online /Cleanup-Image /StartComponentCleanup /ResetBase |
Removes superseded versions of every component, including those for currently installed updates, making them permanent. |
These commands are about maintenance and disk space, not about repairing corruption. They are often run after installing major feature updates or as part of a periodic cleanup routine. The /ResetBase option is more aggressive and prevents future uninstallation of currently installed updates, so it is better used on stable systems where rollback is not needed.
DISM in recovery scenarios and during servicing
DISM is not limited to an online OS. Service technicians and administrators routinely point it at offline images—either a Windows directory on disk or a captured .wim, .vhd, .vhdx, or .ffu file—to mount, capture, and apply images or to repair them before deployment.
During image servicing, especially when mounting and unmounting WIM files repeatedly, mount points can become inconsistent. In those cases, DISM includes a cleanup command:
DISM /Cleanup-MountPoints
This tidies up orphaned mount points without touching images that are properly mounted or recoverable with /Remount-Image.
Common pitfalls and error patterns
A few failure modes come up again and again:
- Commands not recognized: On Windows 10 and Windows 11, switches like
/Online,/Cleanup-Image,/CheckHealth, and/RestoreHealthare present. Typos such as inserting dashes (/Check-Health) instead of using the exact names (/CheckHealth) will cause errors. - Error 87 (“The parameter is incorrect”): Usually a syntax mistake: missing spaces, wrong switch name, or mis‑ordered arguments. Commands are not case‑sensitive, but they are strict about spaces and switch spelling.
- Error 0x800f081f (“The source files could not be found”): Indicates DISM could not locate required files in the default repair source. Supplying a valid
/Sourceand, when needed,/LimitAccessresolves this for most systems. - Perceived hangs at 20%, 40%, 80%: DISM often appears stuck at specific percentages while it is still working. If CPU and disk activity are present, it is usually better to wait it out. When it truly stalls, a restart and another attempt—optionally after checking the disk with
chkdsk—is the next step.
Used together and with the right switches, DISM and SFC give direct control over Windows’ repair path: fix the image, fix the files, and only fall back to reinstalling when the tools report that the image is no longer repairable.