Etuwa’s Fire Part 3 in Avatar: Frontiers of Pandora – From the Ashes (full quest walkthrough)
Track Ka'nat’s captors to Operations Center Delta, break him out, and finish Ti'at to close Etuwa’s arc.
Track Ka’nat’s captors to Operations Center Delta, break him out, and finish Ti’at to close Etuwa’s arc.
by Pallav Pathak
Etuwa’s Fire (Part 3) is the climax of Etuwa’s storyline in the From the Ashes expansion for Avatar: Frontiers of Pandora. The quest is tightly scripted: you confirm Ka’nat’s kidnapping, tail the transport, infiltrate Operations Center Delta, pull off a prison break, and end things with a duel against Ti’at.
Start the quest and meet Etuwa at the Highmost Seat
Fast travel to the Highmost Seat and walk up to Etuwa. A cutscene plays: she confirms the dying RDA soldier was telling the truth, and that Ka’nat is missing. The last possible lead is one of his hunting nests.
Speak to Etuwa at Highmost Seat | Image credit: Ubisoft (via YouTube/@MightyAstinaBG)
Land in the highlighted area. Another cutscene triggers where you and Etuwa arrive just in time to see Ka’nat being transported away in an RDA vehicle. From this point, your goal is to shadow that transport and find out where he is being taken.
Wait for the cutscene to end | Image credit: Ubisoft (via YouTube/@MightyAstinaBG)
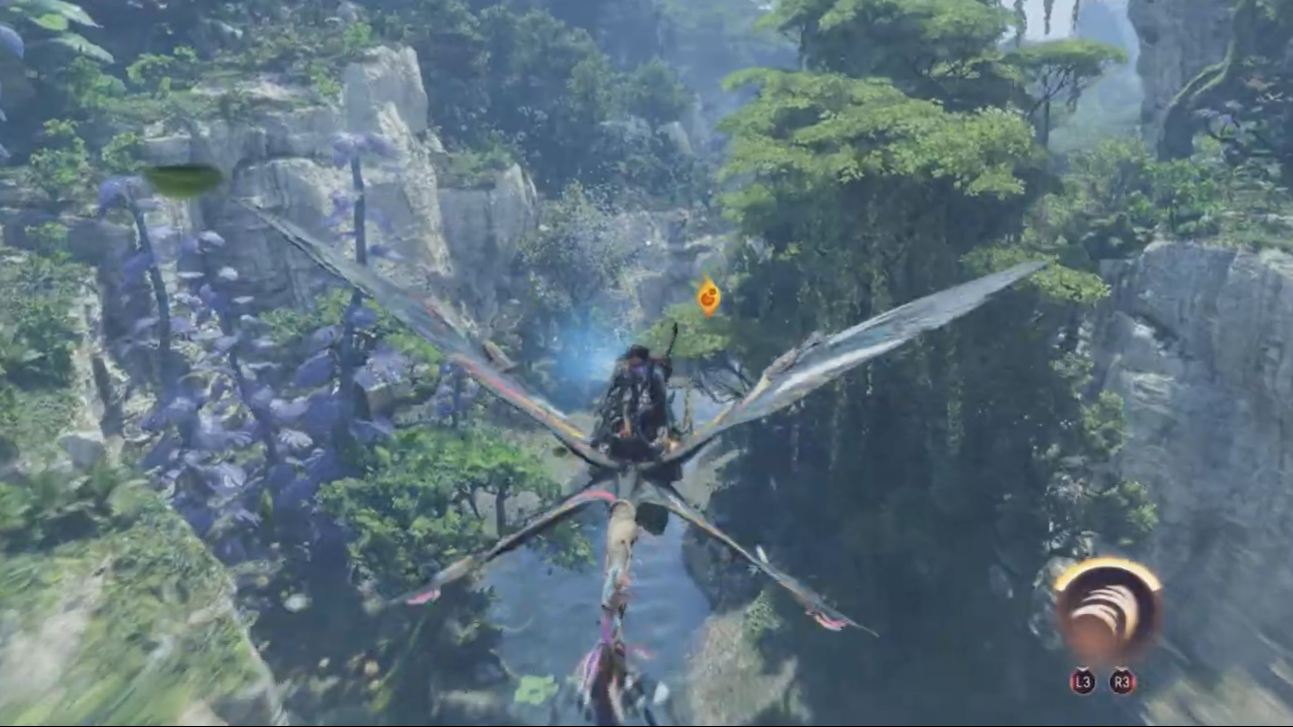
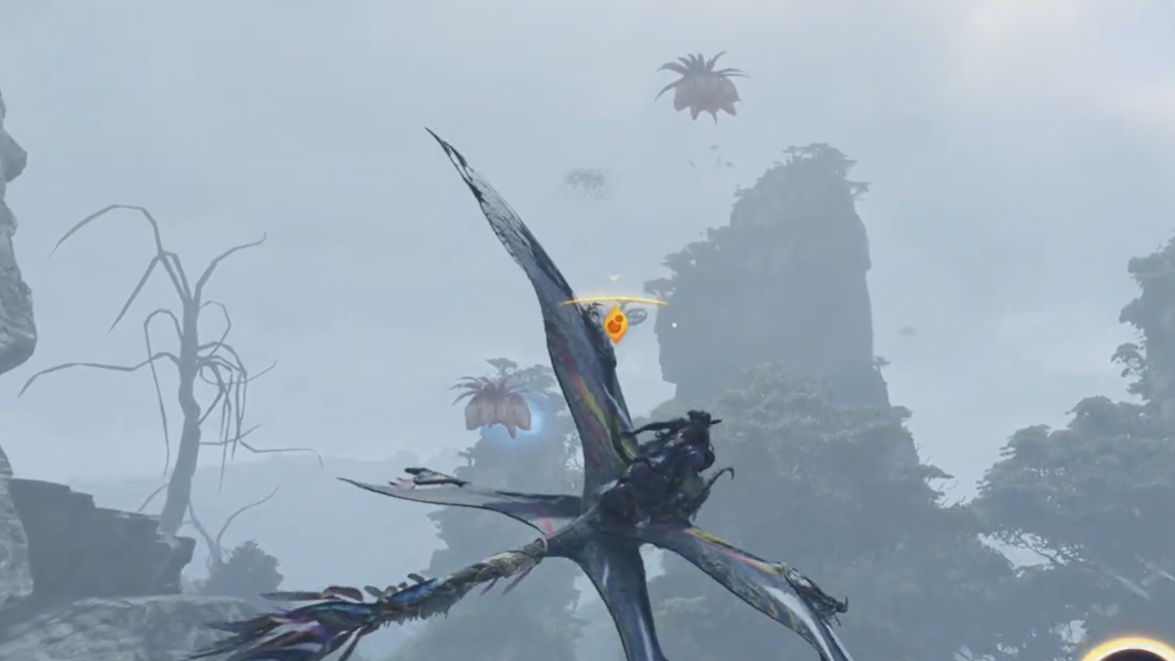
Immediately get back on your Ikran and start chasing the RDA aircraft. Keep your eyes on the objective icon above it; you only need to stay within range, not right on top of it.
Stay on its tail as it passes a large waterfall and then dives into an area dense with bioluminescent flora. The route is scenic but busy, so focus on the marker rather than sightseeing.
Follow the RDA aircraft using your Ikran | Image credit: Ubisoft (via YouTube/@MightyAstinaBG)
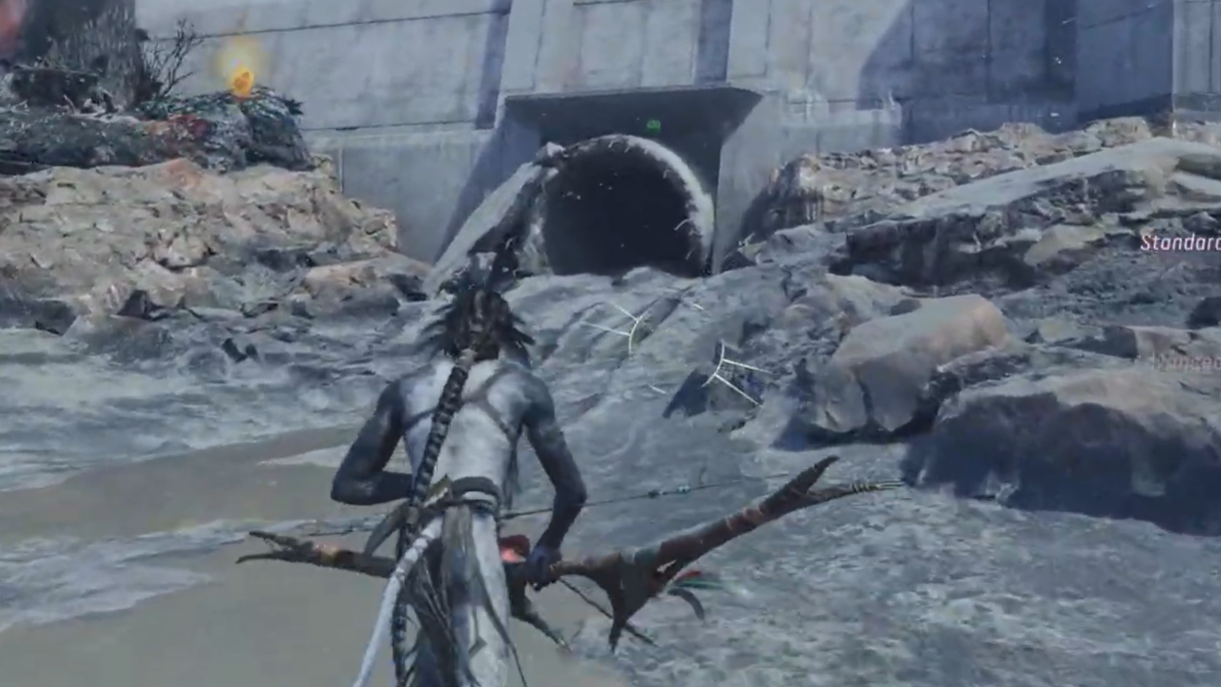
When you exit the glowing forest, watch for Sonic Defense Units floating in the air. Give them a wide berth; flying too close can quickly drain your health and force a reset.
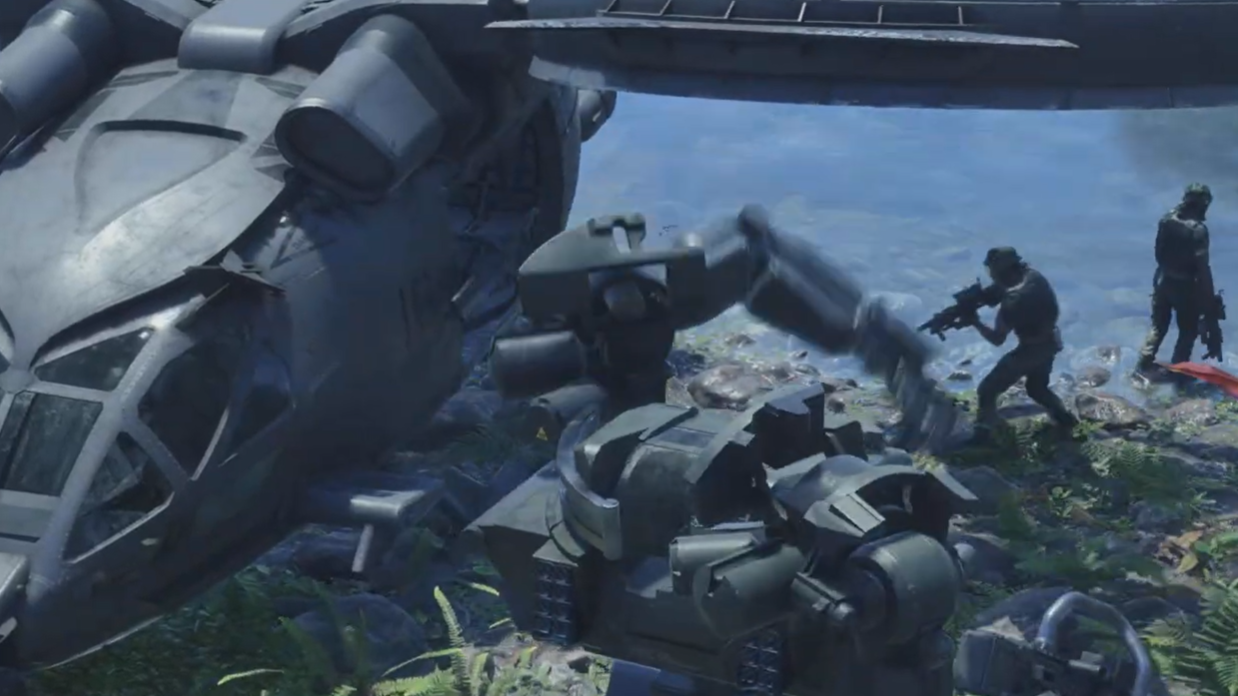
As the aircraft approaches its landing zone, some RDA ground troops may fire at you. On lower difficulties, you can ignore the small arms fire and continue to track the transport until it lands at Operations Center Delta.
Avoid the Sonic Defense Units in the air | Image credit: Ubisoft (via YouTube/@MightyAstinaBG)
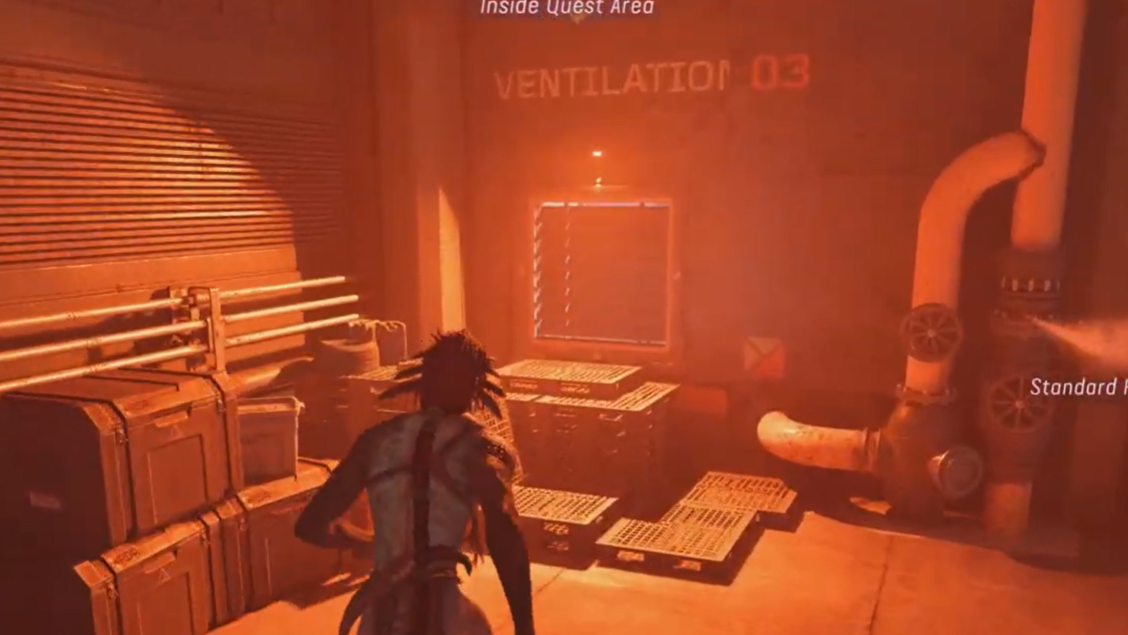
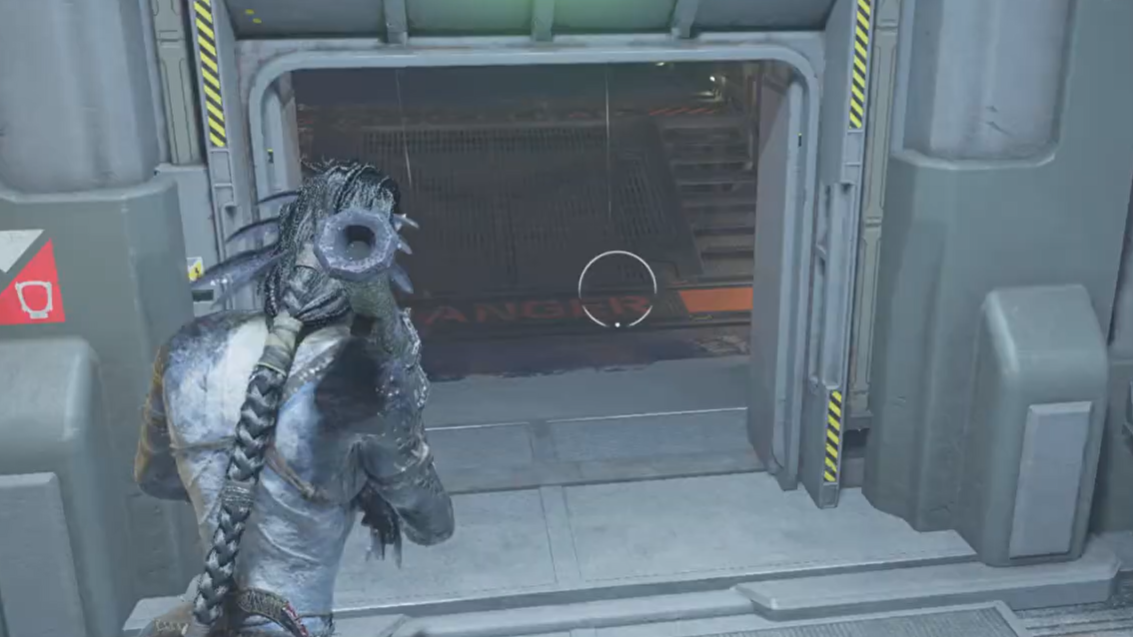
Enter Operations Center Delta and clear the first section
Turn right and follow the hallway. Look around for resource pickups: Polymer Sticks and RDA ammo are placed here to restock you before the internal fights.
An armored RDA enemy waits ahead. Use an Assault Rifle or Shotgun to break their armor quickly, then finish them off. Once they’re down, turn right again and interact with the nearby switch to open the next door.
Flip the switch to open the next door | Image credit: Ubisoft (via YouTube/@MightyAstinaBG)
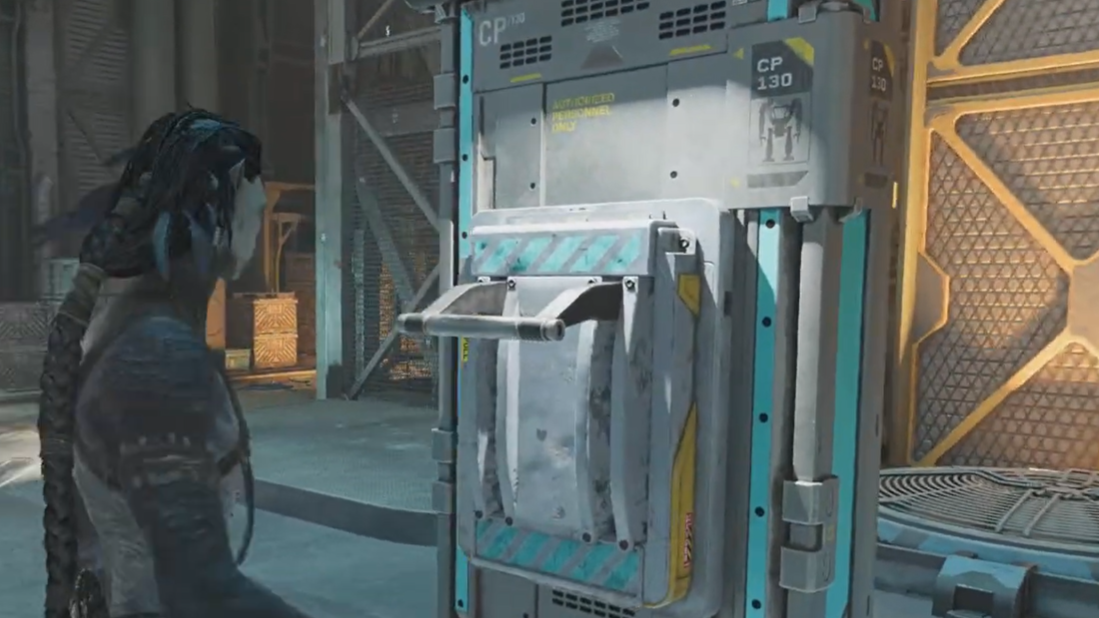
When you rise, you’ll notice another fan above you that would blow you away from your objective if left active. Before letting it push you, shoot the exposed circuit box above that upper fan. Then jump to the nearby ledge where the circuit box is mounted.
Shoot the circuit box above the fan | Image credit: Ubisoft (via YouTube/@MightyAstinaBG)
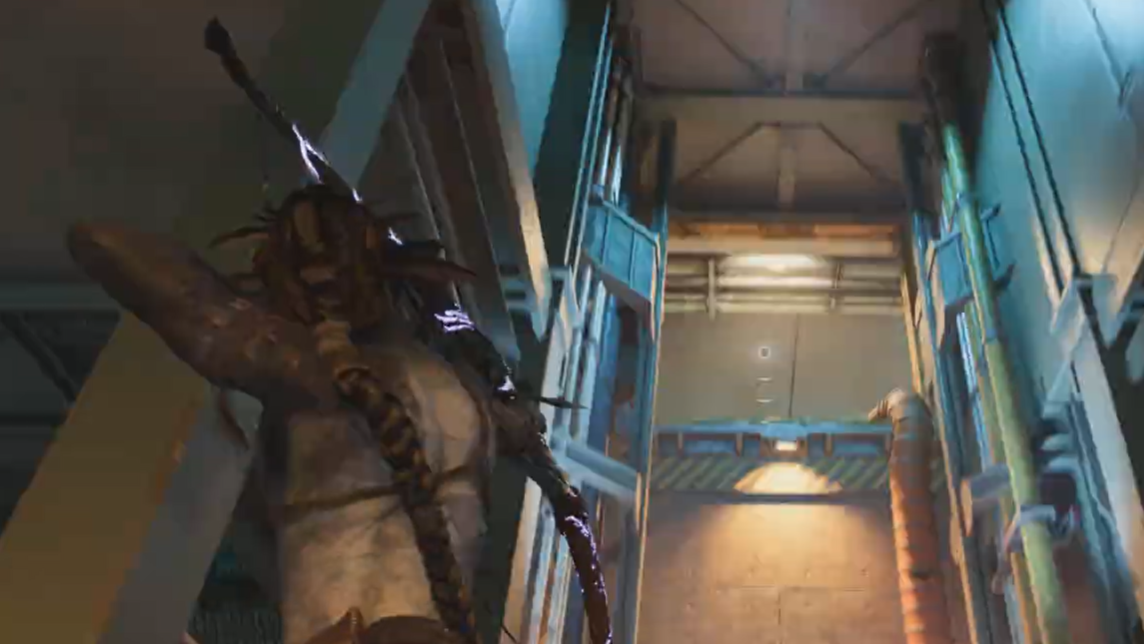
With that circuit destroyed, move left along the walkway. Go through the two doors in sequence and then climb the stairs to the top of the control tower.
At the top, you’ll find Etuwa waiting in a control room. Inside the same room, pick up the Rocket Launcher on the floor or table; you’ll want it for later encounters.
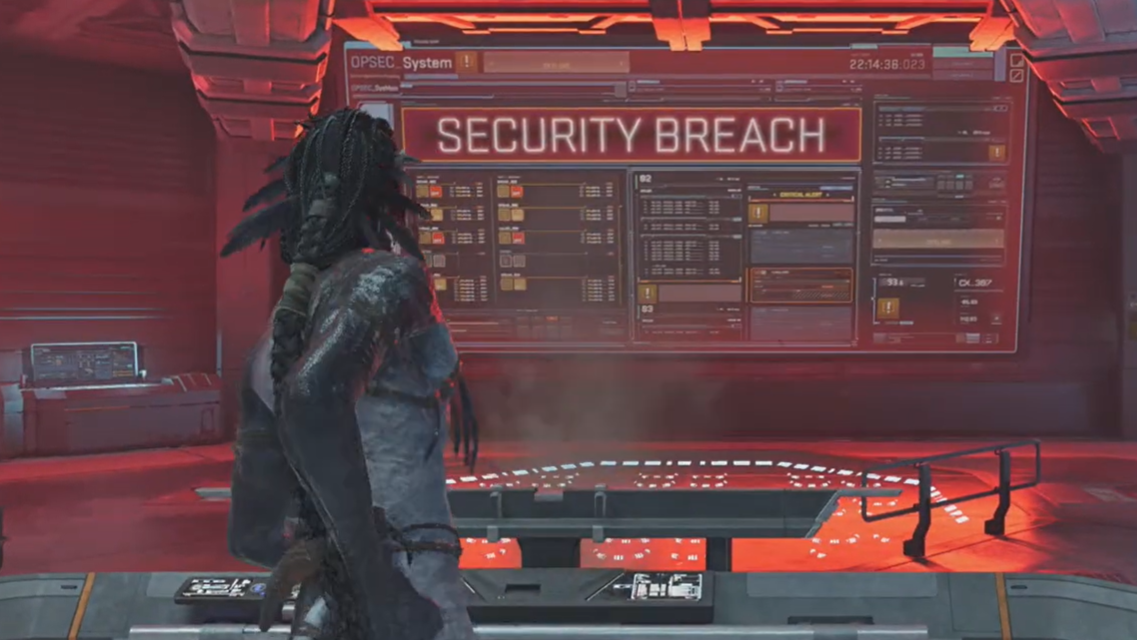
Face the large screen showing a “Security Breach” message. In front of it sits a terminal you can destroy. Shoot or melee this terminal to trigger a cutscene showing Ka’nat trapped in a holding cell somewhere else in Operations Center Delta.
Destroy the terminal in front of the screen | Image credit: Ubisoft (via YouTube/@MightyAstinaBG)
During the cutscene, Etuwa chooses to prioritize rescuing her father over chasing the Mangkwan operative Ti’at, who is also present in the facility.
Reach Ka’nat’s holding cell in the Detention Center
You’ll need to take three consecutive right turns, going through each door you encounter. Keep moving; this area is a tight maze of corridors, and the right-right-right pattern is the simplest way through.
Use your Assault Rifle to quickly eliminate the Hellhounds and any visible soldiers from cover before you jump down. Clearing a few targets from above makes the next wave easier.
Eliminate all enemies before jumping down | Image credit: Ubisoft (via YouTube/@MightyAstinaBG)
Drop to the ground. Your landing will trigger a door to open, releasing more RDA enemies toward your position. Use your high-damage weapons (Assault Rifle, Shotgun, or Rocket Launcher if necessary) to clear them all.
Once the area is secure, interact with the door lock on the cell controls. This opens Ka’nat’s holding cell and reunites him with Etuwa in a short scene.
Interact with the door lock to open the holding cell | Image credit: Ubisoft (via YouTube/@MightyAstinaBG)
Clear a path for Etuwa and Ka’nat to escape
With Ka’nat freed, your focus shifts to escorting them out of Operations Center Delta.
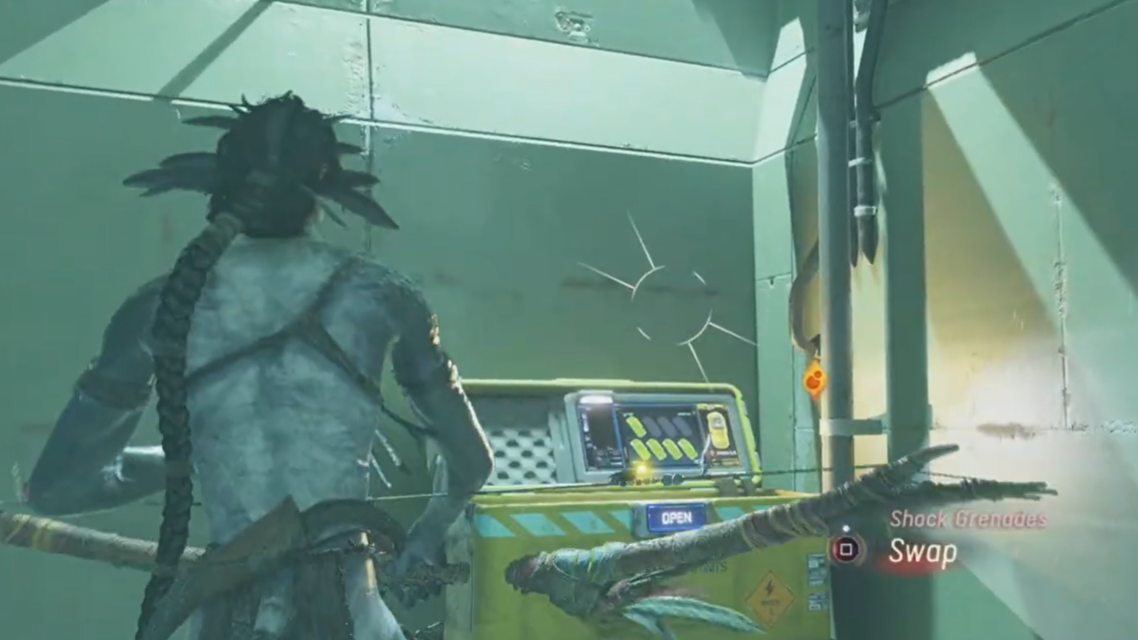
Move forward through the corridors. Pick up any Healing Gel you pass; it’s placed specifically to top you up after the prison fight and before the last encounters.
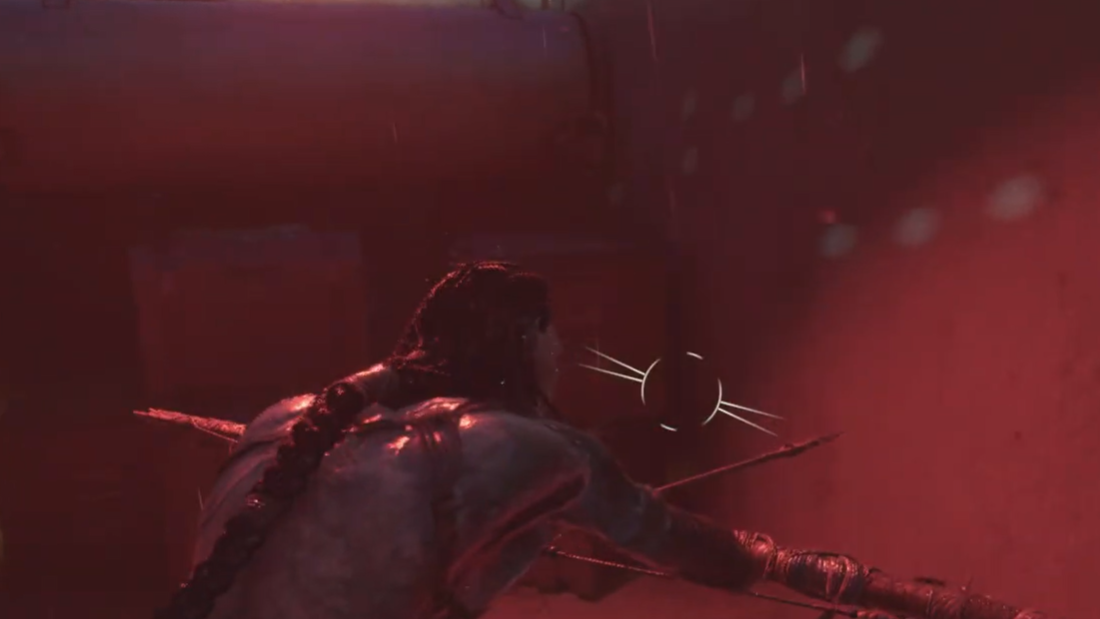
When you reach a corridor lit in red, turn right into it. A Hellhound will attack here. Use your shotgun or rifle to drop it before it closes the distance.
Turn into the red corridor and be prepared for a hellhound attack | Image credit: Ubisoft (via YouTube/@MightyAstinaBG)
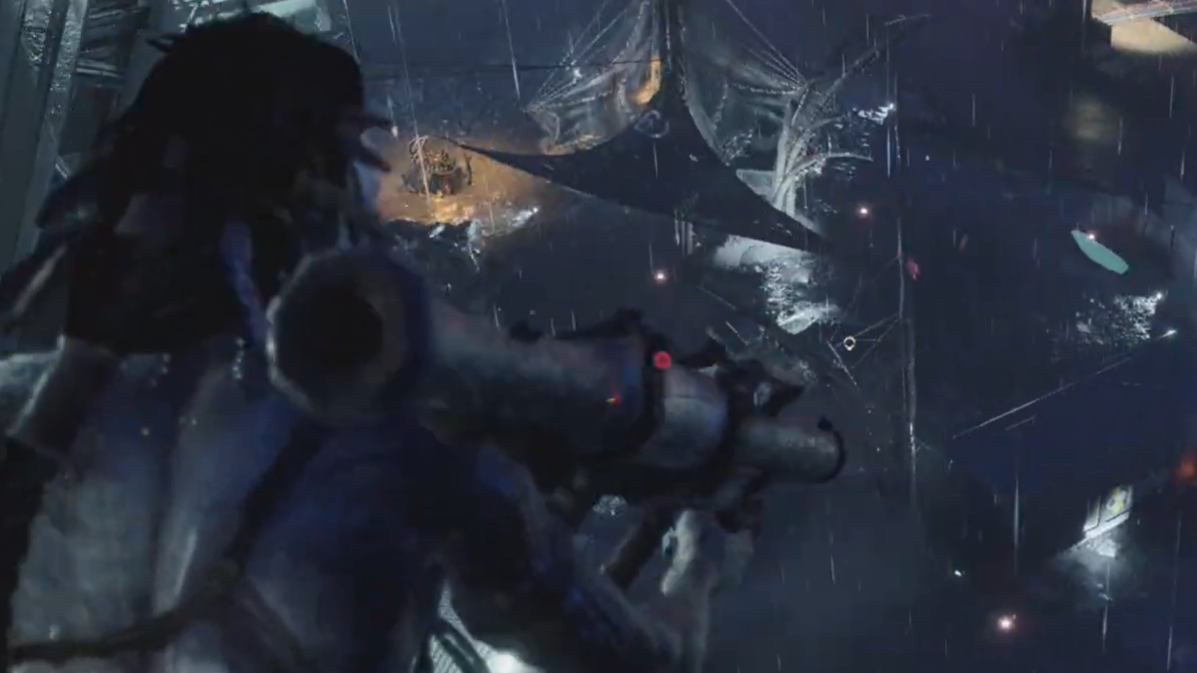
Continue forward and then take another right. A door ahead will open and lead you up and out to the surface, where the final phase of the quest begins.
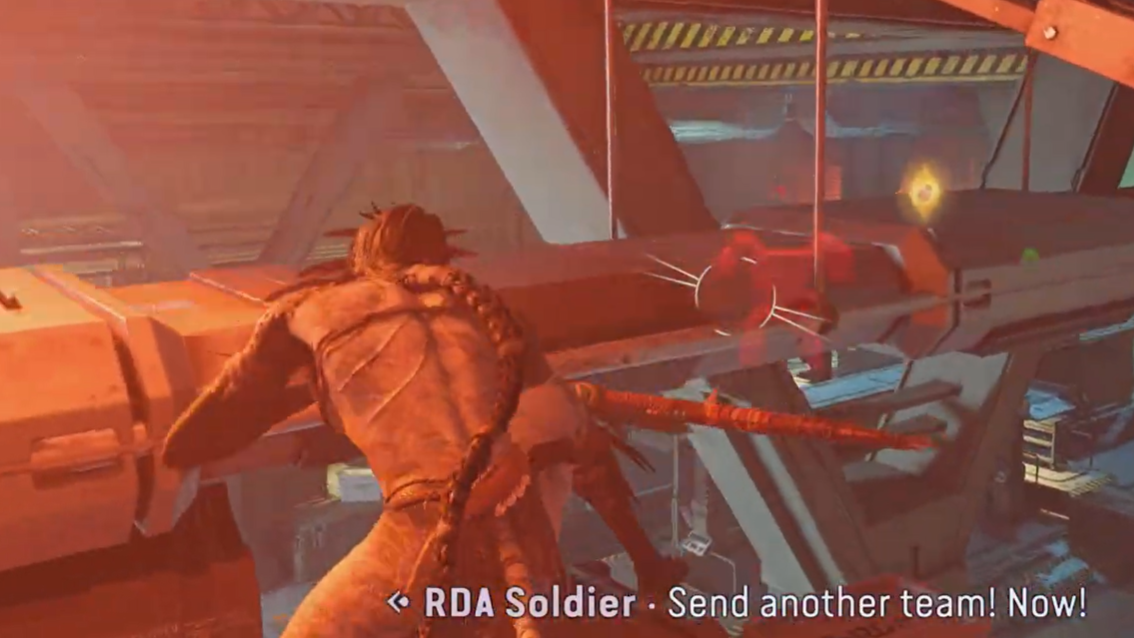
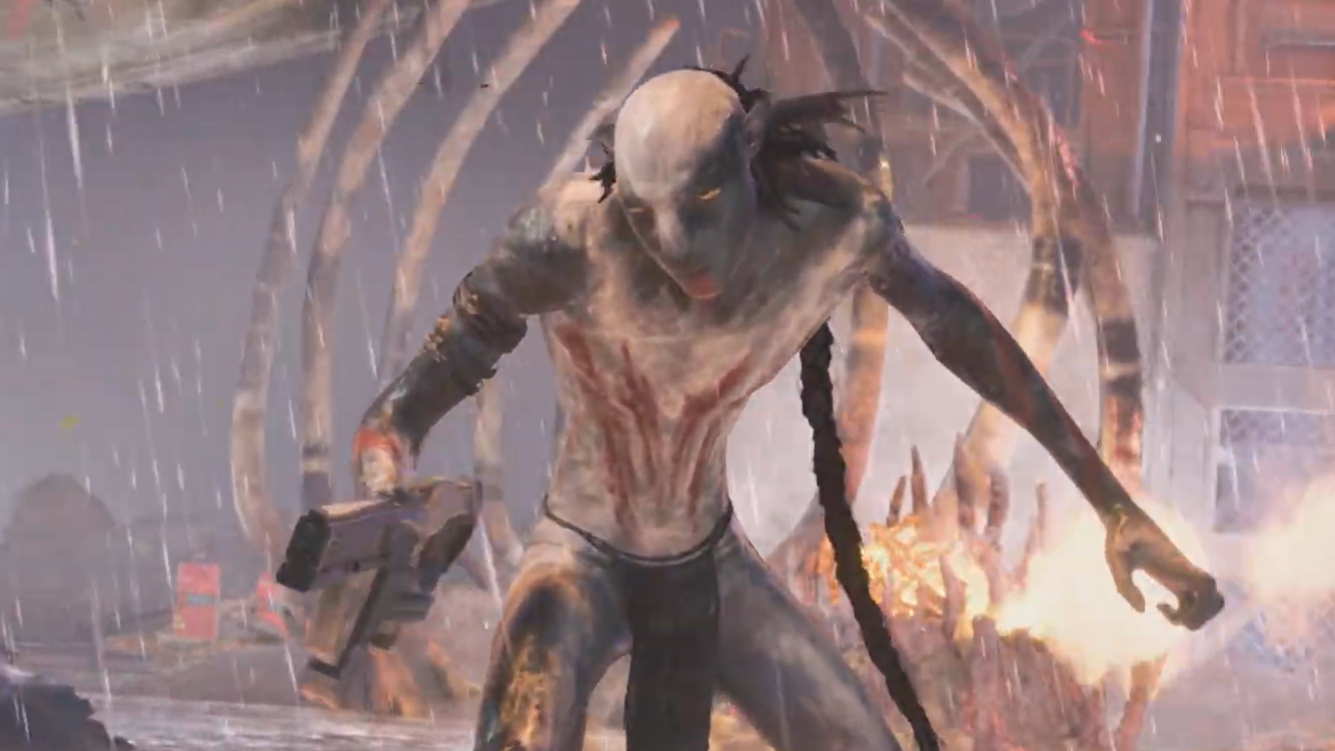
As you emerge on the surface, Teylan warns you that Ti’at has dropped off his radar. Moments later, Ti’at appears and confronts you directly. This is a one-on-one fight in open terrain.
Ti’at confronts you when you appear on the surface | Image credit: Ubisoft (via YouTube/@MightyAstinaBG)
Use Slow Motion (your focus ability) and center your Assault Rifle on Ti’at’s head whenever possible. Headshots under Slow Motion output heavy damage and can end the fight quickly, especially if you’ve kept your ammo reserves healthy.
If he closes the distance or you lose line of sight, back off, reposition behind cover, and re-engage once Slow Motion recharges. Avoid overcommitting to melee; your ranged tools are stronger and safer here.
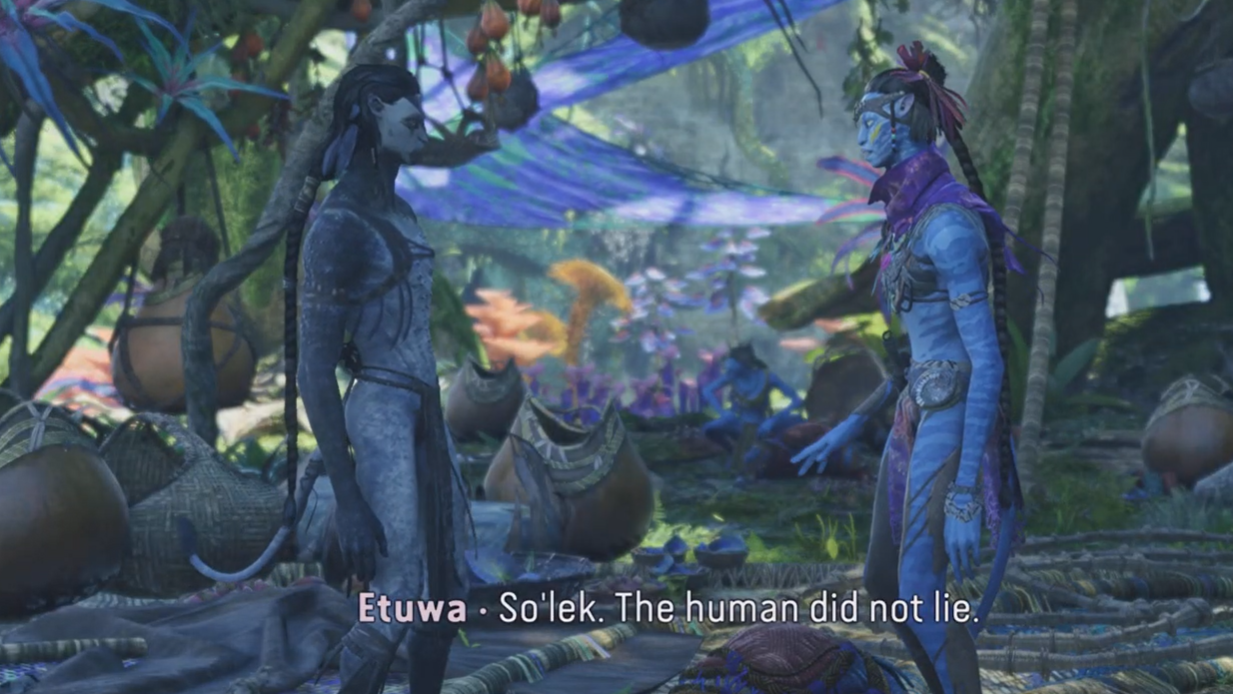
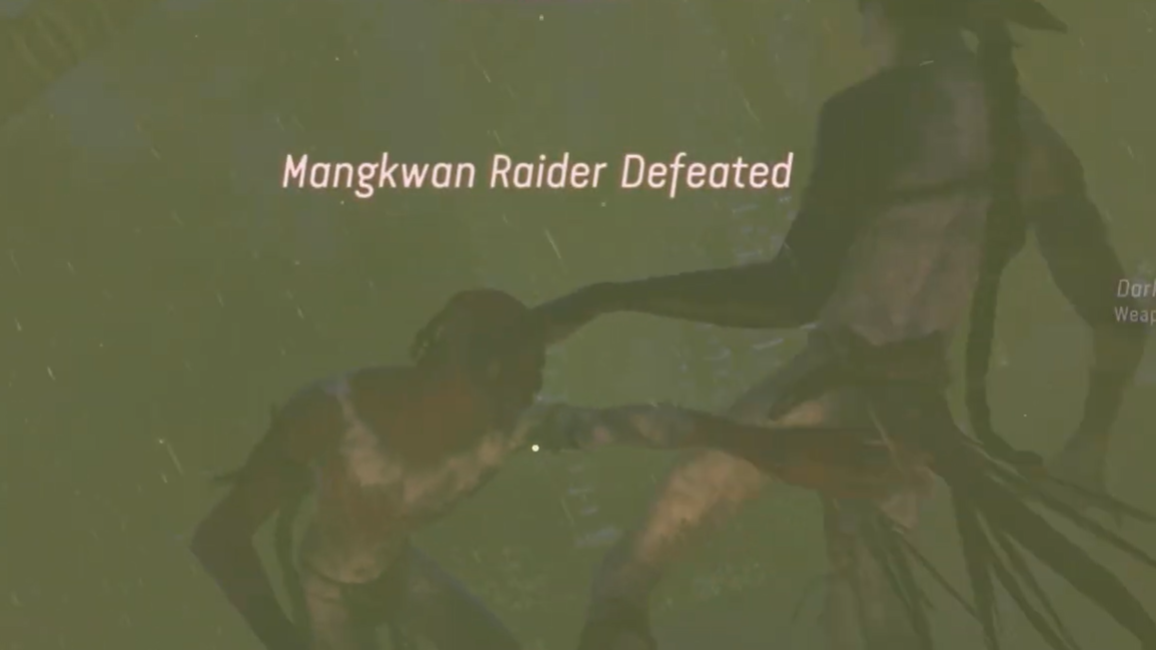
Keep pressure on Ti’at until his health bar is depleted. When he falls, the game wraps up the encounter with dialogue from So’lek, calling Etuwa and Ka’nat back to a safe zone outside the base.
Defeating Ti’at will launch a cutscene and conclude the mission | Image credit: Ubisoft (via YouTube/@MightyAstinaBG)
After Ti’at is dead, Etuwa and Ka’nat have a final conversation with you before departing. This scene closes out Etuwa’s Fire (Part 3) and effectively completes this questline in the From the Ashes expansion.