
Windows 11 introduces a built-in way to copy text from images or any part of your screen using the Snipping Tool’s text extraction capabilities. Previously, users relied on third-party utilities or PowerToys to perform optical character recognition (OCR) tasks. Now, this process is integrated directly into the Snipping Tool, enabling faster, more reliable text copying without extra installations or steps.
Extracting Text with Snipping Tool in Windows 11
Step 1: Open the Snipping Tool. You can do this by pressing Windows logo key + Shift + S for a quick snip, or by selecting the Snipping Tool from the Start menu. For users with the latest updates, pressing Shift + Alt + S brings up the capture bar, where text extraction is now available.
Step 2: Select the area of the screen containing the text you want to copy. The screen will dim slightly, and you can drag to choose a rectangle, freeform shape, or window, depending on your needs.
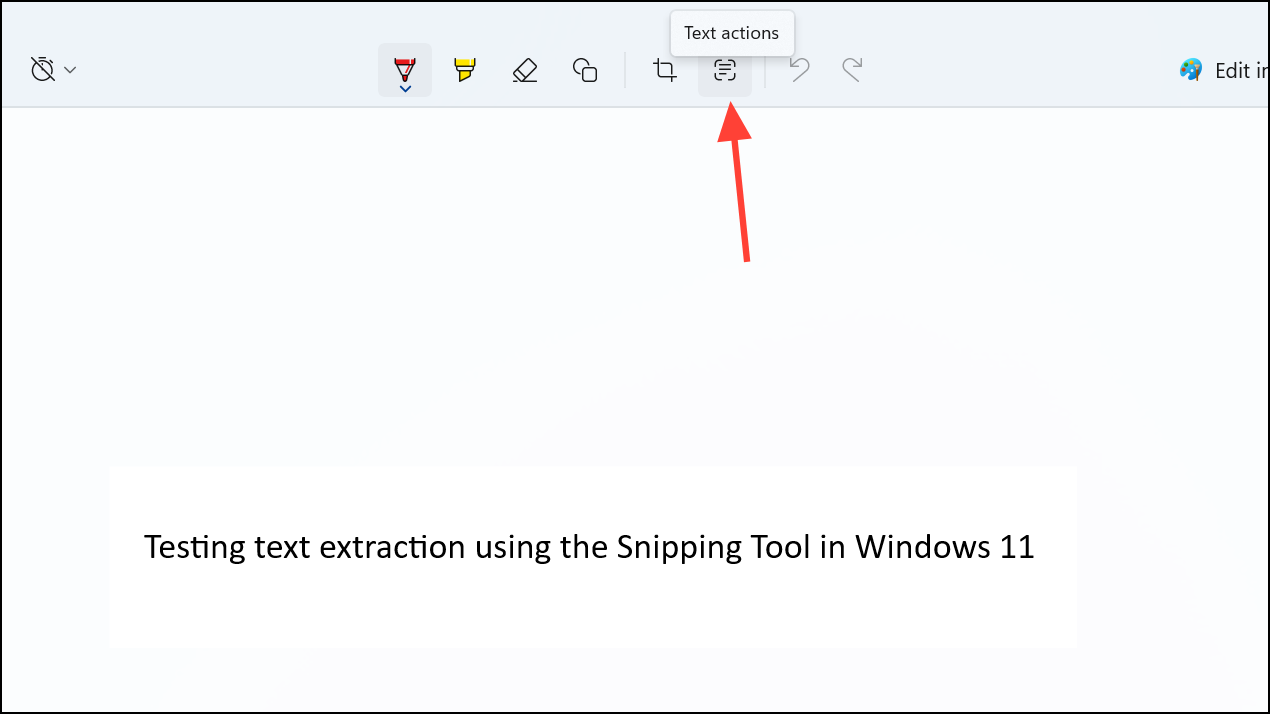
Step 3: After capturing the snip, the image opens in the Snipping Tool window. Locate and click the Text actions button (often represented by a text icon or labeled as such). This activates OCR, scanning the image for text.
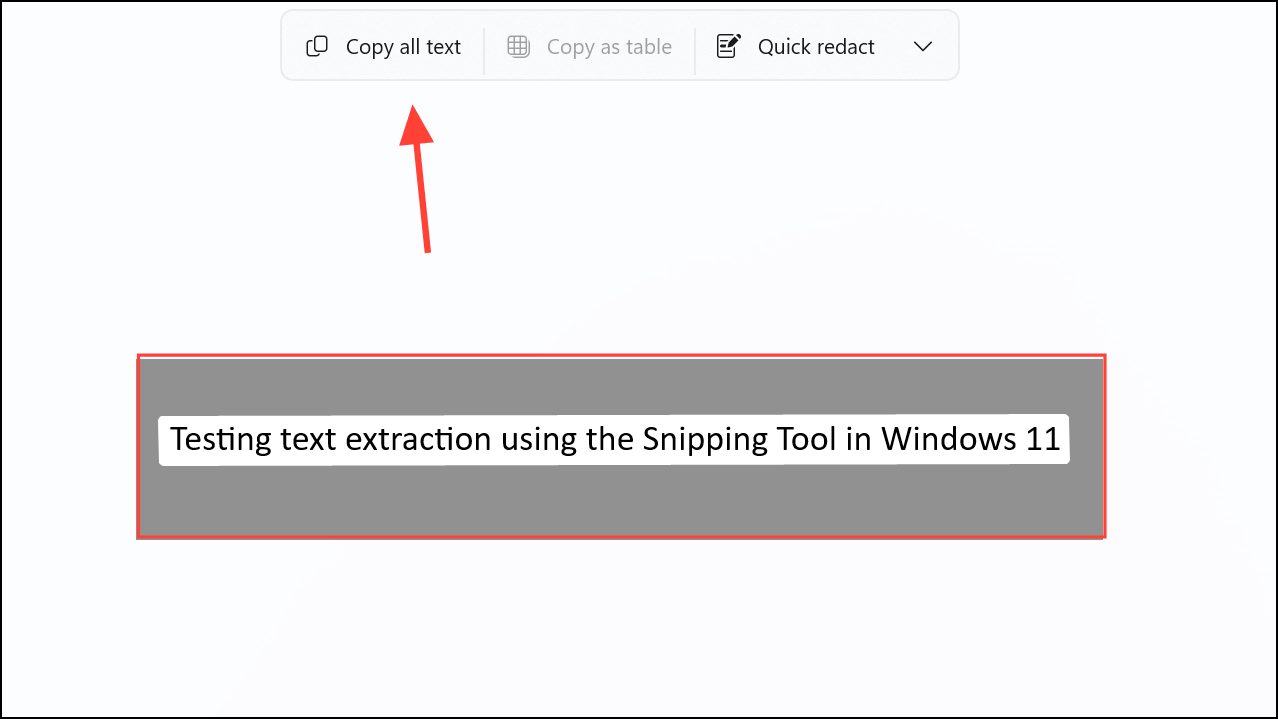
Step 4: The detected text appears as selectable overlays on your image. You can click and drag to select specific words or sentences, or use the Copy all text option to place the entire recognized text into your clipboard. If you need to remove line breaks, look for the option in the menu (often under three dots or “More” in the toolbar).
Step 5: Paste the copied text into your desired application, such as a document, email, or browser field. This step saves time compared to manual retyping, especially for lengthy or complex text.
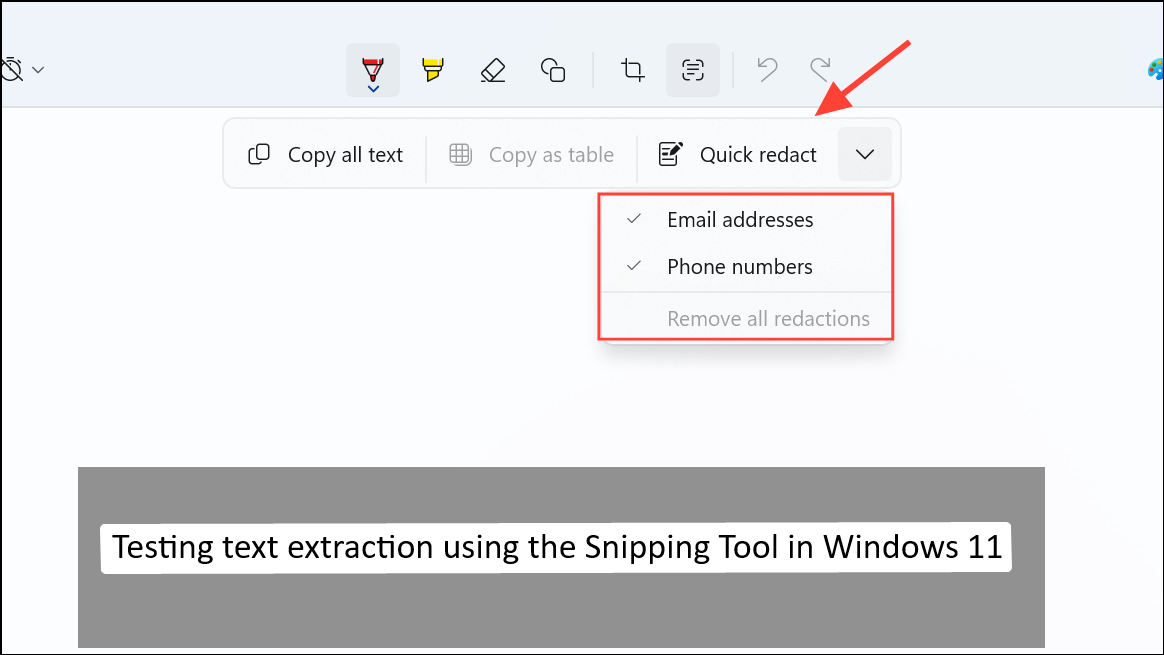
Step 6: For privacy or data security, use the Quick redact feature to automatically hide or remove sensitive information like email addresses or phone numbers before copying. All processing is performed locally on your device, so your data isn’t uploaded to external servers.
Step 7: If you want to generate a QR code from the extracted text, select the appropriate option in the capture bar or toolbar. This is useful for quickly transferring information to a mobile device.
Recent updates have also introduced keyboard shortcuts for even quicker access: Microsoft is testing Shift + Alt + T to launch text extraction directly, bypassing the need to save a screenshot first. Check your Snipping Tool version to see if this shortcut is available.
Alternative Methods for Text Extraction on Windows
For users on older Windows versions or those needing different workflows, PowerToys remains a reliable option. PowerToys’ Text Extractor can be activated with Windows logo key + Shift + T and copies detected text directly to the clipboard in a single step. However, Microsoft is shifting focus to the integrated Snipping Tool, and PowerToys may eventually phase out this feature.

Other third-party tools such as ShareX, Greenshot, or Lightshot offer screenshot capabilities, but may lack built-in OCR. For those requiring advanced annotation or bulk text extraction, dedicated OCR software or PDF editors like Adobe Acrobat may provide more options, though these typically require extra installations and configuration.
Integrating text extraction into the Snipping Tool simplifies daily workflows, cutting down manual copying time and reducing reliance on third-party utilities. Keep your Windows 11 updated to access these features and streamline your text capture tasks.