Far Far West splits its magic into five elemental schools, Pyro, Acid, Elec, Voodoo, and Cactus, and the spells that truly carry runs are the ones that either wipe screens by themselves or unlock duplicating combos. The strongest picks across the roster are Contagion, Rain, Bandito, Portal, Thunderstrike, Firebeam, Surcharge, Corruption, and Doll. Everything else is either a strong support pick or a tool that fades once difficulty climbs.
Quick answer: Run Portal plus a high-value projectile (Geyser, Firebeam, or Bandito) for late-game burst, lean on Contagion or Rain for screen-wide acid pressure, and keep one Voodoo spell (Doll, Ritual, or Drain) in solo loadouts for healing.

S-Tier spells in Far Far West
S-Tier spells either scale into nightmare difficulty on their own or enable combos that other elements cannot replicate. They cover all five schools, so you are not locked into a single tree to build a strong loadout.
| Spell | Element | Why it ranks S-Tier |
|---|---|---|
| Contagion | Acid | Wide corrosion zone that applies Contagious, causing chain explosions on death. Late-game horde wipe. |
| Rain | Acid | Sustained acid storm across a large area. Pairs with Strikes to become a self-targeting thunderstorm. |
| Bandito | Cactus | Long-duration cactus golem that holds the frontline. Best solo summon in the game. |
| Portal | Elec | Duplicates any spell projectile thrown through it. Highest skill ceiling, highest payoff. |
| Thunderstrike | Elec | Upward leap into a dive lightning blast. Burst AoE with strong vertical mobility. |
| Firebeam | Fire | Long fire beam that creates traveling fire tornadoes when it touches Acid surfaces. |
| Surcharge | Fire | Wide burn zone that detonates already-burning enemies for follow-up damage. |
| Corruption | Voodoo | Charms enemies to fight on your side. Flips elite-heavy waves entirely. |
| Doll | Voodoo | Protective zone that grants invincibility and speed. Strongest team support tool. |
The strongest spell combos
Spells in Far Far West run on a setup-and-trigger system. One element places a surface or summon, and a second element hits it for a reaction that outdamages either spell on its own. The combos below are the ones that scale from early levels into late-game content.
Acid into Pyro: the most accessible burst
Pyro damage hitting an Acid puddle causes an instant explosion that deals bonus fire damage and burns every enemy caught in it. The radius scales with the size of the Acid surface, so pre-placing Thrower or Geyser at a chokepoint before pushing the trigger gives the largest detonation. Fireball and Firebeam are the most reliable triggers.
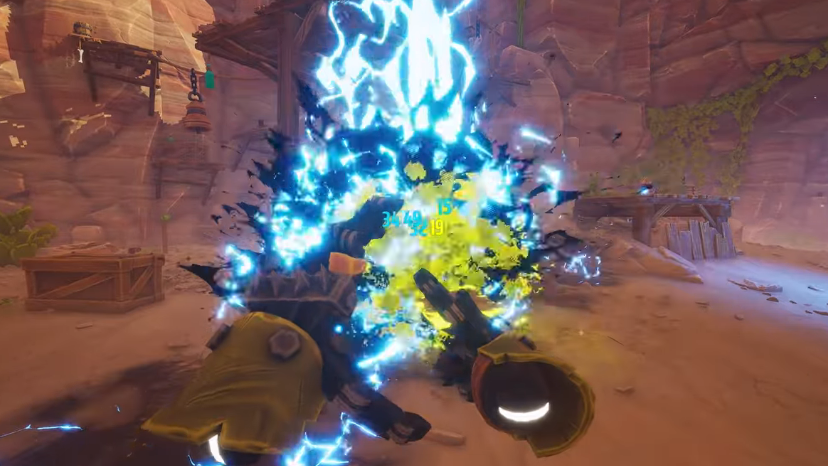
Acid into Elec: two detonation windows
Strikes or any offensive Elec spell cast into Acid puddles fires lightning across every connected puddle in the zone, then replaces the surface with lightning scars. Casting any Acid spell back onto an active lightning scar repeats the original lightning strike for another full wave of AoE. Running both elements gives you two separate burst windows from the same setup.
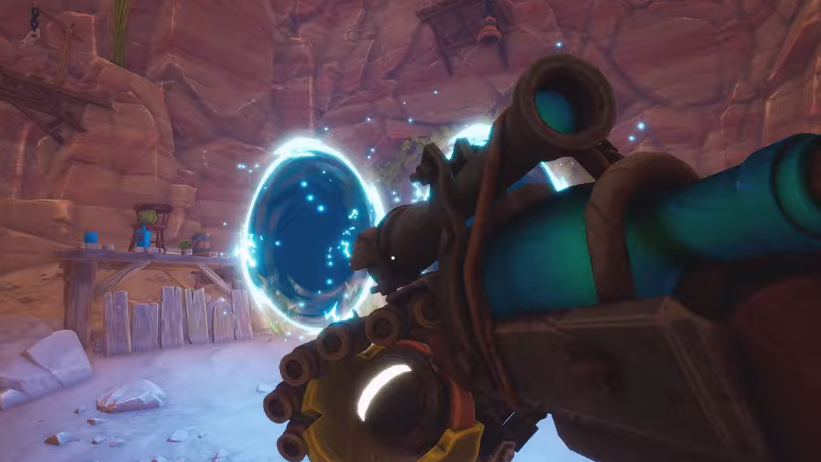
Portal duplication
Any spell projectile thrown through an active Portal gets duplicated. Placing two Portals next to each other before a damage window opens lets you fire one card and produce two casts. The card has to travel through the Portal, not be cast beside it, and the Portal must be active before the burst window, not placed in reaction to it.
Dual Tornado: the highest single-target burst
This is the strongest available burst for boss damage windows. Place two Portals next to each other near the boss path. Cast Geyser onto an Acid surface in line with the Portal. Throw an Elec arrow into the Geyser, then fire Firebeam through the Portal. The Portal duplicates the Firebeam, the Firebeam reacts with the Acid Geyser, and two fire tornadoes spin simultaneously on the same target.
Bubble on a fire puddle
Dropping Bubble onto an existing fire puddle spawns a traveling fire tornado that deals continuous damage as it moves. It is the most forgiving combo for newer players because the tornado handles the crowd while you reload or reposition. Bubble dropped onto an Elec puddle splits into three separate bubbles instead, which is the better pick when grouped enemies need shock pressure rather than fire damage.
Acid Rain plus Strikes
Casting Strikes into an active Acid Rain transforms the storm into a thunderstorm that hits random enemies continuously without any further targeting from you. This is the strongest passive AoE in extended fights because the thunderstorm stacks hits across multiple enemies while you focus on positioning.
Best loadouts by level bracket
Each spell tree has tiers unlocked at levels 1, 4, 12, 20, and 35. The loadouts below match what is actually available at each stage and stay competitive into harder content.
| Stage | Loadout | How it plays |
|---|---|---|
| Early (level 1 spells) | Strikes + Drain + Mino | Place Mino, throw Strikes through it for a six-pointed AoE, then Drain to charm enemies in the lightning. Heals, AoE, and crowd control from level 1. |
| Mid (level 4 spells) | Firebeam + Boing + Geyser | Drop Geyser into an oncoming wave, hit it with Firebeam for a fire tornado, use Boing for repositioning and burst mobility. |
| Late (levels 20 and 35) | Wisp + Thrower + Rain | Wisp jumps between enemies on kills, Thrower lays acid for Rain to corrode, Rain plus Strikes (when swapped in) becomes a self-targeting thunderstorm. |
| Boss burst | Portal + Geyser + Firebeam | Pre-place two Portals, cast Geyser onto Acid, fire Firebeam through the Portal for the Dual Tornado. |
| Solo survival | Bandito + Rain + any Voodoo | Bandito tanks the frontline, Rain controls space, Voodoo (Drain or Ritual) keeps you alive through chip damage. |

Solo versus co-op spell priorities
Solo runs reward space control and self-sufficiency. Acid Rain plus Strikes, Bubble on a fire puddle, and Firebeam on Acid Geysers all clear hordes without needing a teammate to set them up. Always include a Voodoo spell in solo loadouts so you generate candle healing from elemental puddles and survive chip damage between waves. Bandito is genuinely run-saving in solo because the golem absorbs frontline pressure while your spells cycle.
Co-op opens dedicated roles. A coordinated team running split functions outproduces any single player juggling setups alone.
- Setup player: Acid spells, chokepoint Geyser placement, surface coverage.
- Trigger player: Pyro or Elec casts timed to detonate Acid surfaces.
- Portal player: Maintains Portal positioning and throws high-value cards through during damage phases.
- Voodoo player: Generates candle healing during fights and saves Ritual for emergencies.
Doll and Ritual gain substantial value at higher difficulties in team play. Bandito is weaker in co-op compared to solo because more players already cover frontline pressure.
Spells to avoid building around
B-Tier picks are not useless, but they fall off as runs progress and should be swapped out once S-Tier alternatives unlock.
| Spell | Element | Why it falls off |
|---|---|---|
| Thrower | Acid | Strong early acid coverage, but Contagion and Rain outscale it on every metric later. |
| Mino | Cactus | Useful for traps and combos with Strikes, but inconsistent against fast or aerial enemies. |
| Decoyo | Cactus | Strong concept, but the lure breaks down in chaotic fights with multiple aggro sources. |
| Boing | Elec | Pure mobility with no damage. Worth a slot only if your build needs the repositioning. |
| Finger Guns | Fire | Fun burst replacement for your weapon, but less consistent than standalone Pyro spells. |
| Drain | Voodoo | Early sustain only. Combo trigger requires the target to already stand in elemental damage. |
One specialty build keeps Drain relevant much later. Pairing Strikes, Thrower, and Drain with the Life Pact, West Wizard, and Cantrip One-Trick perks stacks heavy cooldown reduction and self-healing, letting you spam those spells back-to-back. The Cantrip One-Trick legendary joker reduces cooldowns by 20% on spells with a base cooldown of 35 seconds or less, which is what keeps the rotation going.
Elemental weapons keep combos firing during cooldowns
Pyro, Acid, and Elec sidearms trigger the same surface reactions as spell cards. Assigning an elemental attribute to a secondary weapon means you can keep detonating Acid surfaces or building lightning scars while your spells are on cooldown. The Long Ranger paired with the Focus Shot joker reduces spell cooldowns by one second per kill, which compounds heavily with Bandito or Portal-heavy builds because both have long base cooldowns.
The fastest path through harder difficulties is to lock one element as your weapon enchant, build your three spell slots around setup, trigger, and utility roles, and treat Portal as the multiplier when you reach level 12 in the Elec tree. Once you unlock Contagion, Rain, or Bandito, the run becomes a question of how reliably you can land the trigger, not whether you have enough damage.