The Canyon map in Far Far West hides a four-medallion puzzle that opens a sealed cave full of gold, Elder Pickaxes, and the Pick Pick Joker. The catch is that everything has to happen in one run, since the medallions don’t carry over between attempts. Runs aren’t timed, so the route is more about navigation than speed.

The four Canyon medallions and their map positions
Each medallion is named after one of the sheriff’s outlaws and tied to a different mini-puzzle. The Sheriff’s own medallion sits next to the locked door, so it makes sense to save that pickup for last and avoid backtracking.
| Medallion | Trait | Map area | How you get it |
|---|---|---|---|
| Hawkeye’s | Focus | West | Shoot 10 glowing targets to open a safe |
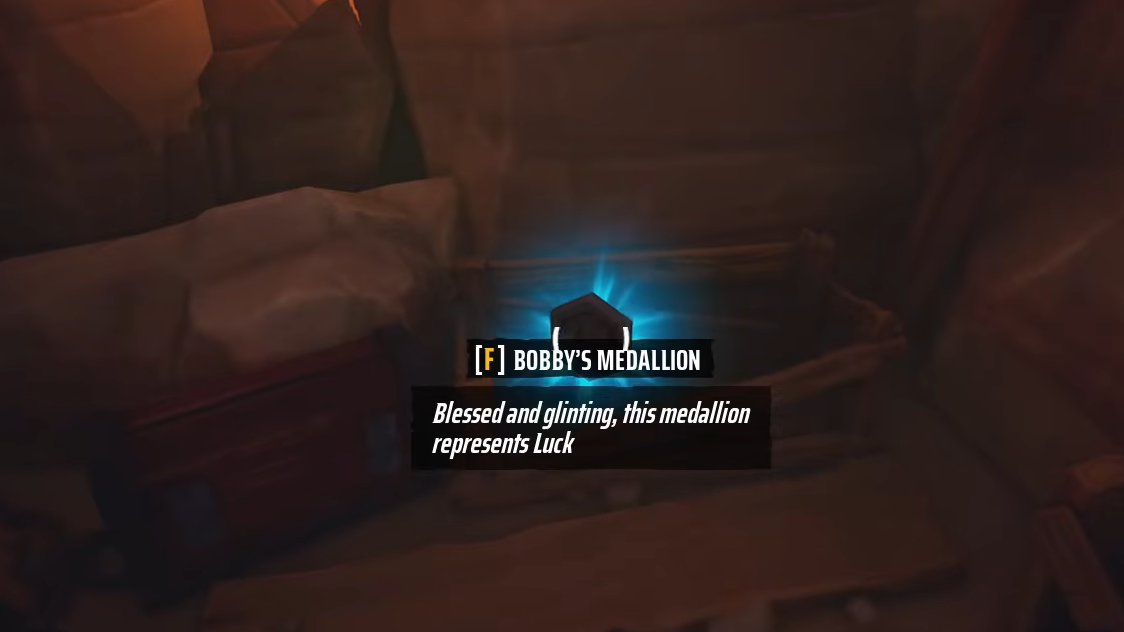
| Bobby’s | Luck | North | Use dynamite to blast through glowing rocks in a cave |
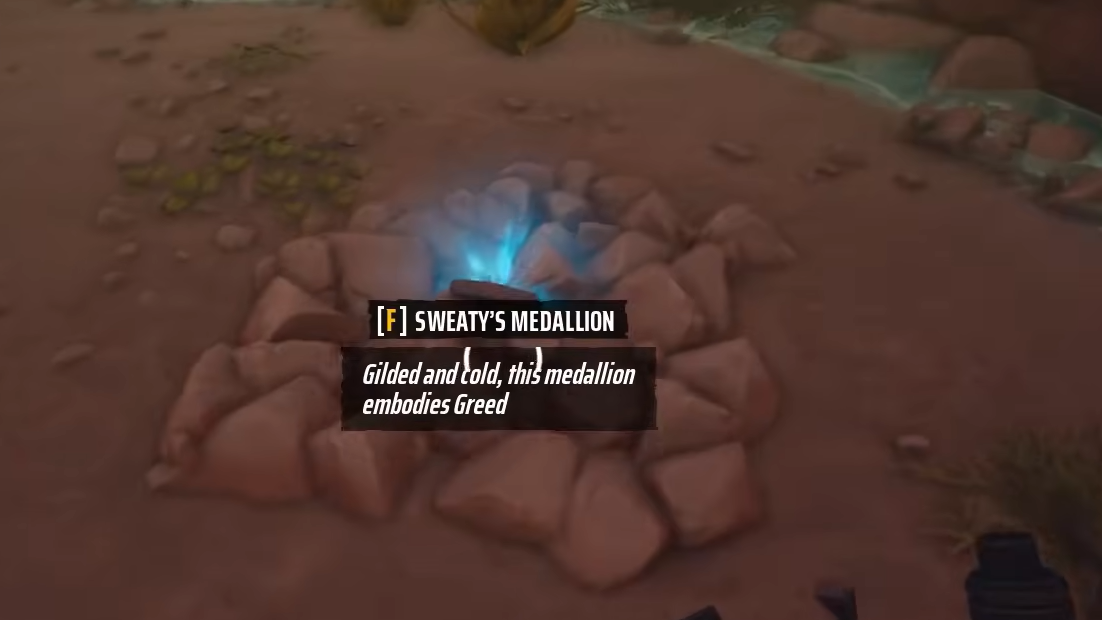
| Sweaty’s | Greed | East | Dig dirt mounds under a bridge with a shovel |
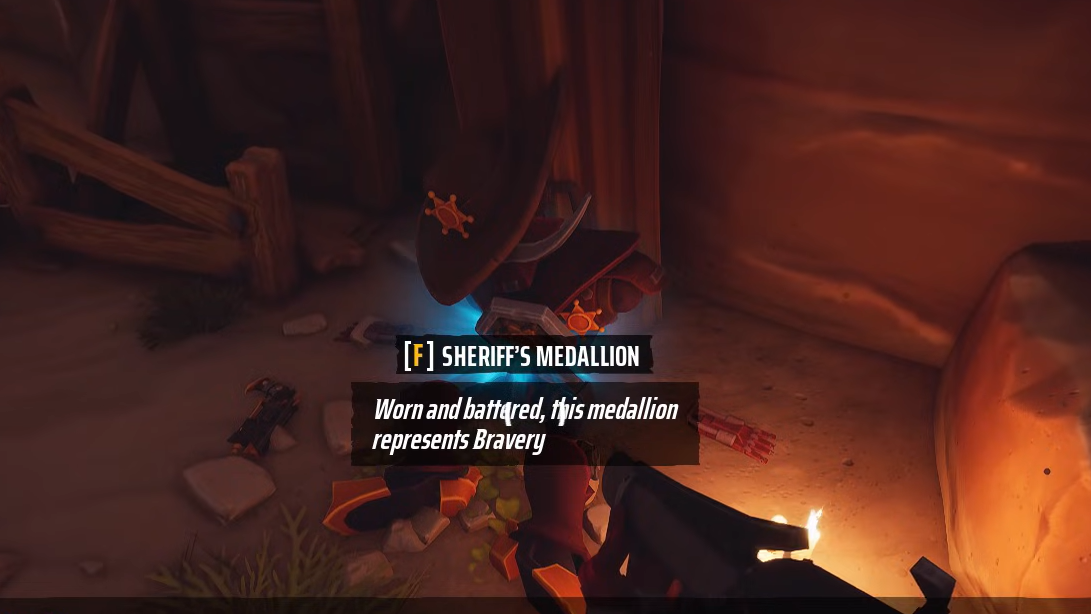
| Sheriff’s | Bravery | South-center cave | Pick up from the Sheriff’s body near the secret door |
A clean route is west, then north, then east, finishing at the cave in the south-center. That puts you next to the door with all four medallions in hand.
Hawkeye’s medallion: The 10-target safe (west)
On the western side of the map, you’ll find a safe with a counter set to 10. The counter ticks down for each bullseye target you destroy in the surrounding area. Targets have a faint blue glow and are scattered across rocks, ledges, wooden platforms, and high structures around the safe.
Order doesn’t matter, but a few targets only spawn after you hit others, so don’t assume the area is empty if your counter stalls. Stand near the safe and slowly scan high and low. The targets that tend to get missed are the ones tucked against dark rock walls or sitting near the hanging pipe and far ledges.
When the counter hits zero, the safe opens, and Hawkeye’s medallion is inside.
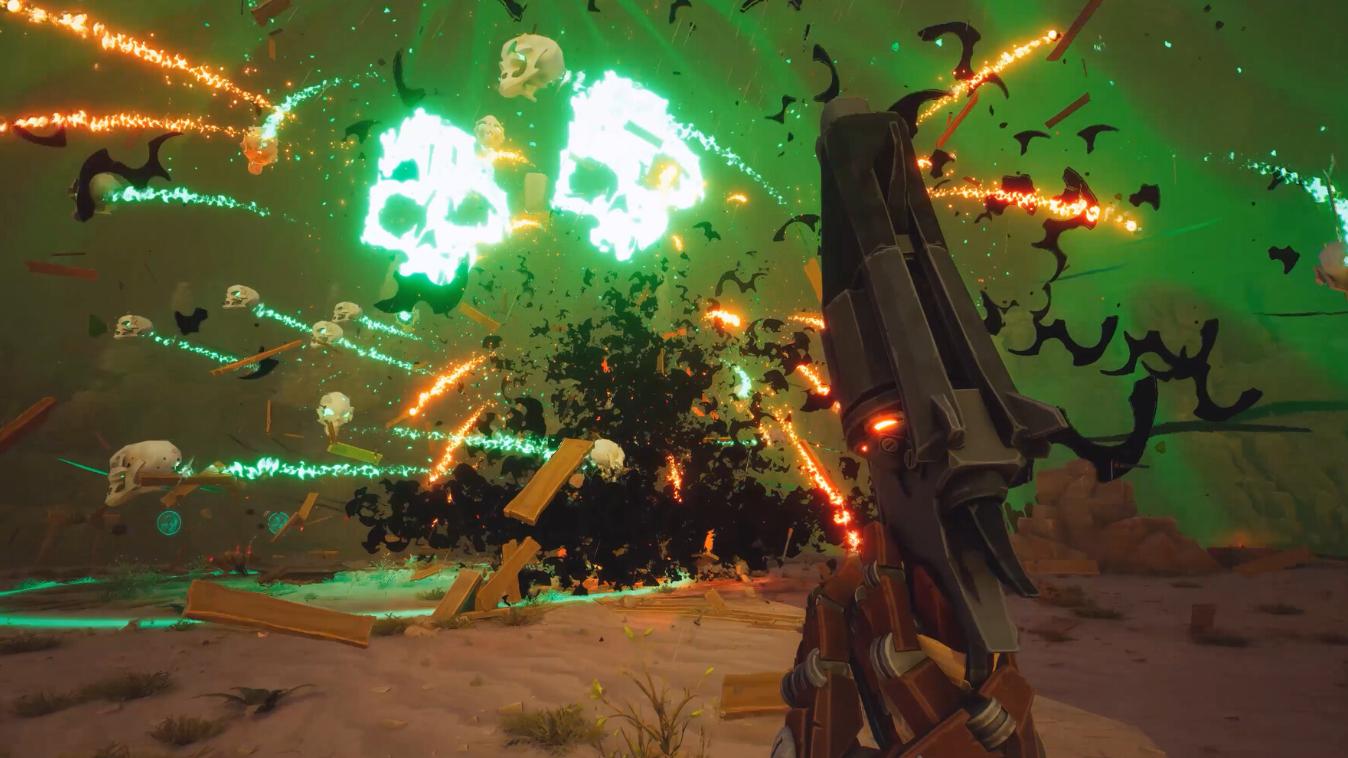
Bobby’s medallion: Dynamite cave (north)
Head to the northern point of the canyon and drop down to the bottom. There’s a cave there with Bobby’s body and a crate of dynamite next to it. The path forward is sealed by glowing rocks that only break with explosives.
You’ll need around seven sticks of dynamite to clear every blocked section. Light each stick before throwing it, and aim directly at the glowing rock face. Unlit dynamite or throws that miss the wall won’t do anything. The medallion sits at the very back of the cave once the path is fully open.
Sweaty’s medallion: Dig site under the bridge (east)
On the east side of the map, a small bridge has a zipline running down beneath it. Ride it to the bottom, and you’ll land near Sweaty’s body with a few shovels lying around. Pick one up and start digging the dirt mounds nearby.
Each mound either contains the medallion or a skull. The medallion appears to consistently spawn in the far-right pile, so dig that one first. If you hit a skull, keep digging the remaining mounds until the medallion turns up.
Sheriff’s medallion and the secret door (south-center)
The final medallion is in a cave above the south canyon, near the center of the map. The Sheriff’s body is right at the cave’s entrance with the medallion next to it, and the four-slot door is in the same cave. Grab the medallion, walk to the door, and insert all four. The door opens automatically once every slot is filled.
You’ll know the puzzle is solved when the door slides open and the cave behind it becomes accessible. There’s no separate confirmation prompt — the door opening is the verification.
What’s inside the cave
The reward room contains multiple Elder Pickaxes and several gold veins, with a significant mining-speed boost active inside. That makes the cave a strong stop for gold farming during the rest of the run. Grab a pickaxe, clear the veins, and continue mining gold elsewhere on the map while the buff is up.
Completing the puzzle also unlocks the Pick Pick Joker in the shop. It gives a 5 percent chance on hit to spawn damaging pickaxes on the target and takes up two Joker slots. A second copy bought for 300 Souls stacks the proc chance, which makes the Joker more useful on weapons with high fire rates.

Common reasons the puzzle fails to complete
| Problem | Likely cause |
|---|---|
| Safe won’t open | One or more of the 10 Hawkeye targets hasn’t been hit; check high ledges and dark walls |
| Dynamite doesn’t break rocks | The stick wasn’t lit, or the throw landed too far from the glowing surface |
| Dig only produces skulls | Wrong mound; keep digging others, prioritizing the far-right pile |
| Door won’t accept medallions | Fewer than four medallions collected, or one was lost on death earlier in the run |
Once you’ve run the route a couple of times, the full circuit takes only a few extra minutes per Canyon attempt. Between the Pick Pick Joker unlock, the Elder Pickaxe, and the boosted gold mining, it’s one of the more efficient detours on the map.