The Jungle is the most demanding map in Far Far West when it comes to clearing the Release All Souls challenge. Ten graves sit across vine corridors, ziplines, geyser-fed platforms, waterfalls, and a dynamite-locked cave. The locations themselves never move, but several pickups punish weak movement, so the build you bring matters as much as the route.
Quick answer: Find all 10 graves, then extract alive on the train. Souls only count when the run finishes, so dying after grave 10 wipes the progress.
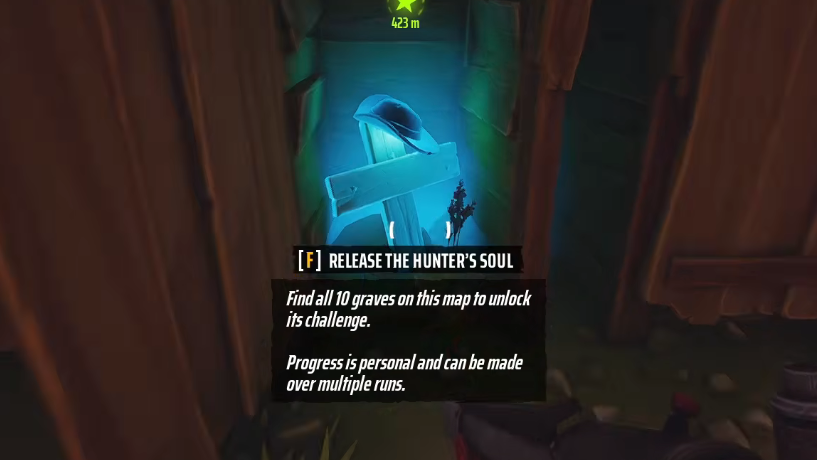
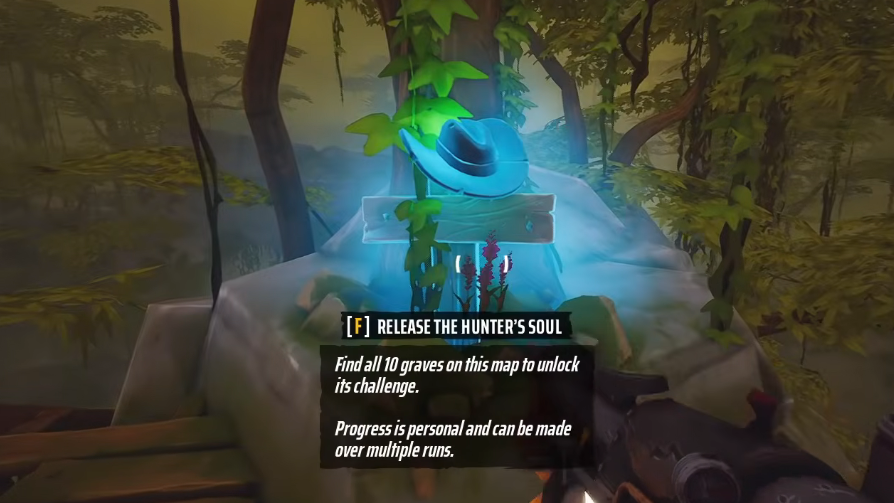
How graves work on the Jungle map
Each headstone holds a trapped hunter soul. Walking up to it and interacting releases the soul and adds to the run counter. The order is free, and you can split the work across multiple runs because partial counts are saved per map.
Difficulty has no effect on grave positions. Easy keeps enemy pressure low around the cliffs, vine swings, and trap corridor that account for most failed attempts, so it is the cleanest setting for completion.
All 10 Jungle grave locations
The numbering below follows a sweep from the northwest village down through the central jungle and out to the eastern shore, which avoids backtracking. Pick any order that fits your run.
| Grave | Area | Location |
|---|---|---|
| 1 | Northwest village | Inside the outhouse next to the cluster of three wooden huts. Use the middle hut as your visual anchor. |
| 2 | South of village | Climb the rope by the wooden structure, jump the gap across the rocks, then ride the zipline to the platform holding the grave. |
| 3 | Bridge and water spouts | Ride the water spout up, take the zipline under the arch, walk the bridge, then swing across the orange vines to the platform. Thunder Strike skips most of the route. |
| 4 | Stone temple ruins | Slightly east of grave 3, inside the catacomb-style ruins behind a stack of boxes near the temple wall. |
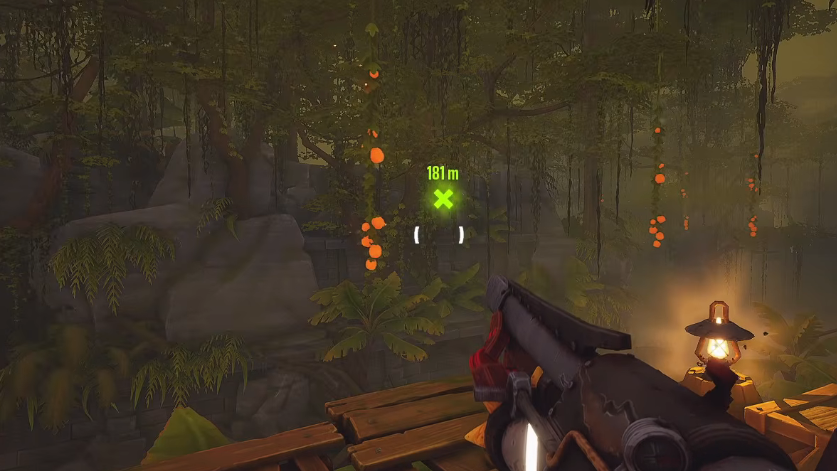
| 5 | Long vine chain | Roughly 180 meters of vine swings from the nearest platform. Six vines, then a wooden landing, five more vines, another landing, and three final vines to the grave. Missing a swing forces a long restart. |
| 6 | Center of the map | Take the zipline up, climb onto the rock face, cross the wooden bridge, and enter the open wooden structure at the end. This is the bridge from the Jungle teaser image. |
| 7 | North waterfall | Walk straight through the waterfall in the north of the map. The grave sits in the alcove behind the water. |
| 8 | Dynamite cave | Grab a stick from the nearby dynamite crate, blow the first glowing red-orange wall, take a second stick inside, push through the trap corridor, and detonate the second wall to reach the grave. |
| 9 | Crying skull rock | Far northeast, beneath the large skull formation with waterfalls pouring through its eye sockets. |
| 10 | Eastern shore | Drop down the cliff near the willow trees on the east side. The grave glows blue at the water’s edge. |
Grave 5: The 180-meter vine route
Grave 5 fails more runs than any other pickup on the Jungle map. The swing chain is long, and a single missed jump usually drops you back to the bottom of the canopy with no quick way back up.
Grave 8: Dynamite cave and trap corridor
Grave 8 is gated by two destructible walls and a short trap-lined hallway. The traps deal limited damage and stop firing once triggered, so a straight dash through is safe at full health on Easy.
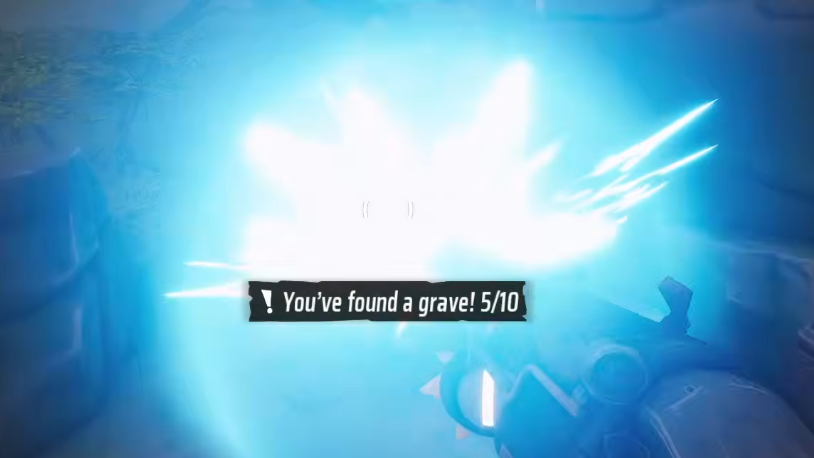
Verifying completion
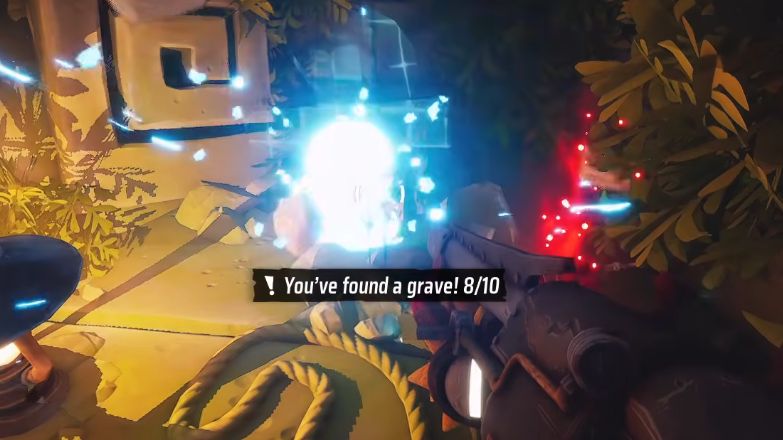
The run only counts when you board the extraction train and survive the ride out. The post-extraction summary screen shows the soul total for the map. A 10/10 reading there is the confirmation that the Release All Souls challenge has registered.
If the screen shows 9/10 after a thorough sweep, the most common miss is grave 5 (a failed vine swing that you assumed had triggered) or grave 8 (the second wall left intact because you ran out of dynamite mid-corridor). Re-check those two before retracing the whole map.
Why graves do not register
- You died before reaching the train. Grave progress is locked at extraction, not at pickup.
- You walked past the headstone without the interact prompt firing. The grave glow is subtle near the skull rock and the eastern shore, especially at night cycles.
- You blew only the first dynamite wall on grave 8. The grave sits behind the second wall, not the first chamber.
- You disconnected mid-run. Souls collected during a dropped session do not carry over.
Clearing the Jungle once teaches the layout well enough that future runs for Music Disc Fragments, the locked waterfall door, or any future challenge tied to the map move much faster. Keep the Chunky card off until you have grave 5 and grave 8 confirmed, then swap freely.