
Rough Hide is one of the first crafting materials you’ll encounter in Windrose, and it stays relevant deep into progression. The tutorial mission introduces it early, but the real challenge is gathering enough of it — every armor piece, most weapon upgrades, and your backpack expansion all pull from the same supply. Expect to need hundreds over the course of a playthrough.
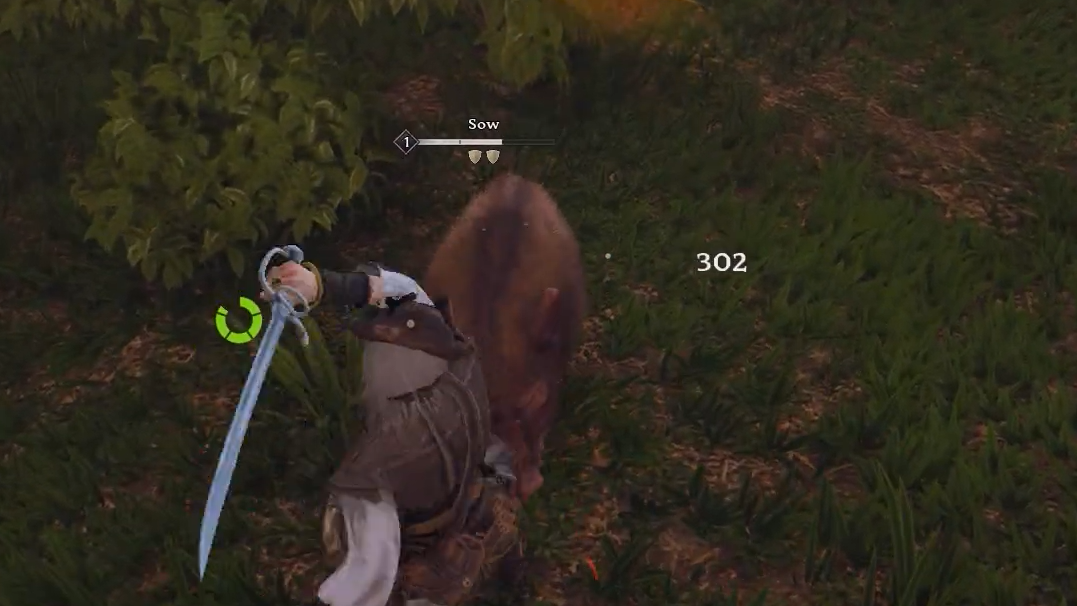
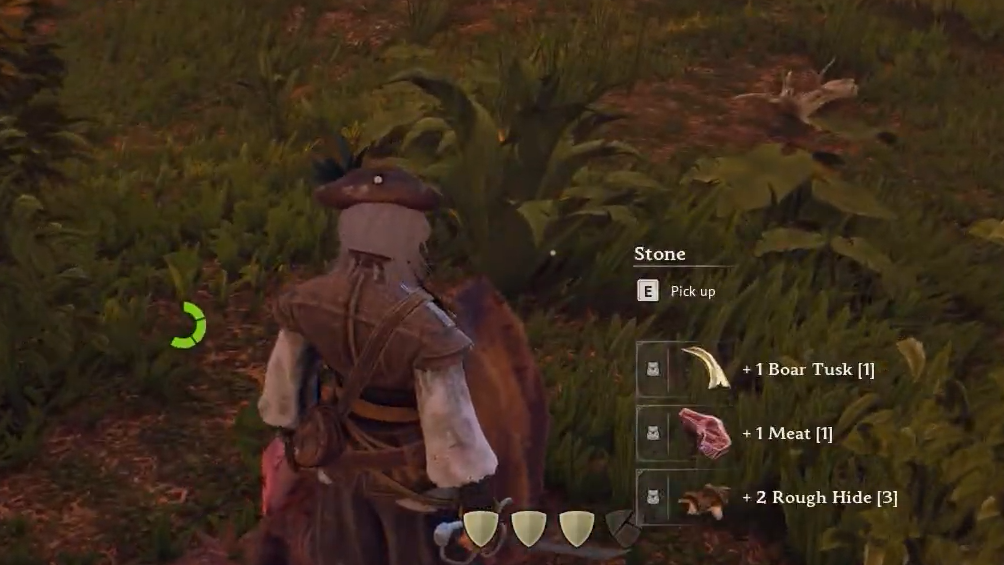
Quick answer: Kill boars in the Coastal Jungle biome. Level 2 boars are the fastest to farm and drop Rough Hide alongside Meat and Animal Fat. Each boar yields roughly 1 Rough Hide at early levels.
Rough Hide drops exclusively from boars
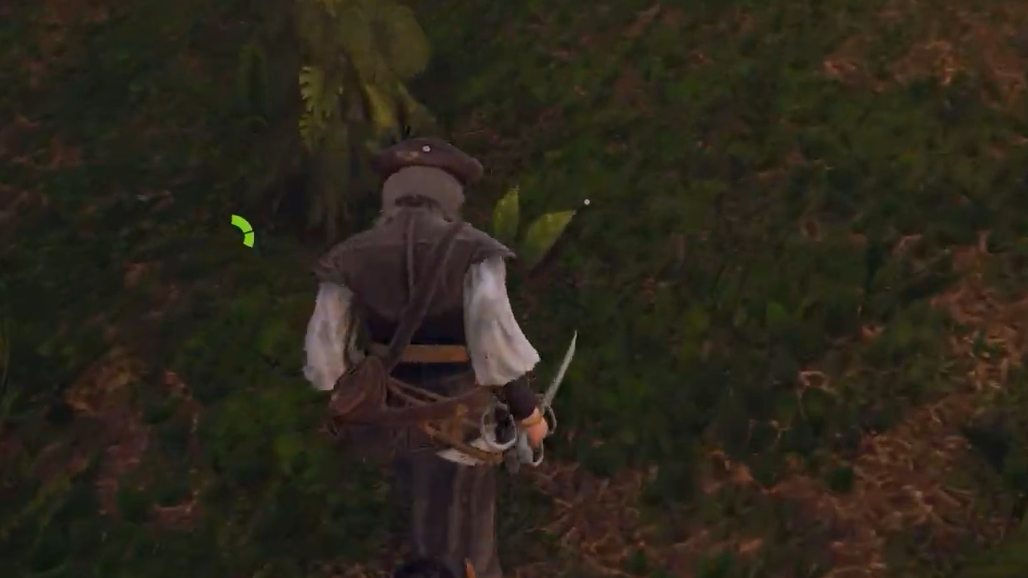
There is no mining node, chest, or vendor that provides Rough Hide. The only way to obtain it is by hunting boars. Windrose generates its worlds procedurally with over a hundred seeds, so the exact layout of your island will differ from someone else’s. What stays consistent is the enemy type — boars spawn in the Coastal Jungle biome on your starting island, typically in forested areas rather than along the shoreline.
Boars appear both inside the scattered ruins throughout the jungle and out in the open among the trees. Once you locate a group, mark the spot on your map. Boars respawn after roughly one in-game day, so that pin becomes a reliable farming loop you can revisit.

Level 2 vs. Level 3 boars
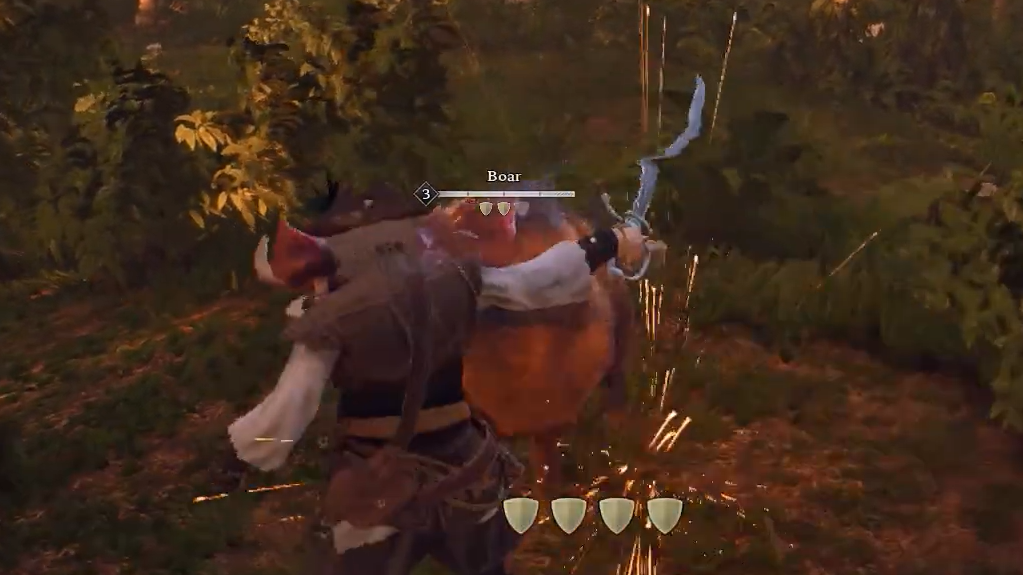
Not every boar in the Coastal Jungle poses the same threat or takes the same effort to kill. The two tiers you’ll run into early on behave differently enough that it matters which ones you prioritize.
| Boar tier | Hits to kill (sword) | Drops | Farming efficiency |
|---|---|---|---|
| Level 2 (Sow / Boar) | ~2 | Rough Hide, Meat, Animal Fat | High — fast kills, same drop pool |
| Level 3 | ~5–6 | Rough Hide, Meat, Animal Fat | Lower — more time per kill for the same Rough Hide yield |
If your only goal is stacking Rough Hide quickly, Level 2 boars are the better target. They go down in two swings and still drop the material every time. Level 3 boars aren’t worth ignoring if they’re in your path, but deliberately seeking them out slows down your farming rate for no extra reward.
Dangerous boar variants on later islands
Your starting island may only have a small cluster of boars, sometimes just one spawn location. As you progress through the main quest and sail to new islands, you’ll encounter denser boar populations along with two tougher variants that demand different tactics.
Charging Boars lock onto a player and rush forward with an unblockable attack that deals damage and knocks you back. The only reliable counter is jumping at the exact moment the charge connects — blocking won’t help. Savage Boars flail wildly in a short area-of-effect, forcing you to back off and wait for the animation to finish before re-engaging.
Both variants still drop Rough Hide, and islands with multiple boar spawns tend to also contain other valuable resources like Mystic Orchids and Sweet Potatoes. When you find an island like that, it’s worth setting up a Fast Travel Bell there to save on sailing time and Homeward Journey potions.
What Rough Hide is used for
The demand for Rough Hide scales quickly once you start crafting and upgrading. It feeds into nearly every early-game progression path, and the numbers add up fast — especially if you’re playing with a group on a shared server.
| Use | Details |
|---|---|
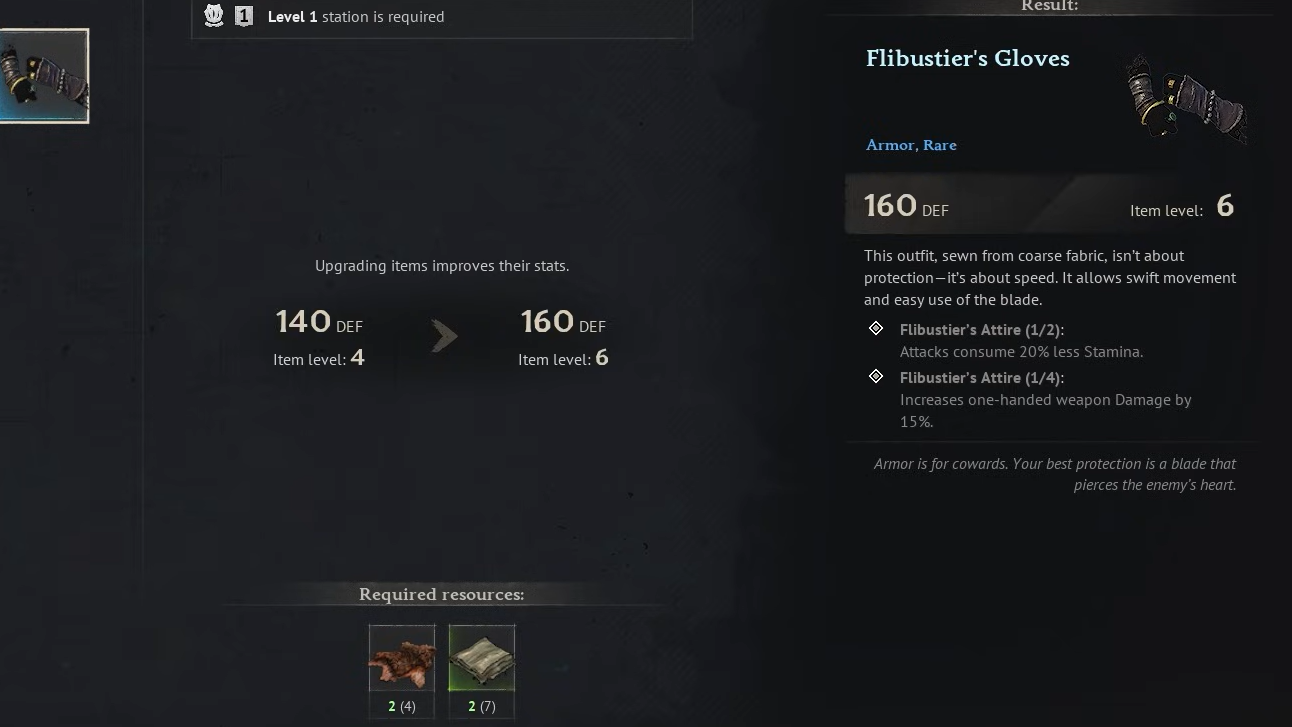
| Basic armor crafting | Each piece requires 2–3 Rough Hides to make |
| Armor upgrades | 2 additional Rough Hides per upgrade level, per piece |
| Weapons (e.g., Saber) | Required for both initial craft and upgrades |
| Survivor’s Boots | Early-priority footwear craft |
| Sailor Backpack | Needed to expand your inventory/backpack space |
| Ship boarding gear | Required once you unlock the Ketch ship |
| Rarer gear upgrades | Higher-tier equipment still uses Rough Hide for upgrades |
A fully upgraded set of basic armor for a single character can consume upward of 60 Rough Hides on its own. Factor in weapons, the backpack, and ship gear, and you’re looking at hundreds of hides over the course of a full playthrough. Multiplayer servers multiply that demand by every player who needs gear.
Efficient farming strategy
Rough Hide sits at the center of Windrose’s early and mid-game crafting loop. The material itself isn’t rare per drop — every boar gives you one — but the sheer volume you need means efficient farming matters from the start. Find your boar spawns early, mark them, and build a travel route between the best islands. Your armor, weapons, and backpack all depend on it.