Film – MANISH is a Type 2 Anomaly boss in Neverness to Everness (NTE) that appears during Prologue II of the main story and later returns as a repeatable High-Risk Commission tied to the Brand Anniversary Anomaly Commission. The fight is the first real skill check in the game, leaning on Critical Dodges, Parries, Break Gauge management, and Esper Cycles inside the Film Orbit Studio arena.
Quick answer: Beat Film – MANISH during Prologue II with the fixed party (Esper Zero, Sakiri, Nanally, Adler), exploit its Cosmos weakness, Critical Dodge the flash-telegraphed attacks, Parry the red-circle slams when they turn yellow, and burst it during each Break window with combined and individual Ultimates.
Where to find Film – MANISH
The first encounter is mandatory and locked to Prologue II of the main story, so it cannot be skipped if you want to progress. After the prologue, Film – MANISH becomes accessible again through the Brand Anniversary Anomaly Commission, which appears on the Anomaly Commissions screen on the map. Defeating it inside the back room finishes that commission.
Once the Brand Anniversary commission is cleared, Film – MANISH can be replayed at scaling difficulties from the High-Risk Commissions tab. You need to reach Hunter Lv. 24 before that tab unlocks, and outside of these two routes, the boss does not appear elsewhere in the world.
Boss details and rewards
| Field | Value |
|---|---|
| Boss type | Film – MANISH, Type 2 Anomaly |
| Required for | Prologue II main quest |
| Optional? | No |
| Weakness | Cosmos |
| Replay path | Brand Anniversary Anomaly Commission, then High-Risk Commissions (Hunter Lv. 24+) |
| First-clear rewards | 1× Rover A1, 1× Shiny Days, 10× Expansion Core, 15× Chaotic Dye, 20× Elite Hunter Guide, 30× Manhole Boss, 60× Annulith, 900× Hunter EXP, 60,000× Fons, 900,000× Beetle Coins |
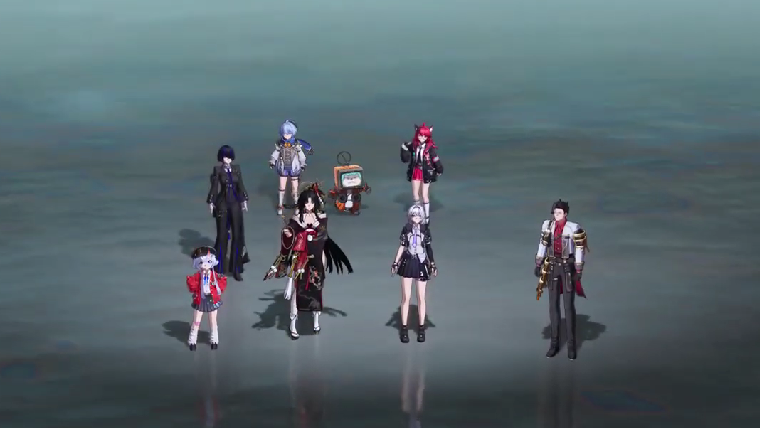
Recommended team for Film – MANISH
The Prologue II version of the fight uses a fixed party of Esper Zero, Sakiri, Nanally, and Adler, so no team building is required for the story clear. Sakiri and Nanally carry most of the damage, and the script gives you the gauges you need if you stay aggressive between dodges.
For the repeatable High-Risk version, two compositions work well around the Cosmos weakness:
| Role | Blossom team | Remora team |
|---|---|---|
| Main DPS | Nanally | Hathor |
| Sub-DPS | Hathor | Esper Zero |
| Sub-DPS / Support | Esper Zero | Skia |
| Support / Healer | Edgar | Edgar |
| Esper Cycles enabled | Blossom (Cosmos + Anima), Remora, Charge | Remora (slows the boss), Charge |
Pairing a Cosmos unit with an Anima unit triggers Blossom for steady damage into the weakness. A Lakshana unit, such as Hathor enables Remora to slow Film – MANISH and Charge to refund Ultimate Energy, which keeps your burst windows online for each Break phase. Edgar covers healing without losing Blossom uptime.
How the fight flows
Film – MANISH cycles between telegraphed special attacks and basic combos, and the encounter rewards reactive defense more than raw aggression. Almost every dangerous move is set up by either a flash of light (dodge) or two red circles (parry when they meet and turn yellow). Mixing these correctly drains the Break Gauge fast.
The whole fight is structured around three Break windows. The first comes from chaining Critical Dodges and Parries on its early specials. The second is gated behind two clones of your active character. The third opens up after the train sequence near the end. Each Break lets you fire a combined Ultimate followed by individual Ultimates for huge HP chunks.
Attack patterns and how to counter them
| Attack | Tell | Counter |
|---|---|---|
| Flash Film | Two film squares appear at its sides and emit a bright flash before spikes burst out | Evade on the flash for a Critical Dodge, then follow up |
| Plunging Attack | Boss flies up; two red circles converge around it | Stand still and attack the moment the circles meet and turn yellow to Parry |
| Five Film Attack | Five film squares form behind it, followed by a blinding flash | Evade toward the boss on the flash and chain follow-up hits |
| Projectiles | A single film square appears beside it and hurls a vending machine or vehicle | Evade just before impact for a Critical Dodge, or destroy the projectile mid-air |
| Spinning Attack | Boss stays low; two red circles appear before it spins | Critical Dodge incoming film strands while closing in, then Parry on the yellow flash |
| Channeling AoE | Flies straight up and gathers energy | Watch the ground circles and dodge each strike out of the marked zones |
| Grid Slam | A large grid pattern paints the floor | Evade out of the grid, wait for the slam, then dash back in to attack |
| Film Bullet Hell | Sky fills with film lines after the first Break recovery, vehicles fly in | Evade just before each vehicle connects to Critical Dodge and build gauges |
| Character Clones | Two clones of your active unit (e.g., Sakiri) spawn | Focus one at a time with basic attacks and skills; avoid the faint film trails on the ground |
| Trains (final phase) | Sky turns red; portals open with trains barreling through | Dodge sideways for waves 1 and 2; on wave 3, evade into the gap between the two trains |
| Teleport Projectiles | Boss teleports around and rapidly throws vending machines | Critical Dodge each volley while running toward the boss to close range |
The frontal laser is the single attack that punishes inattentive play hardest. It applies a slow on hit and chains directly into a follow-up combo, so reading the predictive lines and dodging perpendicular to them is more important than getting an extra attack off.
Break Gauge and Ultimate priority
Film – MANISH has a large health pool, so chip damage alone will not finish it within a comfortable time. The fastest path is to pile damage onto the Break Gauge by Parrying the red-circle attacks (Plunging Attack, Spinning Attack) and Critical Dodging the flash specials. Both produce extended counter windows where basic attacks and skills add Break damage on top of HP damage.
When the Break triggers, fire the combined Ultimate first for the biggest single hit, then chain individual Ultimates from each on-field unit before the recovery animation ends. Saving Ultimates for these windows is more efficient than spending them on basic attack rotations.
Clone phase tips
The clone phase mirrors your currently selected character, so the moveset depends on who you are piloting. Stunlocking one clone with basic attacks while occasionally dodging the other is reliable, and Skills or Ultimates speed it up significantly. After the first clone falls, faint film trails start appearing on the ground; step off them quickly because they detonate after a short delay for heavy damage.
How to know it worked
For the Prologue II clear, the encounter ends with a defeat cutscene, and the Film Orbit Studio is restored, which advances the main story automatically. For the High-Risk Commission, the commission entry is marked complete on the Anomaly Commissions screen, and the listed reward bundle is delivered. If neither happens, the run did not register, usually because the boss recovered HP before the final hit landed or the commission timer expired.
Note: High-Risk difficulty scaling raises HP and damage but does not change the attack list, so the same dodge and parry timings carry over from the story version.