
Sudden drops in available storage on the C drive have become a frequent headache for users after installing Windows 11 24H2. System files, update caches, and hidden folders can quickly consume gigabytes, leaving little room for daily tasks and even causing performance slowdowns. Addressing this issue requires a combination of disk management, cleanup tools, and, in some cases, deeper troubleshooting.
Extend C Drive Space Using a Partition Manager
When built-in cleanup tools fail to reclaim enough space, extending the C drive partition is often the most effective solution. This method increases available storage without deleting existing files or applications.
Step 1: Download and install a trusted partition manager such as EaseUS Partition Master or 4DDiG Partition Manager. These tools allow you to resize, merge, or move partitions safely.
Step 2: Launch the partition manager and locate your system (C:) drive in the disk map. If you have unallocated space or a neighboring drive with free space, select the option to extend or resize the C drive.
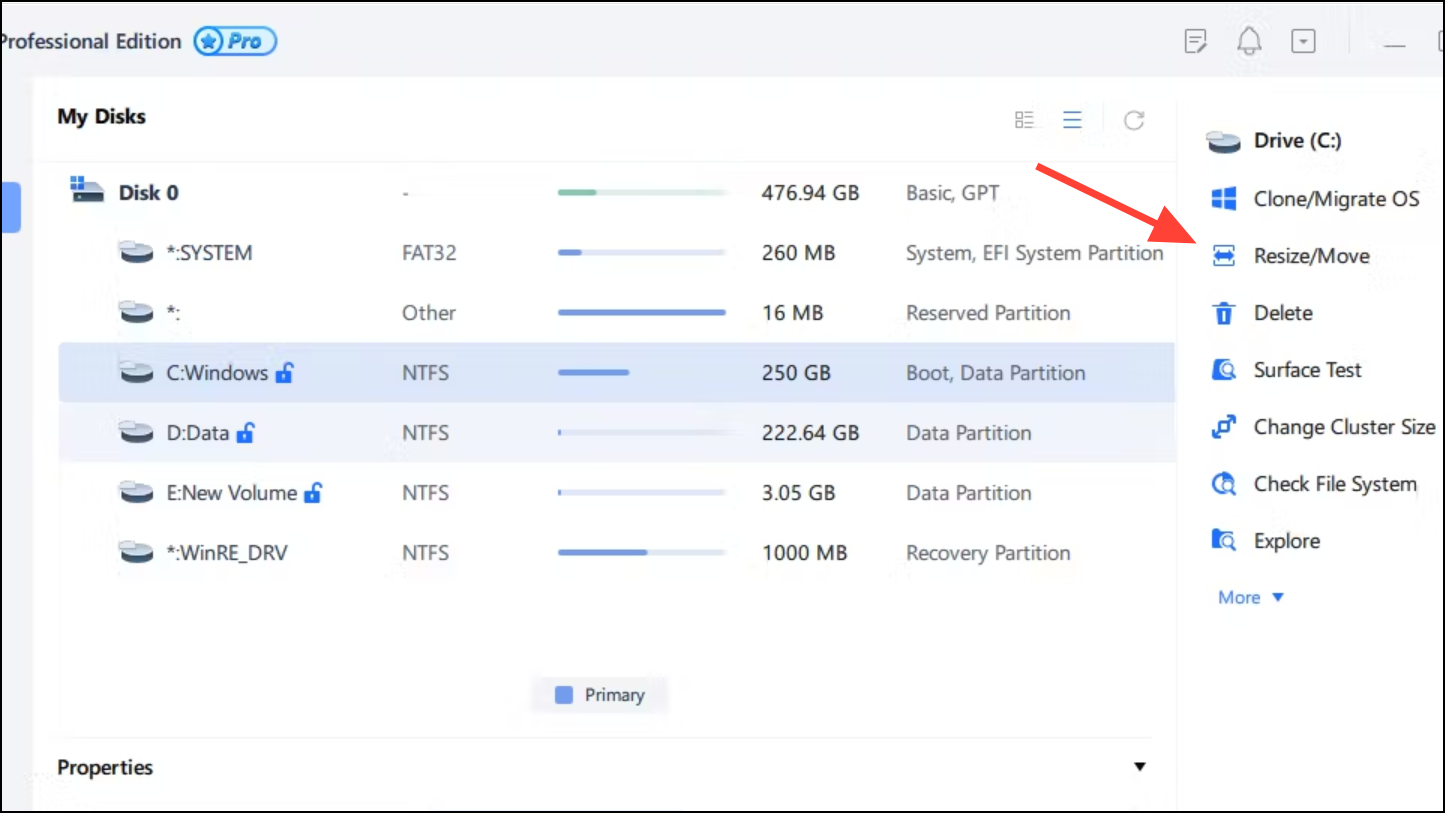
Step 3: Drag the partition border to include the unallocated space or shrink an adjacent partition to free up space for C. Confirm your choices and apply the changes. The software may prompt a restart to complete the process.
Expanding the C drive directly addresses chronic low disk space and avoids constant manual file deletions.
Clear Windows Update and System Cache Files
Windows updates and system maintenance tasks often leave behind temporary files, update caches, and even complete backups of previous Windows versions. These can silently occupy tens of gigabytes.
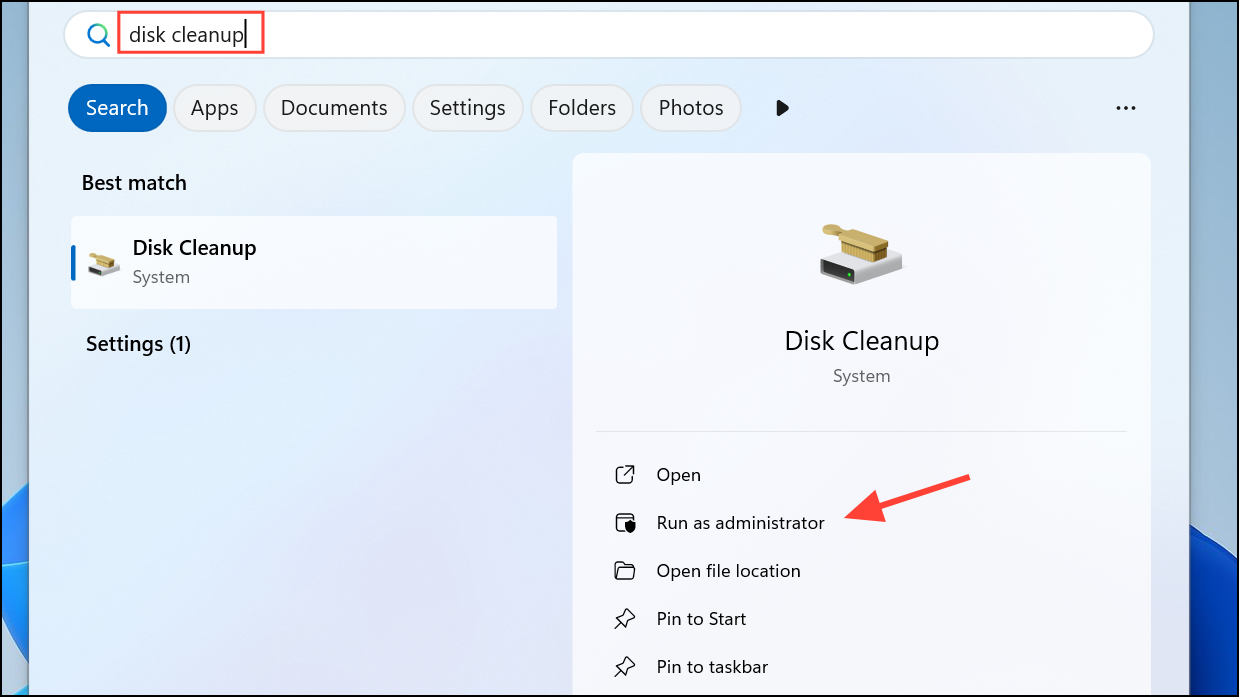
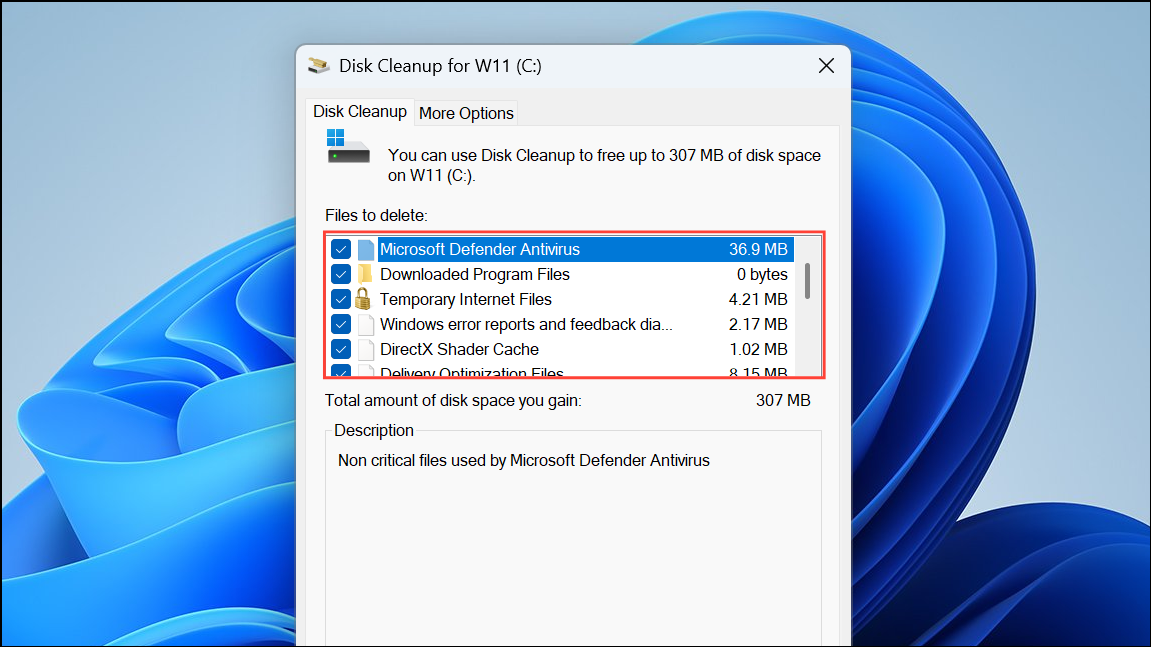
Step 1: Open Disk Cleanup as an administrator by searching for it in the Start menu, right-clicking, and selecting "Run as administrator".
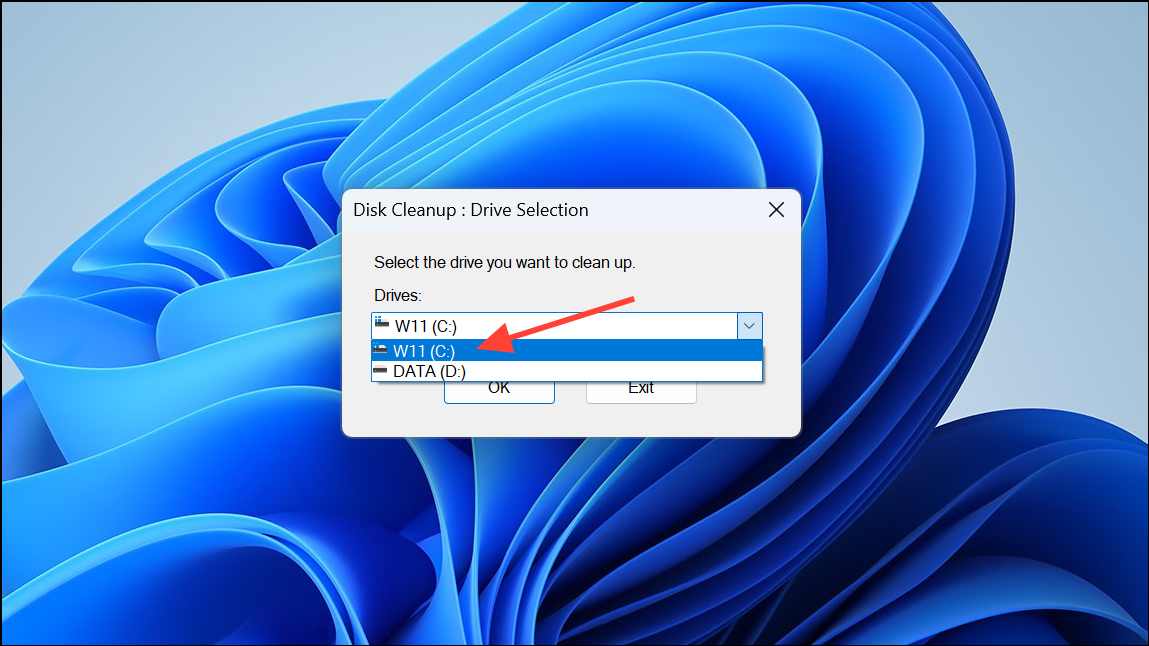
Step 2: Select the C: drive from the dropdown list and let the tool scan for files.
Step 3: Click "Clean up system files" to reveal additional cleanup options, including Windows Update Cleanup, Previous Windows Installations, and Delivery Optimization Files.
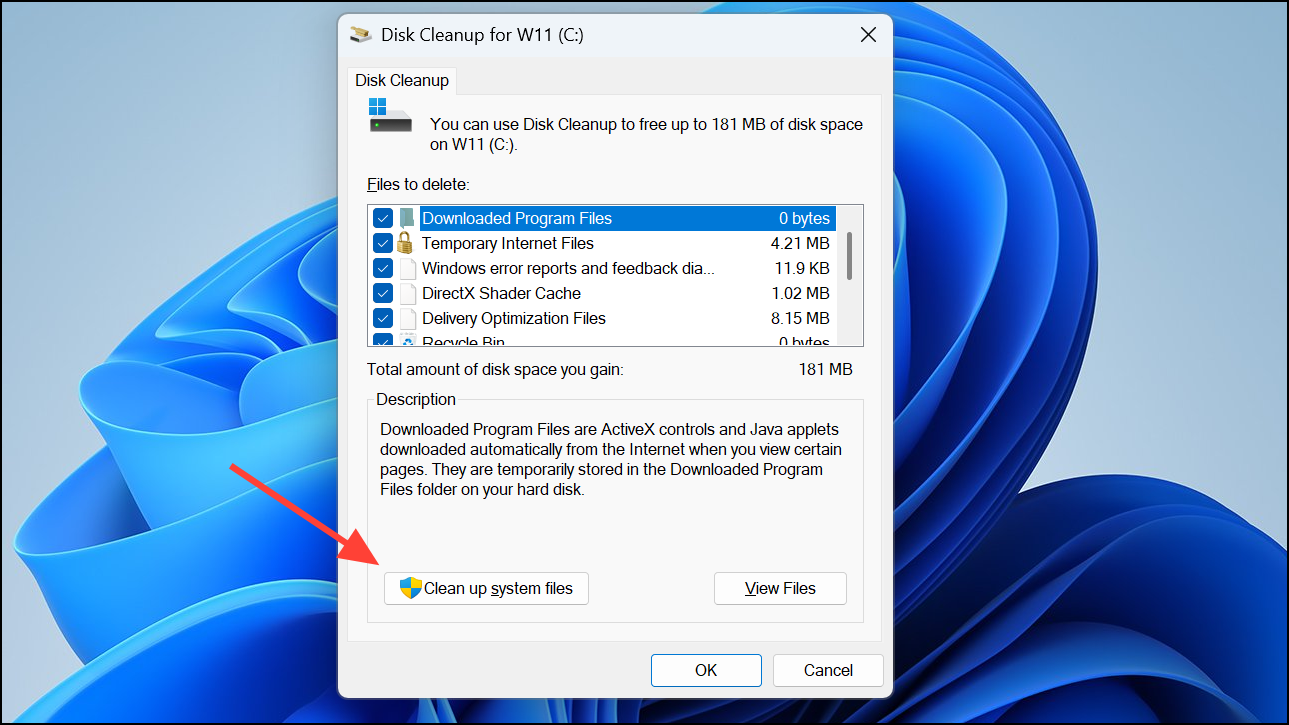
Step 4: Check all relevant boxes and confirm deletion. This step can free up substantial space, especially after a major feature update like 24H2.
For more persistent update cache issues, you can manually stop update services and delete the contents of C:\Windows\SoftwareDistribution\Download and C:\Windows\Installer. Use caution, and restart the update services afterward.
Disable Hibernation to Reclaim Reserved Space
Windows reserves disk space for the hibernation file, which can take up several gigabytes (often matching your RAM size). Disabling hibernation instantly frees up this space.
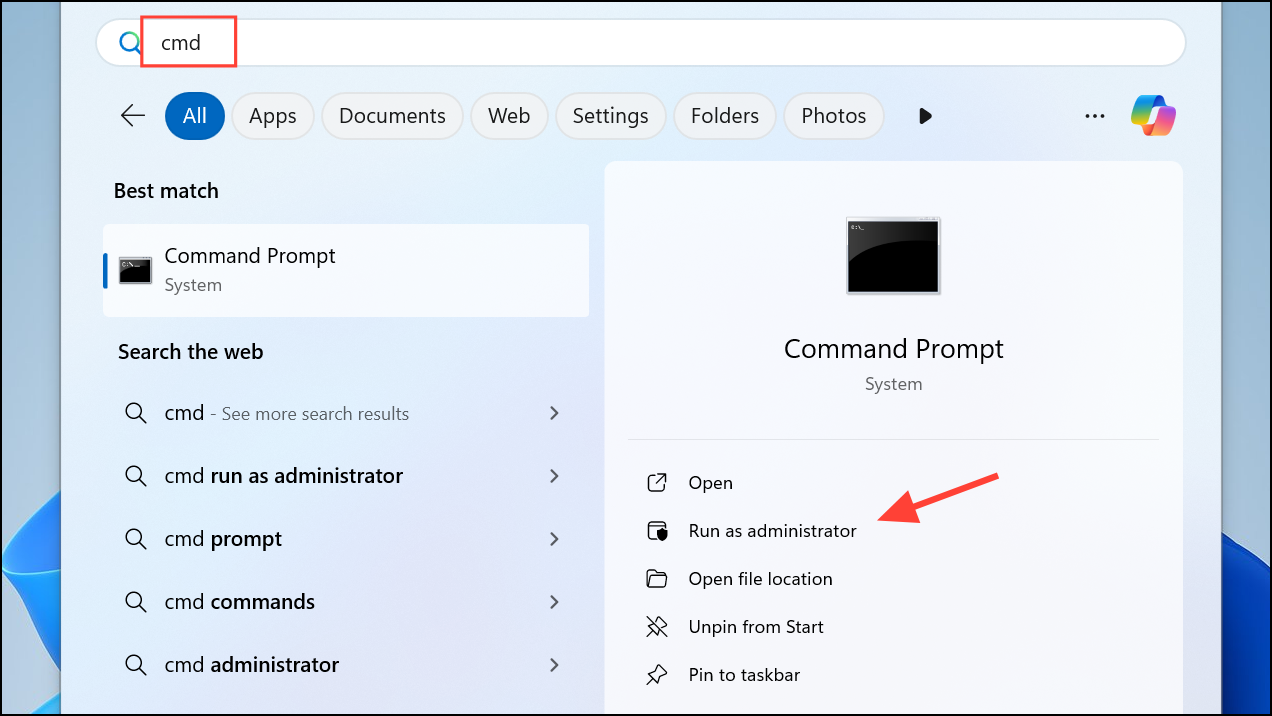
Step 1: Open an elevated Command Prompt by searching for cmd, right-clicking, and selecting "Run as administrator".
Step 2: Enter the following command and press Enter:
powercfg /h off
This command disables hibernation and deletes the hibernation file, making the reserved space available for use.
Remove System Restore Points and Reduce Allocation
System restore points can accumulate over time and consume a significant portion of your C drive. Adjusting their storage allocation or deleting old points can recover space.
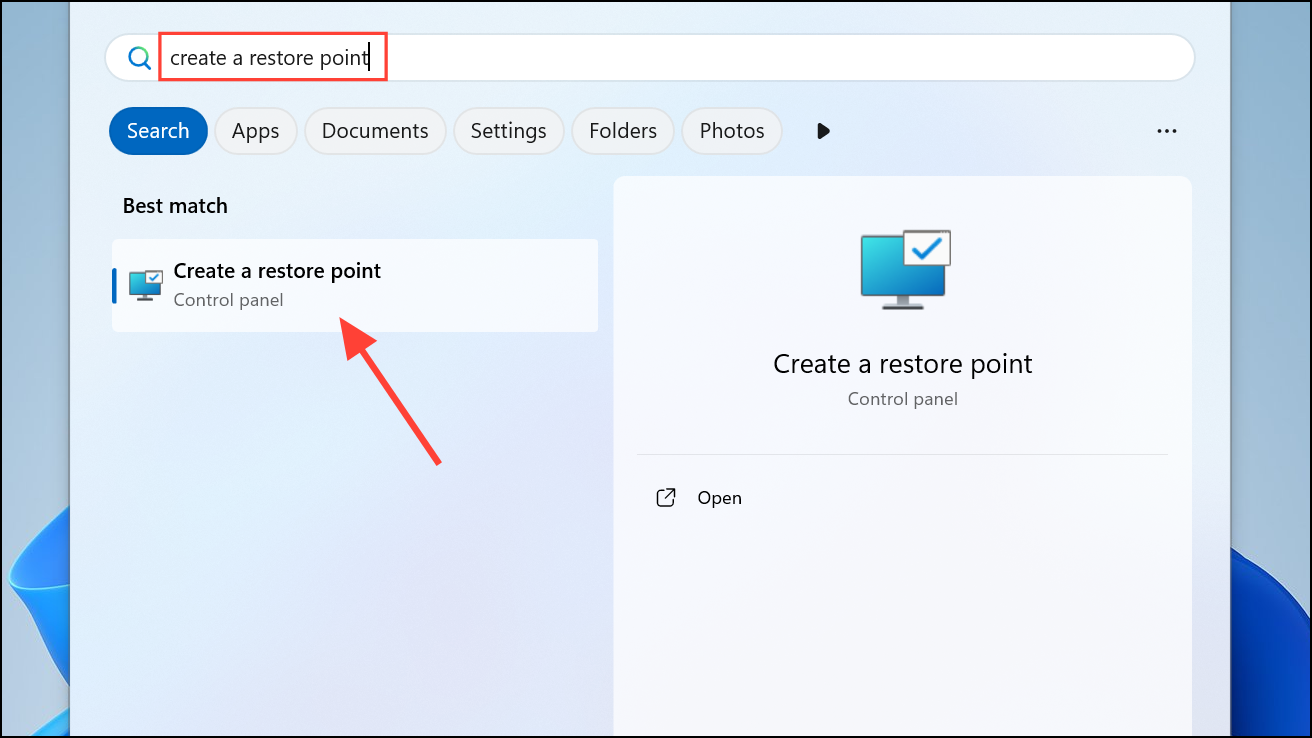
Step 1: Type Create a restore point in the Windows search bar and select the matching result.
Step 2: Under the System Protection tab, select the C: drive and click "Configure".
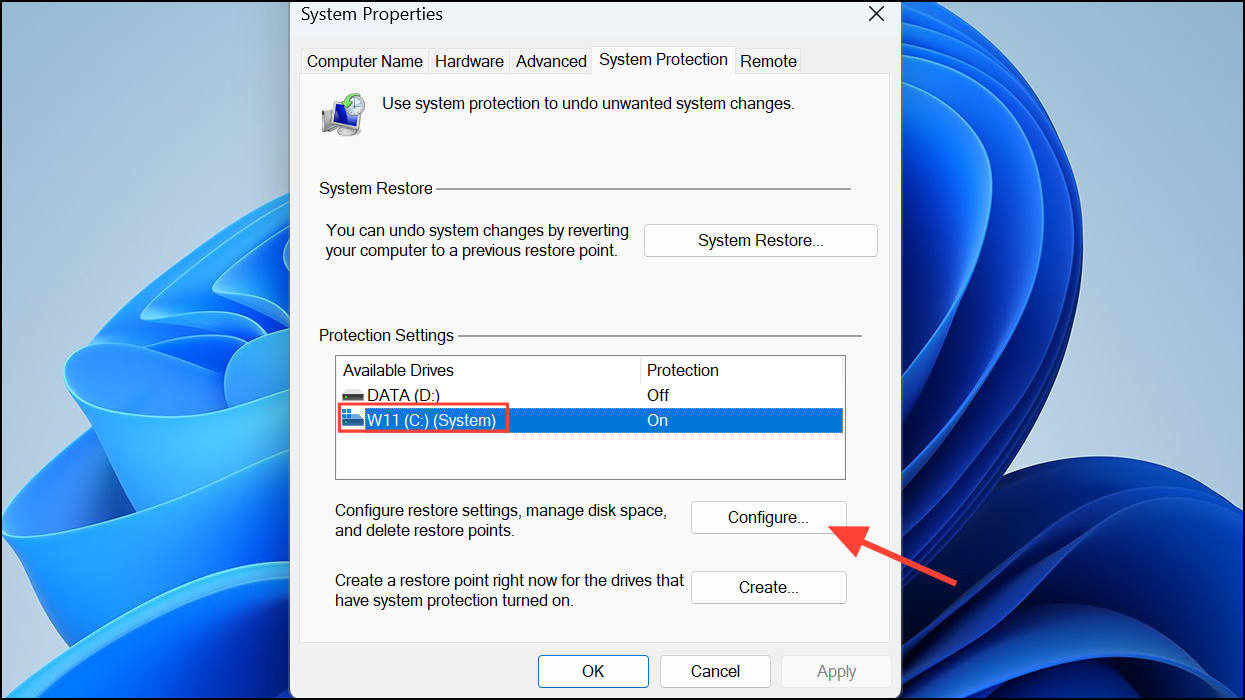
Step 3: Click "Delete" to remove all restore points, or adjust the "Max Usage" slider to limit how much space is reserved for future restore points.
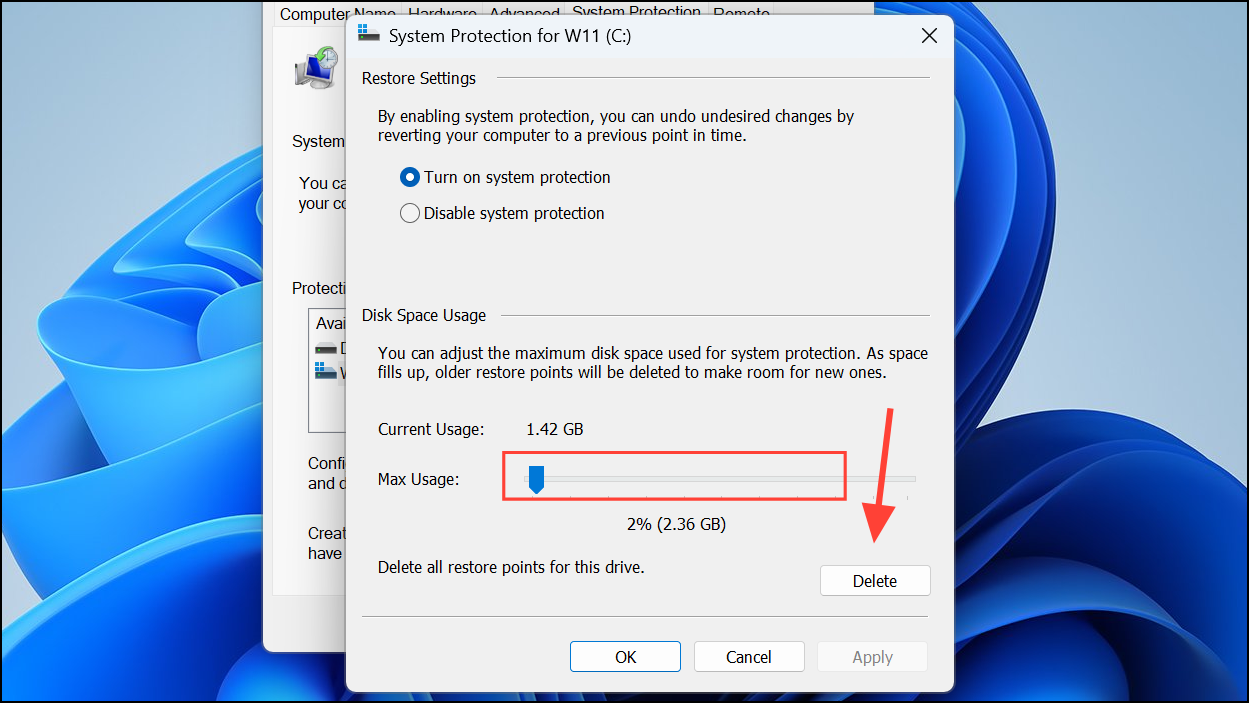
Reducing or clearing restore points provides immediate relief from unexpected space loss.
Scan for Malware and Hidden Junk Files
Malware, rogue installers, and poorly-behaved applications can secretly generate massive temporary files or fill hidden folders. A comprehensive scan ensures the space isn’t being consumed by malicious software.
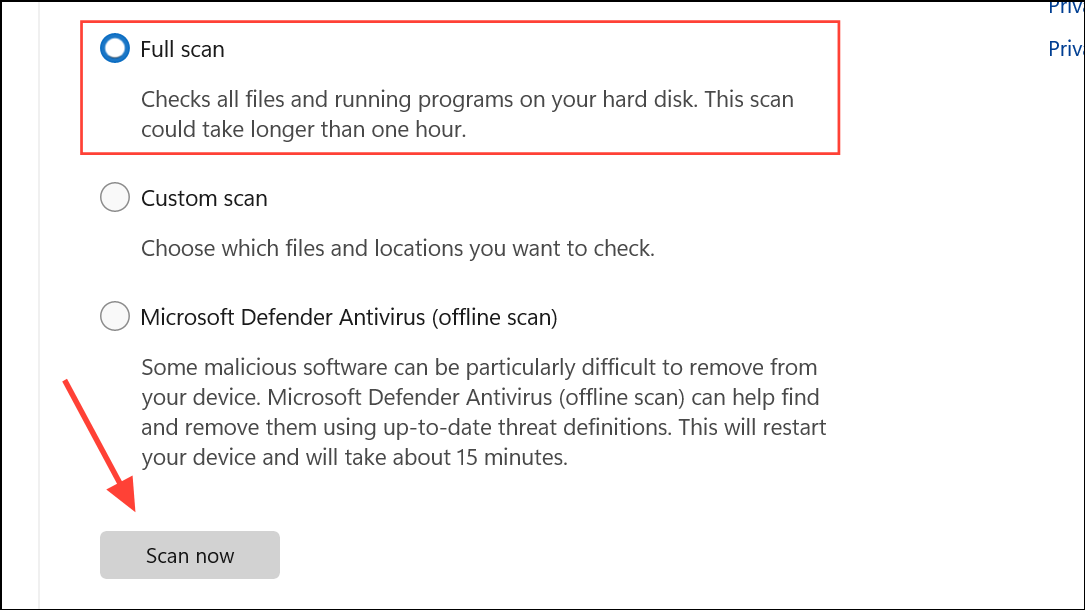
Step 1: Open Windows Security from the Start menu and select "Virus & threat protection".

Step 2: Click "Scan options" and select "Full scan". Start the scan and allow it to complete. Remove any threats found.
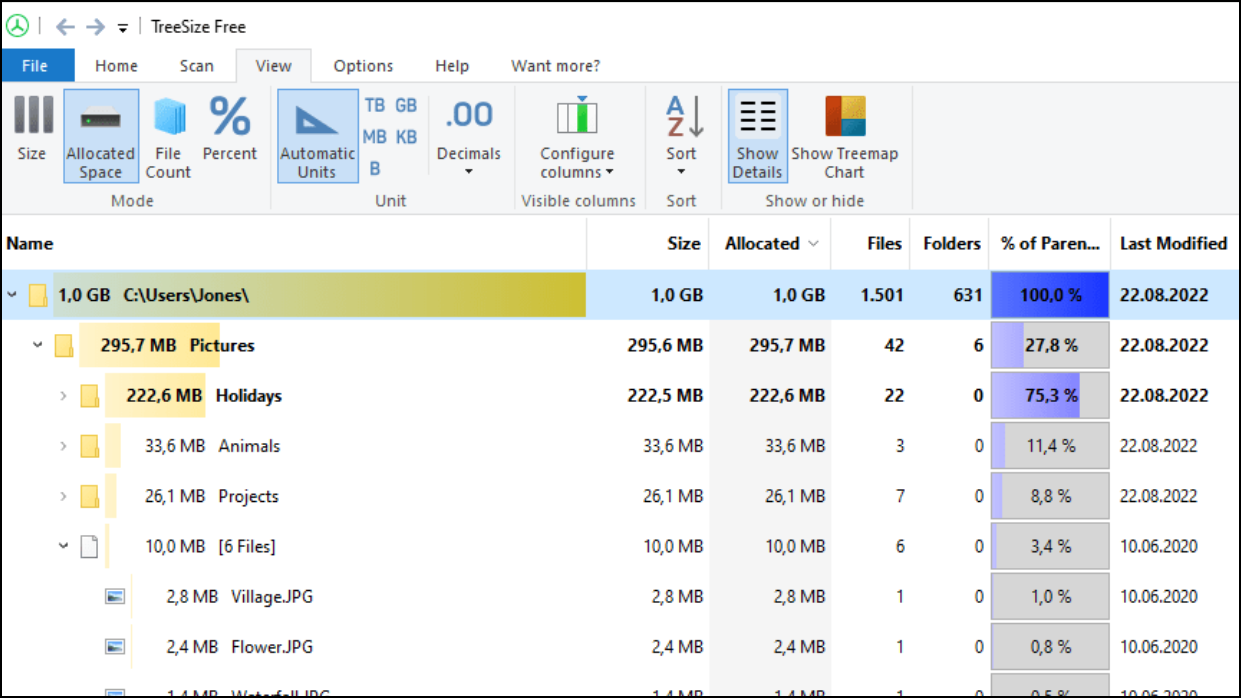
For advanced users, tools like TreeSize Free or WizTree can visually map disk usage, highlighting which folders or files are consuming the most space, even if they’re hidden from normal view.
Check for Large Application Caches and Old Installers
Applications such as Microsoft Outlook, Teams, OneDrive, and Adobe Acrobat can build up large caches or leave behind old installer packages in C:\Windows\Installer or user data folders.
Step 1: Use a disk usage tool (TreeSize, WizTree, or WinDirStat) to analyze the C drive and identify unusually large folders.
Step 2: If you find large caches or installer files, consider clearing the app’s cache from within its settings, or uninstall and reinstall the application to remove orphaned data.
Be cautious when deleting files from system folders—removing the wrong files can break applications or Windows features.
Upgrade or Reallocate Disk Space as a Last Resort
If the C drive remains full despite all cleanup efforts, it may be too small for the current system requirements and modern applications. Upgrading to a larger SSD or adding additional storage may be necessary.
Partition management tools can also help you reallocate space from less-used partitions to C, but always back up important data before making major disk changes.
By following these steps, you can systematically recover lost space on your C drive in Windows 11 24H2 and prevent future automatic filling. Regular maintenance and periodic checks with disk usage tools will help you stay ahead of space issues.