
Failed Windows 11 updates with error code 0x80242007 typically point to problems with update services, corrupted cache files, or conflicts with security software. This error can prevent your device from downloading or installing important security patches and feature updates, leaving your system vulnerable or missing out on new capabilities. Addressing the root causes—such as stuck services or damaged update files—restores normal update functionality and keeps your system current.
Restart Windows Update and Installer Services
Stalled or non-responsive Windows Update and Installer services are a frequent source of update failures. Restarting these services prompts Windows to reattempt update downloads and installations using fresh background processes.
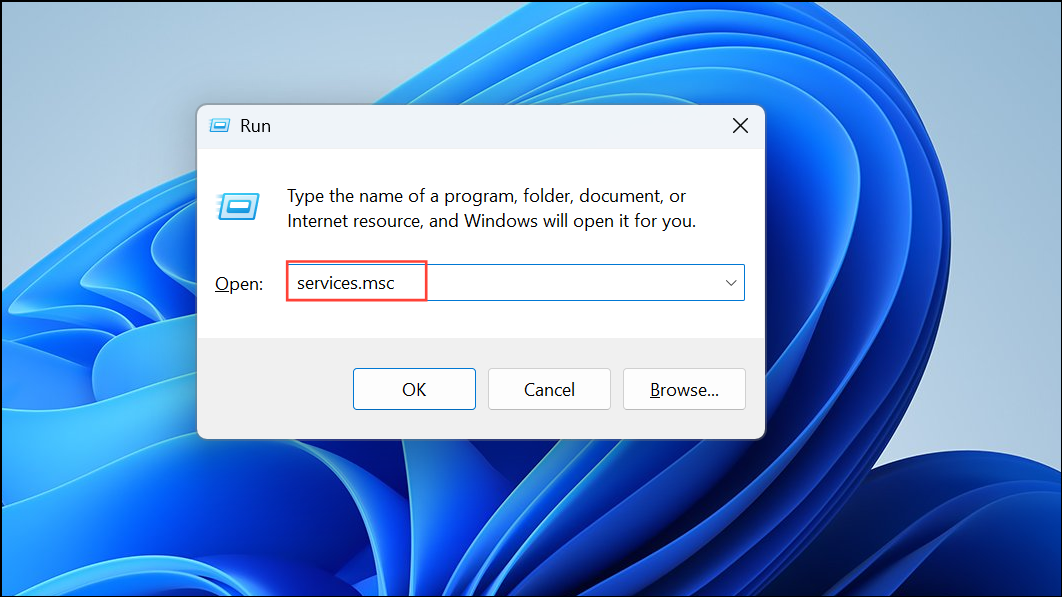
Step 1: Press Windows + R to open the Run dialog, then type services.msc and press Enter. This opens the Services management console.
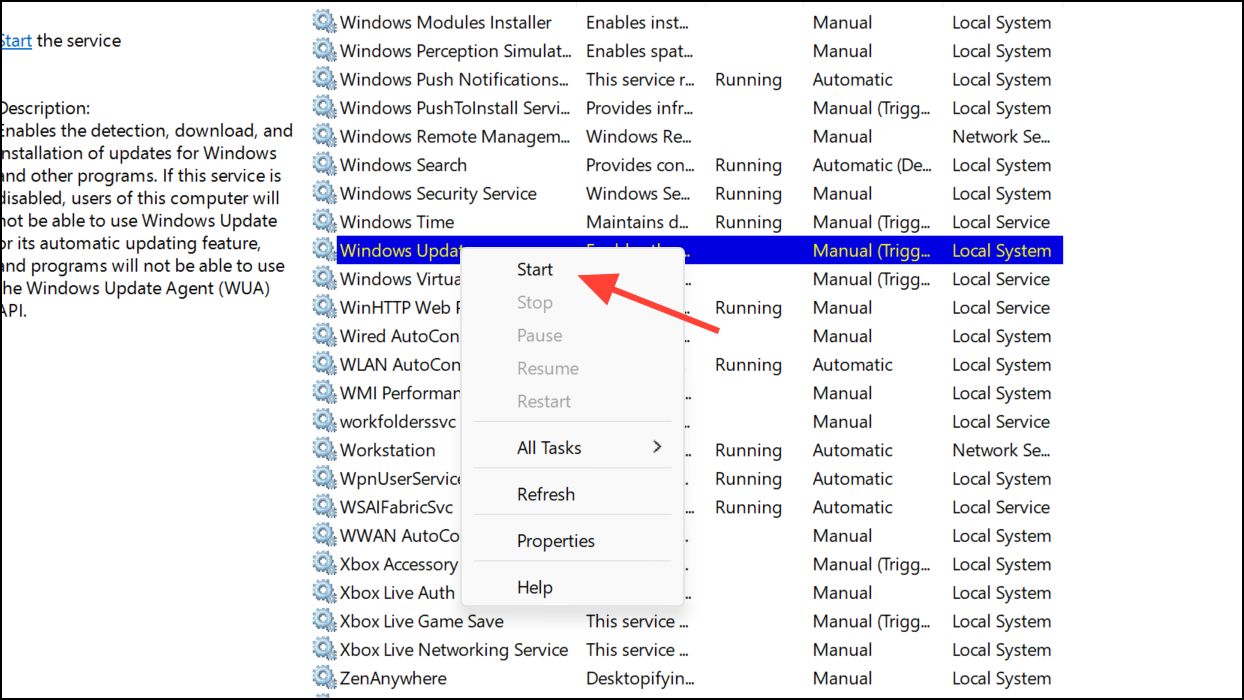
Step 2: In the Services window, scroll down to locate Windows Update. Right-click it and select Restart. If the service is not running, choose Start instead.
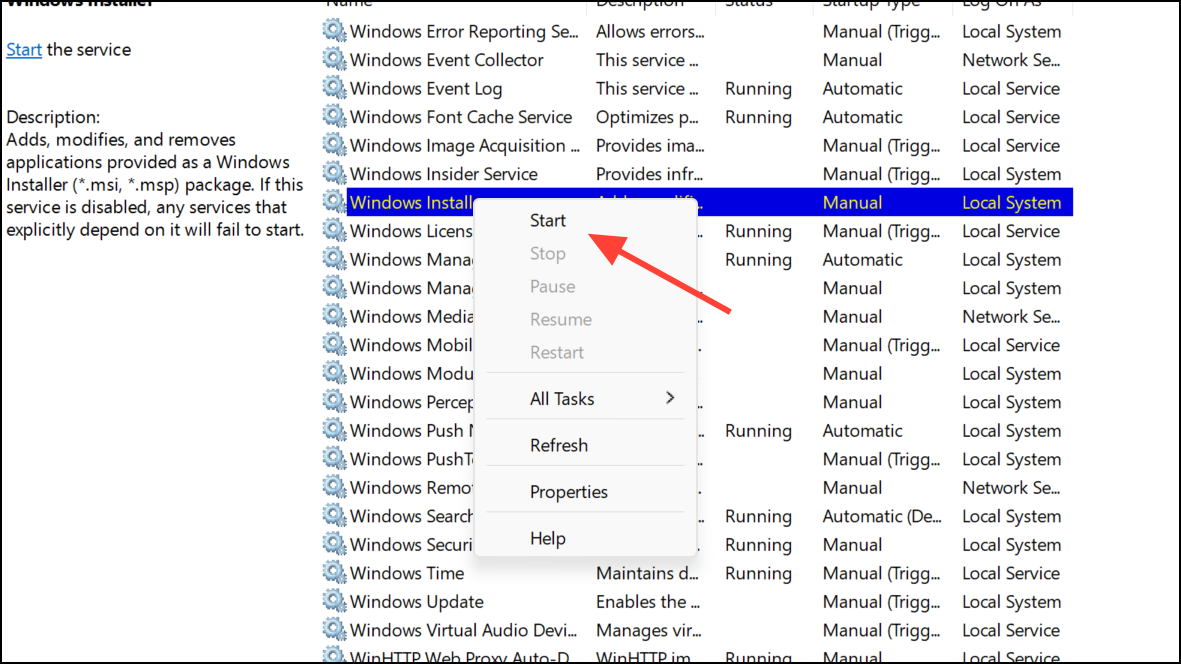
Step 3: Next, find Windows Installer in the same list. Right-click and select Start. If the service is already running, select Restart.
Restarting these services refreshes the update process, often resolving temporary stalls or background glitches that block updates.
Run the Windows Update Troubleshooter
Windows 11 includes an automated troubleshooter that checks for and repairs common update issues, such as missing files, incorrect configurations, or service misfires, without requiring manual intervention.
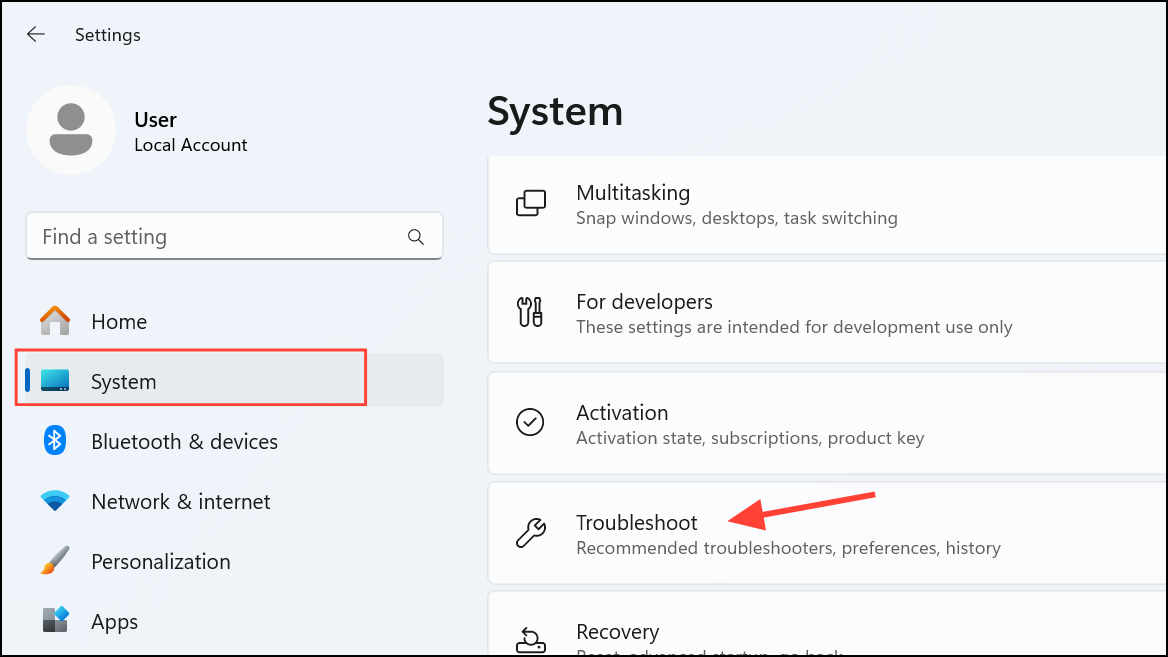
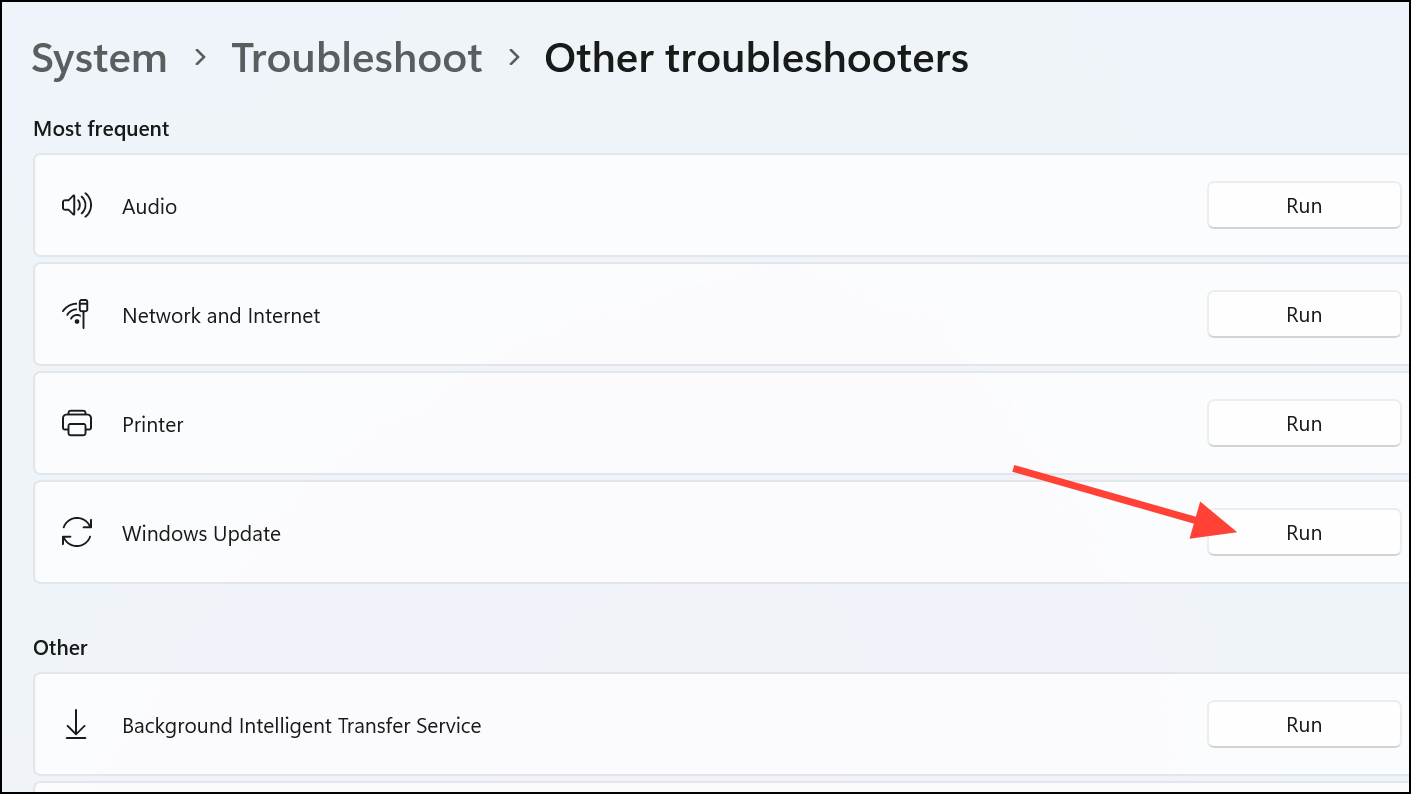
Step 1: Open Settings by pressing Windows + I. In the sidebar, click System, then select Troubleshoot.
Step 2: Click Other troubleshooters. Locate Windows Update in the list and click Run next to it.
Step 3: Allow the troubleshooter to complete its scan and apply any recommended fixes. When finished, return to the Windows Update section in Settings and attempt the update again.
The troubleshooter identifies and repairs straightforward problems, such as misconfigured services or missing dependencies, that may be causing error 0x80242007.
Clear the Windows Update Cache
Corrupted or incomplete update files stored in the SoftwareDistribution folder can repeatedly trigger update errors. Clearing this cache forces Windows to re-download update packages from scratch, eliminating file corruption as a cause.
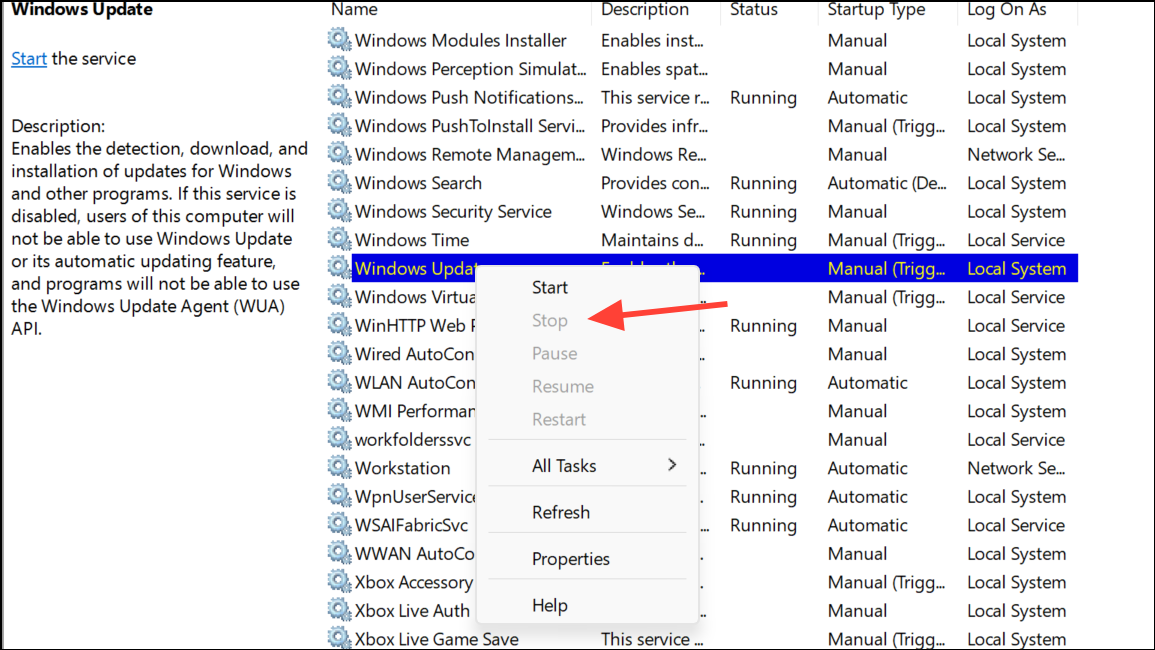
Step 1: Open the Run dialog with Windows + R, type services.msc, and press Enter.
Step 2: In the Services window, right-click Windows Update and select Stop. Leave the Services window open for later.
Step 3: Open File Explorer (Windows + E) and navigate to C:\Windows\SoftwareDistribution.
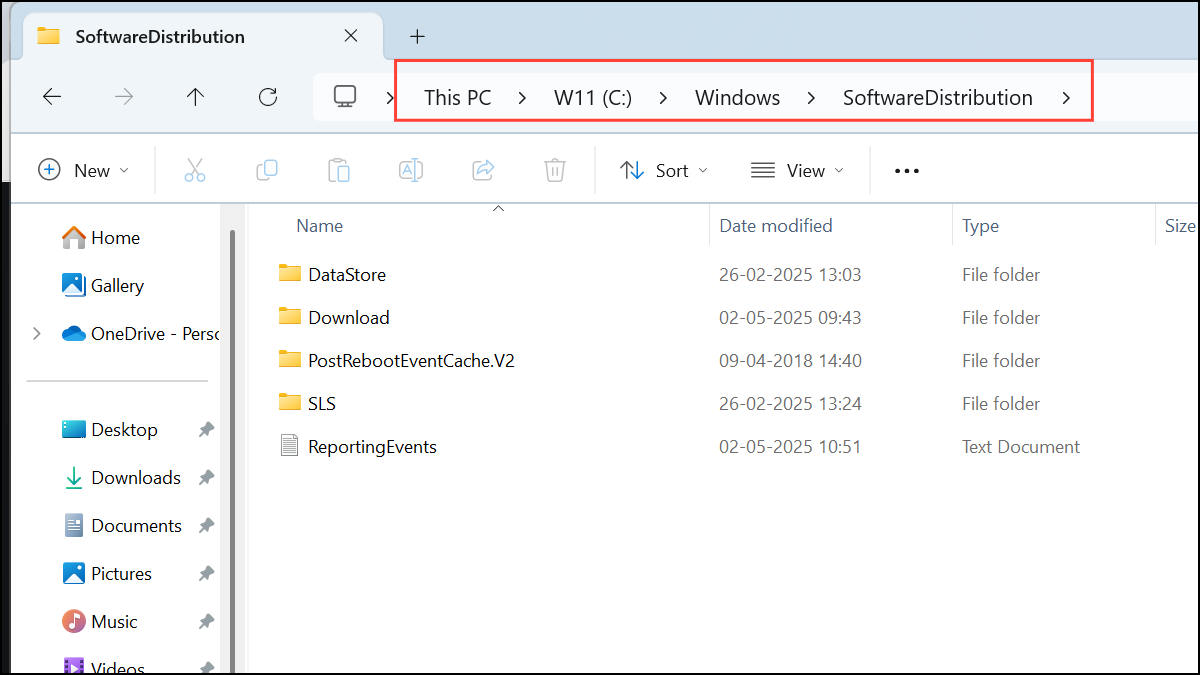
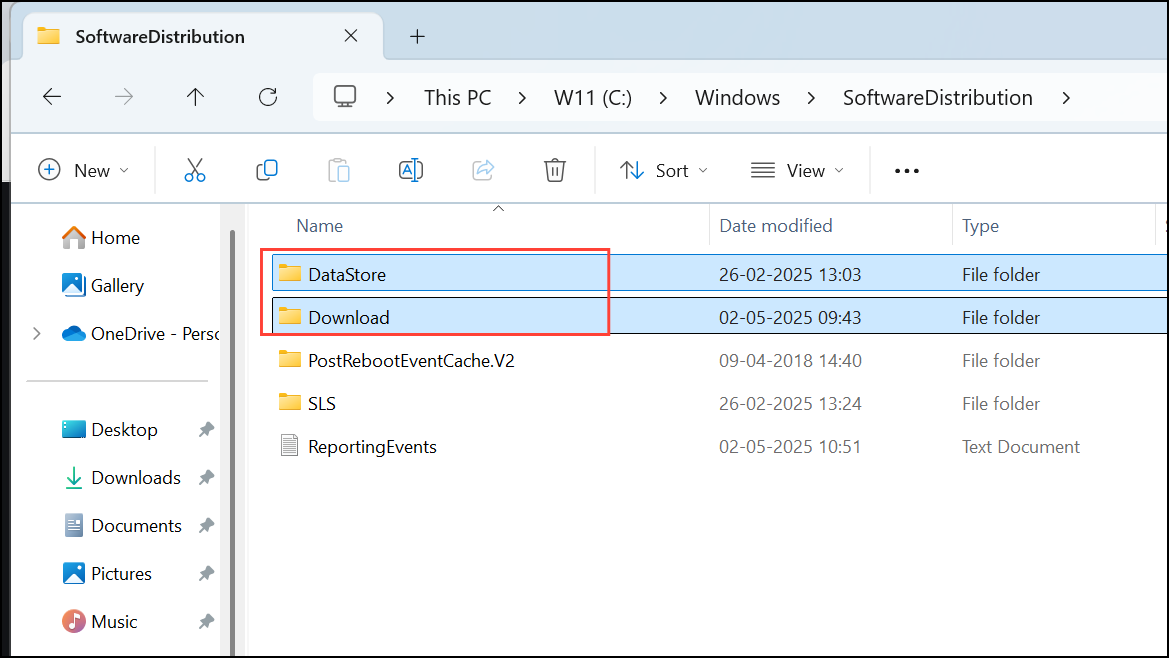
Step 4: Inside the SoftwareDistribution folder, open both the DataStore and Download folders. Select all files in each folder (Ctrl + A), then press Delete to remove them. Confirm any prompts.
Step 5: Return to the Services window. Right-click Windows Update and select Start to reactivate the service.

Clearing the cache removes outdated or damaged files that can prevent updates from downloading or installing correctly.
Reset Windows Update Components Using Command Prompt
Sometimes, deeper corruption or misconfiguration in update-related components requires a more thorough reset. Command-line tools can stop services, rename folders, and restart everything cleanly, giving Windows a fresh environment for updates.
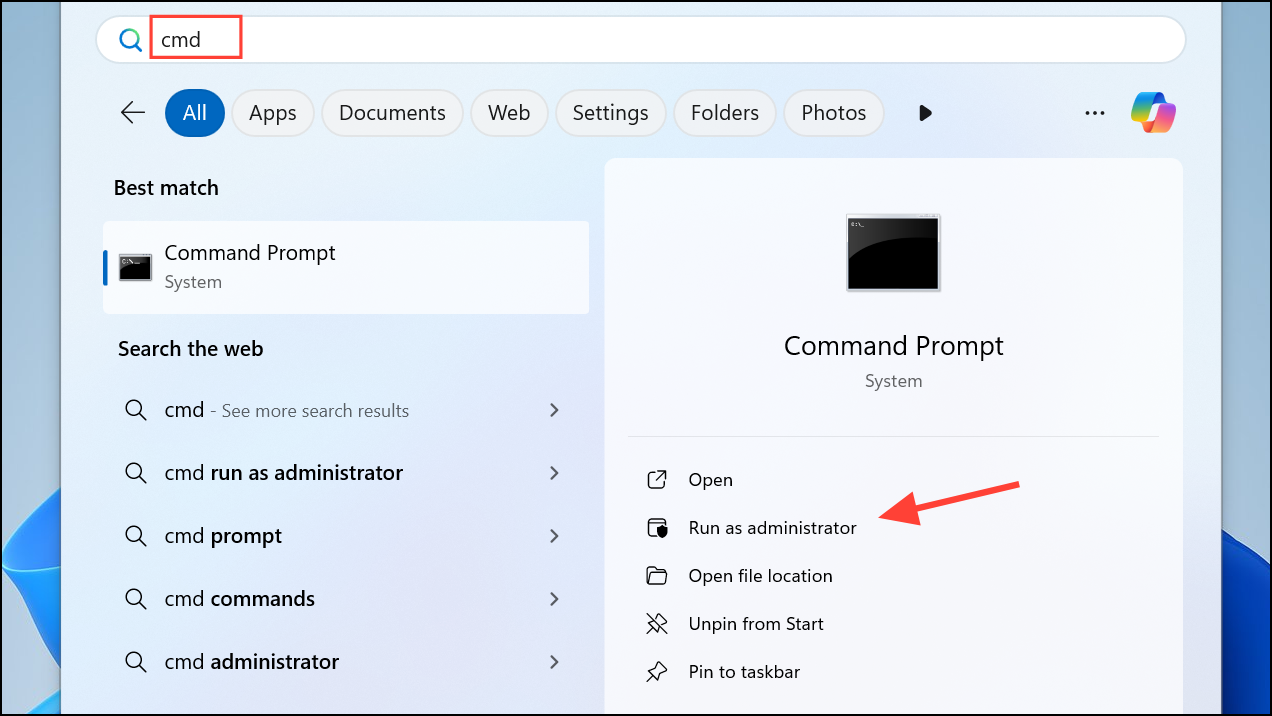
Step 1: Open Command Prompt as an administrator. Press Windows + S, type cmd, right-click Command Prompt, and select Run as administrator.
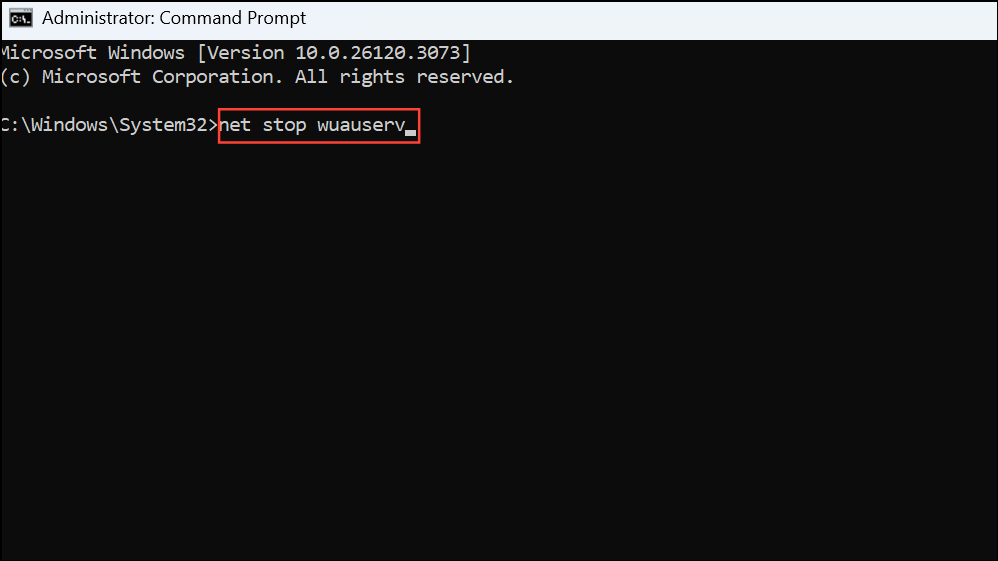
Step 2: Enter the following commands one by one, pressing Enter after each:
net stop wuauserv
net stop cryptSvc
net stop bits
net stop msiserver
ren C:\Windows\SoftwareDistribution SoftwareDistribution.old
ren C:\Windows\System32\catroot2 catroot2.old
net start wuauserv
net start cryptSvc
net start bits
net start msiserver
These commands stop update-related services, rename the current cache folders (effectively archiving them), and restart the services. Windows will create new, clean folders on the next update attempt.
Temporarily Disable Third-Party Antivirus or VPN
Security software and VPNs can sometimes block update downloads or interfere with the installation process, mistaking update files for threats or disrupting network connections.
Step 1: If you have a third-party antivirus program installed, temporarily disable it using its system tray icon or settings menu. For VPNs, disconnect or exit the VPN application before retrying the update.
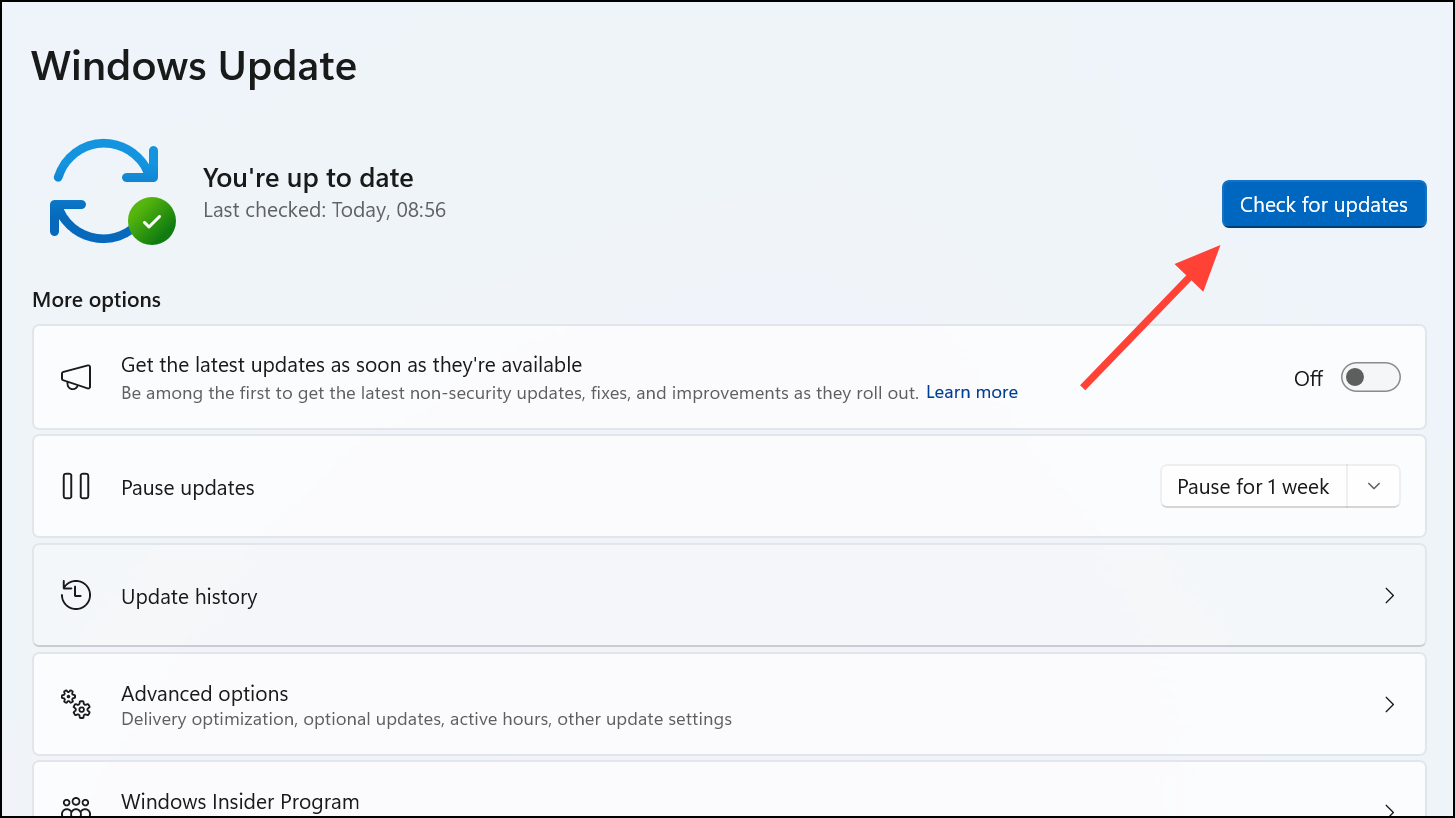
Step 2: Attempt to download and install updates again via Settings > Windows Update.
Step 3: Once updates complete, re-enable your antivirus or VPN to maintain security and privacy protections.
Disabling these tools only during updates can resolve conflicts without permanently reducing your system’s defenses.
Run System File Checker and DISM Scans
Corrupted Windows system files can disrupt update processes, resulting in persistent error codes. Built-in tools like System File Checker (SFC) and Deployment Image Servicing and Management (DISM) can identify and repair damaged files, restoring reliable update behavior.
Step 1: Open Command Prompt as administrator as described earlier.
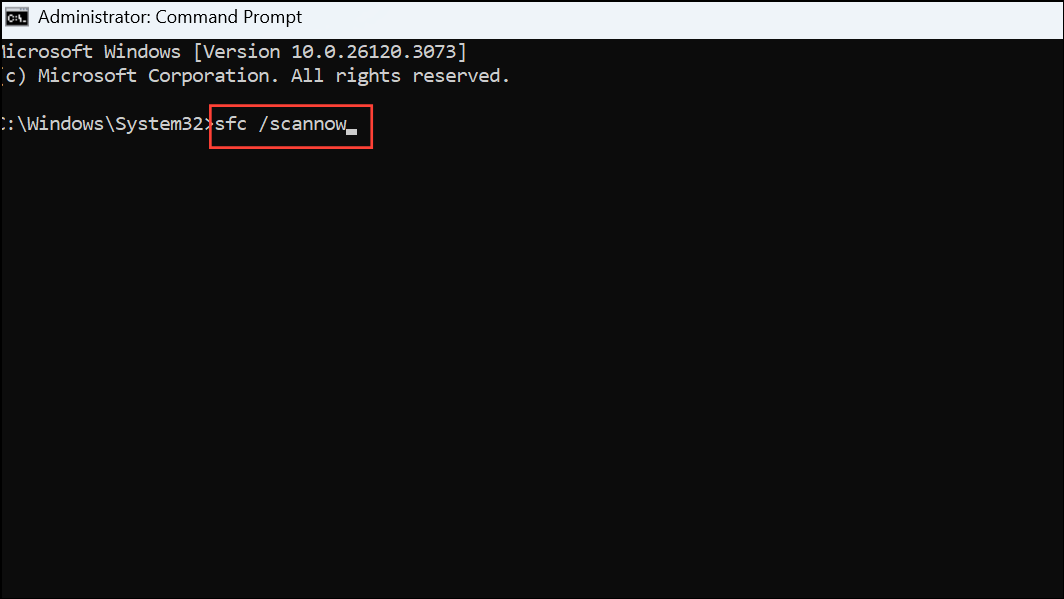
Step 2: Run the following command to check and repair system files:
sfc /scannow
Wait for the scan to finish. If it finds and repairs files, restart your computer.
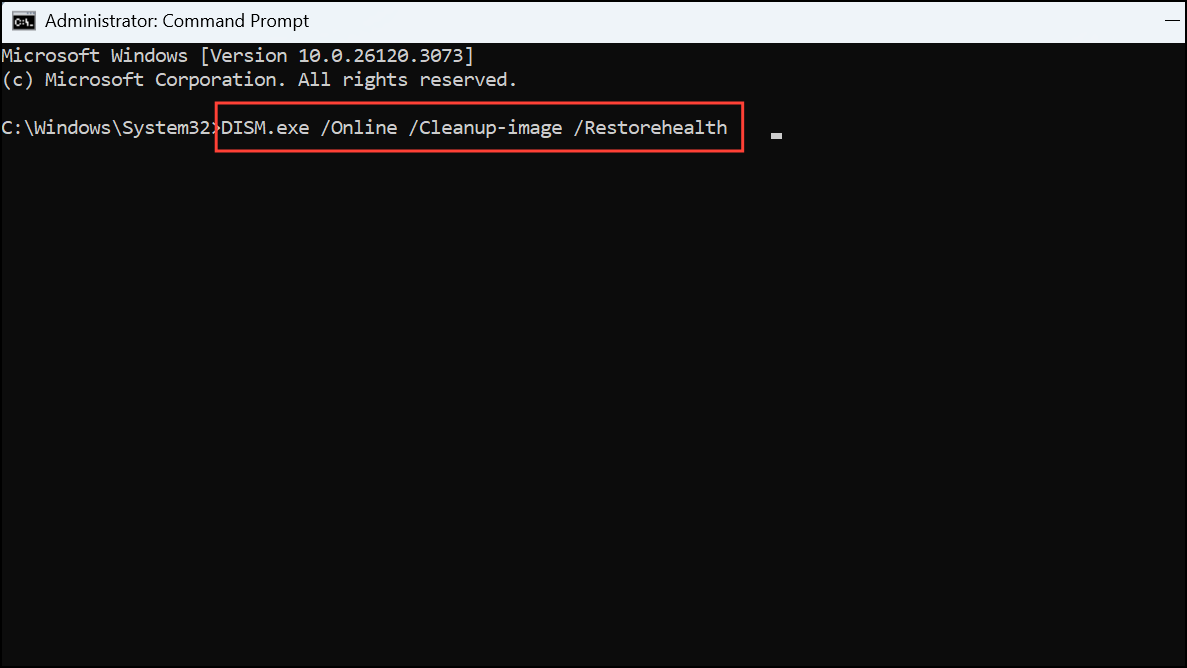
Step 3: Next, run DISM to repair the Windows image:
DISM.exe /Online /Cleanup-image /Restorehealth
Once DISM is complete, restart your PC and check for updates again. These scans resolve deeper system-level corruption that can block updates.
Manually Download and Install Updates
If automatic updates consistently fail, manually downloading the update from the official Microsoft Update Catalog circumvents the built-in update mechanism and can succeed where automated methods do not.
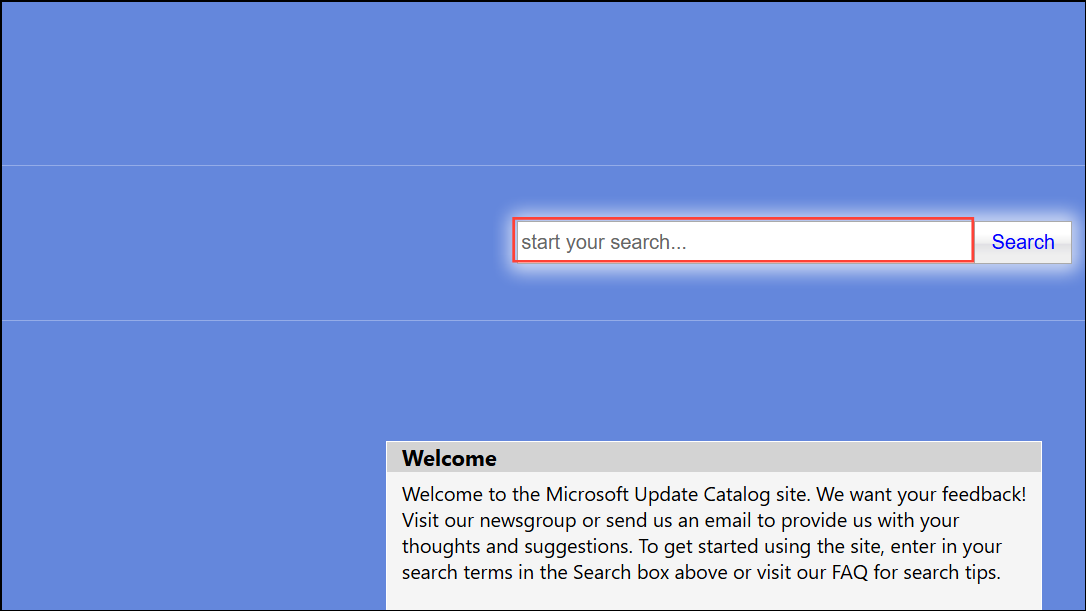
Step 1: Visit the Microsoft Update Catalog in your web browser.
Step 2: Enter the update’s Knowledge Base (KB) number—visible in the Windows Update error message—into the search box and press Enter.
Step 3: Locate the correct update for your Windows version and processor type, then click Download.
Step 4: Run the downloaded file and follow the prompts to install the update manually. Restart your computer if prompted.
This approach bypasses issues in the automatic update pipeline, providing a direct path to install critical updates.
Perform a System Restore or Clean Install (Last Resort)
If all other methods fail and updates still cannot be installed, restoring your system to an earlier point or performing a clean Windows installation can resolve persistent software conflicts or deep corruption. To use System Restore, you must have created a restore point before the error started showing up.
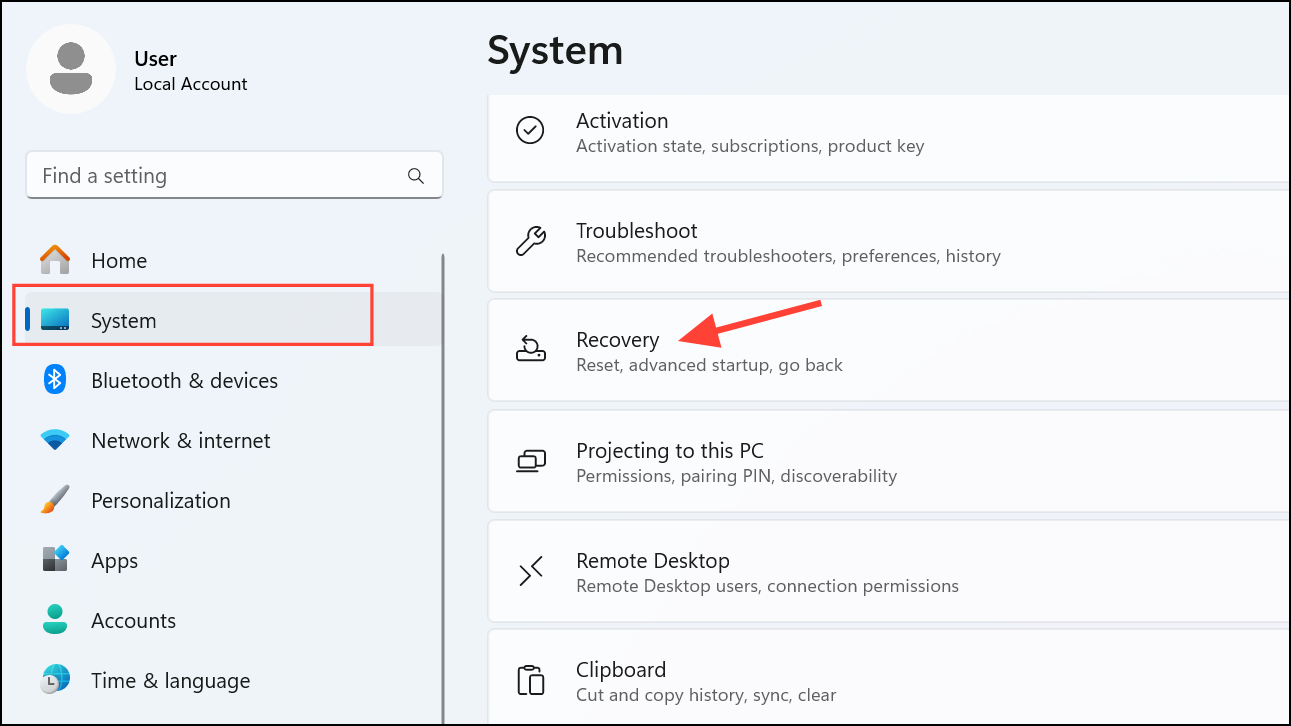
Step 1: Open Settings, go to System > Recovery, and select Open System Restore. Follow the prompts to choose a restore point from before the update issues began.
Step 2: If no restore points are available or the issue persists, consider backing up your data, then performing a clean install of Windows 11 using Microsoft’s Media Creation Tool.
These options should only be used if all other troubleshooting fails, as they involve reverting system changes or reinstalling the operating system.
Resolving error 0x80242007 restores your ability to keep Windows 11 up-to-date and secure. If problems persist, contacting Microsoft Support or a trusted technician can provide further assistance tailored to your system.