
Windows Update error 0x8024800C prevents critical updates from installing on Windows 11 systems, often causing system security and performance issues. This error typically results from problems with the SoftwareDistribution folder, corrupted system files, or interrupted update services. Addressing these underlying causes restores the update process and ensures your device stays current and secure.
Clear the SoftwareDistribution Folder and Reset Update Components
Corruption or sync issues in the SoftwareDistribution folder frequently trigger error 0x8024800C. Clearing this folder removes outdated or damaged update files, prompting Windows to download fresh update data and resolve update failures.
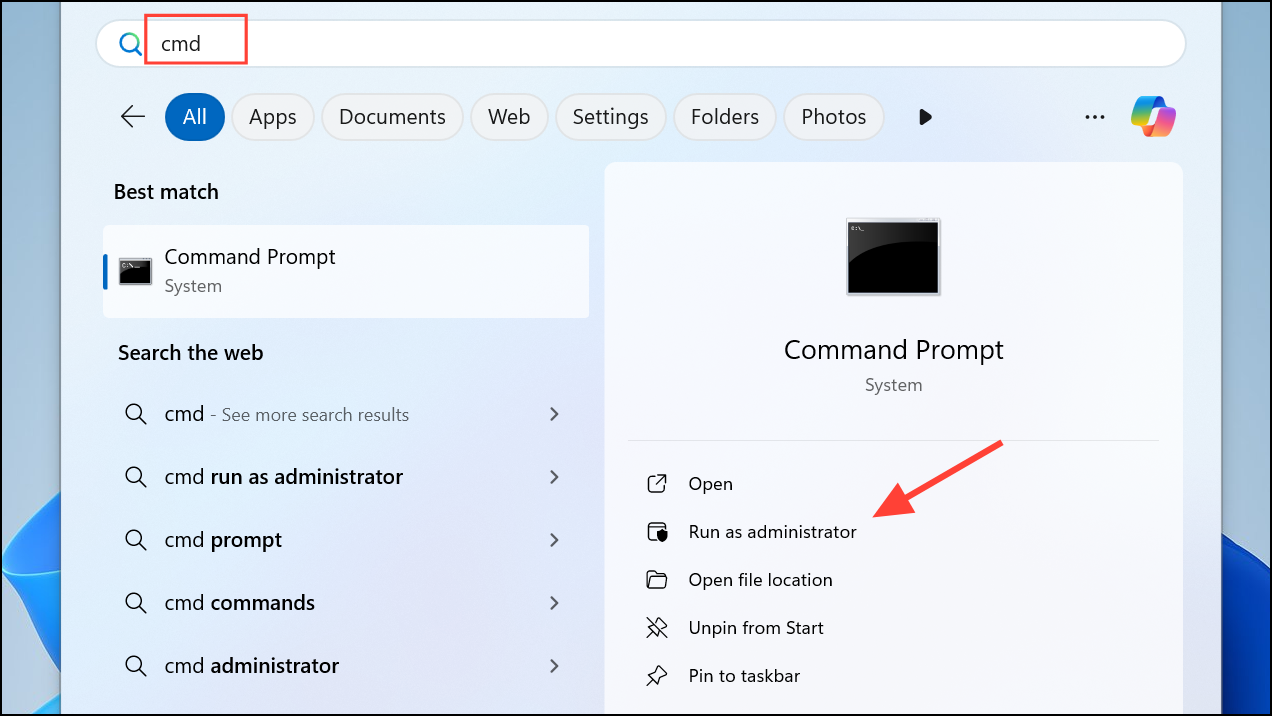
Step 1: Open Command Prompt with administrative privileges. Press Windows + S, type cmd, right-click the result, and choose Run as administrator.
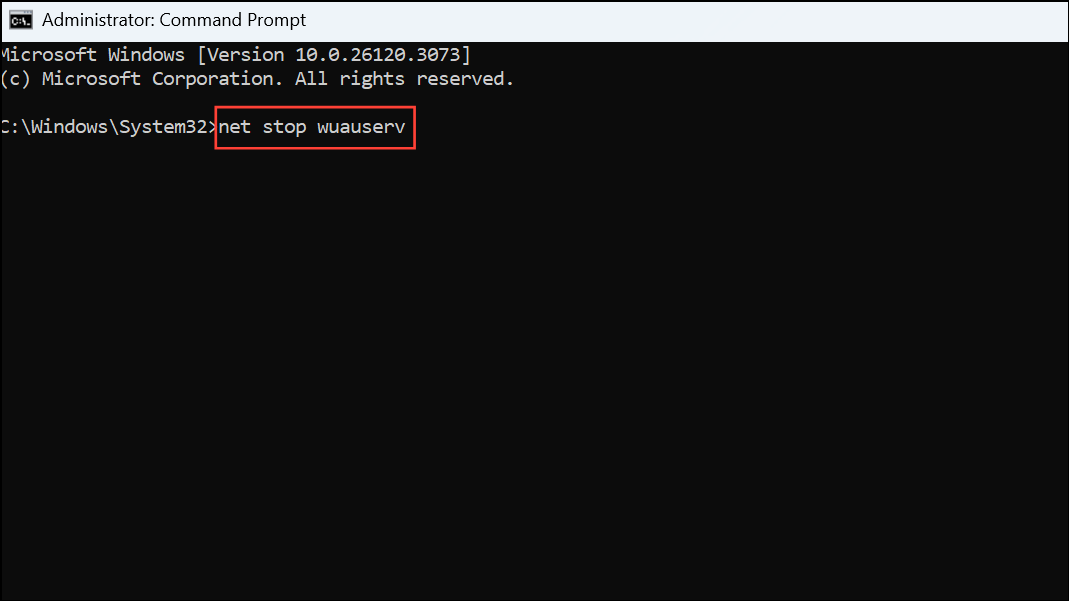
Step 2: Stop essential update services to unlock the SoftwareDistribution folder. Enter the following commands one by one, pressing Enter after each:
net stop wuauserv
net stop cryptSvc
net stop bits
net stop msiserver
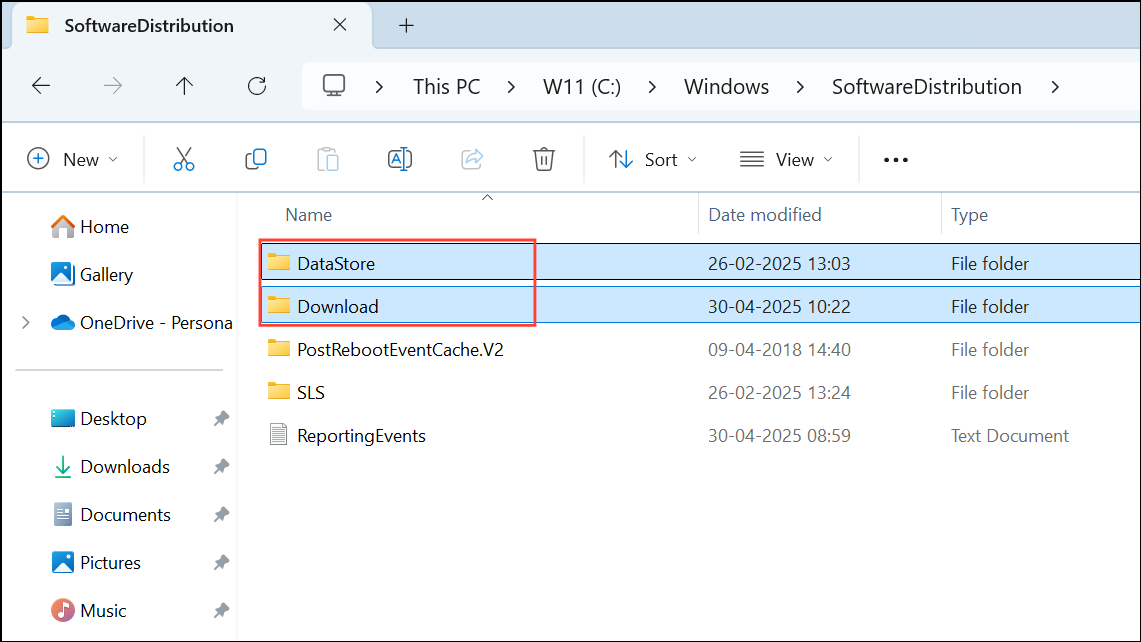
Step 3: Open File Explorer and navigate to C:\Windows\SoftwareDistribution. Delete all files and folders inside both the DataStore and Download subfolders. This process removes corrupted cache files that may be blocking updates.
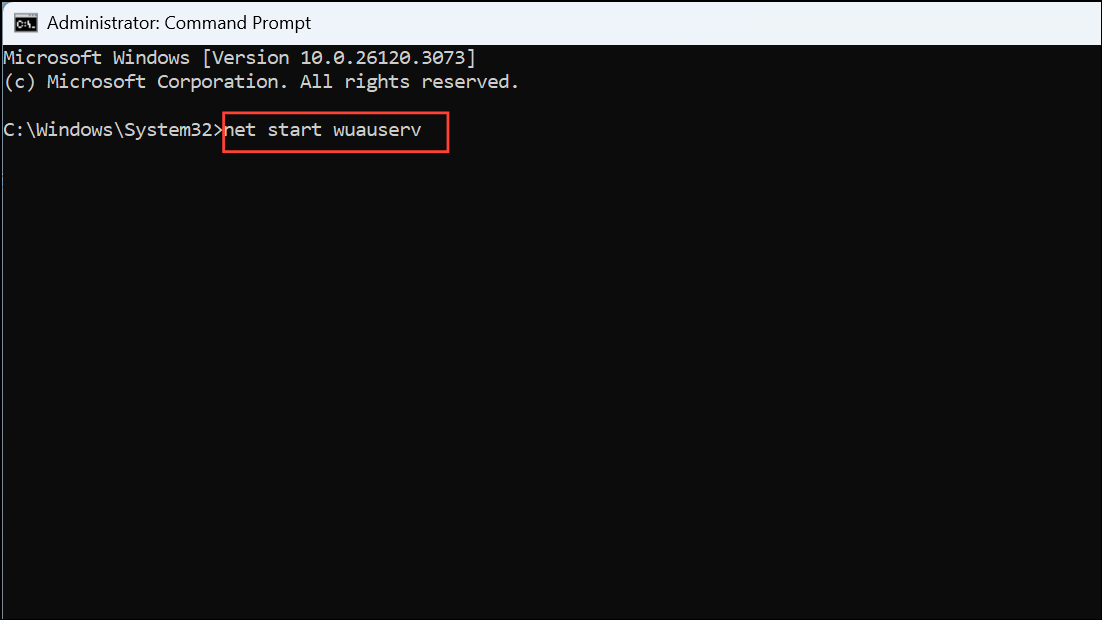
Step 4: Restart the previously stopped services by entering the following commands in the same Command Prompt window:
net start wuauserv
net start cryptSvc
net start bits
net start msiserver
Step 5: Return to Windows Update in Settings and check for updates again. Windows will rebuild the SoftwareDistribution folder and attempt to download updates afresh.
Run the Windows Update Troubleshooter
The built-in Windows Update Troubleshooter automatically detects and repairs common update issues, including service misconfigurations and corrupted update files. Running this tool often resolves error 0x8024800C without manual intervention.
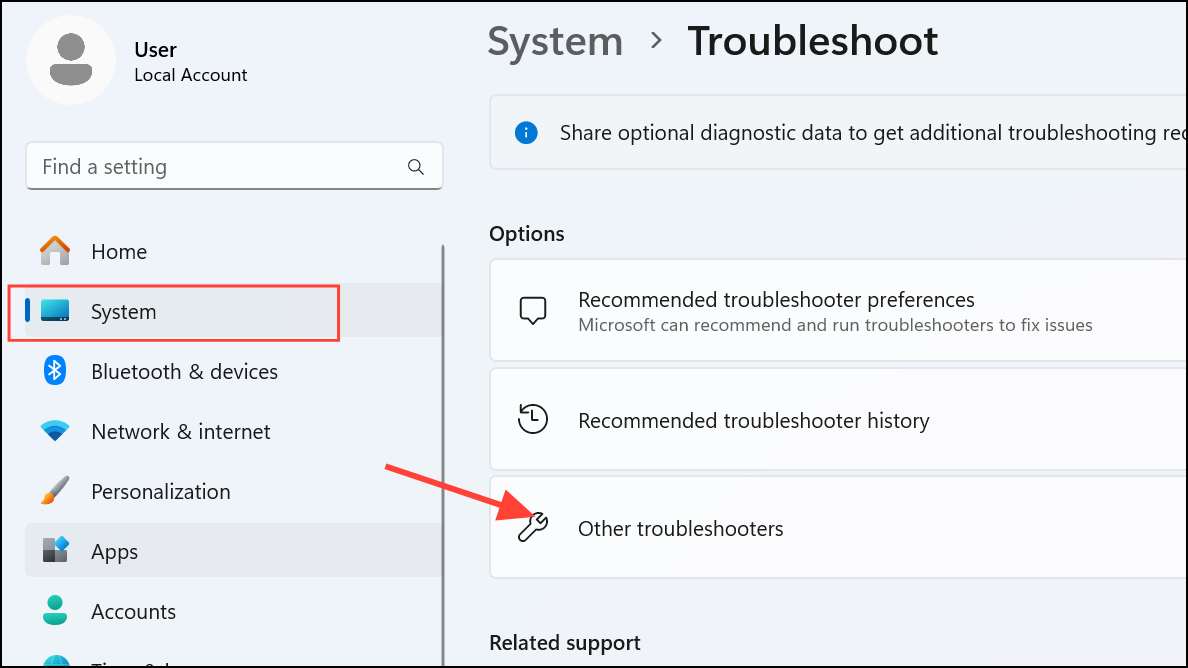
Step 1: Press Windows + I to open Settings. Navigate to System > Troubleshoot > Other troubleshooters.
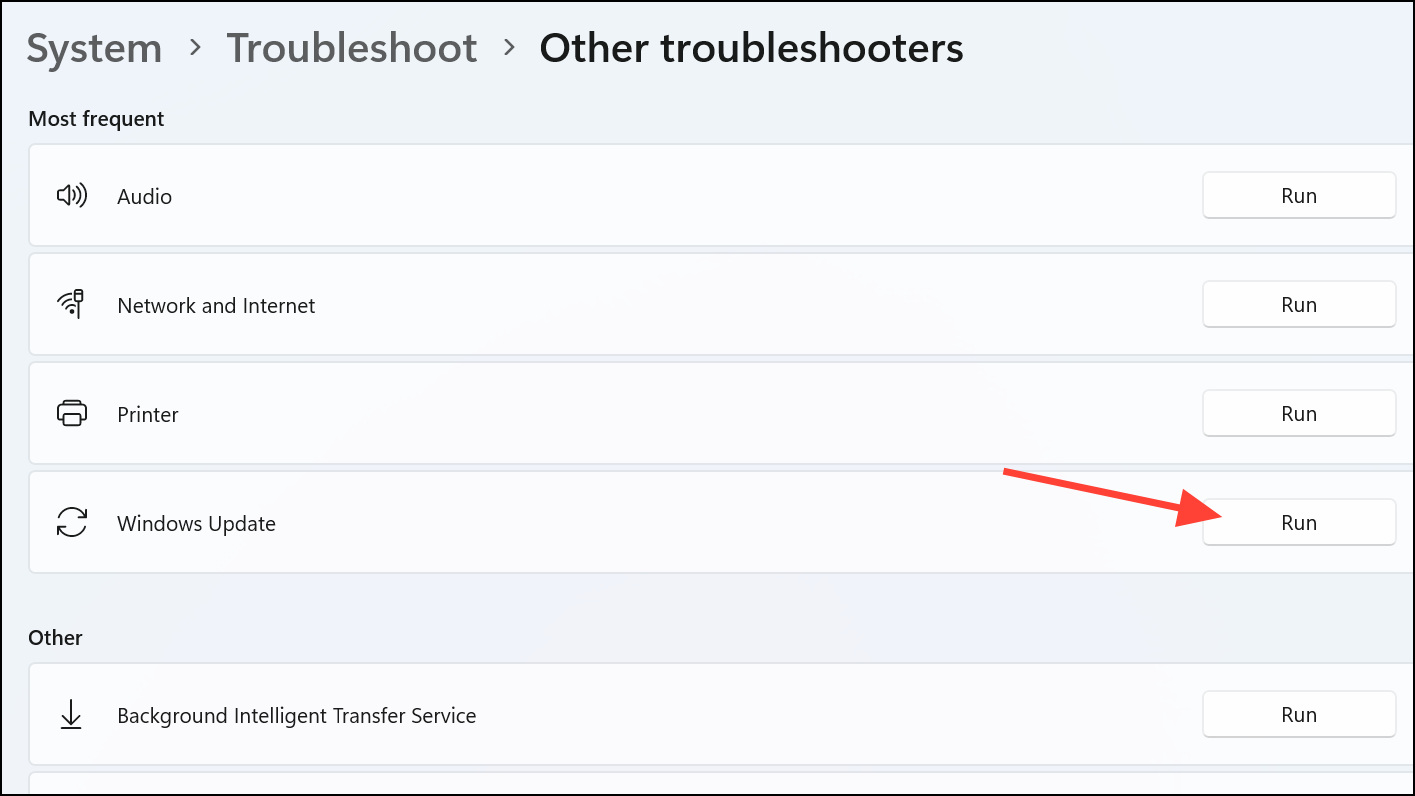
Step 2: Locate Windows Update in the list and click Run next to it. The tool will scan for update issues and apply recommended fixes automatically.
Step 3: Follow any on-screen prompts to complete the troubleshooting process. When finished, close the troubleshooter and try checking for updates again.
Repair System Files with System File Checker (SFC)
Corrupted or missing system files can disrupt update operations, leading to error 0x8024800C. The System File Checker (SFC) tool scans and repairs these files, restoring update functionality.
Step 1: Launch Command Prompt as an administrator.
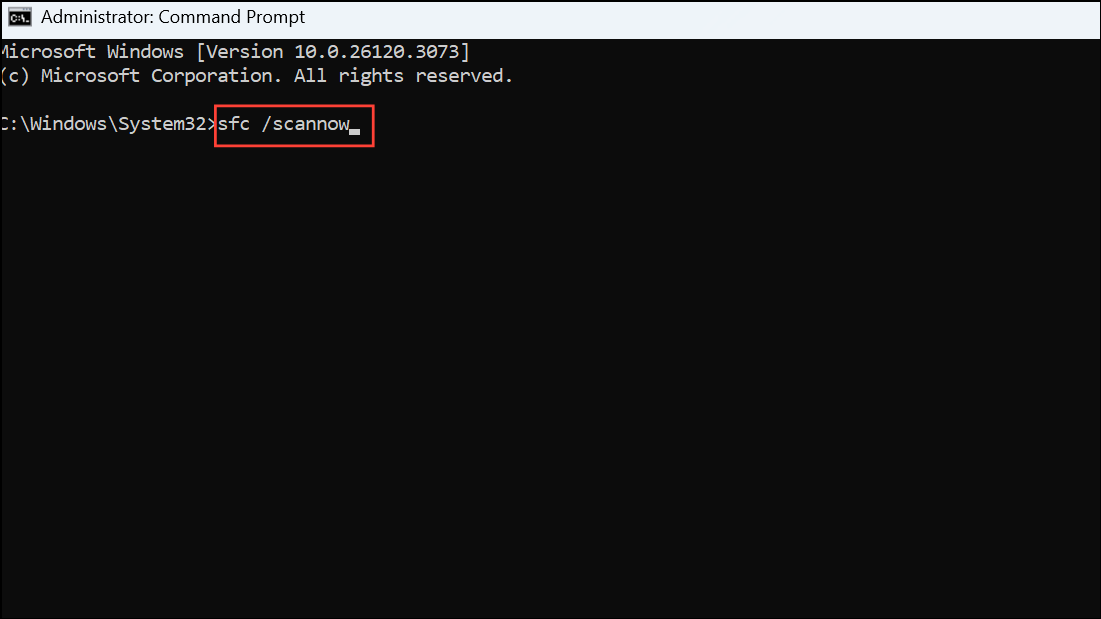
Step 2: Enter the following command and press Enter:
sfc /scannow
Step 3: Wait for the scan to complete. If SFC finds and repairs issues, restart your computer after the process finishes. Attempt to update Windows again to confirm the error is resolved.
Verify and Restart Update Services
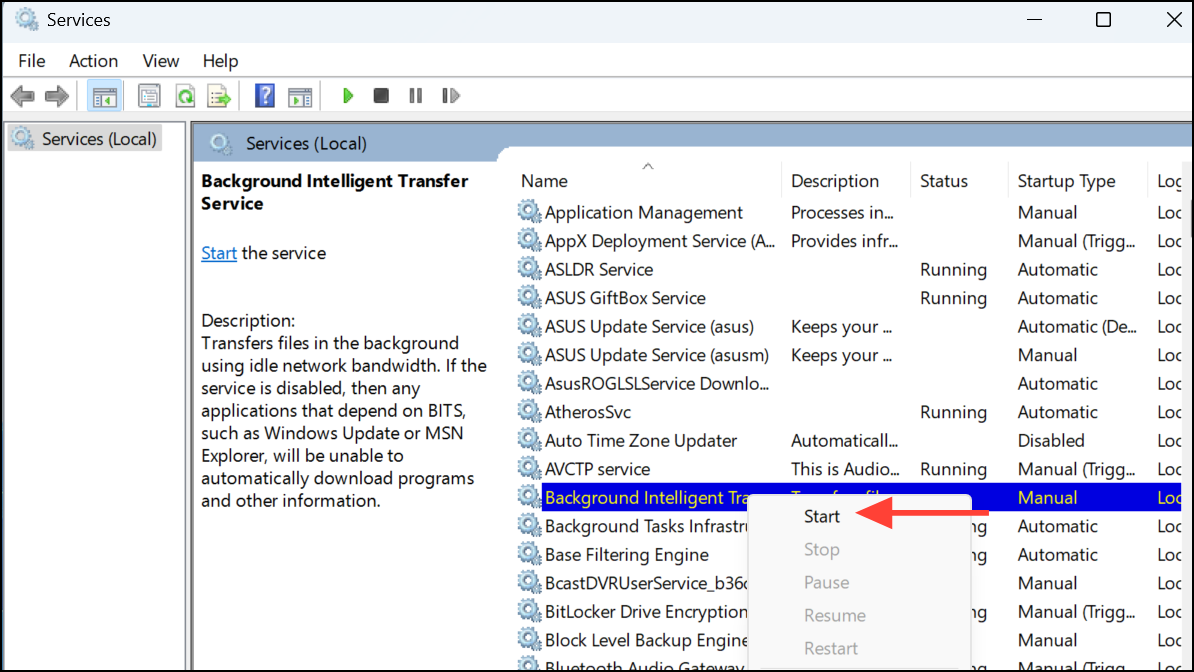
Windows Update depends on several background services, including Windows Update, Background Intelligent Transfer Service (BITS), and Cryptographic Services. If these services are disabled or not running, updates will fail.
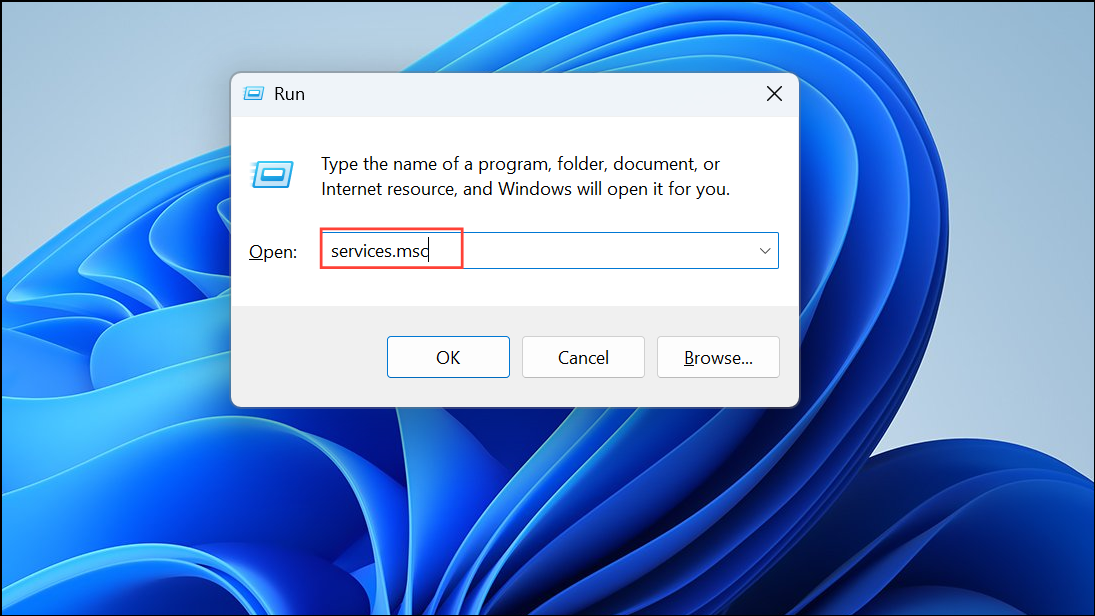
Step 1: Press Windows + R, type services.msc, and press Enter to open the Services console.
Step 2: Locate Windows Update, Background Intelligent Transfer Service, and Cryptographic Services. Right-click each one and select Start or Restart if they are not running.
Step 3: After ensuring these services are active, retry the update process from Settings.
Manually Download and Install Updates
If standard update methods continue to fail, manually downloading and installing updates bypasses many common errors. This approach is useful when a specific update repeatedly triggers error 0x8024800C.
Step 1: Visit the Microsoft Update Catalog and search for the KB number of the failed update.
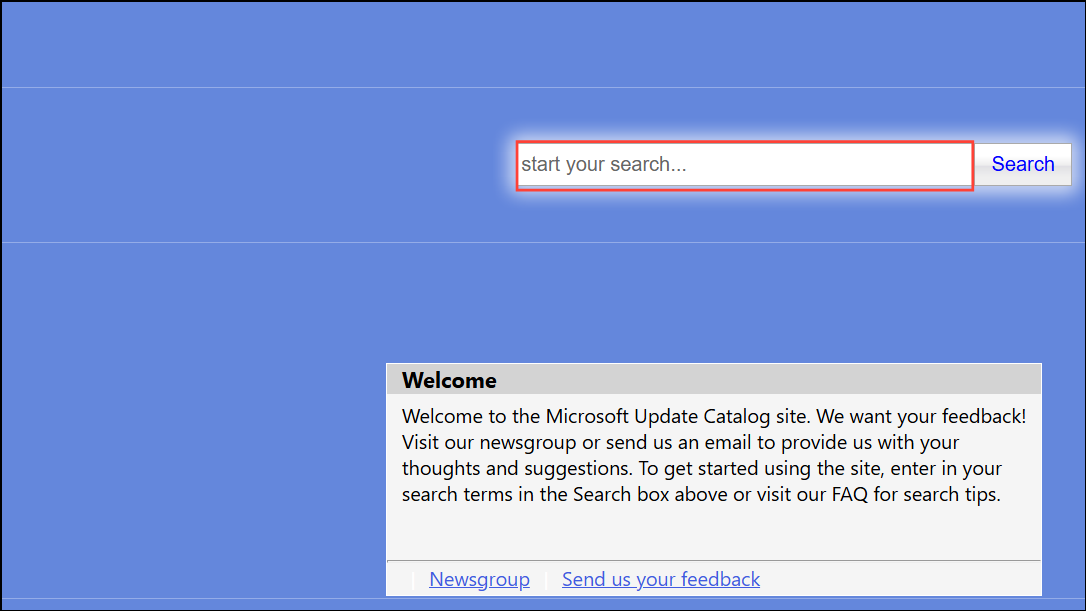
Step 2: Download the update file that matches your system architecture (for example, x64 for most modern PCs).
Step 3: Double-click the downloaded .msu file to begin installation. Follow the prompts, and restart your computer if required.
Step 4: Return to Windows Update and check for additional updates as needed.
Perform an In-Place Upgrade (Repair Install)
When all other solutions fail, an in-place upgrade repairs Windows system files without affecting personal data or installed applications. This process reinstalls Windows 11 over your current installation, resolving deep-seated update issues.
Step 1: Download the latest Windows 11 ISO from the Microsoft Software Download page.
Step 2: Right-click the ISO file and select Mount. Open the mounted drive and run setup.exe.
Step 3: Follow the on-screen instructions. When prompted, ensure Keep personal files and apps is selected. Proceed with the installation and allow your PC to restart as needed.
Step 4: After the upgrade completes, check for updates again in Settings.
Resolving error 0x8024800C restores access to Windows updates and keeps your device running smoothly. Regularly maintaining update components and system files helps prevent future update disruptions.