
File Explorer repeatedly crashing after the Windows 11 24H2 update disrupts access to files, folders, and even the taskbar. Users report Explorer closing immediately—whether opened from its icon or with Win + E—with the taskbar often vanishing as well. This issue is frequently tied to changes in context menu handling, faulty shell extensions, or corrupted system files introduced by the update.
Disable the New File Explorer Context Menu via Registry
Disabling the updated context menu in File Explorer directly addresses crashes linked to the Microsoft.UI.Xaml.dll module. This method modifies a registry key to revert to the classic context menu, which has resolved persistent crashes for many users.
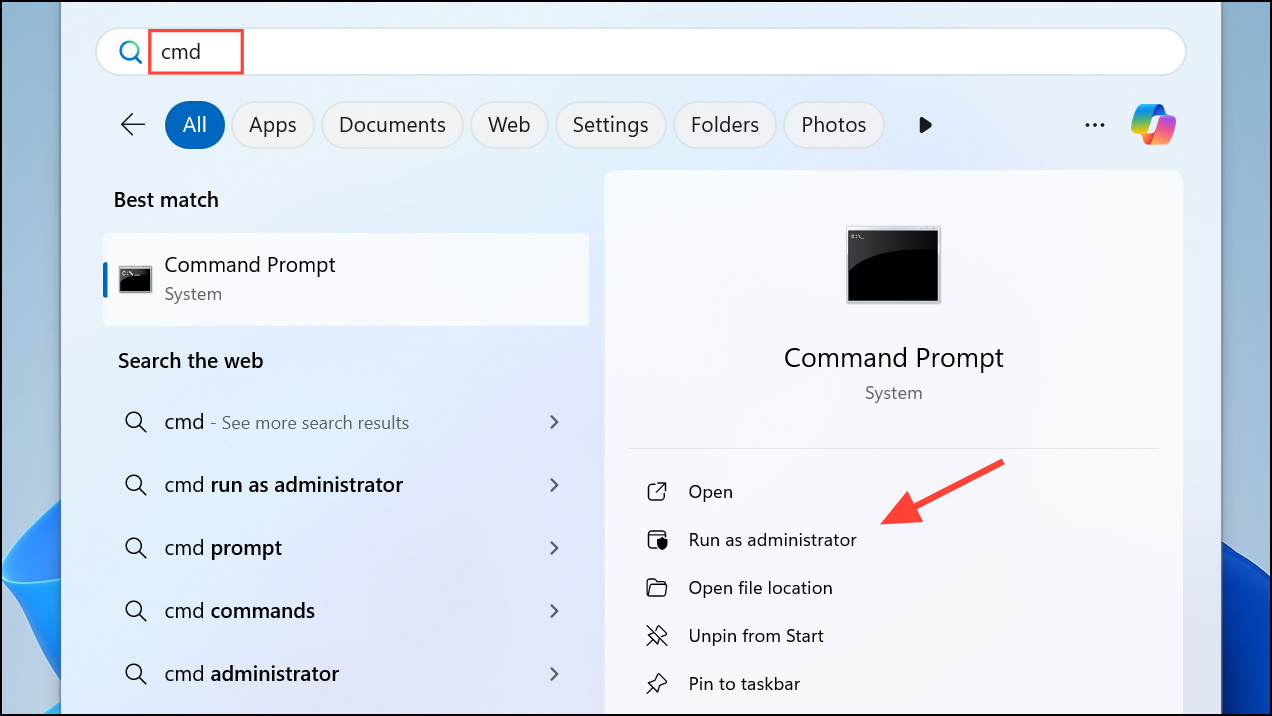
Step 1: Open Command Prompt as administrator. To do this, search for cmd in the Start menu, right-click, and select Run as administrator.
Step 2: Enter the following command to add the required registry key, which disables the new context menu:
reg.exe add "HKCU\Software\Classes\CLSID\{86ca1aa0-34aa-4e8b-a509-50c905bae2a2}\InprocServer32" /f /ve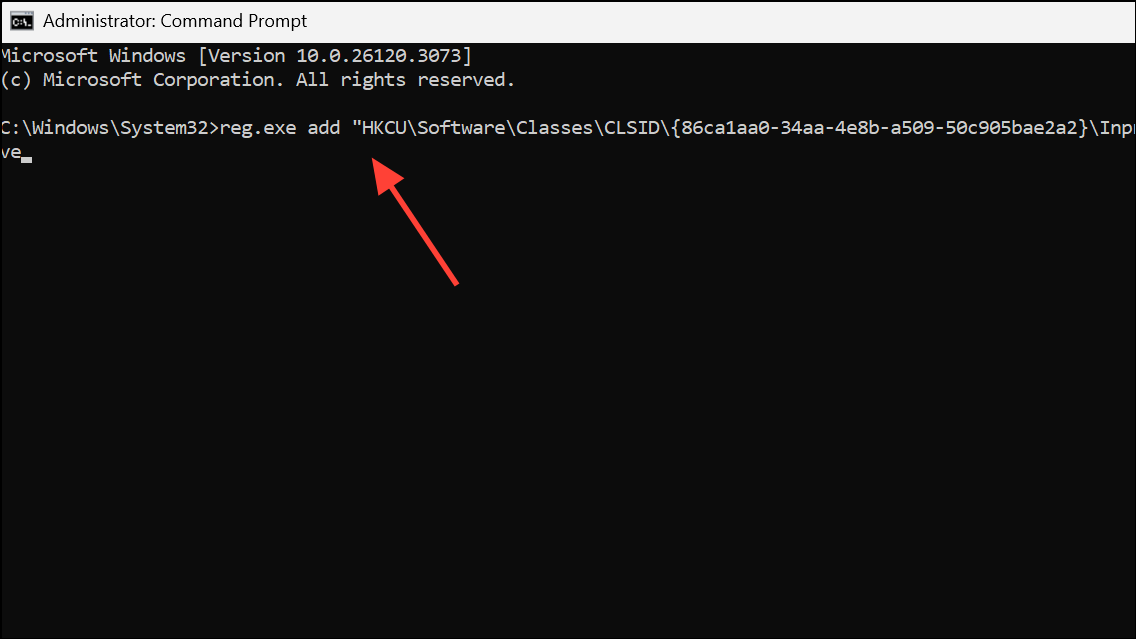
This command creates a registry entry that forces Windows to use the legacy context menu style, bypassing the new UI that may be causing Explorer to crash.
Step 3: Restart your computer. After rebooting, test File Explorer to confirm that it opens and operates without crashing.
Step 4 (Optional): If you want to restore the new context menu after stability returns, remove the registry key by running:
reg.exe delete "HKCU\Software\Classes\CLSID\{86ca1aa0-34aa-4e8b-a509-50c905bae2a2}" /f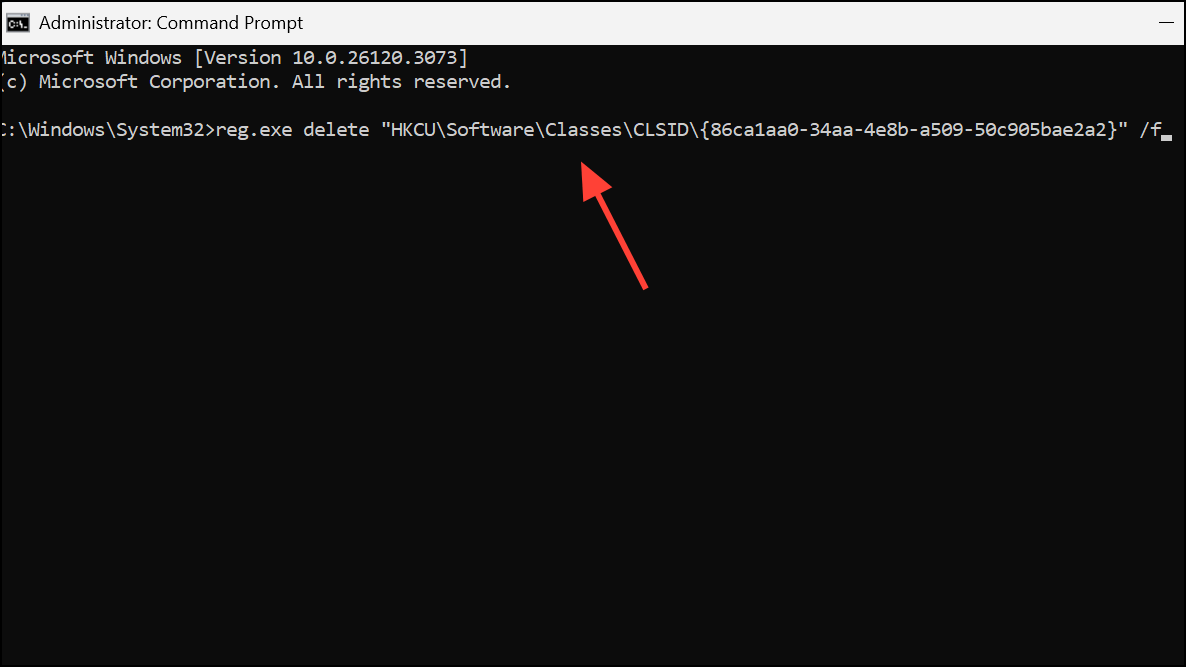
Repair Corrupted System Files
Corrupted system files can cause Explorer to crash on launch or when right-clicking items. Running built-in repair tools can restore missing or damaged components.
Step 1: Open Command Prompt as administrator.
Step 2: Enter the following command to use the Deployment Image Servicing and Management (DISM) tool, which checks and repairs the Windows image:
DISM.exe /Online /Cleanup-image /Restorehealth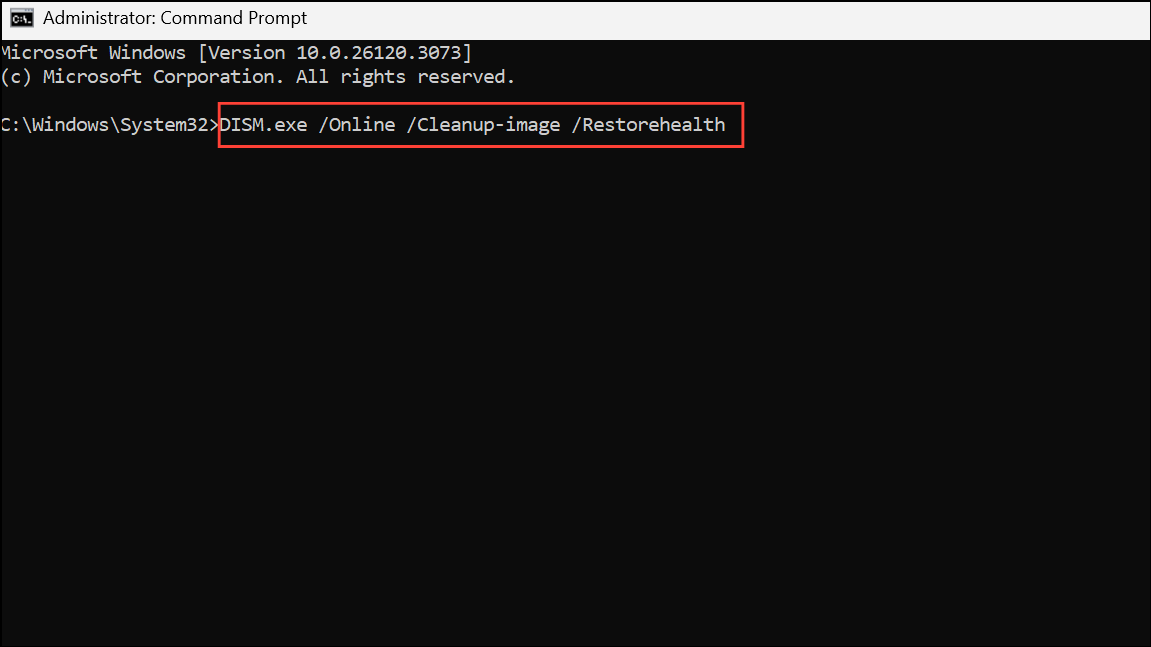
Step 3: After DISM completes, run the System File Checker to scan and repair system files:
sfc /scannow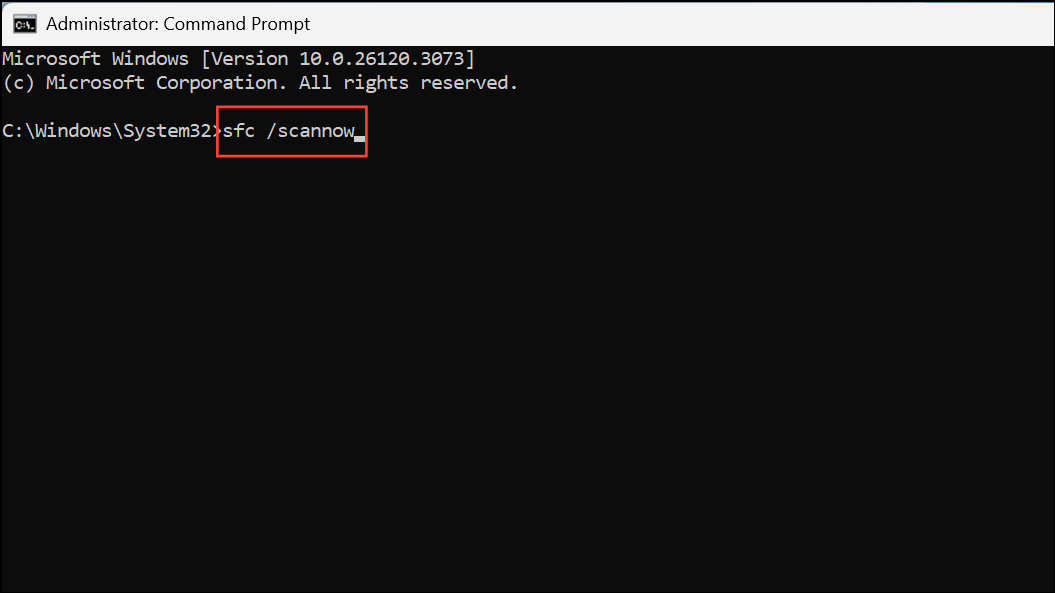
Wait for both scans to finish. If either tool finds and fixes issues, restart your PC and test File Explorer again.
Identify and Disable Problematic Shell Extensions
Third-party shell extensions—such as those added by cloud storage apps or PDF tools—can conflict with File Explorer, especially after major Windows updates. Disabling these extensions can isolate the cause of right-click or navigation pane crashes.
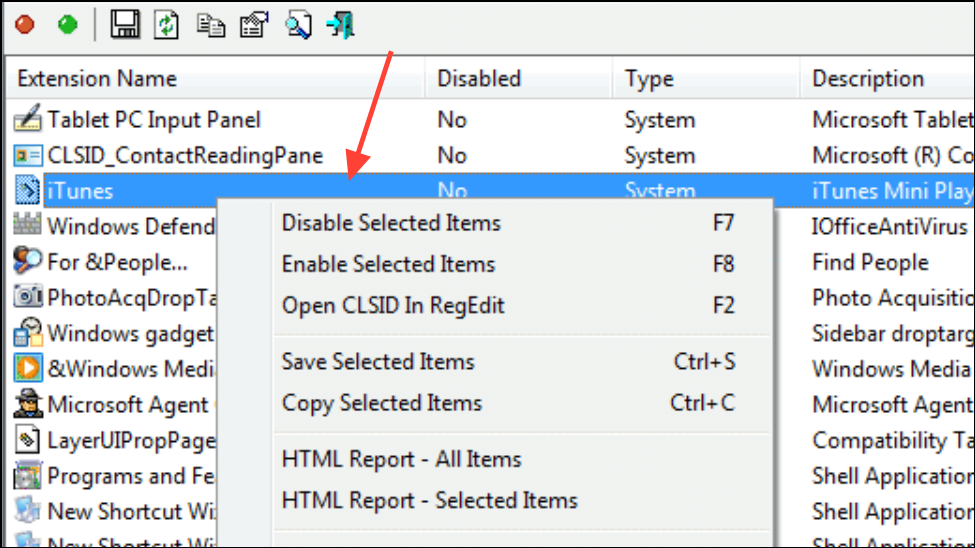
Step 1: Download and run ShellExView, a free utility for managing shell extensions.
Step 2: In ShellExView, sort the list by Company or Type. Disable all non-Microsoft extensions by selecting them, right-clicking, and choosing Disable Selected Items.
Step 3: Restart your computer and check if the File Explorer crashes persist. If stability returns, re-enable extensions one by one to find the specific culprit.
Common offenders include extensions from Adobe, iCloud, or desktop search tools. If you identify a problematic app, consider uninstalling or updating it.
Restart Windows Explorer Process
Restarting the Windows Explorer process can quickly resolve temporary glitches without rebooting the entire system.
Step 1: Press Ctrl + Shift + Esc to open Task Manager.
Step 2: Scroll down to Windows Explorer in the Processes tab. Right-click it and select Restart.
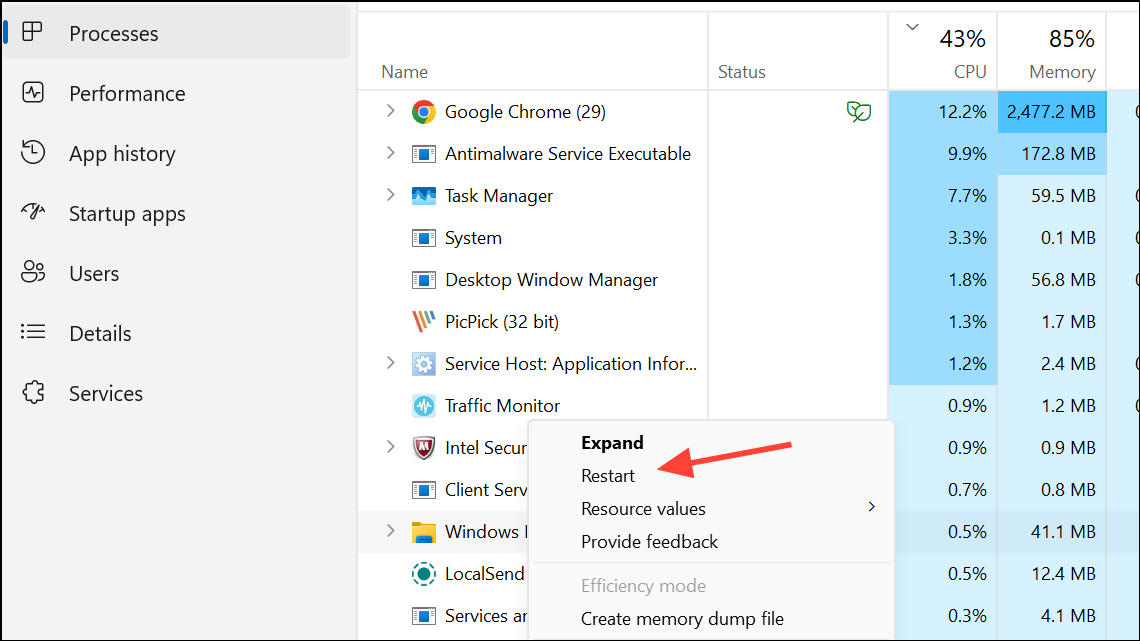
This reloads the Explorer interface and may fix issues caused by stuck processes or memory leaks.
Perform a Clean Boot to Isolate Software Conflicts
Some background programs or startup services may interfere with File Explorer after updates. A clean boot starts Windows with only essential Microsoft services, allowing you to identify conflicts.
Step 1: Press Win + R, type msconfig, and press Enter.
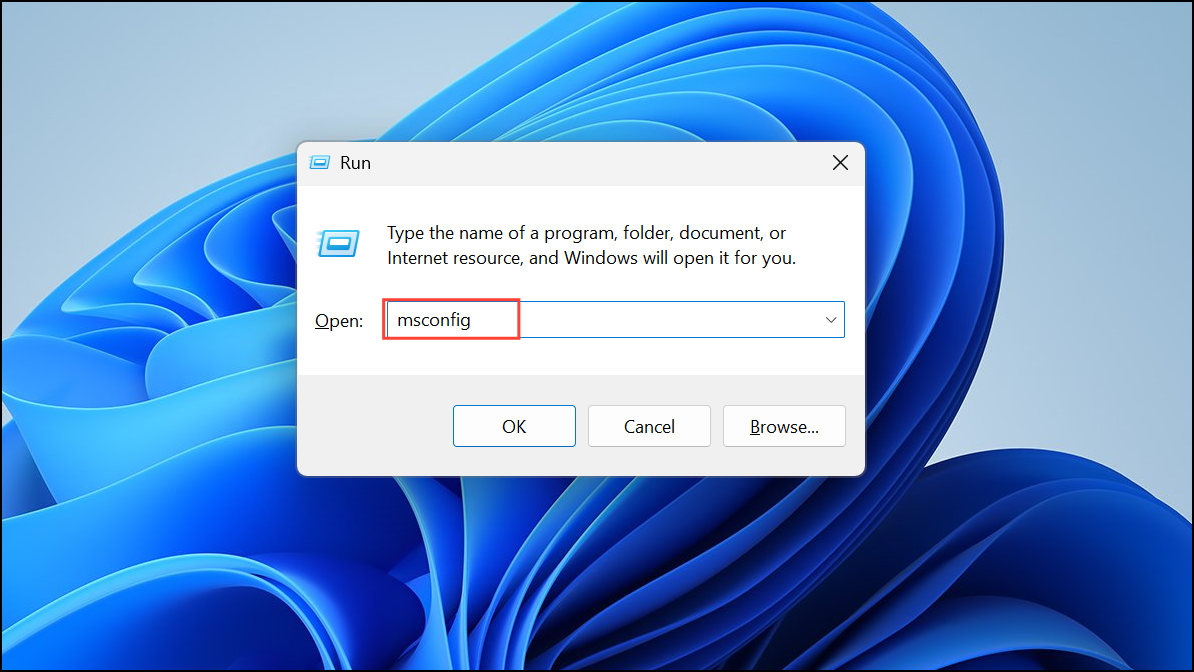
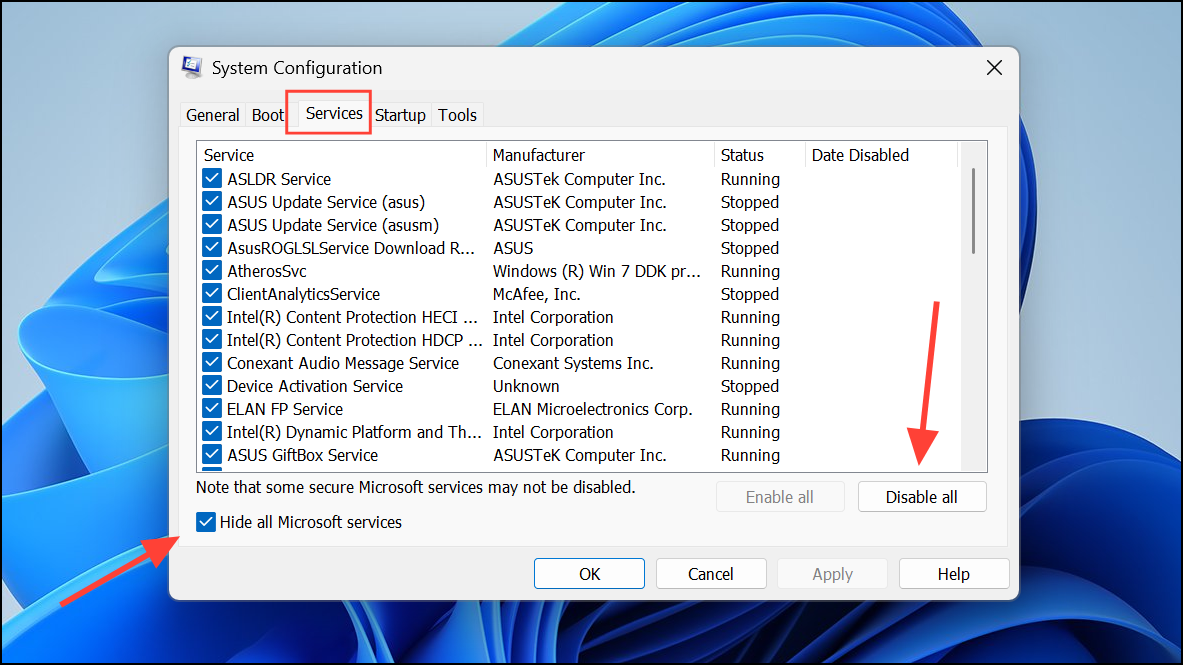
Step 2: In the System Configuration window, go to the Services tab. Check Hide all Microsoft services, then click Disable all.
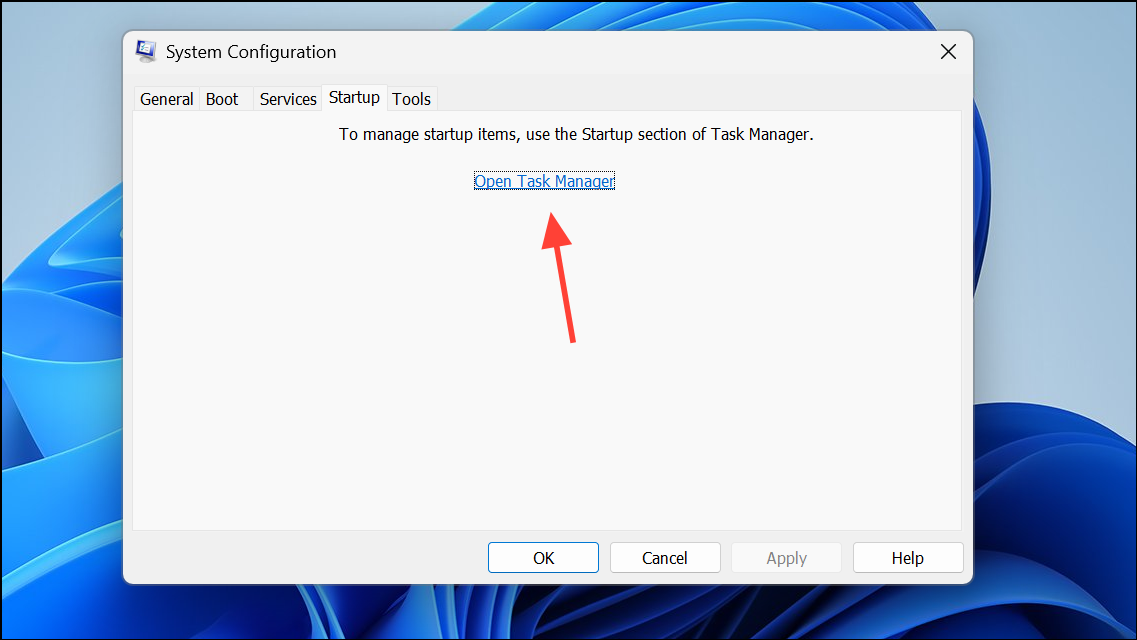
Step 3: Switch to the Startup tab and click Open Task Manager. Disable all startup items here by right-clicking each one and selecting Disable.
Step 4: Restart your PC. If File Explorer works in this mode, gradually re-enable services and startup items to pinpoint the conflicting software.
Uninstall Recent Updates or Roll Back Windows 11
If Explorer began crashing immediately after a specific update—such as KB5046633—removing that update or rolling back Windows can restore stability while waiting for a fix.
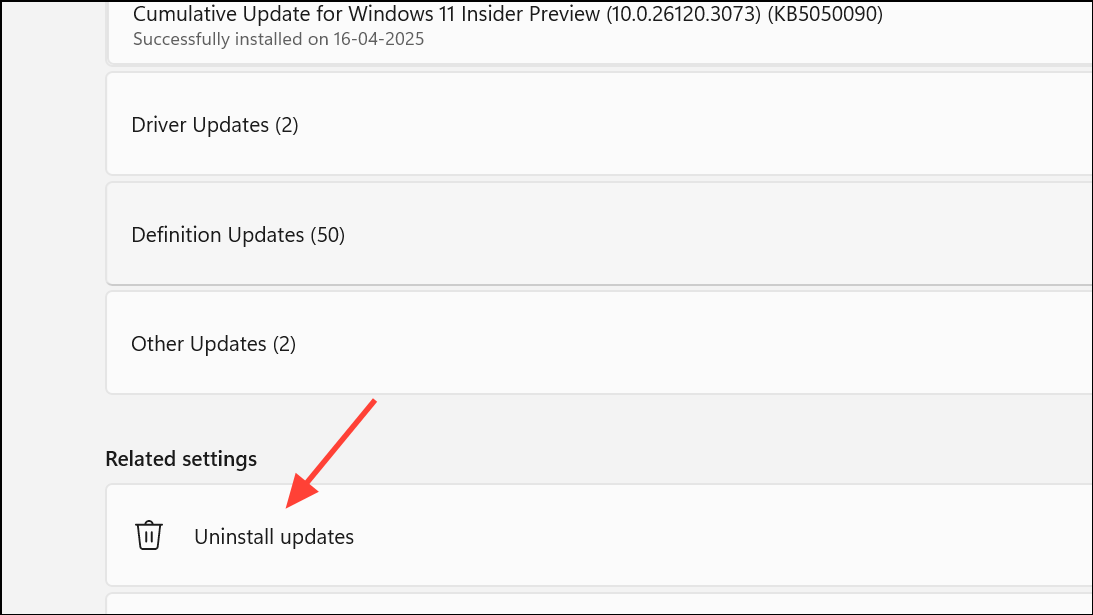
Step 1: Open Settings and go to Windows Update > Update history > Uninstall updates.
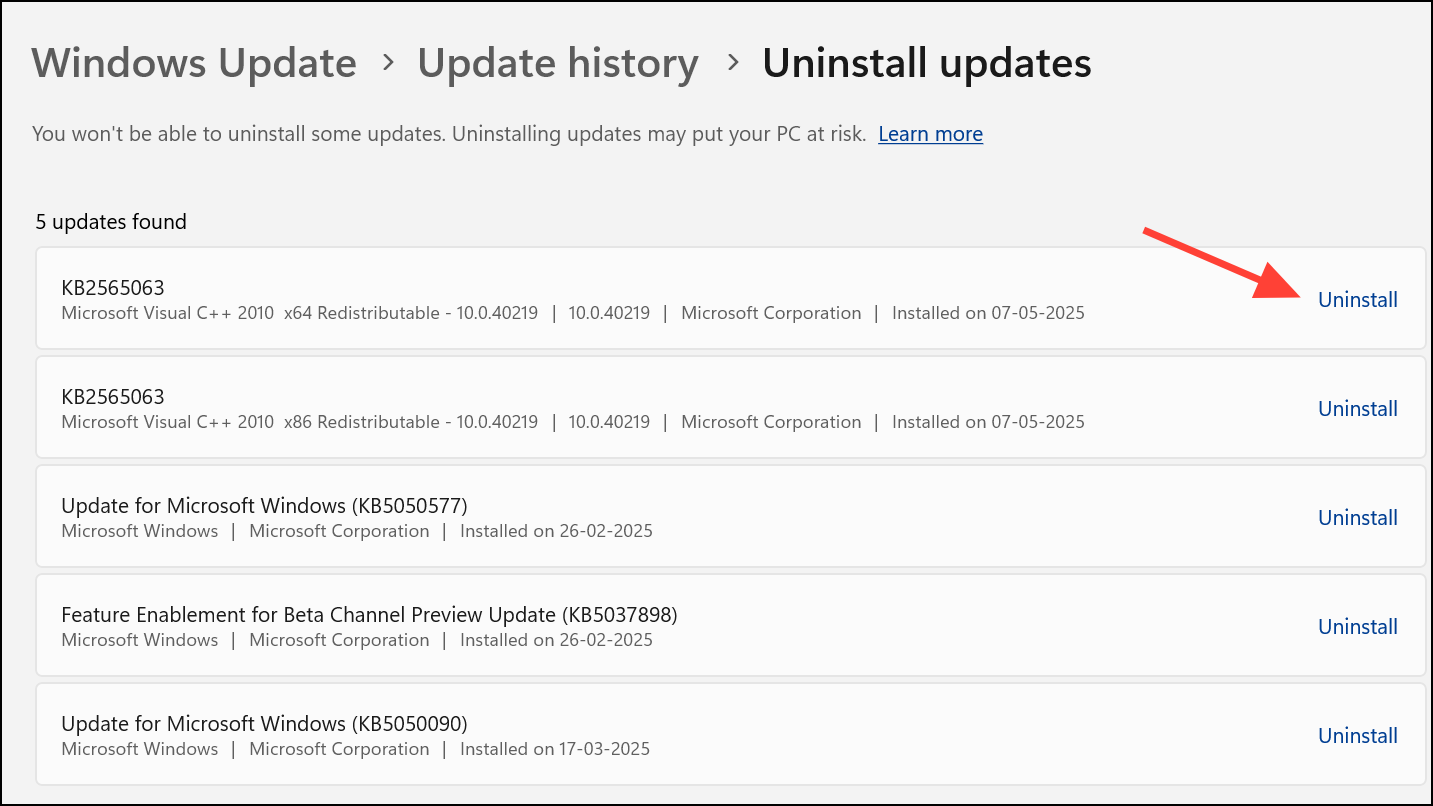
Step 2: Locate the most recent update, select it, and click Uninstall. Restart your PC after removal.
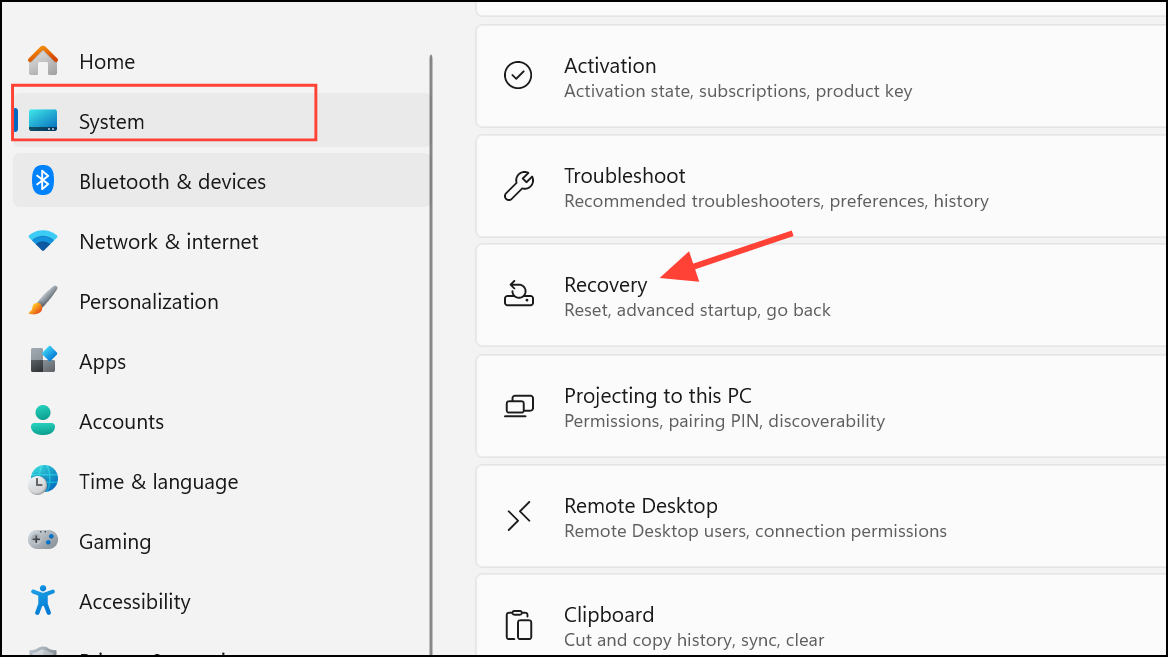
Step 3: To roll back to a previous Windows version, go to Settings > System > Recovery, then use the Go back option under Recovery options. Follow the on-screen instructions to complete the rollback.
After uninstalling the update, use the wushowhide tool to hide the problematic update and prevent automatic reinstallation.
Additional Troubleshooting Steps
- Update Graphics Drivers: Outdated or incompatible display drivers can cause Explorer to become unresponsive. Use Device Manager to update your graphics drivers or download the latest version from your GPU manufacturer’s website.
- Scan for Malware: Run a full scan with Windows Security or a trusted antivirus to rule out malware interfering with system processes.
- Create a New User Profile: If the issue is limited to your account, set up a new local user profile via Settings > Accounts > Other users. Log in with the new profile to test Explorer stability.
- Clear File Explorer History: Open File Explorer Options, go to the General tab, and use the
Clearbutton under Privacy.
Applying these steps restores File Explorer’s stability after the 24H2 update, letting you access files and the taskbar without repeated crashes. If issues persist, monitor Microsoft’s update channels for official fixes or further instructions.