
Unexpected network profile changes in Windows 11 can disrupt printer access, file sharing, and even internet connectivity. When Windows repeatedly switches your network between Public and Private profiles—or keeps creating new network profiles with incrementing numbers—it often traces back to driver issues, service misconfigurations, or security software conflicts. Addressing the root cause not only stabilizes your network settings but also prevents repeated interruptions after system updates or restarts.
Use PowerShell to Force Network Profile
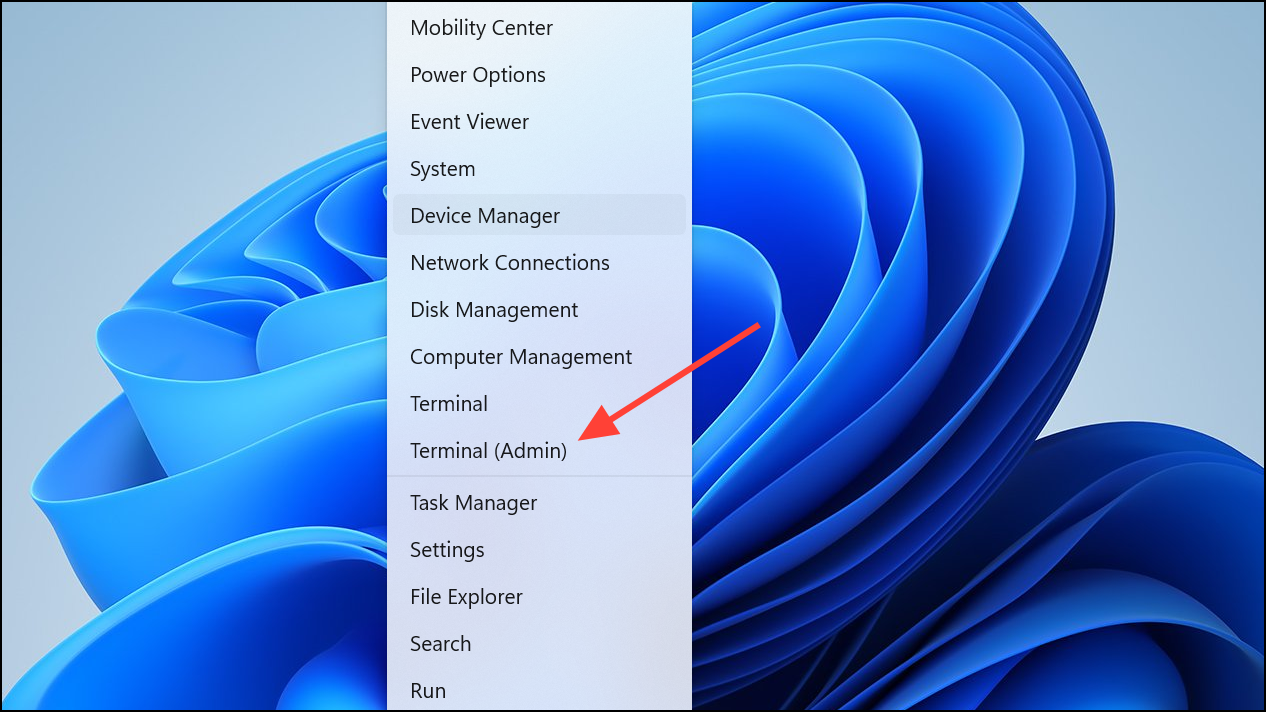
Step 1: Open PowerShell as an administrator. Press Windows key + X and select Windows Terminal (Admin) or PowerShell (Admin) from the menu.
Step 2: Enter the following command to set the active network profile to Private:
Get-NetConnectionProfile | Set-NetConnectionProfile -NetworkCategory Private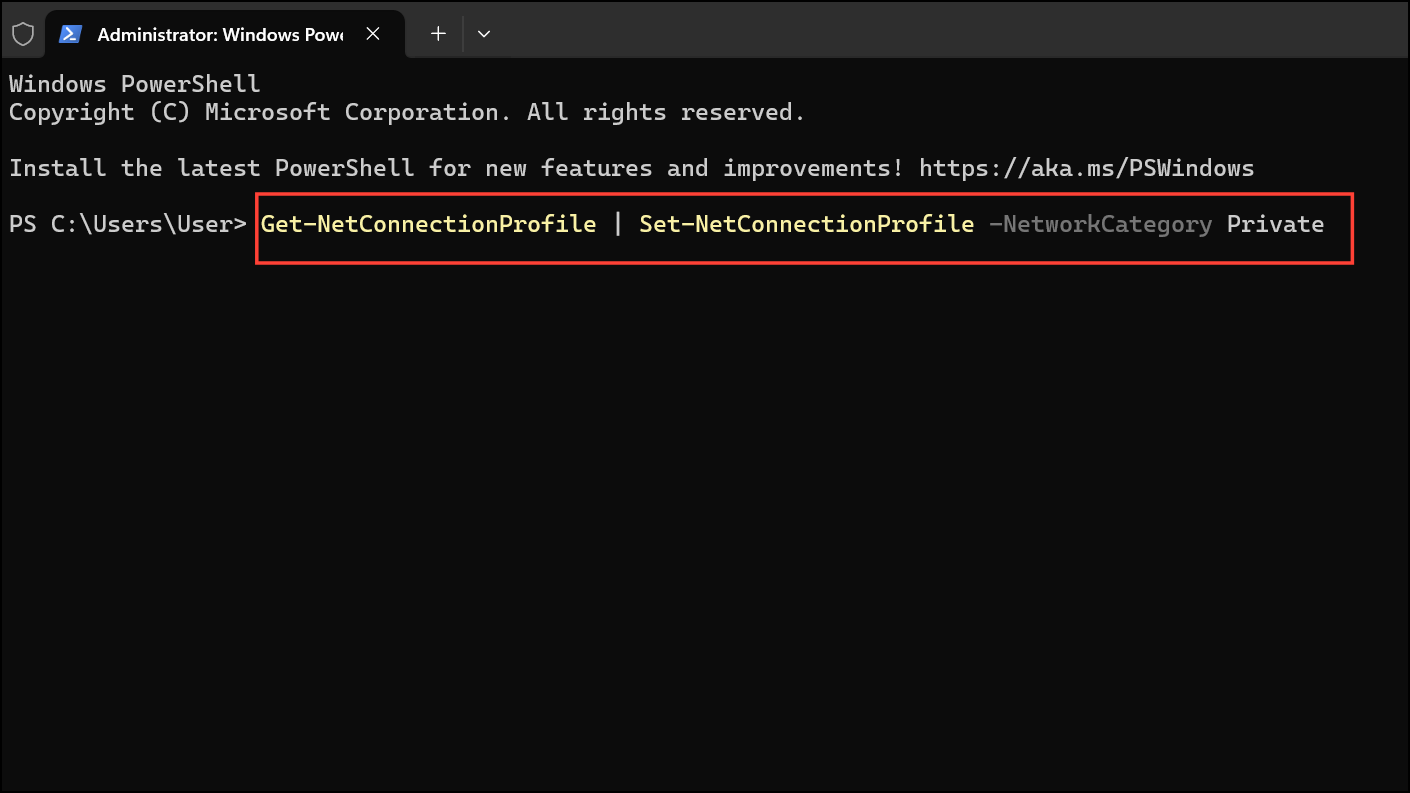
This command forces the current network to use the Private profile, which is necessary for file and printer sharing. To automate this change after every reboot, create a batch file with the above command and place it in your Startup folder. Always run the script as administrator to allow changes to network settings.
Delete Duplicate or Corrupt Network Profiles
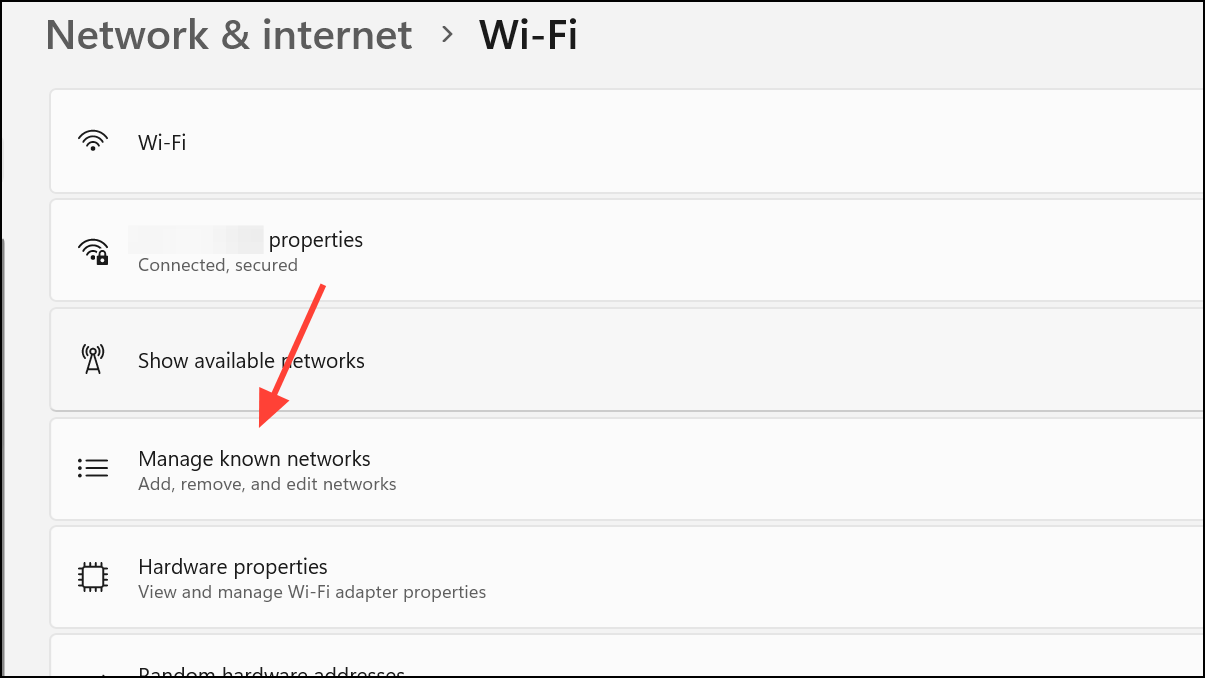
Step 1: Open Windows Settings by pressing Windows key + I. Navigate to Network & Internet > Wi-Fi > Manage Known Networks.
Step 2: Click Forget next to each saved network, including the current one. This removes all saved profiles that might be conflicting or duplicated.
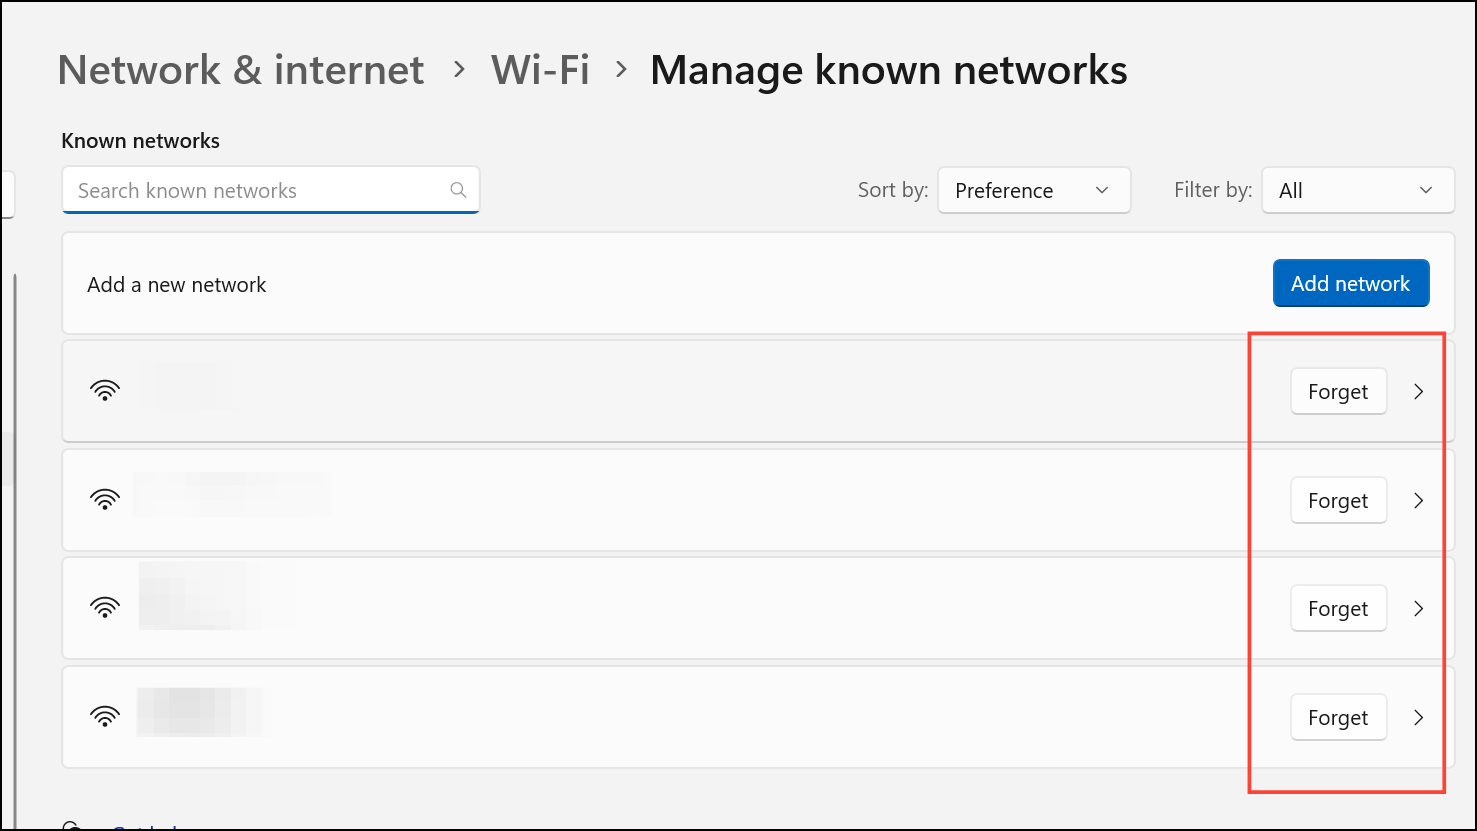
Step 3: Restart your computer, then reconnect to your preferred network. This creates a fresh, single profile for the connection, reducing confusion and preventing automatic switching.
Check and Restart WLAN AutoConfig Service
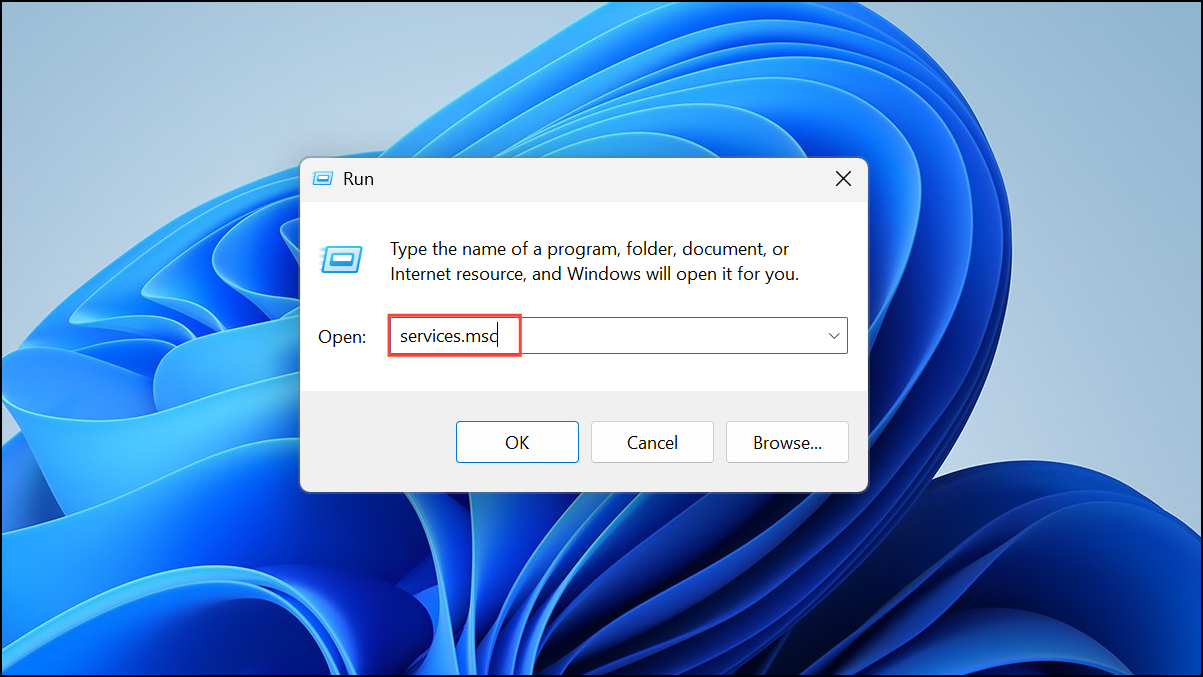
Step 1: Open the Services manager by pressing Windows key + R, typing services.msc, and pressing Enter.
Step 2: Scroll down to WLAN AutoConfig. Right-click and select Start if not running. Then right-click again, choose Properties, and set Startup type to Automatic.
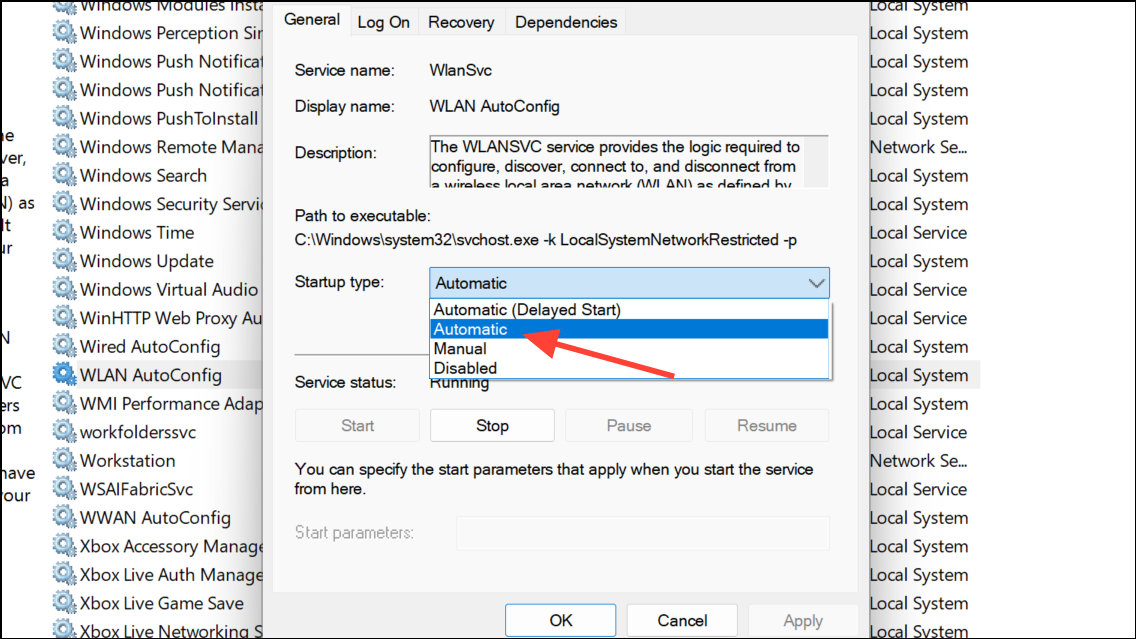
This ensures Windows can properly manage Wi-Fi profiles and prevents unexpected profile changes triggered by service interruptions.
Reinstall or Update Network Drivers
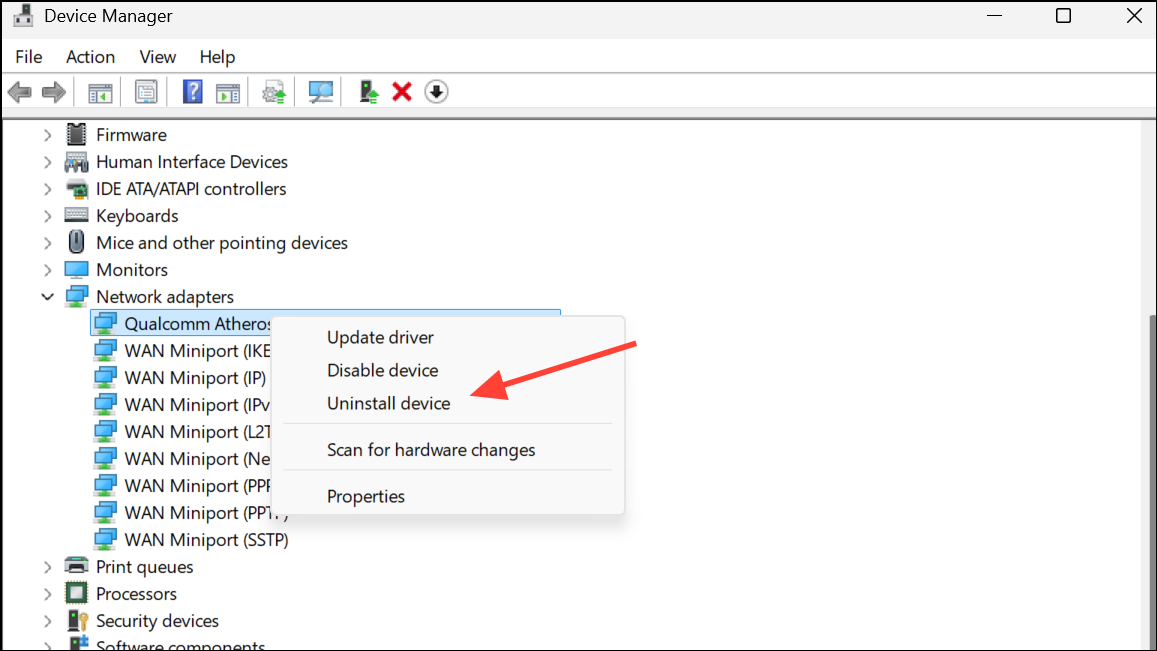
Step 1: Open Device Manager by pressing Windows key + X and selecting Device Manager.

Step 2: Expand Network adapters, right-click your network device, and choose Uninstall device. Confirm and restart your PC. Windows will reinstall the driver automatically.
If the issue persists, download the latest driver from your device manufacturer's website and install it manually. Outdated or corrupt drivers can cause Windows to misidentify connections, leading to new profiles or profile switching.
Change Network Profile via Windows Registry
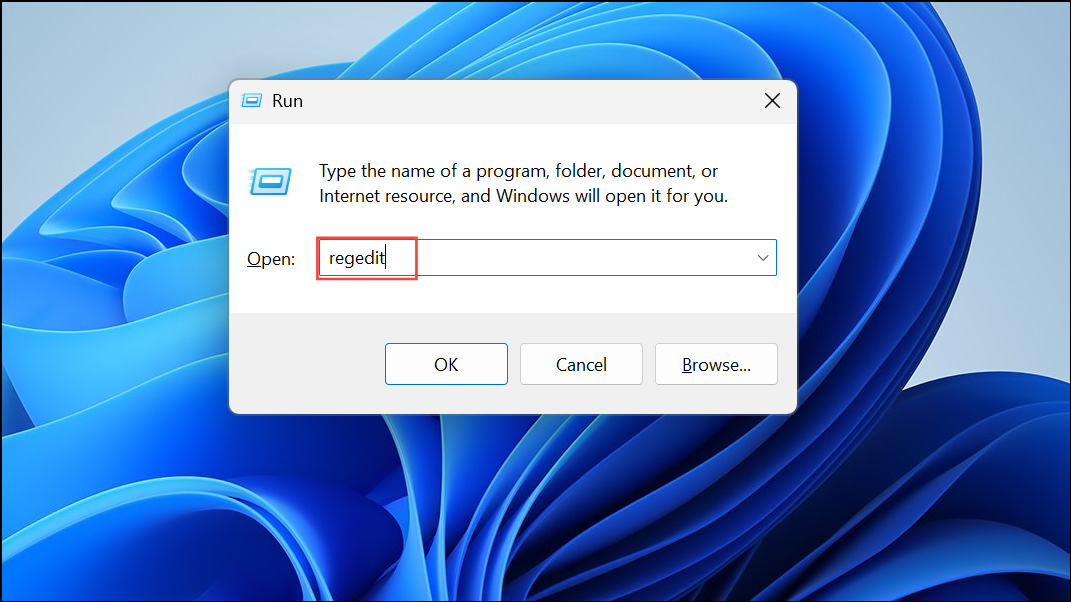
Step 1: Press Windows key + R, type regedit, and press Enter to open the Registry Editor. Always back up your registry before making changes.
Step 2: Navigate to HKEY_LOCAL_MACHINE\SOFTWARE\Microsoft\Windows NT\CurrentVersion\NetworkList\Profiles.
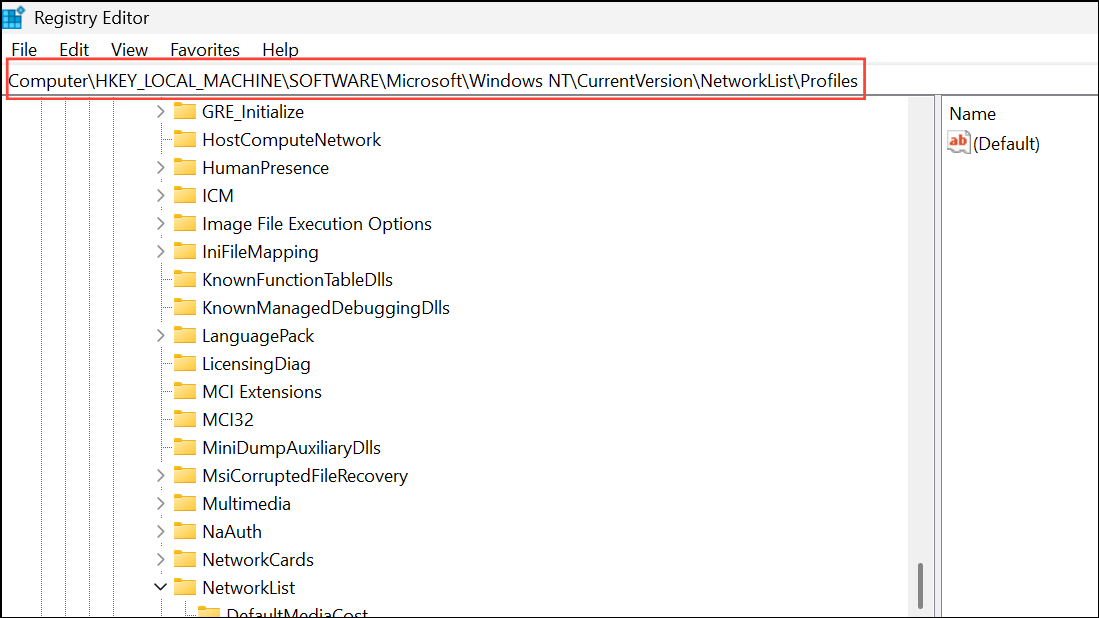
Step 3: Browse each subfolder to find your active network (identified by the ProfileName key). Double-click the Category value and set it to 1 for Private or 0 for Public. Click OK and close the editor.
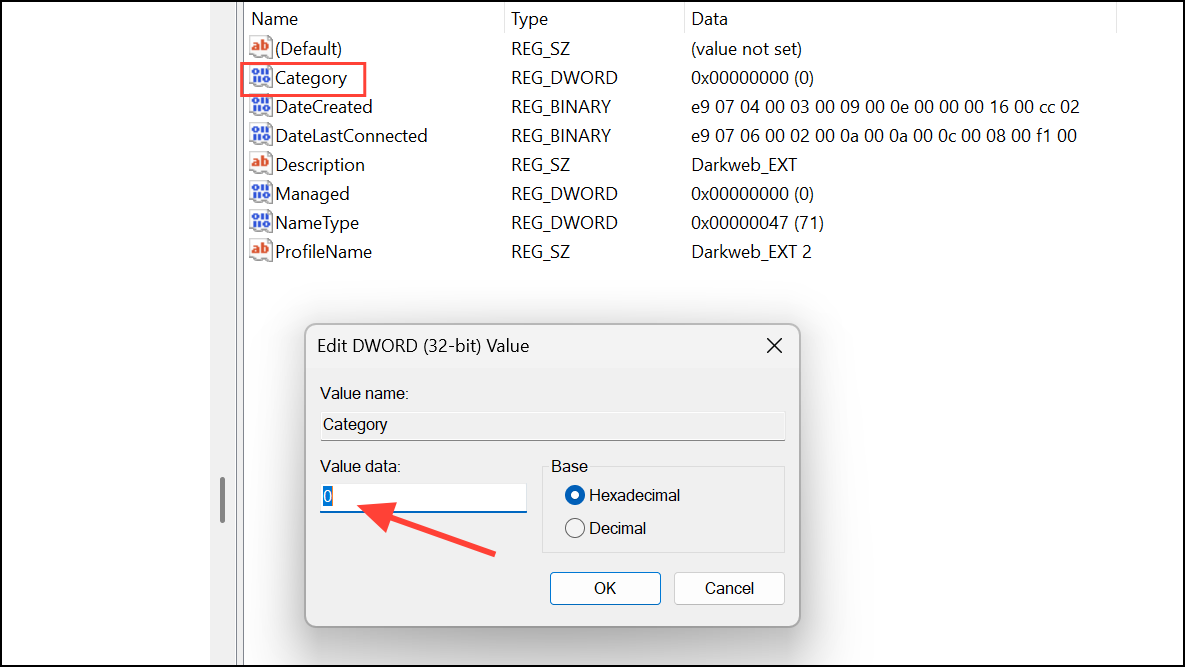
This method directly assigns the desired profile type, bypassing some UI bugs or policy overrides.
Review Antivirus and Firewall Settings
Third-party security software can override Windows’ network profile settings, especially if configured to enforce stricter policies for unknown networks. Open your antivirus or firewall application and check for any network-related settings that might force a Public or Private profile. Adjust them to match your intended configuration, or temporarily disable the security software to see if profile switching stops.
Reset Network Settings
Step 1: Open Settings and go to Network & Internet > Advanced Network Settings. Click Network reset at the bottom of the page.
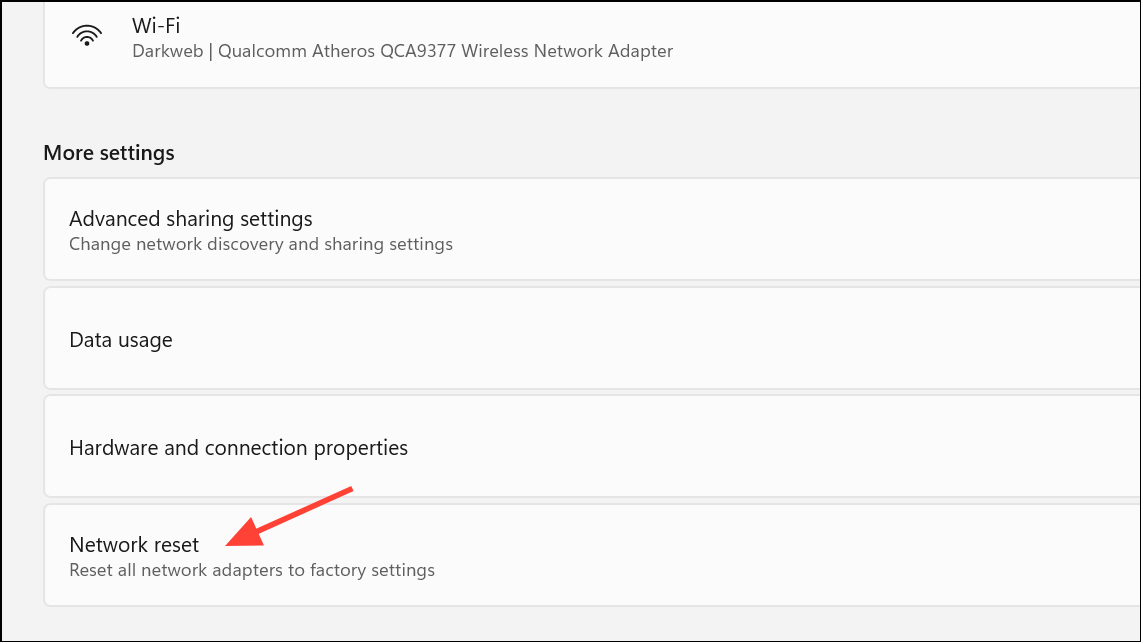
Step 2: Confirm the reset. Your PC will restart, and all network adapters and settings will return to defaults. You’ll need to reconnect to Wi-Fi networks and re-enter passwords.
This step is useful if previous fixes fail or if multiple network profiles and settings have become corrupted.
Additional Troubleshooting and Maintenance Tips
- Check for duplicate or unused network adapters in Device Manager and disable or remove them.
- If you use VPNs, ensure the VPN client isn’t creating new network profiles on every connection or restart.
- On systems with frequent profile creation (e.g., "Network 2", "Network 3"), DHCP lease changes or adapter resets may be the cause—try updating router firmware or using a static IP address.
- For advanced automation, use Task Scheduler to run the PowerShell command at every startup to enforce the preferred profile.
- If only one user profile is affected, create a new Windows user account and see if the issue persists there.
Stabilizing your network profile in Windows 11 often requires a combination of these methods. Regularly reviewing driver updates and security software settings will help keep your connection reliable for file sharing, printing, and internet access.