
Programs relying on NODE.dll fail to start or crash unexpectedly when this critical dynamic link library is missing or corrupted on Windows 11. Since NODE.dll supports core tasks for applications, especially those built with Node.js, its absence disrupts workflows and can prevent important software from running altogether. Addressing this issue involves restoring the file, repairing system integrity, and ensuring proper DLL registration.
Repair System Files Using SFC and DISM
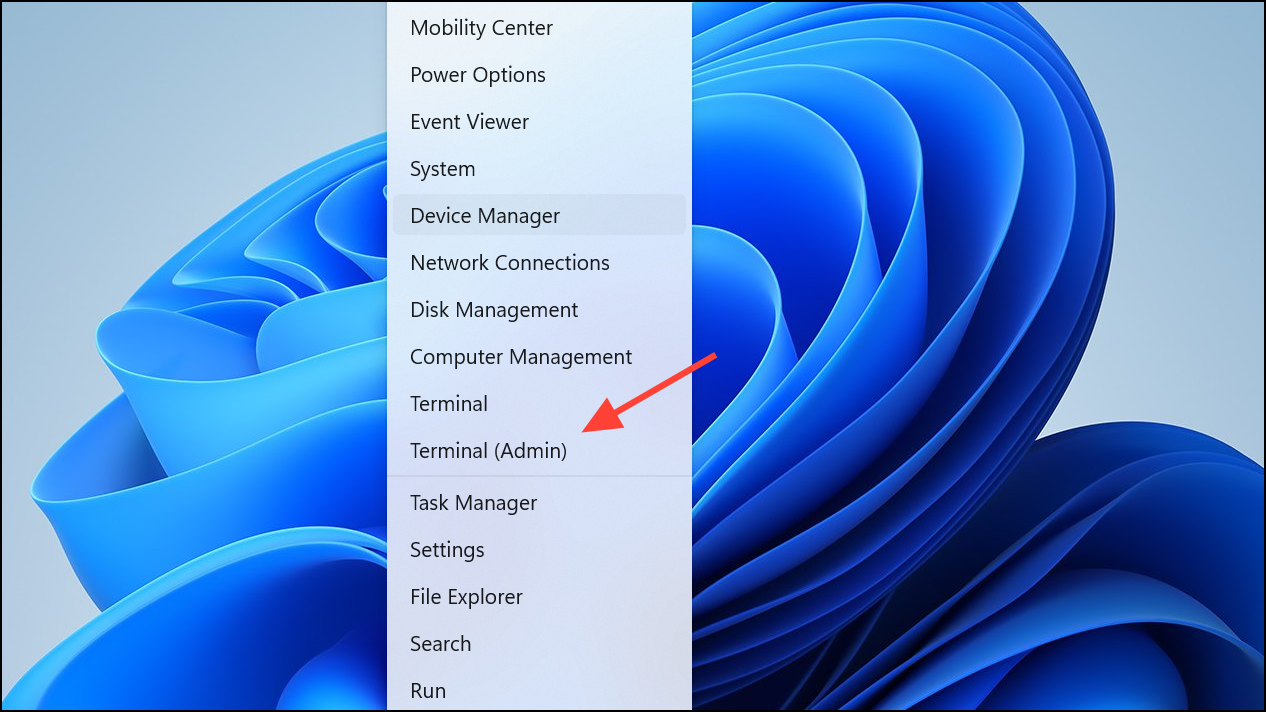
Step 1: Open the Command Prompt with administrative privileges. To do this, press Windows + X and select Command Prompt (Admin) or Windows Terminal (Admin) from the menu. This step is essential because system file repairs require elevated permissions.
Step 2: Run the System File Checker to scan for and repair corrupted or missing system files, including DLLs. In the Command Prompt, enter:
sfc /scannow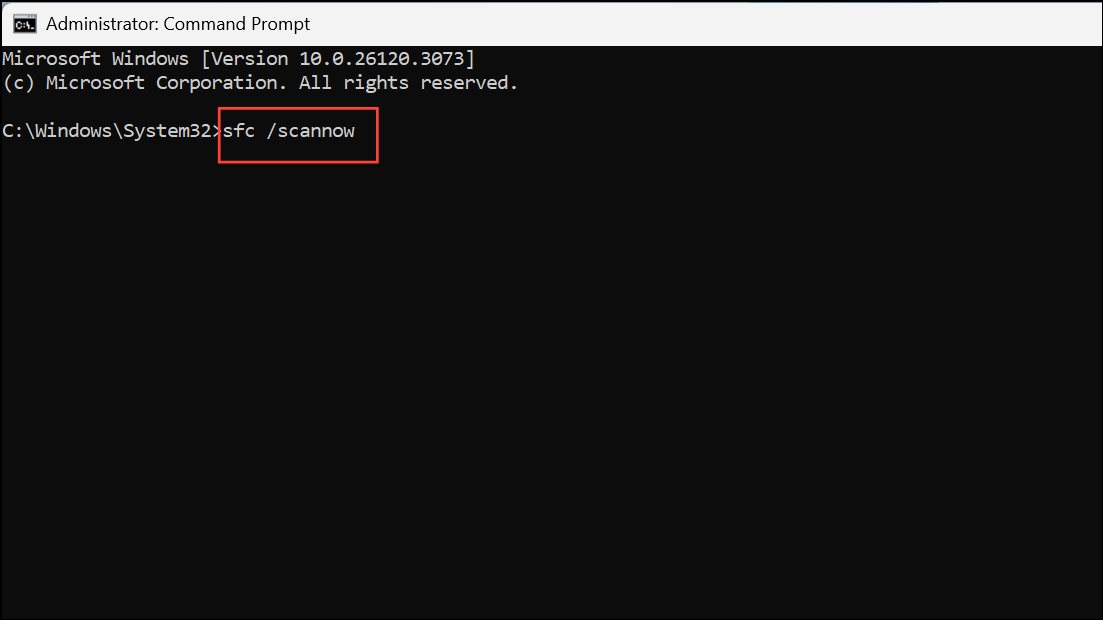
Wait for the scan to complete. This process can take several minutes. If issues are found and fixed, restart your computer and check if the NODE.dll error persists.
Step 3: If SFC reports unrepairable files or the issue continues, use the Deployment Image Servicing and Management (DISM) tool to restore the system image. In the same Command Prompt window, enter:
DISM /Online /Cleanup-Image /RestoreHealth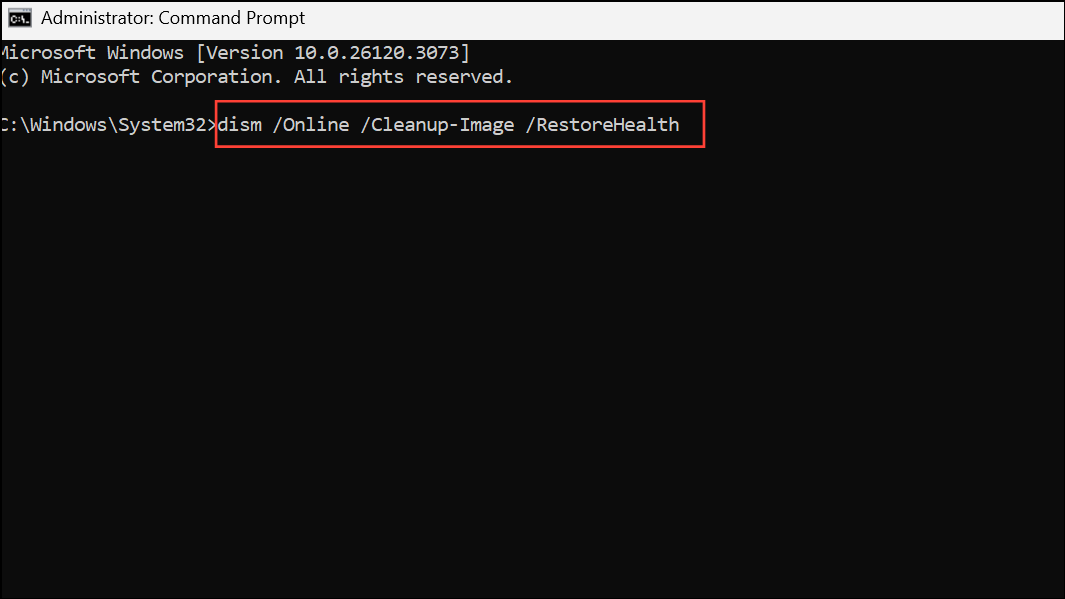
Allow the process to finish, which may take some time. Once completed, restart your computer again. DISM repairs deeper system corruption that SFC cannot address, increasing the chances of resolving stubborn DLL errors.
Re-register NODE.dll
Re-registering NODE.dll updates the system registry with the correct information about the DLL, which can fix errors caused by misregistration or corruption. This step is especially useful if the file exists but Windows cannot use it properly.
Step 1: Open Command Prompt as an administrator, as described above.
Step 2: First, unregister the DLL to remove any existing (possibly incorrect) registration data. Enter:
regsvr32 /u node.dll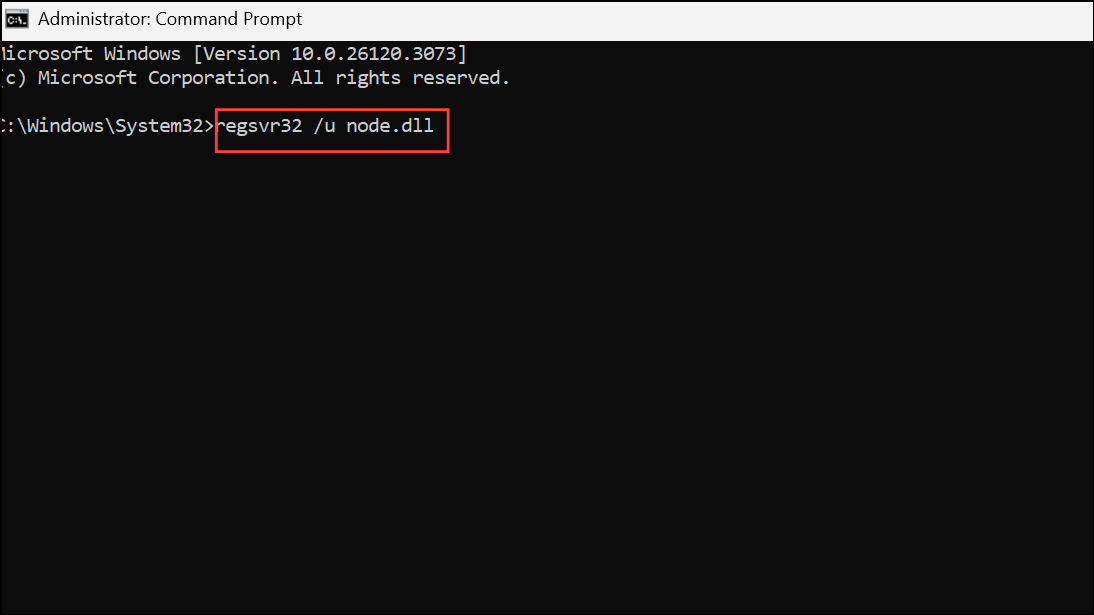
This command tells Windows to remove NODE.dll from the registry.
Step 3: Next, re-register the DLL by entering:
regsvr32 /i node.dll
This command creates a fresh registry entry for NODE.dll. After running both commands, restart your computer to ensure changes take effect.
If you see an error that the module failed to load, confirm that NODE.dll is present in the correct folder. For 64-bit Windows, place 32-bit DLLs in %windir%\SysWOW64 and 64-bit DLLs in %windir%\System32. Adjust the path if necessary and repeat the registration steps.
Restore or Replace the NODE.dll File
If NODE.dll is missing entirely, restoring it from a reliable source is essential. Avoid downloading DLL files from untrusted websites, as these can introduce security risks.
Step 1: Check the Recycle Bin if you suspect the file was accidentally deleted. If found, right-click and select Restore.
Step 2: If you have a backup or system restore point, use Windows' Restore previous versions feature on the containing folder to recover NODE.dll.
Step 3: Alternatively, copy NODE.dll from another computer running the same Windows 11 version and architecture. Place the file in the same directory as the affected application's launcher, or in the correct system folder as mentioned above.
Step 4: After restoring the file, repeat the registration steps outlined above to ensure Windows recognizes the new DLL.
Reinstall the Affected Application
In some cases, the application itself is responsible for managing its copy of NODE.dll. If the error only appears with one program, reinstalling that program can restore the correct DLL version and resolve registration issues.
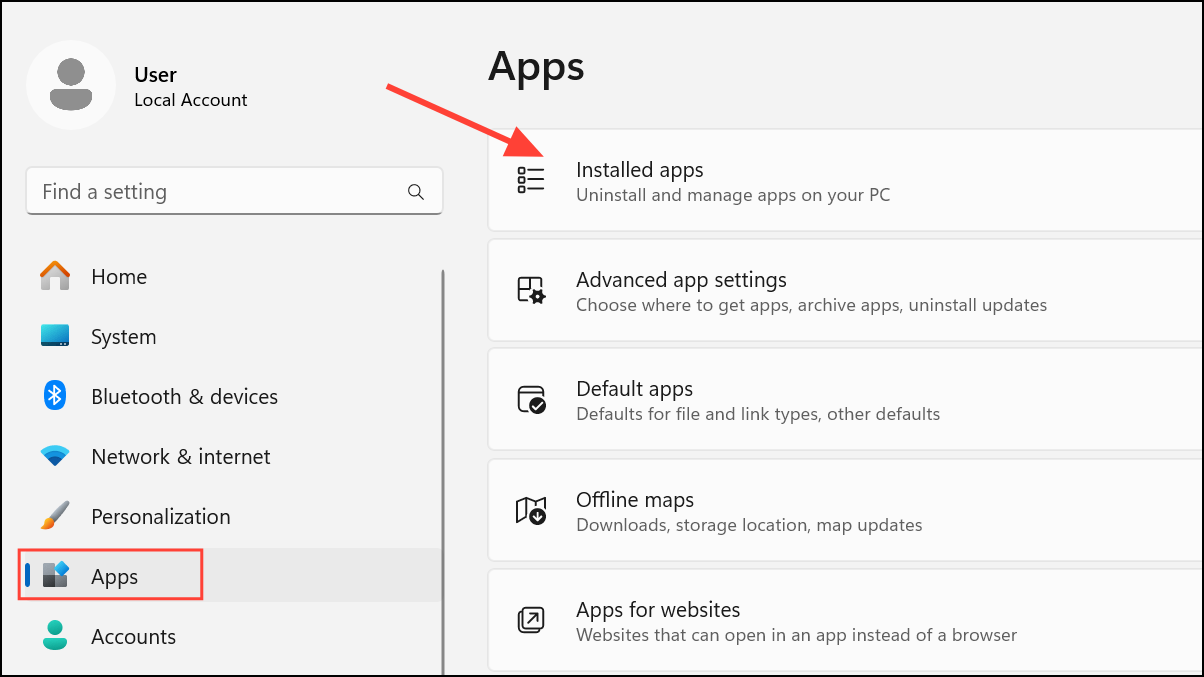
Step 1: Open Settings using Windows + I, then navigate to Apps > Installed Apps (or Apps & Features).
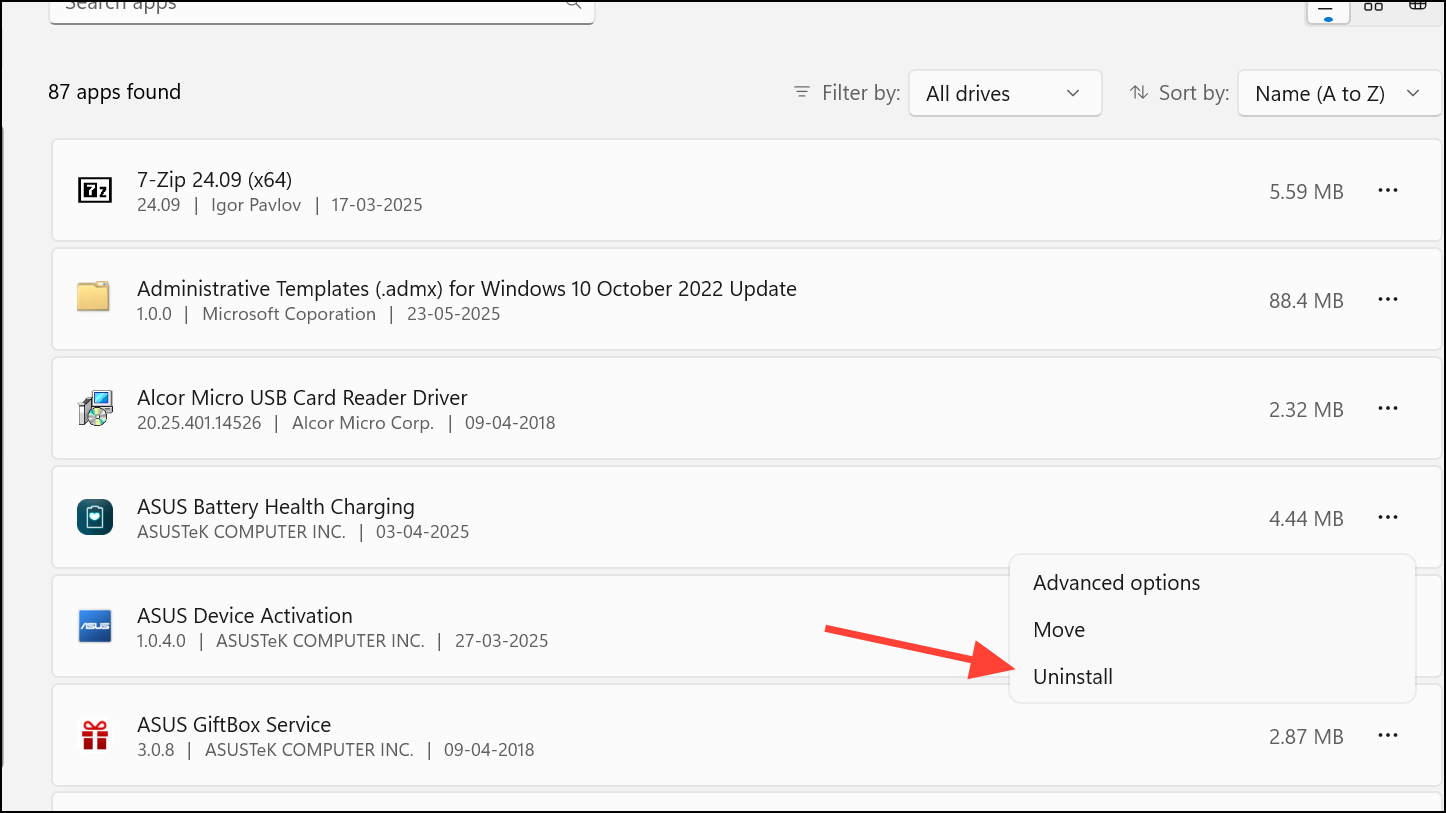
Step 2: Locate the problematic application, select it, and choose Uninstall. Follow the prompts to remove it completely.
Step 3: Download the latest version of the application from its official website and install it. This process ensures all required files, including NODE.dll, are properly installed and registered.
Update Windows 11
Windows updates often include fixes for system file issues and compatibility problems. Outdated system files can interfere with DLL registration and cause errors.
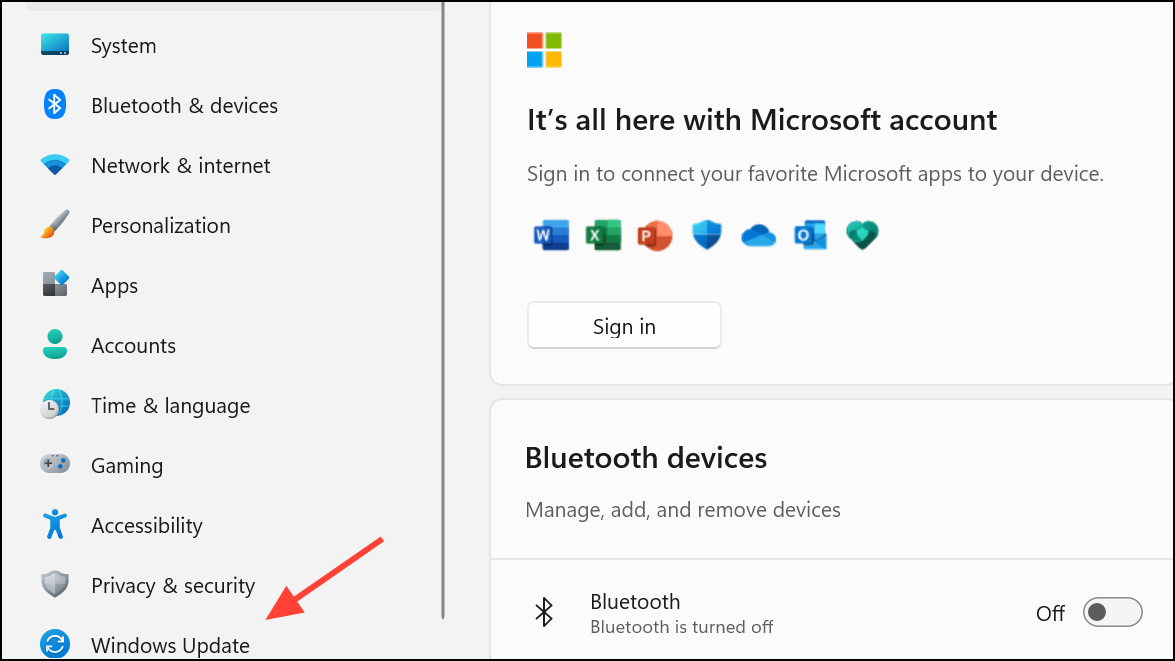
Step 1: Open Settings and go to Windows Update.
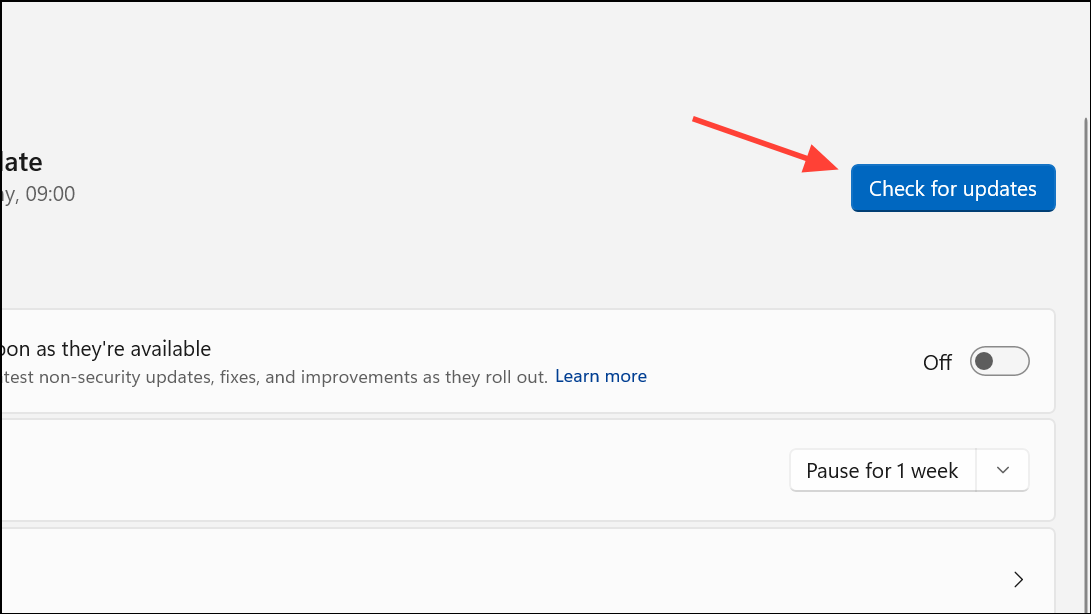
Step 2: Click Check for updates and install any available updates. Restart your computer after updates are applied.
Keeping Windows current minimizes the risk of missing or incompatible DLLs and strengthens overall system stability.
Scan for Malware
Malicious software can corrupt or delete DLL files, including NODE.dll. Performing a security scan addresses this risk and prevents recurring errors.
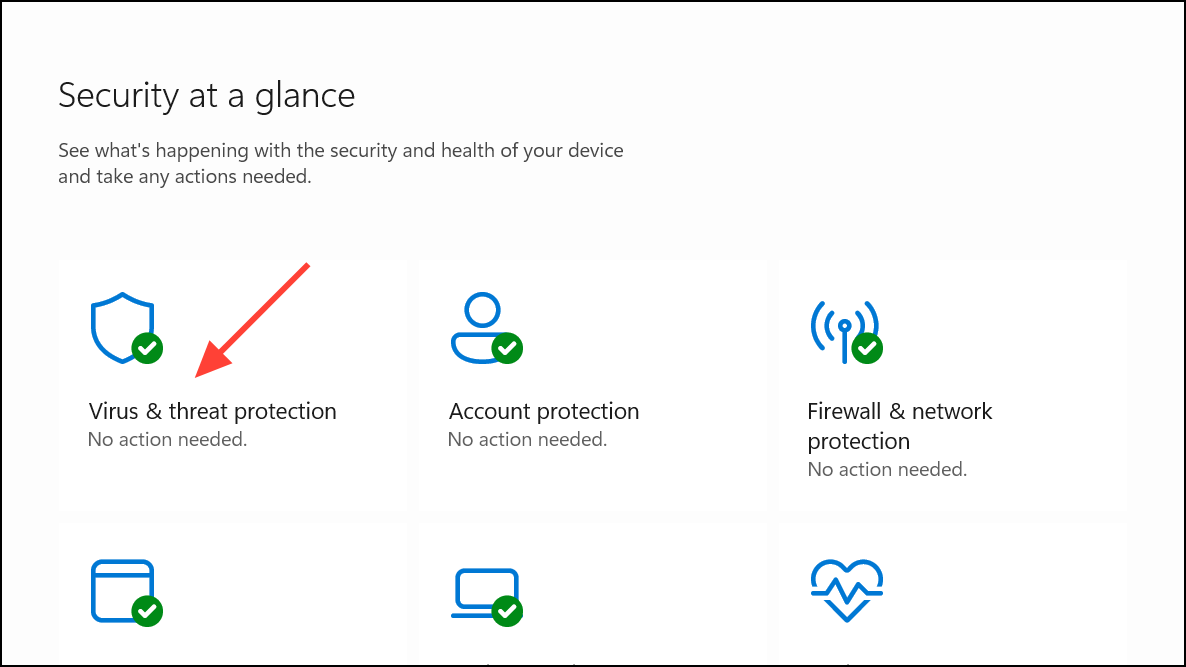
Step 1: Open Windows Security and select Virus & threat protection.
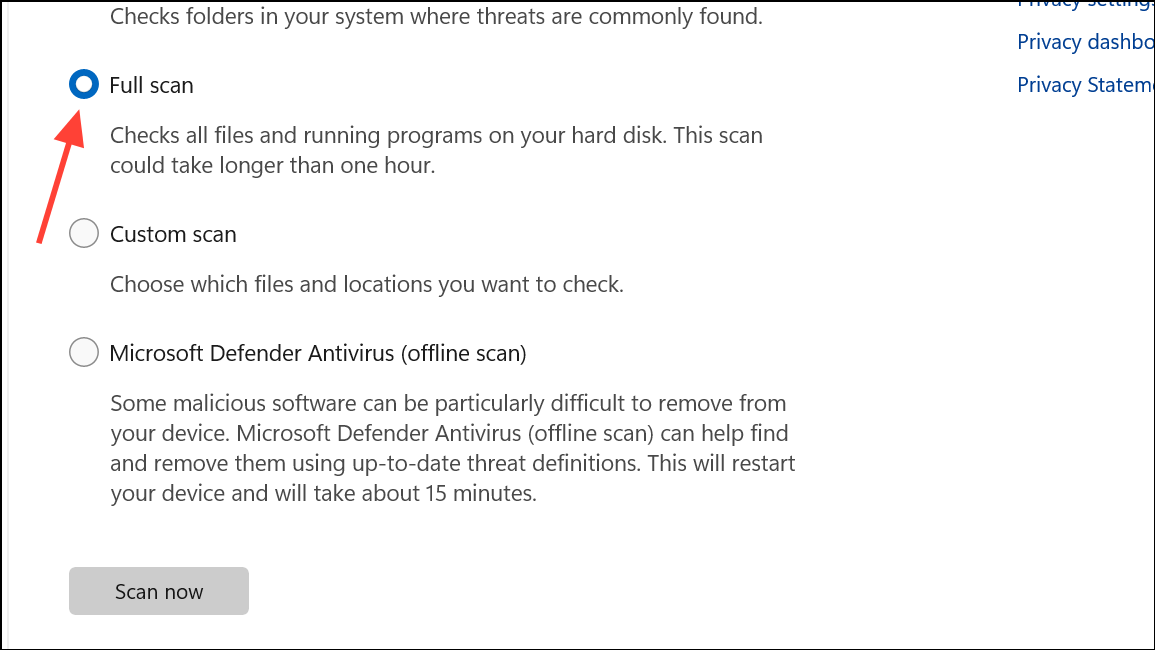
Step 2: Run a full scan to detect and remove any threats. You may also use a reputable third-party antivirus for a second opinion.
After removing threats, repair or restore NODE.dll as needed using the steps above.
Reinstall Node.js (If Applicable)
For applications built on Node.js, the NODE.dll file is often bundled with the Node.js runtime. Corruption or incomplete installation of Node.js can trigger DLL errors.
Step 1: Uninstall Node.js via Settings > Apps.
Step 2: Download the latest Node.js installer from the official website (https://nodejs.org) and install it.
This step ensures all necessary files, including NODE.dll, are restored to their correct locations and registered properly.
Following these targeted steps restores NODE.dll functionality, allowing affected programs to start and run correctly on Windows 11. Regular system maintenance and cautious file management help prevent similar DLL errors in the future.