
The “System Guard: Enabled but not running” message appears in Windows 11 when the operating system detects that System Guard is configured to protect your device but is unable to fully activate due to missing hardware support, misconfiguration, or disabled virtualization features. This state may leave your system without the intended boot-time integrity protections, potentially exposing it to firmware or boot-level attacks. Addressing this problem involves a combination of hardware checks, registry edits, policy adjustments, and firmware settings.
Verify Hardware Support and Firmware Settings
System Guard depends on specific hardware features such as UEFI firmware with Secure Boot, Trusted Platform Module (TPM) 2.0, and CPU virtualization extensions (Intel VT-x or AMD-V). Without these, System Guard cannot run, regardless of software configuration.
Step 1: Reboot your computer and enter the BIOS or UEFI setup utility. This usually involves pressing F2, Del, Esc, or F10 immediately after powering on, depending on your device manufacturer.
Step 2: Confirm that the following options are enabled:
- UEFI Boot Mode (not Legacy/CSM).
- Secure Boot.
- TPM 2.0 (sometimes called Intel PTT or AMD fTPM).
- CPU Virtualization (Intel VT-x or AMD-V).
- Kernel DMA Protection, if available.
Step 3: Save changes and exit BIOS/UEFI. Your system will restart with the updated firmware settings.
Configure System Guard in the Windows Registry
Even with correct hardware, System Guard must be enabled in the Windows registry for the operating system to attempt activation.
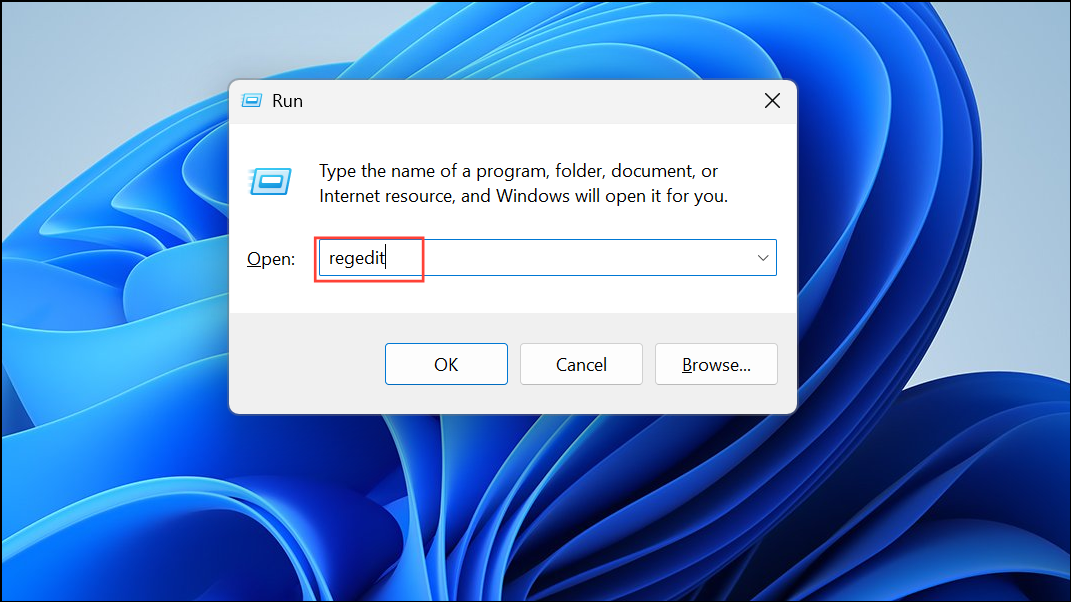
Step 1: Press Win + R, type regedit, and press Enter to launch the Registry Editor.
Step 2: Navigate to:
HKEY_LOCAL_MACHINE\SYSTEM\CurrentControlSet\Control\DeviceGuard\Scenarios\SystemGuard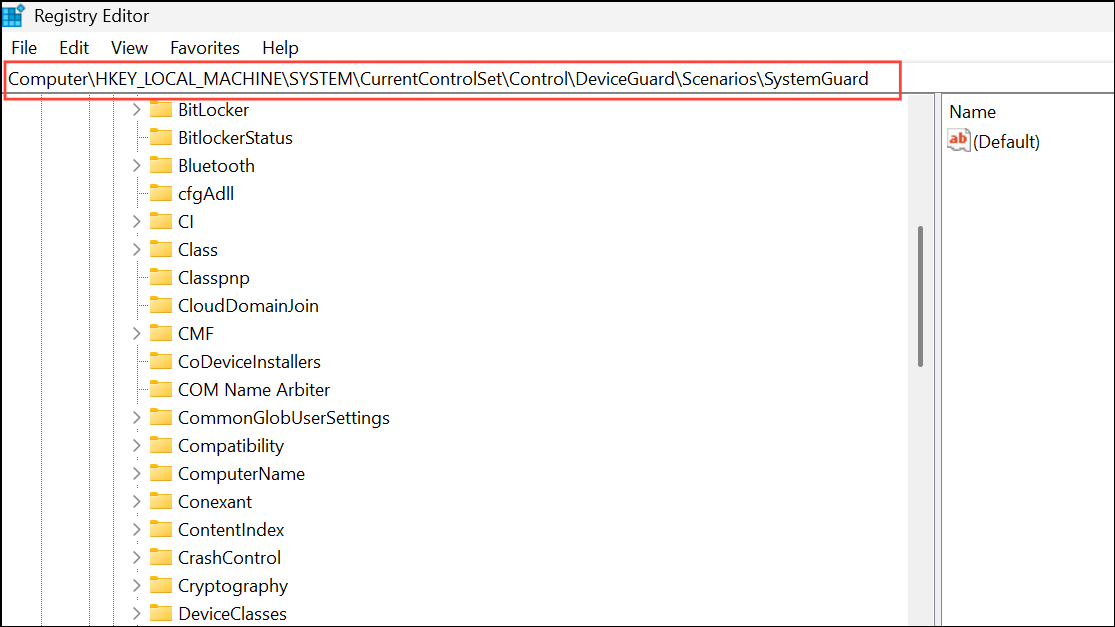
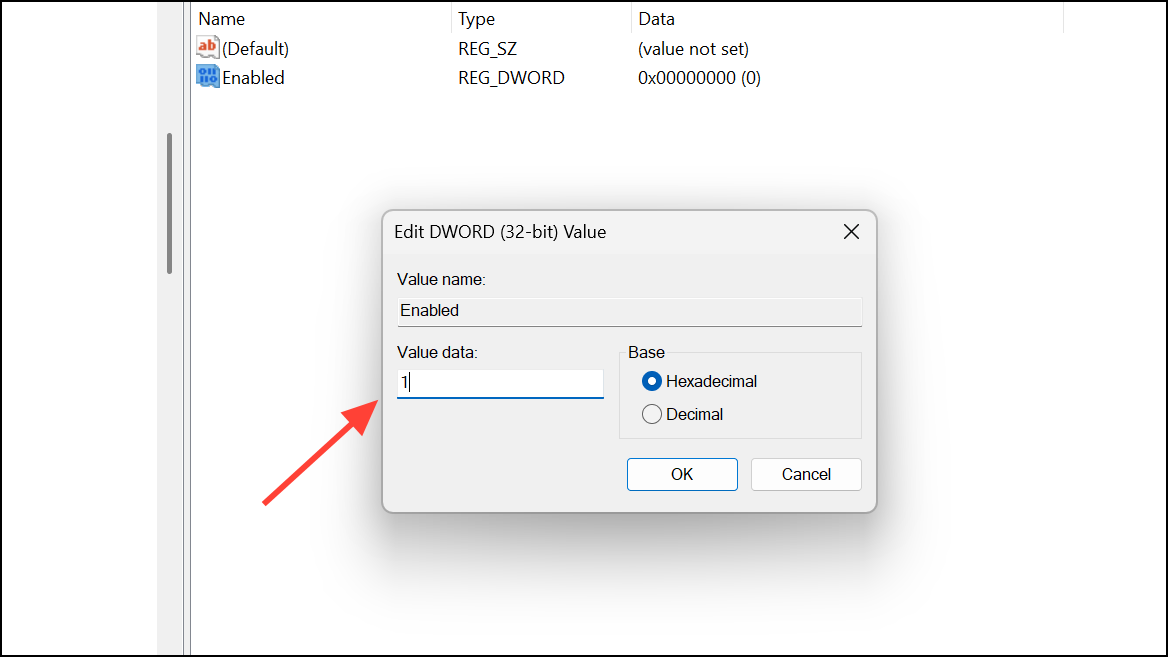
Step 3: In the right pane, locate the Enabled DWORD value. Double-click it and set its value to 1. If the SystemGuard key or Enabled value does not exist, right-click to create them as needed.
Step 4: Close the Registry Editor and restart your computer for changes to take effect.
Enable Virtualization-Based Security (VBS) and Configure Group Policy
System Guard relies on Virtualization-Based Security (VBS) to isolate sensitive processes. If VBS is disabled, System Guard cannot run.
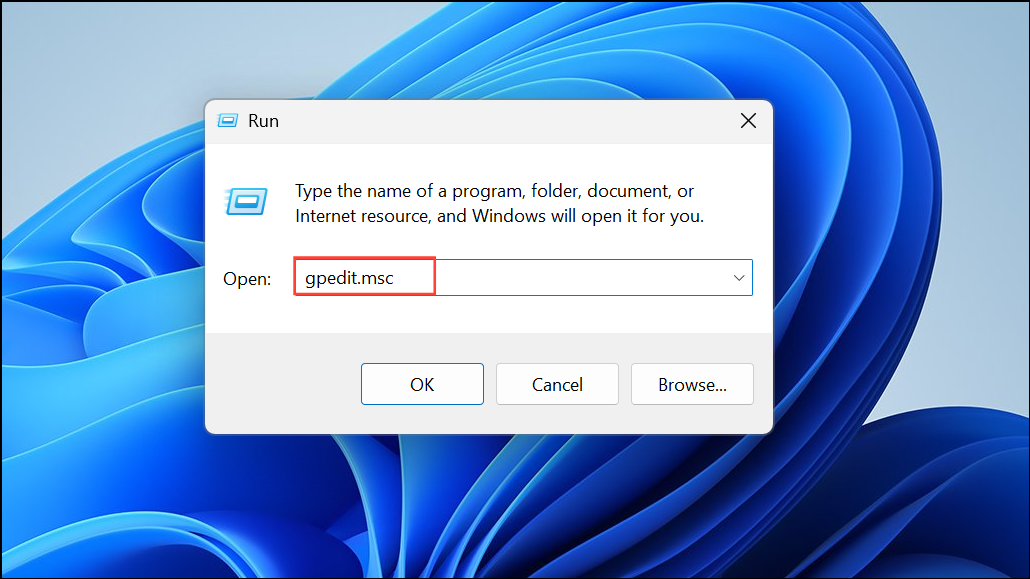
Step 1: Press Win + R, type gpedit.msc, and press Enter to open the Local Group Policy Editor.
Step 2: Navigate to:
- Computer Configuration > Administrative Templates > System > Device Guard
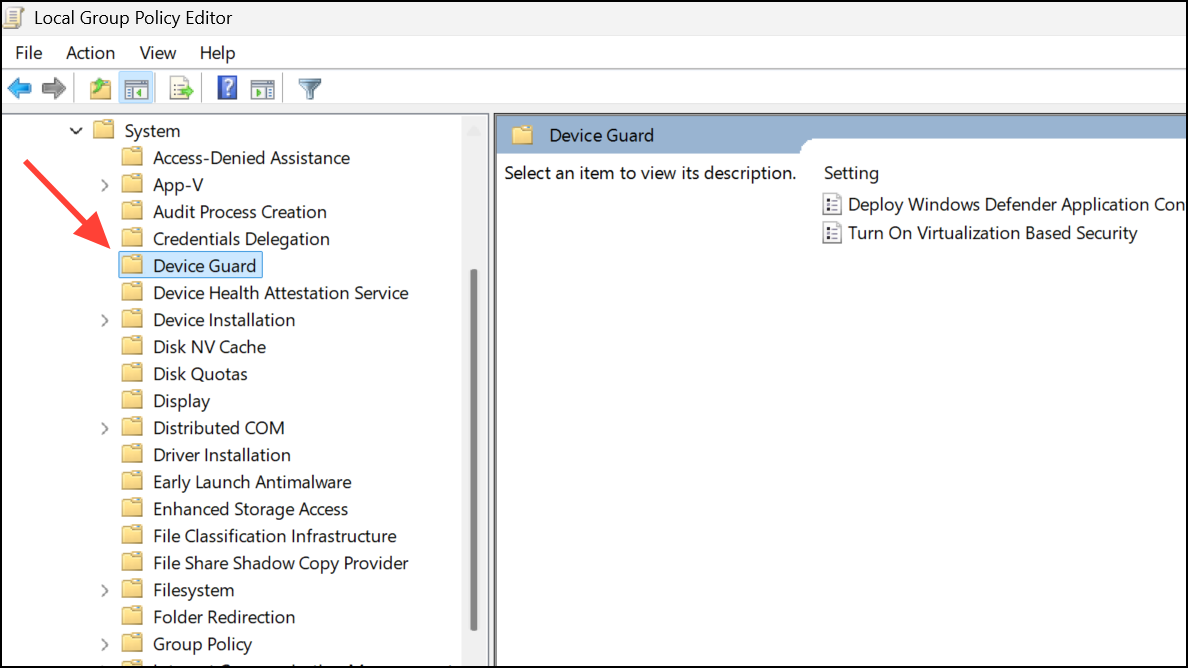
Step 3: Double-click Turn On Virtualization Based Security. Set the policy to Enabled. Under Select Platform Security Level, choose Secure Boot. For Credential Guard Configuration, select Enabled with UEFI lock.
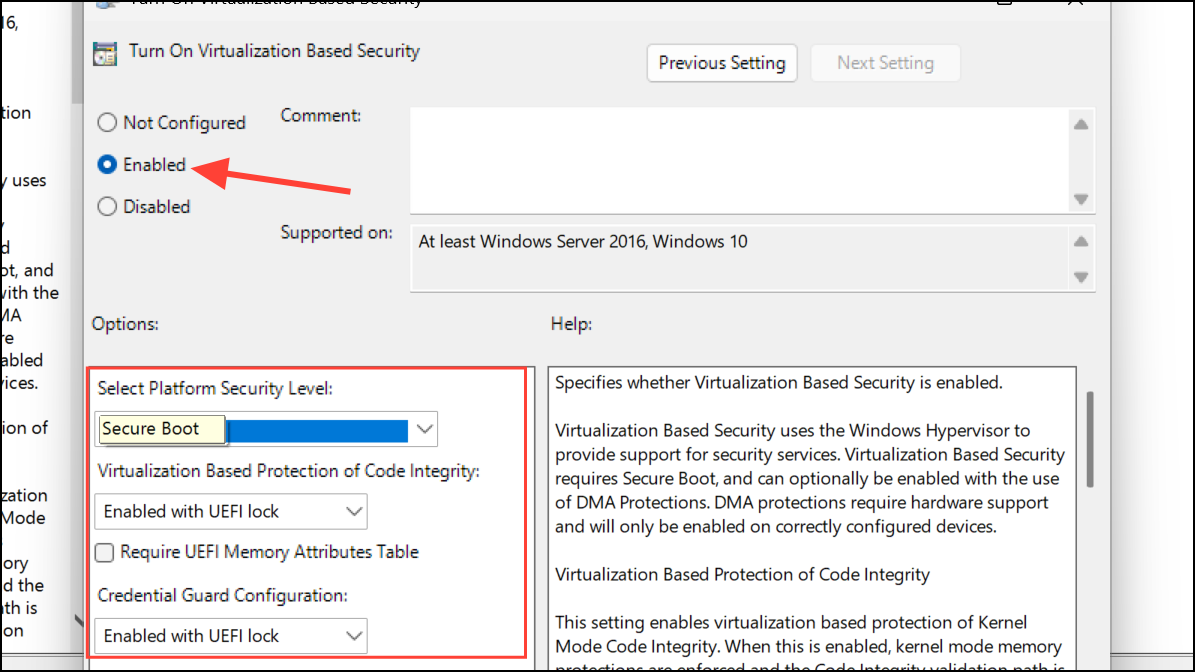
Step 4: Click Apply and then OK. Restart your computer to activate the new settings.
Force Hypervisor Launch with BCDEdit
The Windows hypervisor is required for VBS and System Guard. Sometimes, even with VBS enabled, the hypervisor does not start automatically.
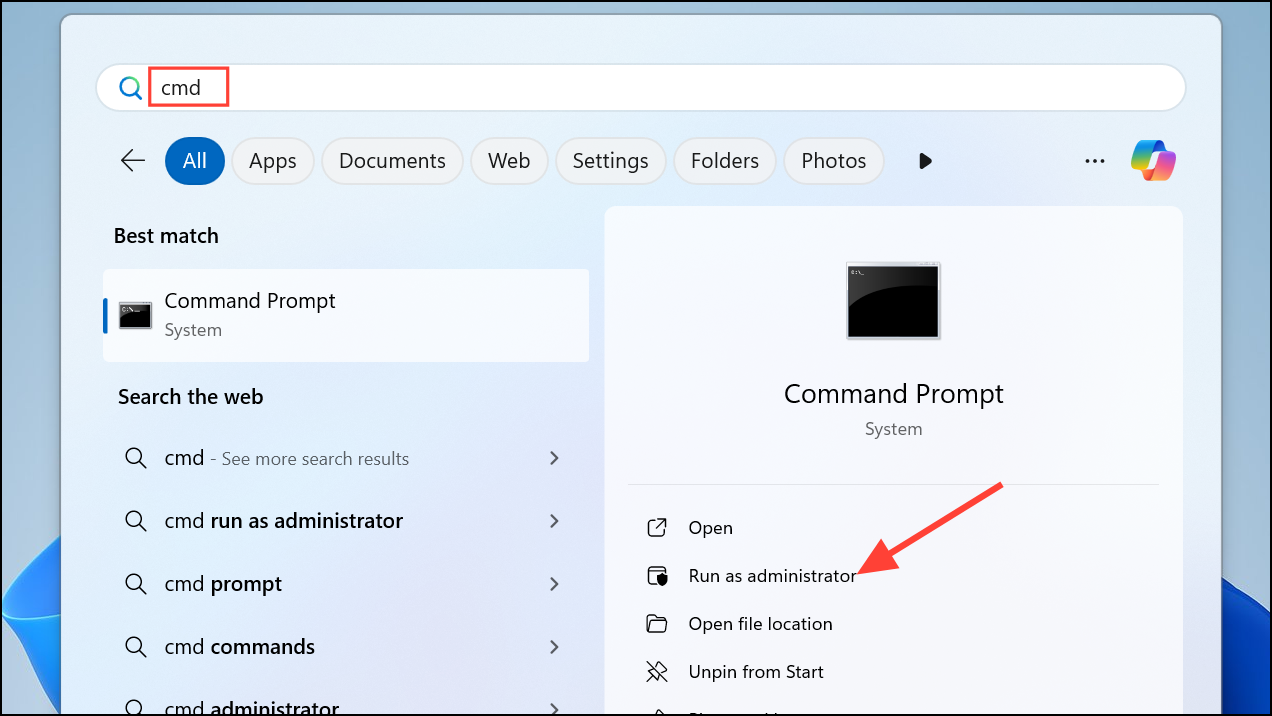
Step 1: Type cmd in the Start menu, right-click Command Prompt, and select Run as administrator.
Step 2: Enter the following command:
bcdedit /set hypervisorlaunchtype auto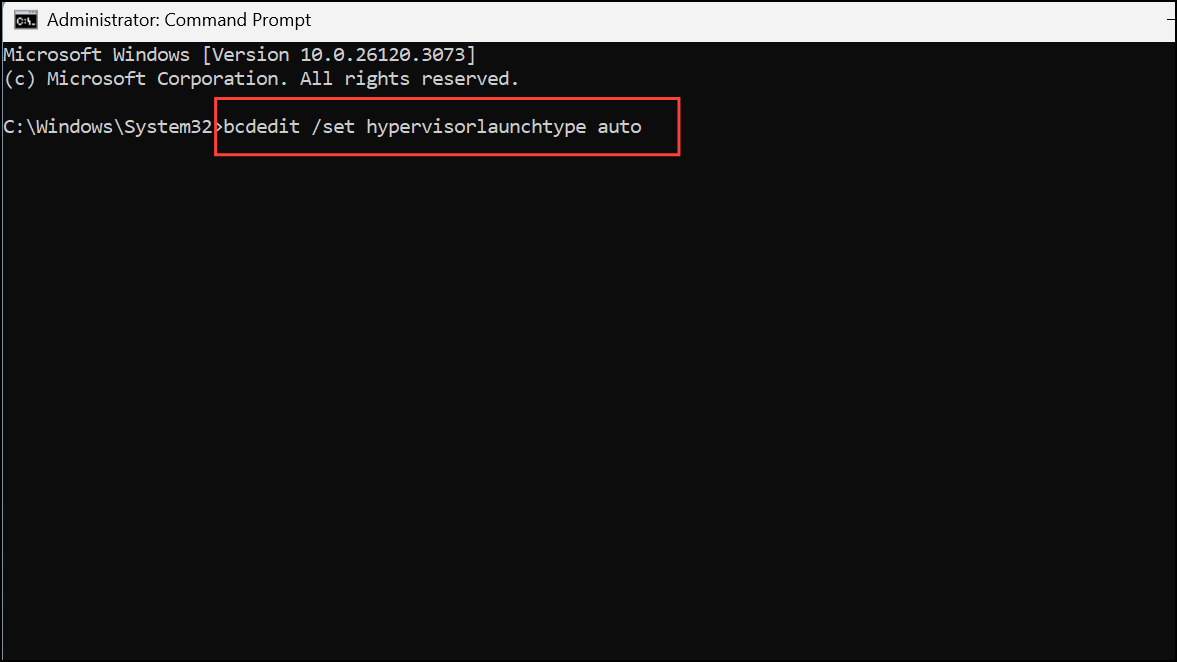
This command configures Windows to always load the Hyper-V hypervisor at boot. Restart your system after running the command.
Update Windows and Device Drivers
Outdated system files or drivers can prevent System Guard from initializing correctly, especially after major Windows updates or hardware changes.
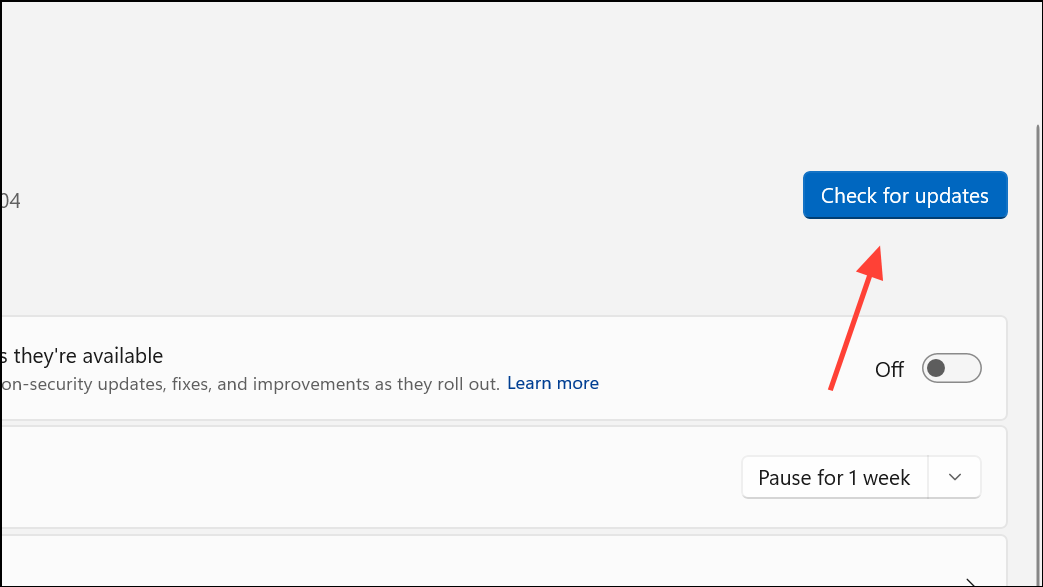
Step 1: Open Settings > Windows Update and check for updates. Install all available updates, including optional firmware and driver updates.
Step 2: Visit your device manufacturer’s website to download and install the latest BIOS/UEFI firmware and chipset drivers.
Staying current with updates ensures compatibility between Windows security features and your hardware.
Additional Troubleshooting and Verification
If System Guard still shows as “Enabled but not running,” it may be due to:
- Unsupported CPU or missing firmware features (such as DRTM or SMM mitigations).
- Conflicting third-party security software.
- Group Policy or registry conflicts from previous configurations.
To check the actual status, open an elevated PowerShell window and run:
Get-CimInstance -Namespace "Root\Microsoft\Windows\DeviceGuard" -ClassName Win32_DeviceGuardReview the AvailableSecurityProperties and RequiredSecurityProperties fields. A value of 1 indicates Secure Boot, 2 means Credential Guard is running, and higher values correspond to other advanced security features.
If you’re using Windows 11 Pro (not Enterprise or Education), some features such as Credential Guard may not work as expected, even if enabled in the registry or policy. For persistent issues, try disabling and re-enabling virtualization-based protections, or consult Microsoft’s official documentation for device-specific limitations.
Addressing the “System Guard: Enabled but not running” status in Windows 11 involves confirming hardware support, enabling key virtualization and security settings, and ensuring the system is fully updated. These steps restore full boot integrity protections and help defend against low-level attacks.