
Video calls, online meetings, and streaming all depend on a functional webcam, but a non-responsive camera in Windows 11 apps often points to driver conflicts, privacy restrictions, or hardware problems. Addressing these issues directly restores camera access and ensures smooth operation across all applications.
Run the Windows Camera Troubleshooter
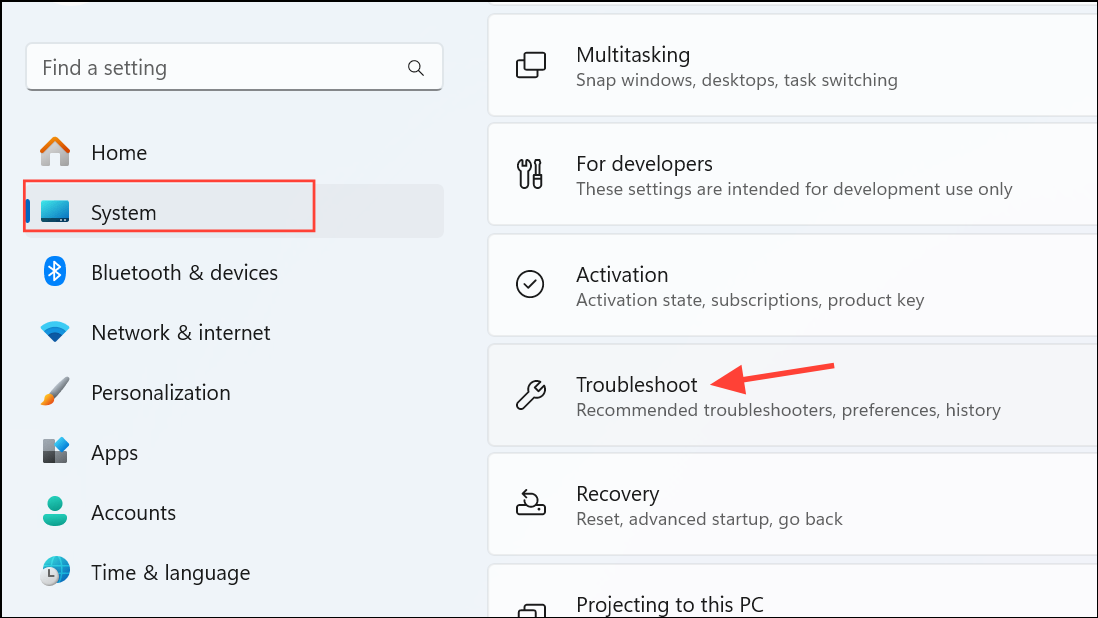
Step 1: Open the Windows Settings by pressing Windows + I. In the left pane, click System, then select Troubleshoot.
Step 2: Click on Other troubleshooters. Locate the Camera section and click Run. The troubleshooter will automatically detect and attempt to fix camera-related issues, including misconfigured services and registry conflicts.
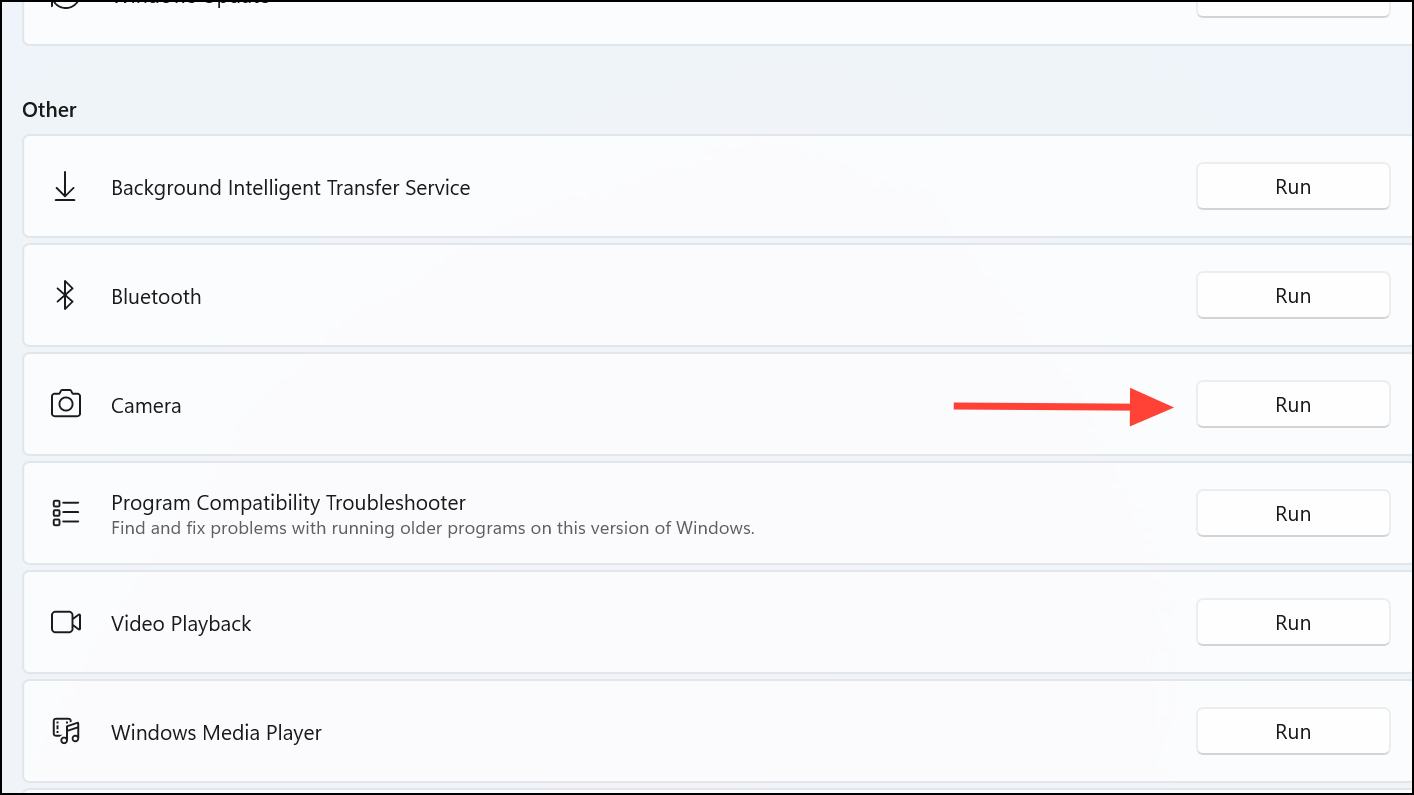
This automated process resets camera configurations and resolves common software problems without manual intervention.
Check Camera Permissions in Privacy Settings
Step 1: Open Settings with Windows + I and go to Privacy & security.
Step 2: Click on Camera. Ensure the Camera access toggle is enabled. This setting must be on for any app to use the webcam.
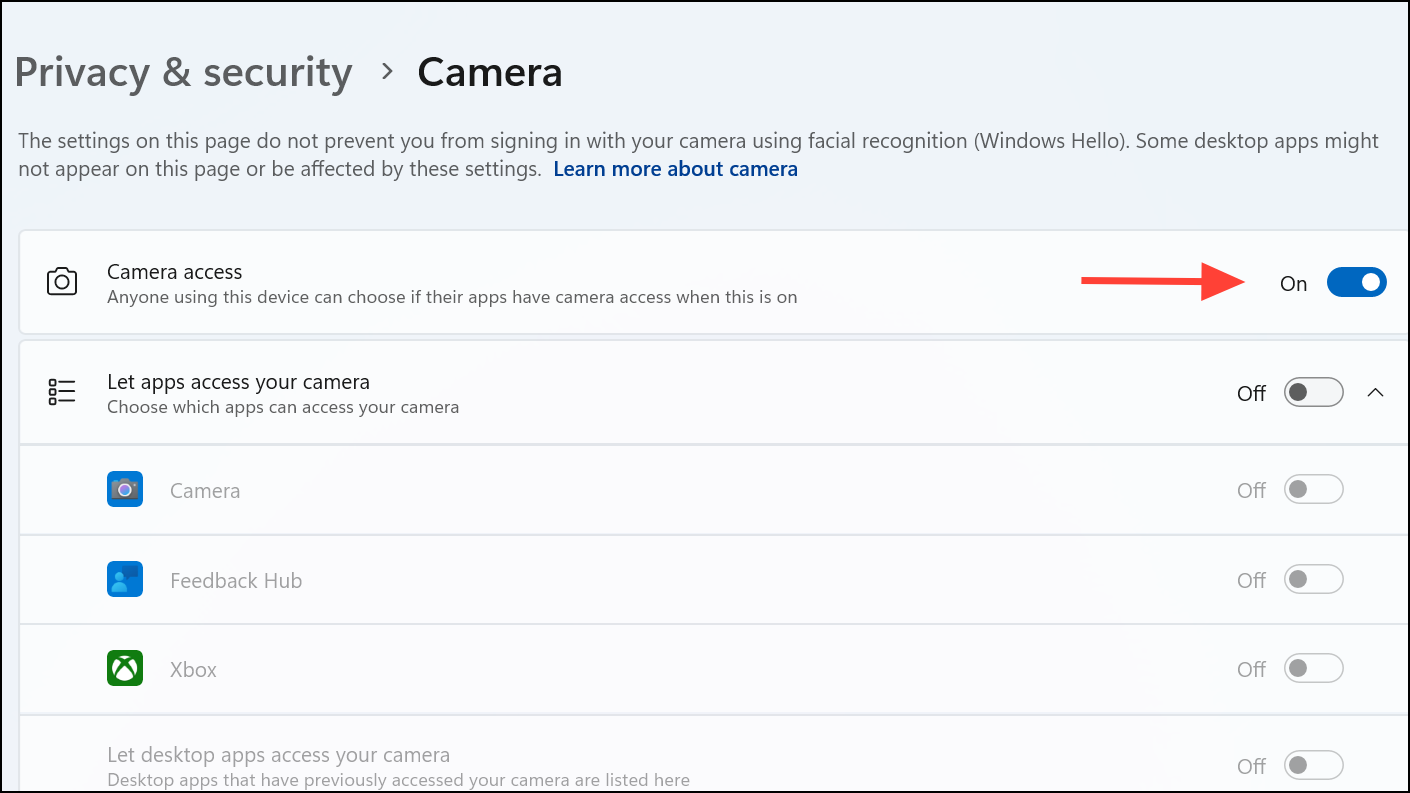
Step 3: Review the list of installed apps. Turn on camera access for each app you want to use. For desktop applications (like browsers or video conferencing tools), make sure Let desktop apps access your camera is also enabled.

These permissions prevent unauthorized apps from using the camera, but incorrect settings can block legitimate access and result in blank screens or errors.
Test the Camera with the Built-in Camera App
Step 1: Click the Start menu and type Camera, then launch the Camera app.
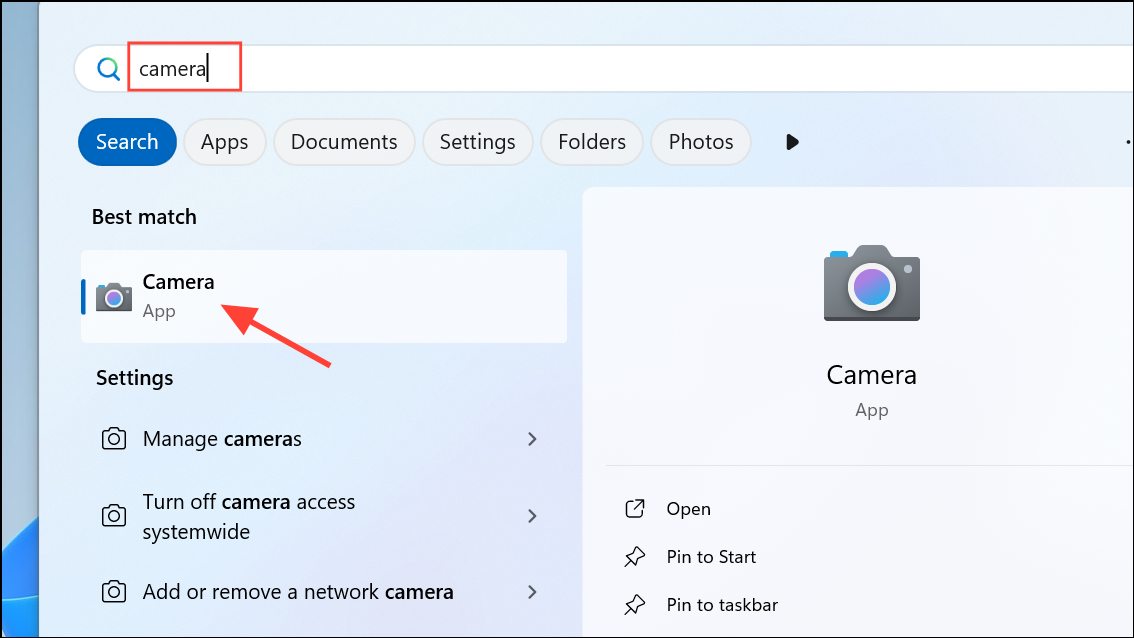
Step 2: If prompted, allow camera access. Observe whether the preview works. If the camera functions here but not in other apps, the problem is isolated to those specific applications.
This step confirms whether the hardware and drivers are operational, narrowing down the issue to either system-wide or app-specific causes.
Verify Physical Connections and Camera Switches
Step 1: For external webcams, unplug and securely reconnect the device to a different USB port. Preferably use a USB 3.0 port for stable power delivery.
Step 2: If using a laptop, check for a physical camera switch, keyboard function key, or privacy shutter. Ensure these are set to the "on" position and that the lens is not obstructed.
Step 3: If possible, test the camera on another computer to rule out hardware failure.
Loose cables, faulty ports, or disabled physical switches will prevent Windows from detecting the camera, regardless of software configuration.
Update, Roll Back, or Reinstall Camera Drivers
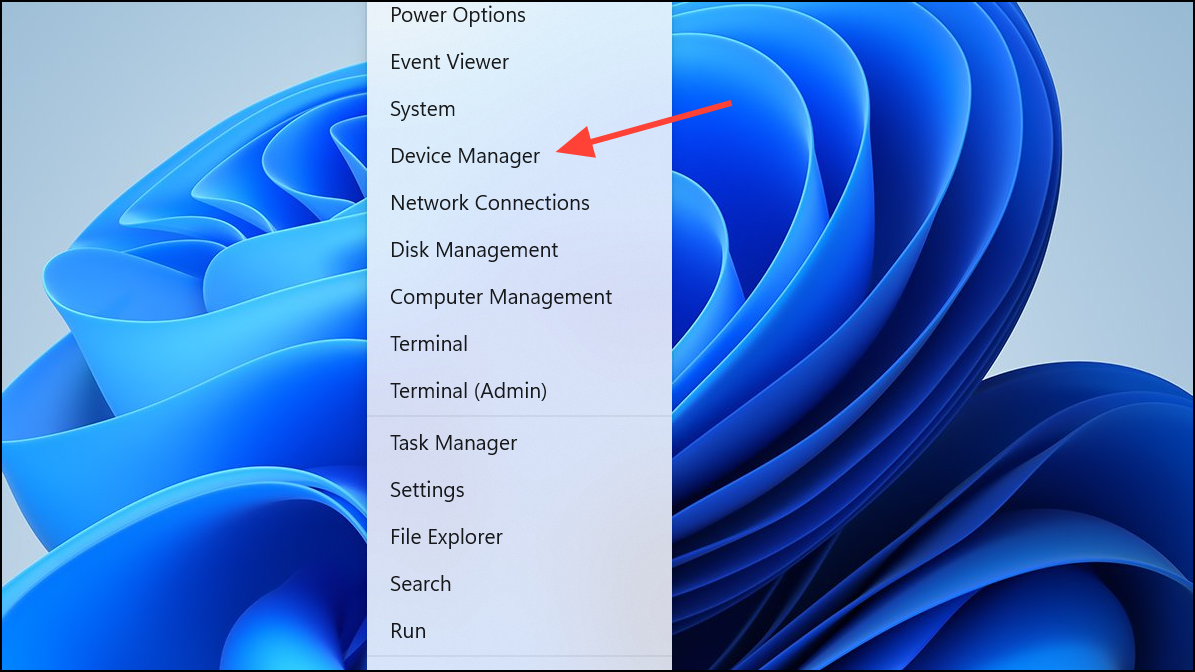
Step 1: Access Device Manager by right-clicking the Start button or pressing Win + X and selecting Device Manager.
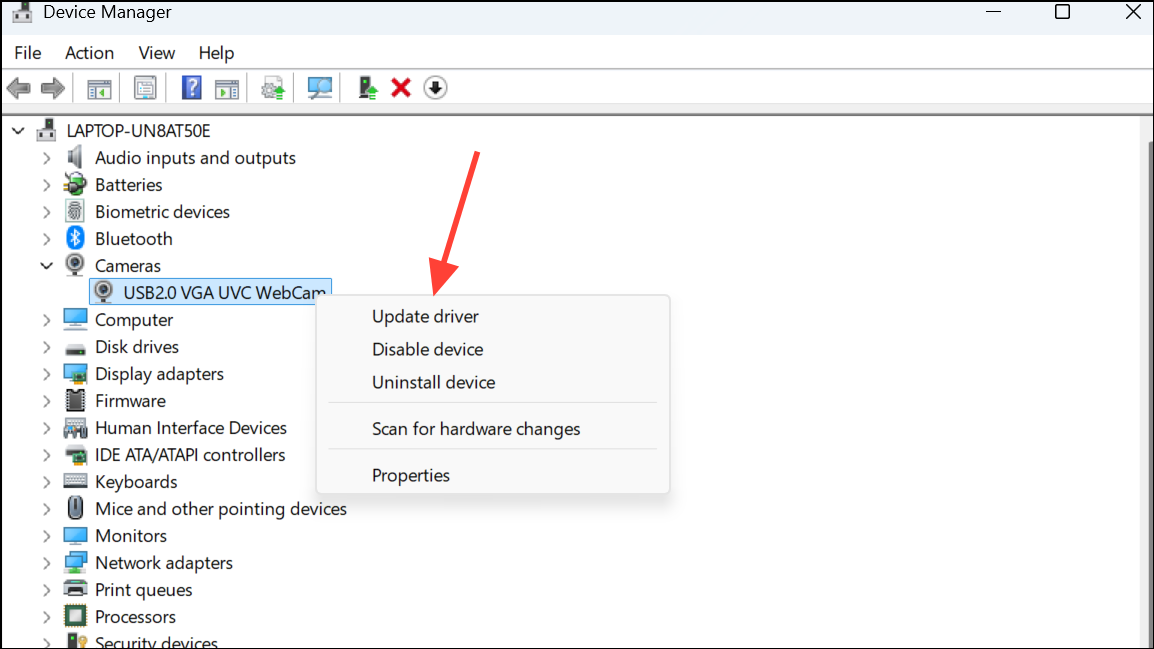
Step 2: Expand the Cameras section. Right-click your webcam and choose Update driver. Select Search automatically for drivers to let Windows find and install the latest version.
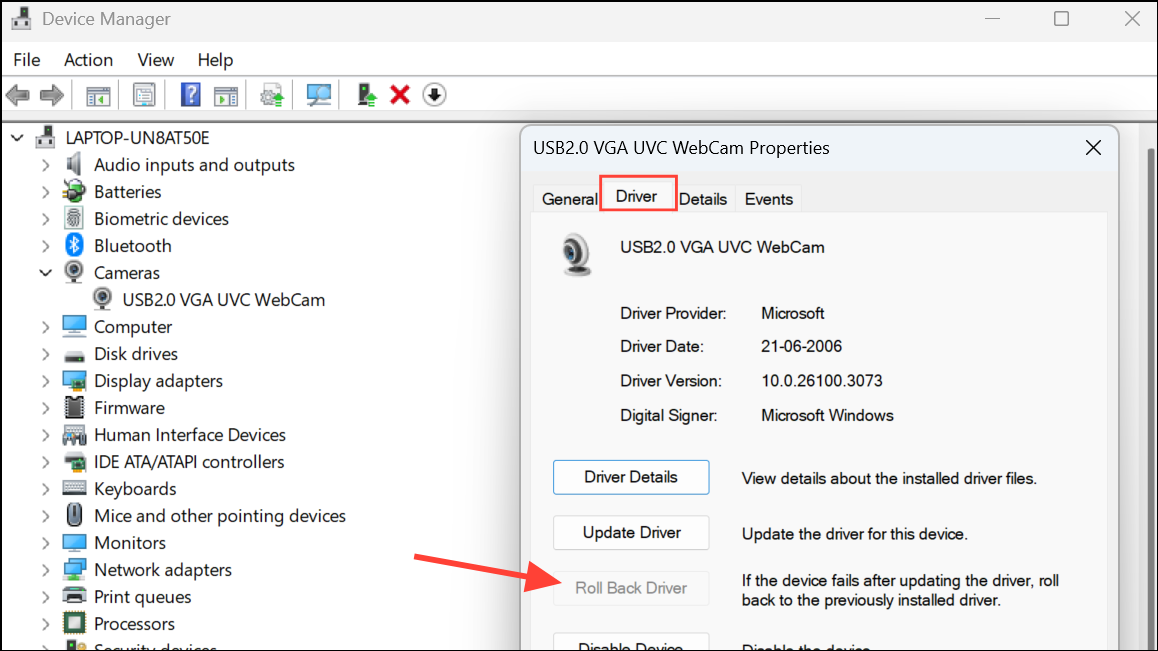
Step 3: If the camera stopped working after a recent update, right-click the camera device, select Properties, go to the Driver tab, and click Roll Back Driver if available. This returns the driver to its previous, working version.
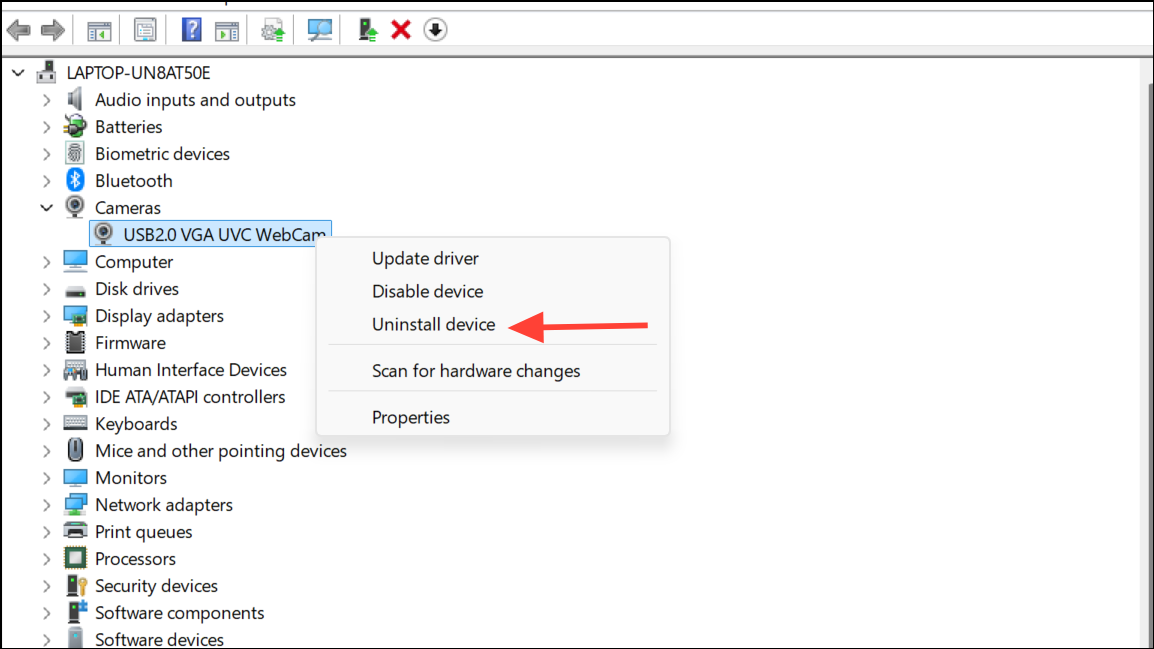
Step 4: For persistent issues, right-click the camera and choose Uninstall device. Confirm the removal, then restart your PC. Windows will attempt to reinstall the default driver during reboot.
Driver conflicts or corruption often cause cameras to disappear from apps or fail with error codes. Updating or reinstalling drivers restores compatibility and functionality.
Check for Windows Updates and Optional Driver Updates
Step 1: Open Settings with Windows + I and select Windows Update.
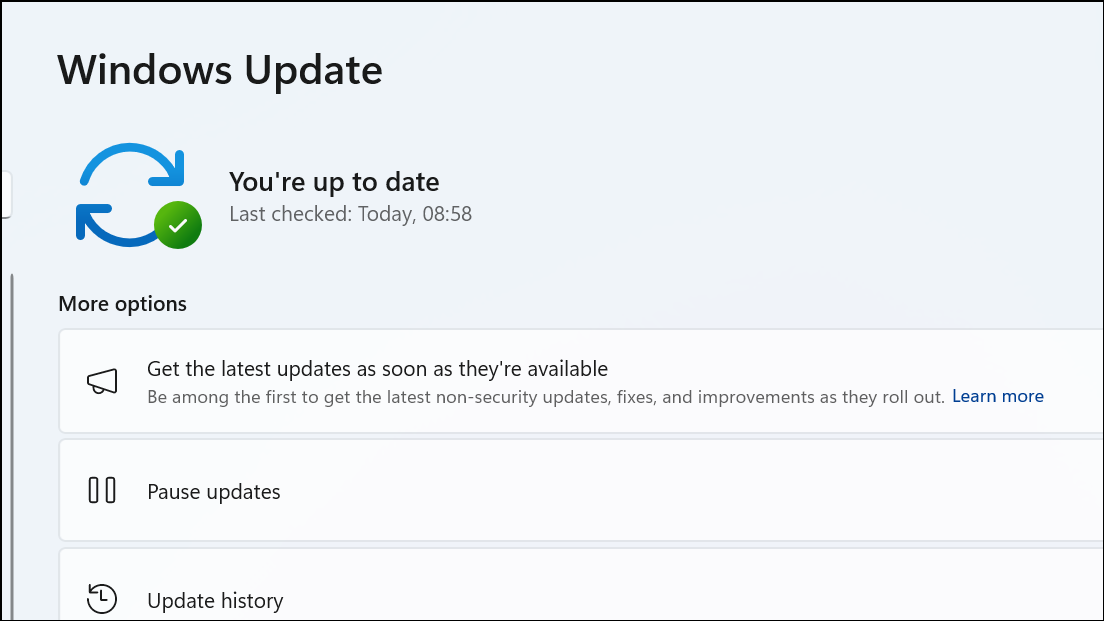
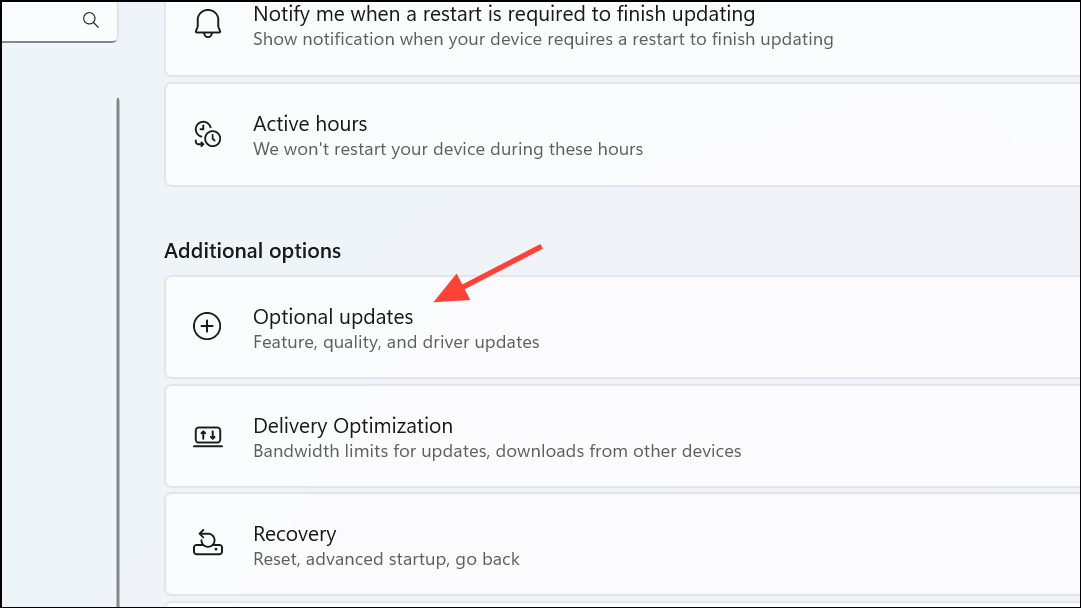
Step 2: Click Check for updates. Install any pending updates, including those listed under Advanced options > Optional updates, which may include camera drivers.
Step 3: Restart your computer after updates are installed to apply changes.
Outdated system files or missing driver patches can prevent new hardware from working correctly, and optional updates often include device-specific fixes.
Disable Antivirus or Security Software Blocking Camera Access
Step 1: Open your antivirus or firewall application from the Start menu.
Step 2: Locate settings related to privacy controls or webcam protection. Temporarily disable these features or pause overall protection for a short period.
Step 3: Test the camera in your desired app. If it works, adjust antivirus settings to whitelist the camera or add an exception before re-enabling protection.
Security software sometimes blocks camera access to prevent unauthorized surveillance, but this can inadvertently stop legitimate apps from using the webcam.
Switch External Webcam to the USB Video Class (UVC) Driver
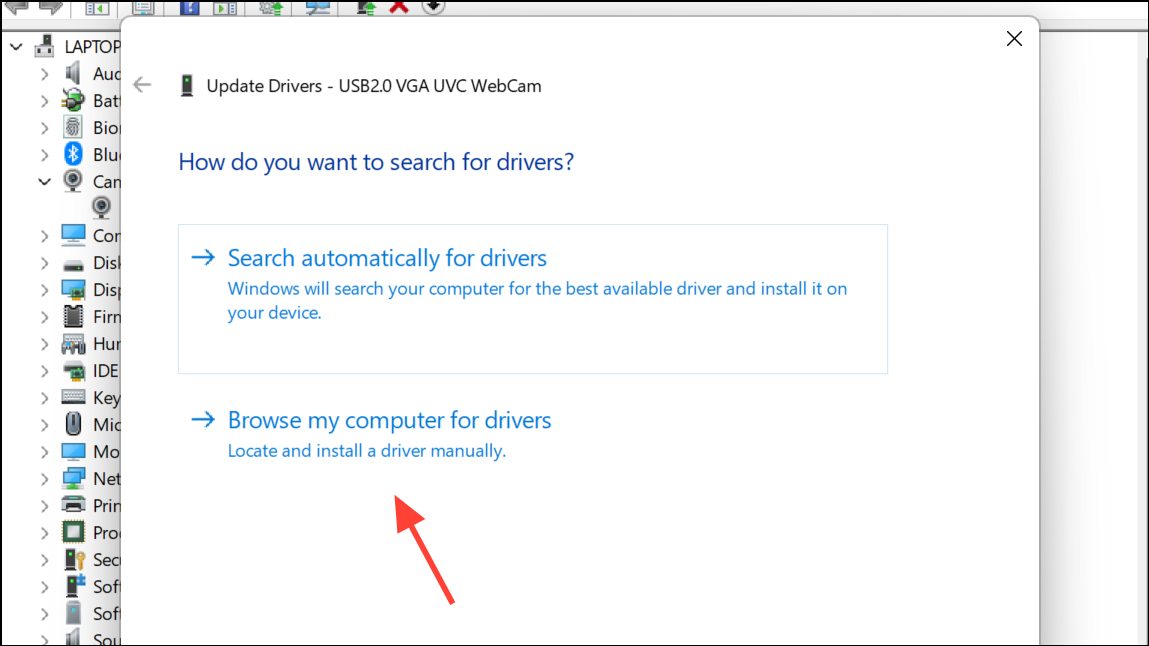
Step 1: In Device Manager, right-click your external webcam and select Update driver.
Step 2: Choose Browse my computer for drivers, then Let me pick from a list of available drivers on my computer.
Step 3: Select USB Video Device from the list and click Next to install the standard UVC driver.
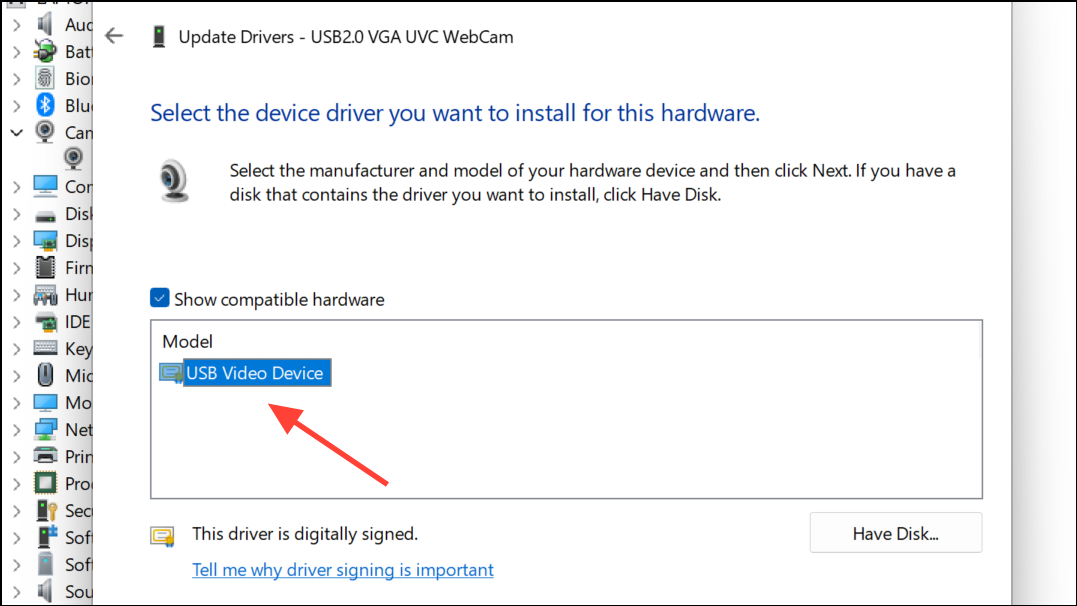
Step 4: Close Device Manager and test the camera again.
The universal UVC driver provides broad compatibility for most USB webcams, especially if manufacturer-specific drivers are buggy or unavailable.
Reset the Camera App to Default Settings
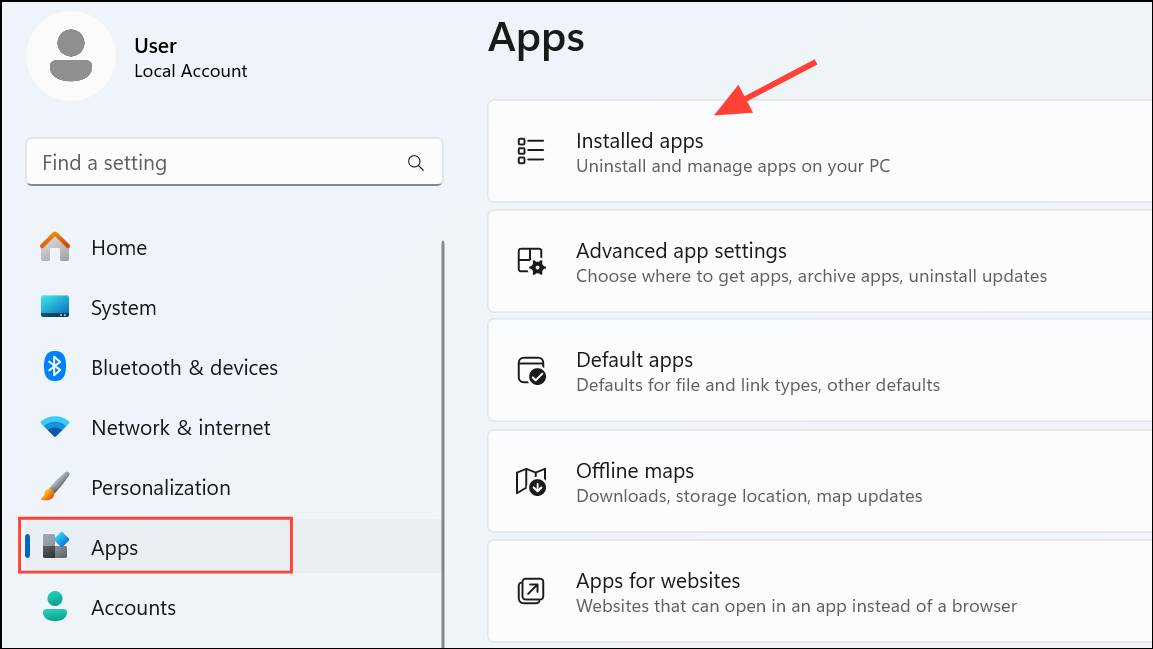
Step 1: Open Settings and navigate to Apps > Installed apps. Find the Camera app in the list.
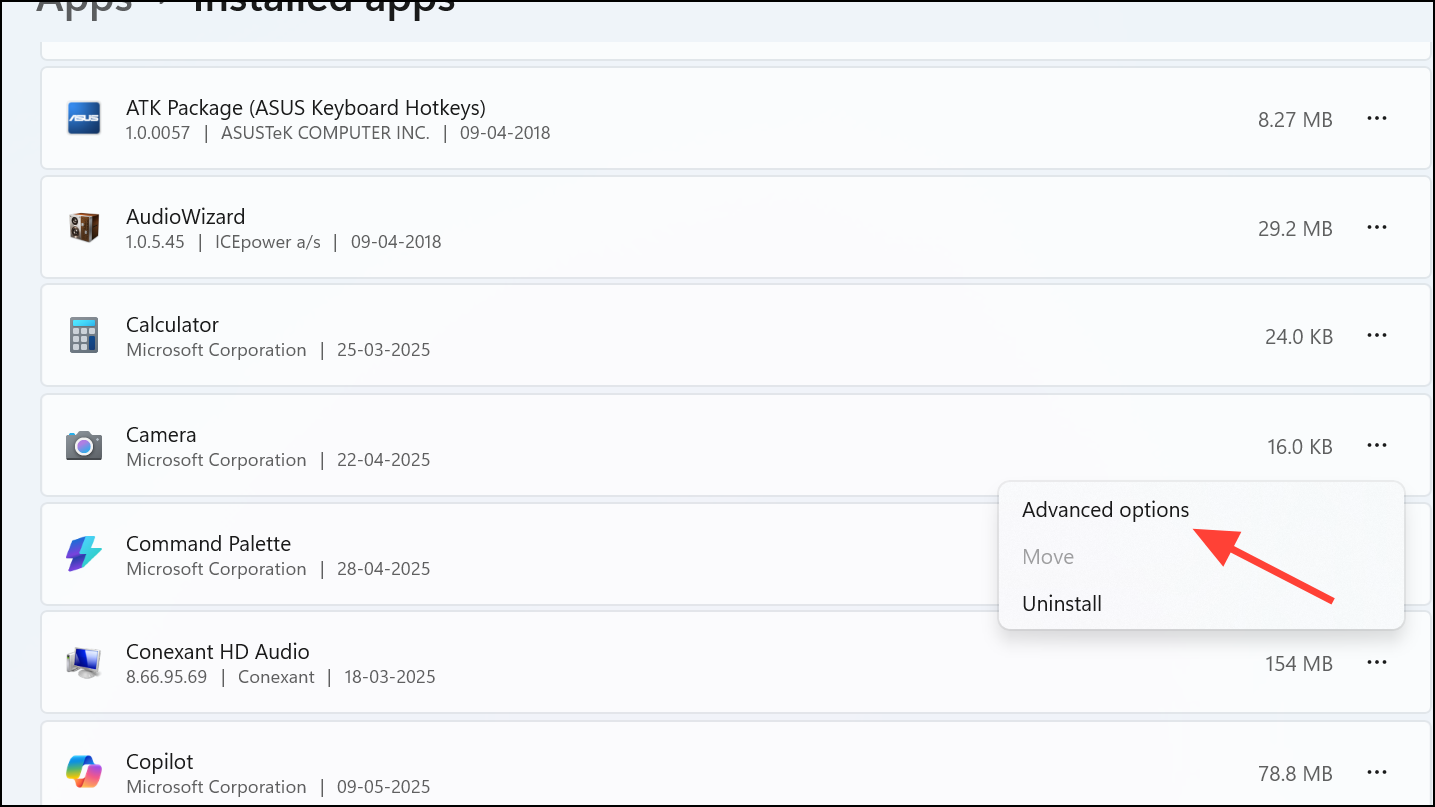
Step 2: Click the three-dot menu next to Camera and select Advanced options.
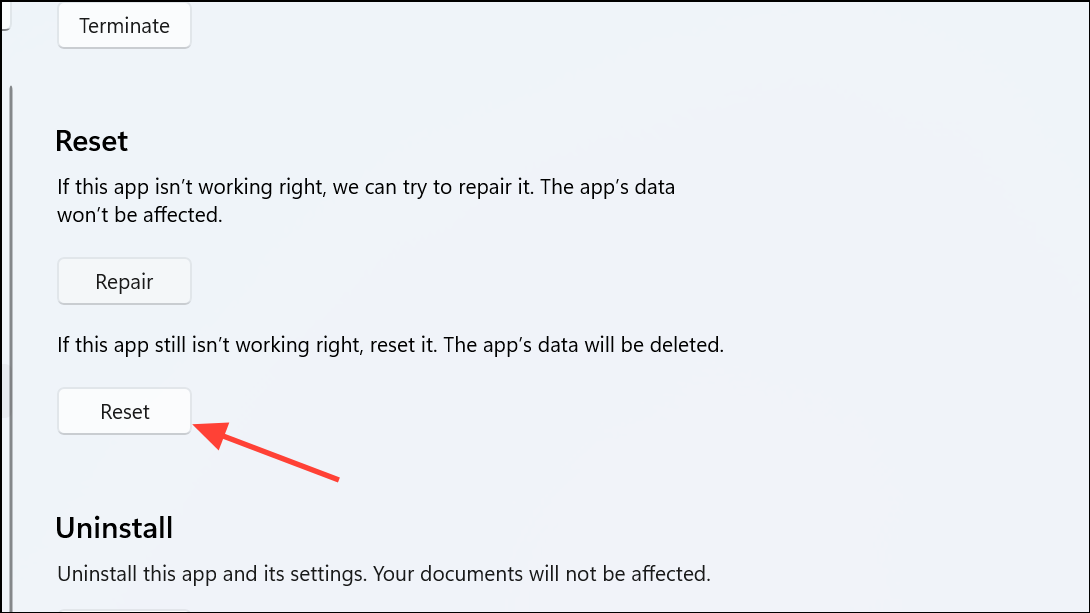
Step 3: Scroll down and click Reset. Confirm the reset if prompted.
Step 4: Restart your PC and try launching the Camera app again.
Resetting the app clears corrupted settings or temporary glitches that prevent the camera from initializing correctly.
Additional Checks for Persistent Issues
- Disconnect unnecessary USB devices to avoid power or resource conflicts.
- Clean the camera lens to remove dust or smudges that affect video quality.
- Check your BIOS/UEFI settings to ensure the built-in camera is enabled (refer to your device manual).
- Test the webcam using an online webcam tester to confirm hardware functionality.
If the camera remains undetected after all steps, hardware failure or deep system errors may be responsible. Consider professional repair or using an external webcam as a workaround.
Restoring webcam functionality in Windows 11 apps usually comes down to permissions, drivers, or hardware checks. Following these steps methodically brings most cameras back online for reliable video calls and meetings.