
Windows 11 freezing on the "Preparing Security Options" screen disrupts access to the system, often leaving users unable to log in or interact with their devices. This issue can be traced to system file corruption, driver conflicts, problematic updates, or certain startup features. Addressing the root cause restores normal boot behavior and system reliability.
Disable Fast Startup
Fast Startup is a feature designed to reduce boot times by partially hibernating the system, but it can sometimes trigger boot issues, including getting stuck on the "Preparing Security Options" screen. Turning off this feature can resolve the problem.
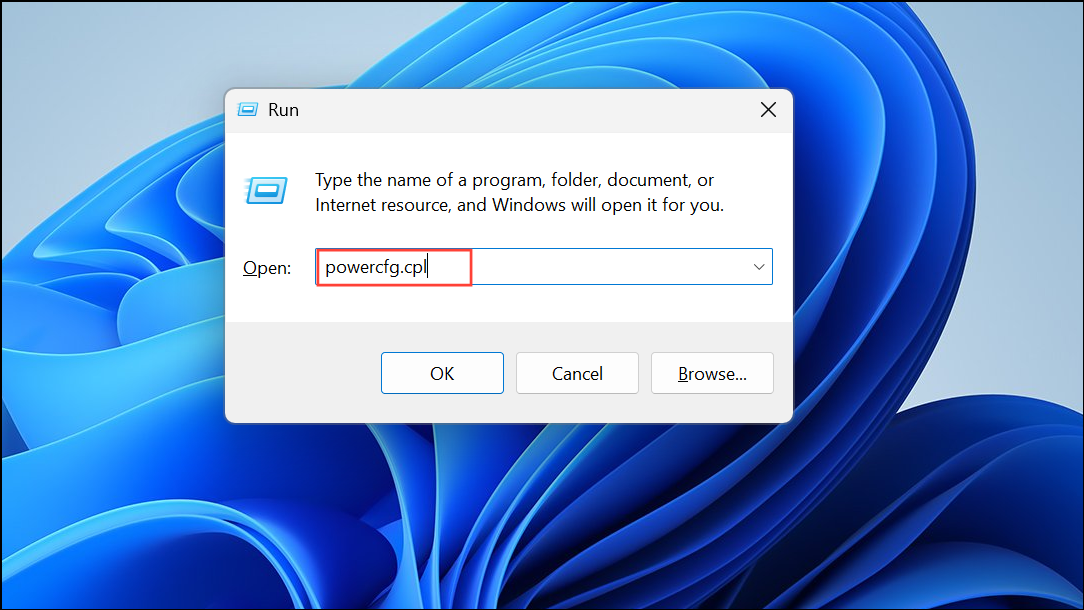
Step 1: Press Win + R to open the Run dialog box. Type powercfg.cpl and select OK to access Power Options.
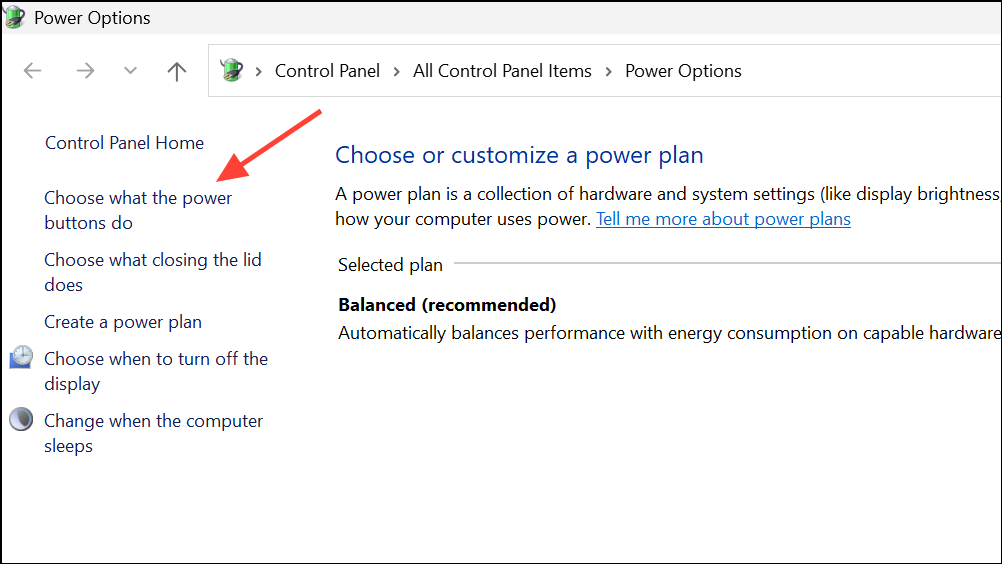
Step 2: In the Power Options window, click Choose what the power buttons do from the left sidebar.
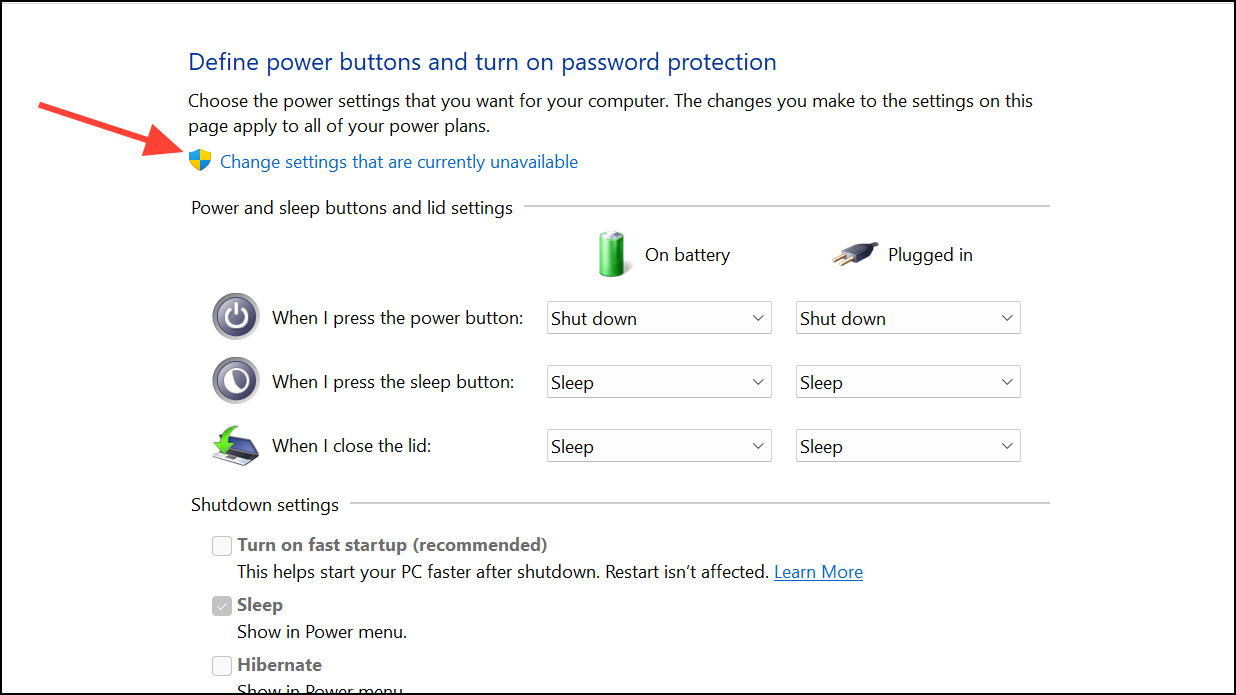
Step 3: Select Change settings that are currently unavailable near the top of the window. This unlocks system settings.
Step 4: Uncheck the box labeled Turn on fast startup (recommended).
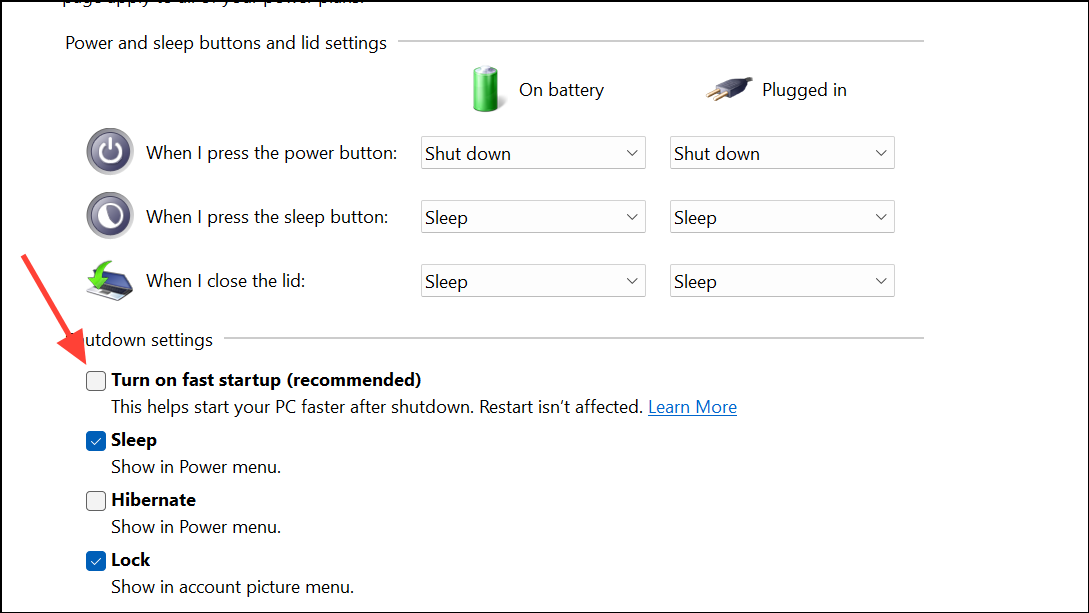
Step 5: Click Save changes and restart your computer. Disabling Fast Startup can prevent Windows from freezing during boot by forcing a complete shutdown and restart sequence.
Run System File Checker (SFC) and DISM Tools
Corrupted or missing system files can interrupt the boot process, causing Windows to stall at security initialization. The SFC and DISM tools are built-in utilities that scan for and repair system file issues.
Step 1: Boot your system into Safe Mode. If you cannot access Windows normally, power off and on your PC several times during boot to trigger the Automatic Repair screen. From there, navigate to Troubleshoot > Advanced options > Startup Settings, then select Restart and choose Safe Mode.
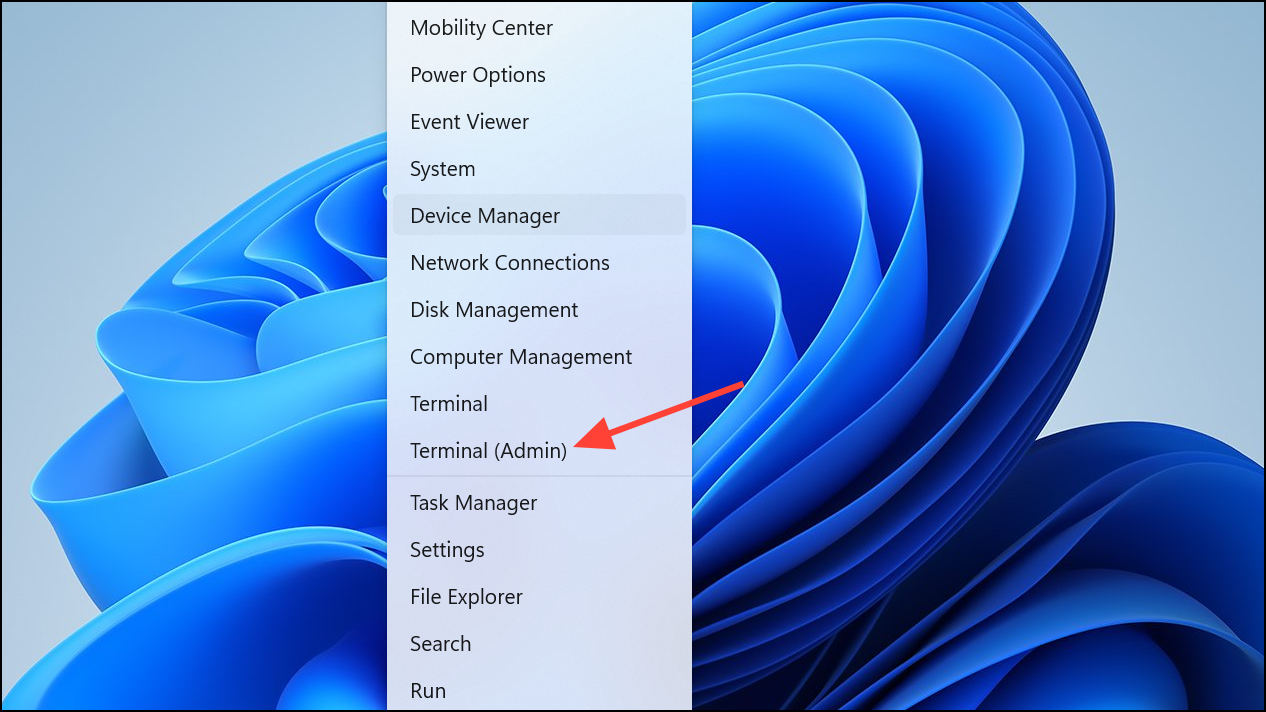
Step 2: Once in Safe Mode, press Win + X and select Windows Terminal (Admin) or Command Prompt (Admin).
Step 3: Enter the following command to check for and repair system file issues:
sfc /scannow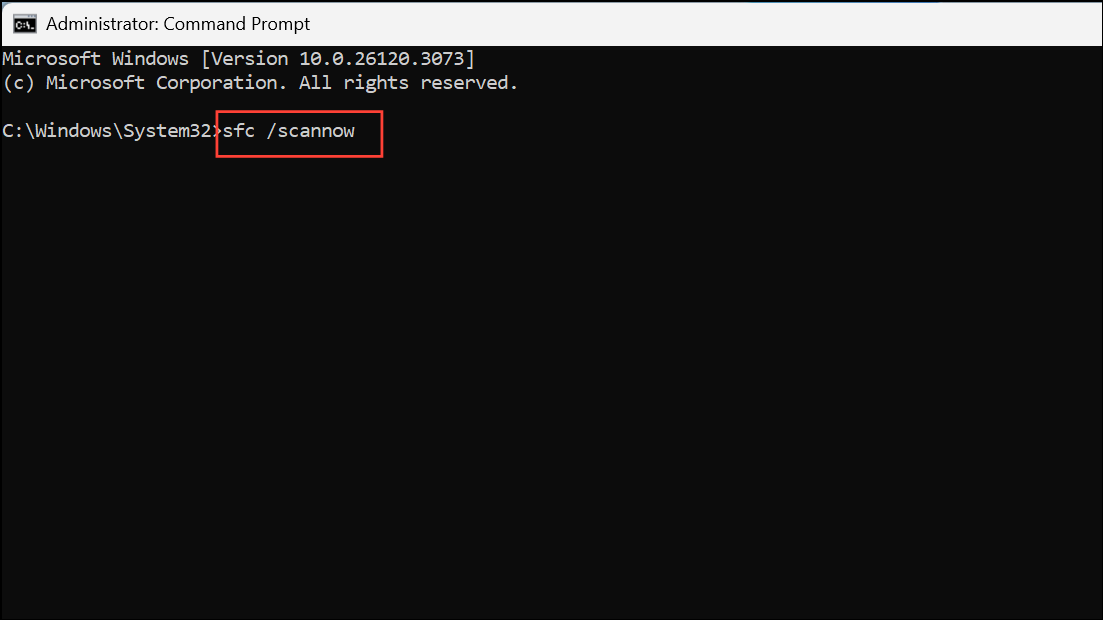
Step 4: After the scan completes, run the Deployment Image Servicing and Management (DISM) tool to address deeper system corruption. Enter each command one by one, pressing Enter after each:
DISM /Online /Cleanup-Image /ScanHealth
DISM /Online /Cleanup-Image /RestoreHealth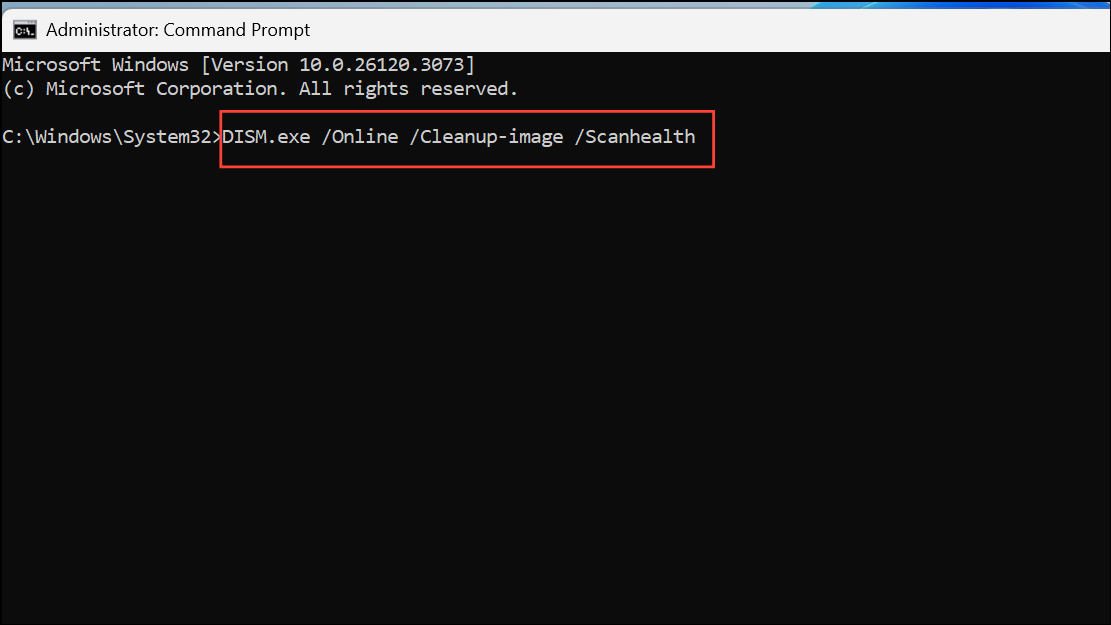
Step 5: Restart your PC. These steps can restore missing or damaged system files, improving boot reliability.
Use System Restore
System Restore allows you to revert your system to a previous working state without affecting personal files. This is particularly effective if the issue began after a recent software installation, update, or configuration change.
Step 1: Boot into Safe Mode or access the Advanced Startup Options menu (use F11 during boot or interrupt boot multiple times).
Step 2: Navigate to Troubleshoot > Advanced options > System Restore.
Step 3: Select a restore point created before the issue started. Follow the on-screen instructions to complete the restore process.
Step 4: Allow the restore to finish and restart your device. If successful, your system will boot using previous settings, bypassing problematic changes.
Uninstall Recent Windows Updates
Occasionally, problematic Windows updates can interfere with the boot process. Rolling back these updates can resolve the issue.
Step 1: Boot into Safe Mode or use the Advanced Startup Options menu.
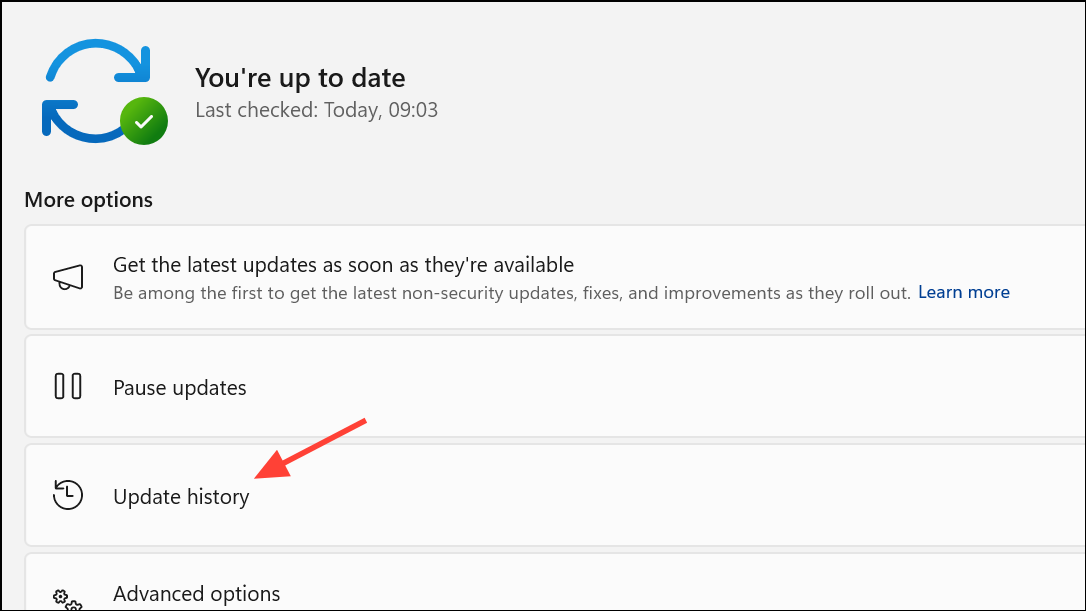
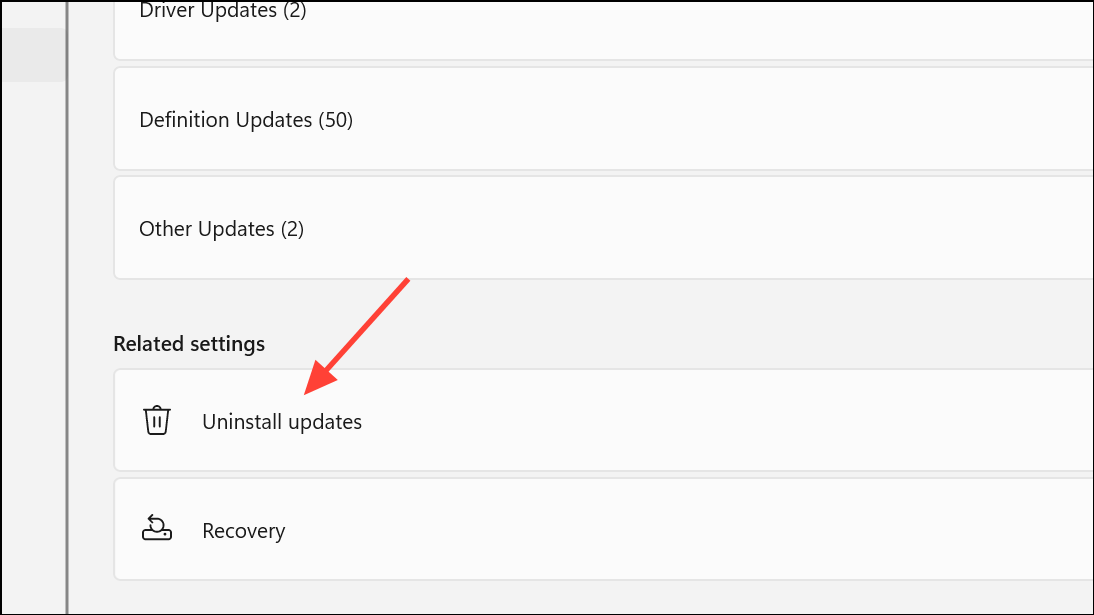
Step 2: Open Settings by pressing Win + I, then select Update & Security and click View update history.
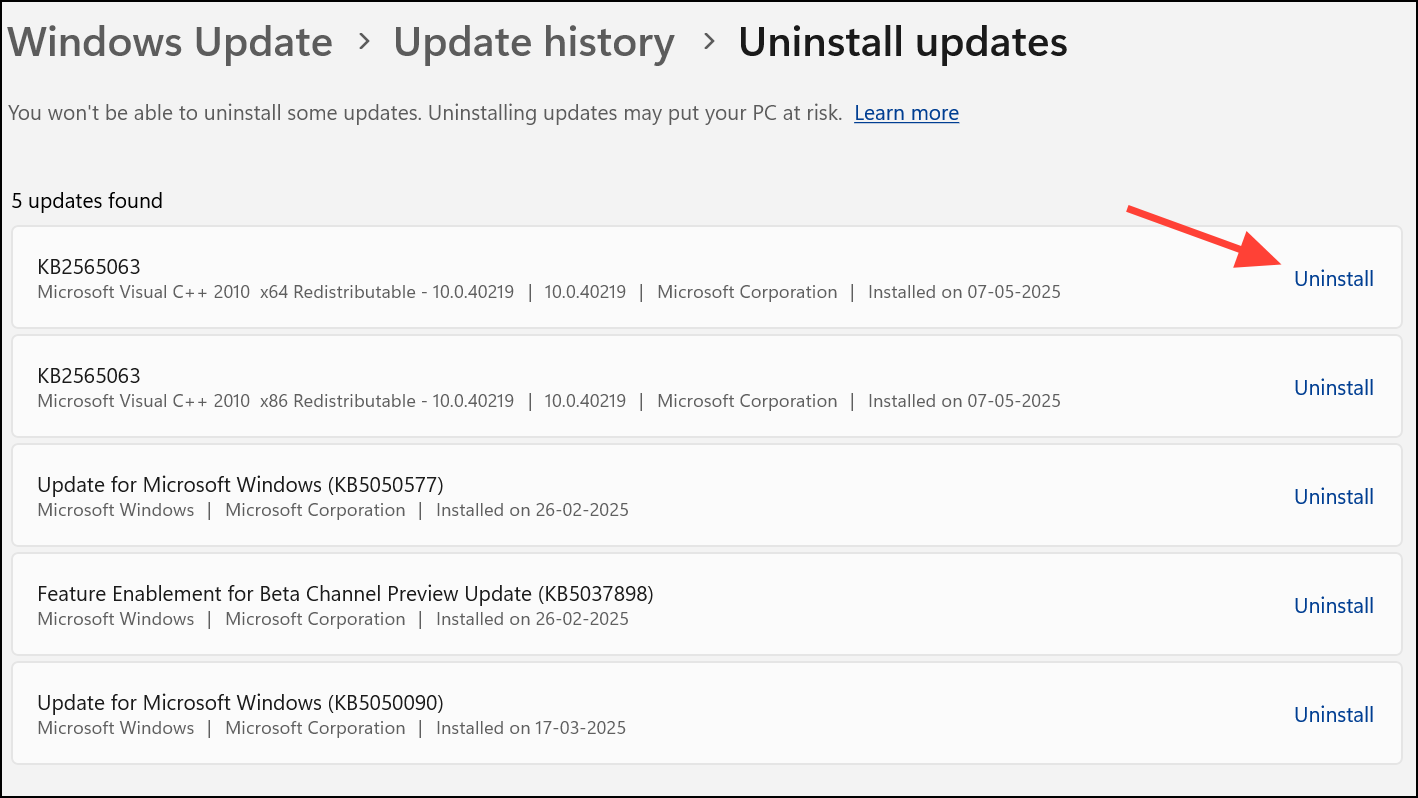
Step 3: Click Uninstall updates and review the list. Identify and select the most recent updates installed before the issue began.
Step 4: Choose Uninstall for each relevant update. Restart your PC after removal to check if the issue is resolved.
Boot into Safe Mode and Remove Conflicting Drivers or Software
Driver or third-party software conflicts can prevent Windows from loading security options correctly. Safe Mode loads only essential drivers, making it easier to identify and remove problematic components.
Step 1: Enter Safe Mode as previously described.
Step 2: Open Device Manager by pressing Win + R, typing devmgmt.msc, and pressing Enter.
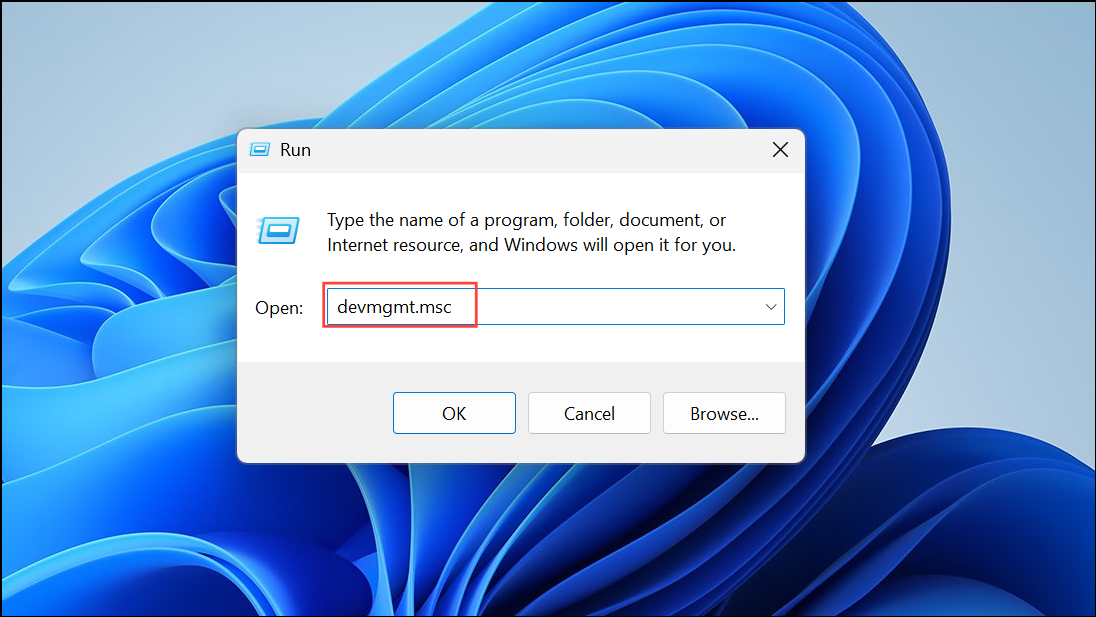
Step 3: Look for devices with a yellow exclamation mark, especially under Display adapters, Network adapters, or Storage controllers. Right-click and select Update driver or Uninstall device if recently updated or installed.

Step 4: Remove any recently added third-party software via Settings > Apps > Installed apps. Restart your device after making changes.

Perform a Startup Repair
Startup Repair is an automated tool that can resolve common boot issues, including problems related to the "Preparing Security Options" screen.
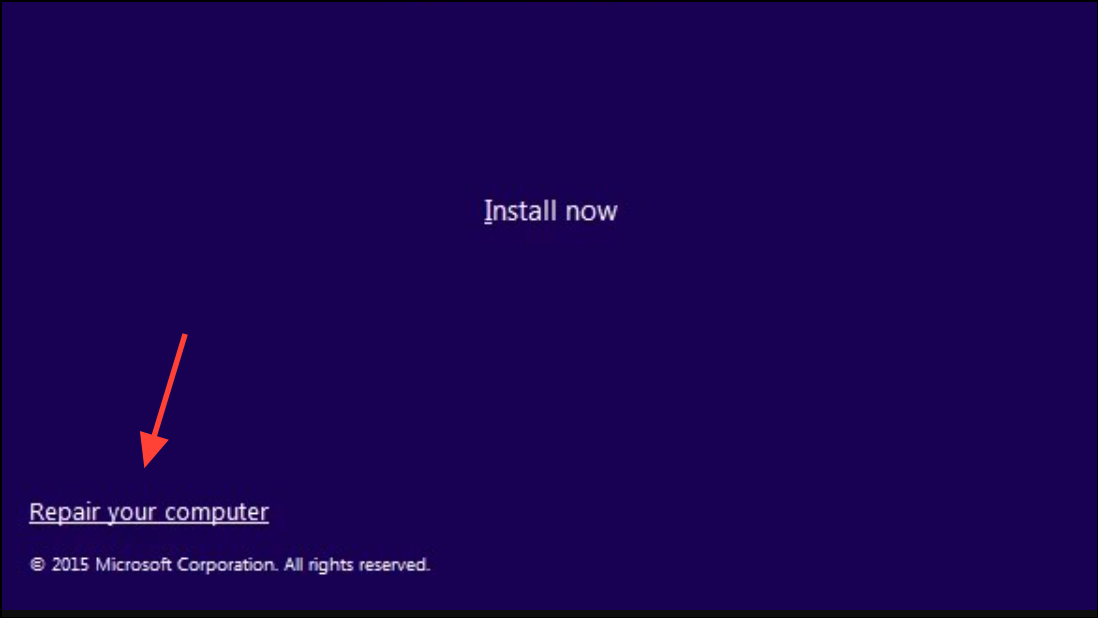
Step 1: Insert a Windows 11 installation USB or DVD and boot from it. On the setup screen, choose your language and click Next.
Step 2: Click Repair your computer in the lower-left corner.
Step 3: Select Troubleshoot > Advanced options > Startup Repair.
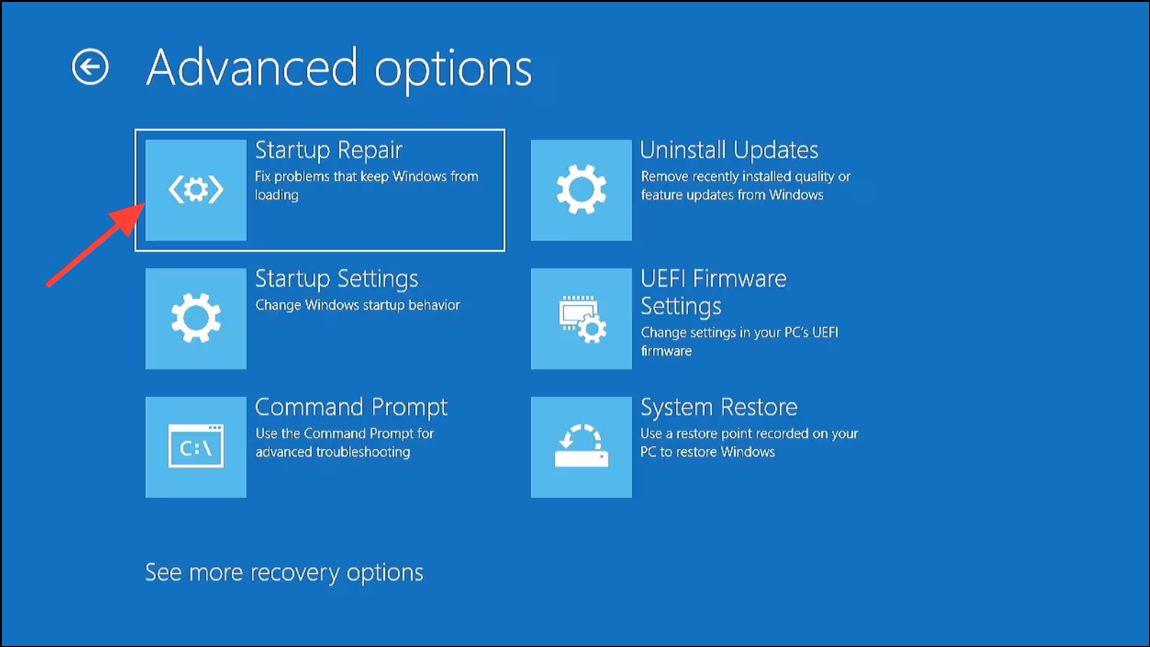
Step 4: Follow the on-screen prompts. The system will attempt to diagnose and fix boot issues automatically.
Rename SoftwareDistribution Folder
The SoftwareDistribution folder stores Windows Update files. Corruption here can cause boot and update problems. Renaming this folder forces Windows to recreate it, potentially resolving the issue.
Step 1: Boot into Safe Mode or use Command Prompt from Advanced Startup Options.
Step 2: Open an elevated Command Prompt and enter the following commands, pressing Enter after each:
net stop wuauserv
net stop bits
rename C:\Windows\SoftwareDistribution SoftwareDistribution.old
net start wuauserv
net start bits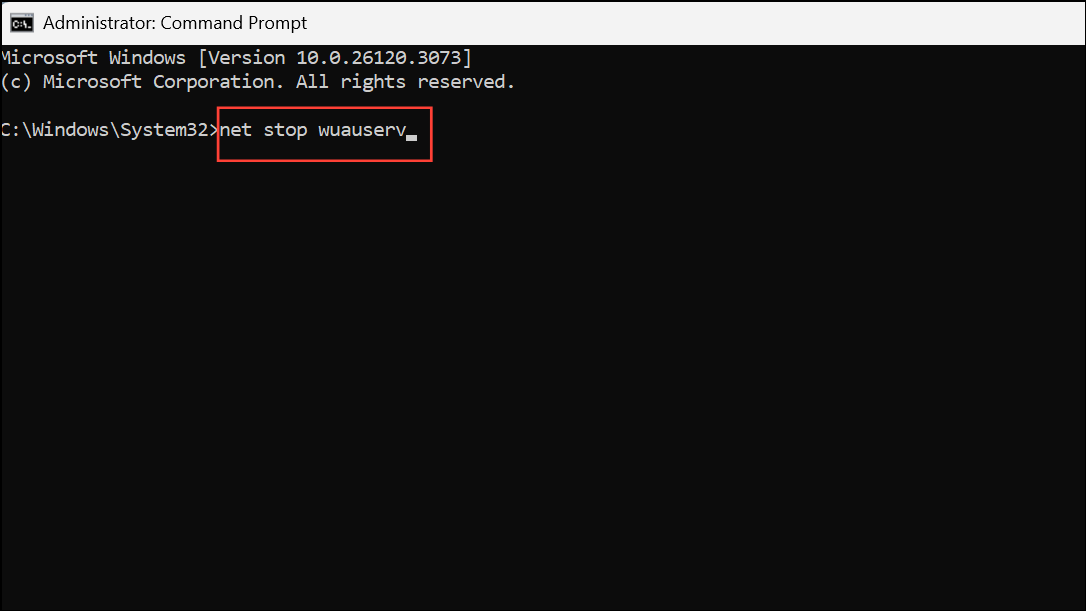
Step 3: Restart your PC to allow Windows to rebuild the update cache.
Check and Configure Essential Windows Services
Certain Windows services must be running for updates and security features to load properly. If these services are disabled or stopped, the system may hang during boot.
Step 1: Boot into Safe Mode.
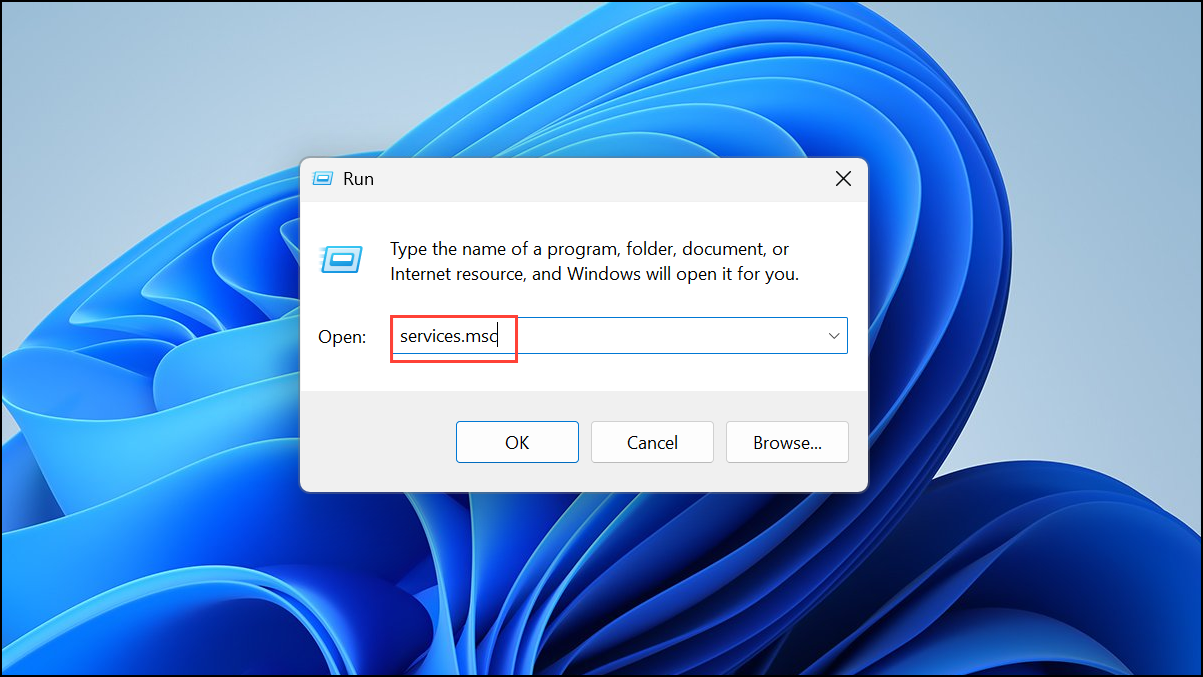
Step 2: Press Win + R, type services.msc, and press Enter.
Step 3: Locate the following services and ensure their Startup type is set to Automatic and that they are running:
- Background Intelligent Transfer Service (BITS).
- Cryptographic Services.
- Windows Update.
- MSI Installer.
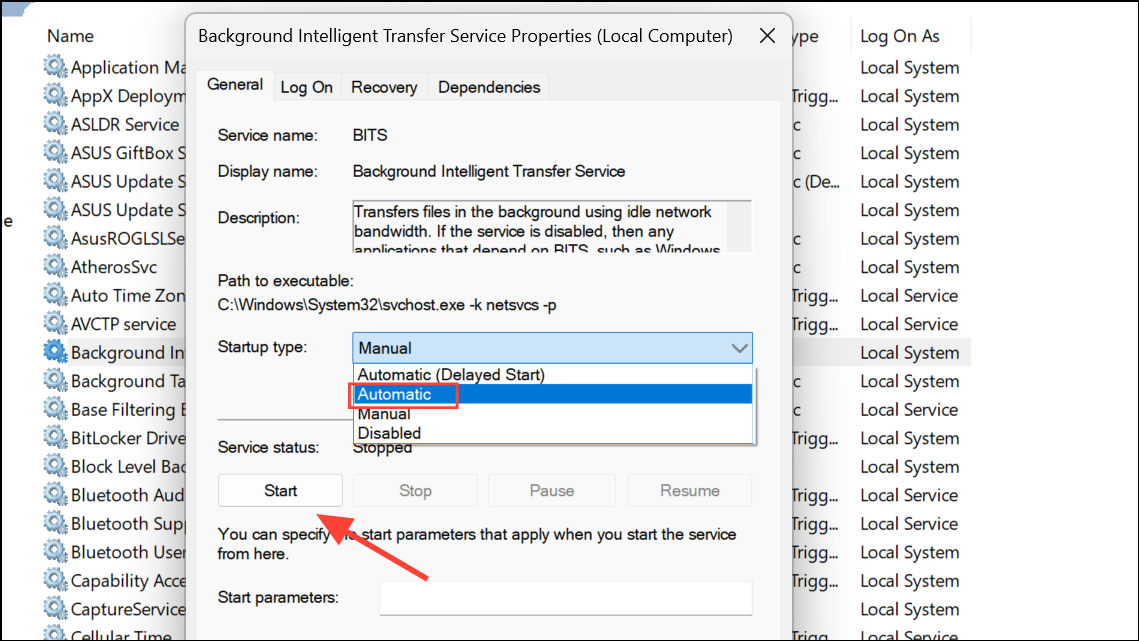
Step 4: If any service is stopped, right-click and select Start. Apply changes and restart your device.
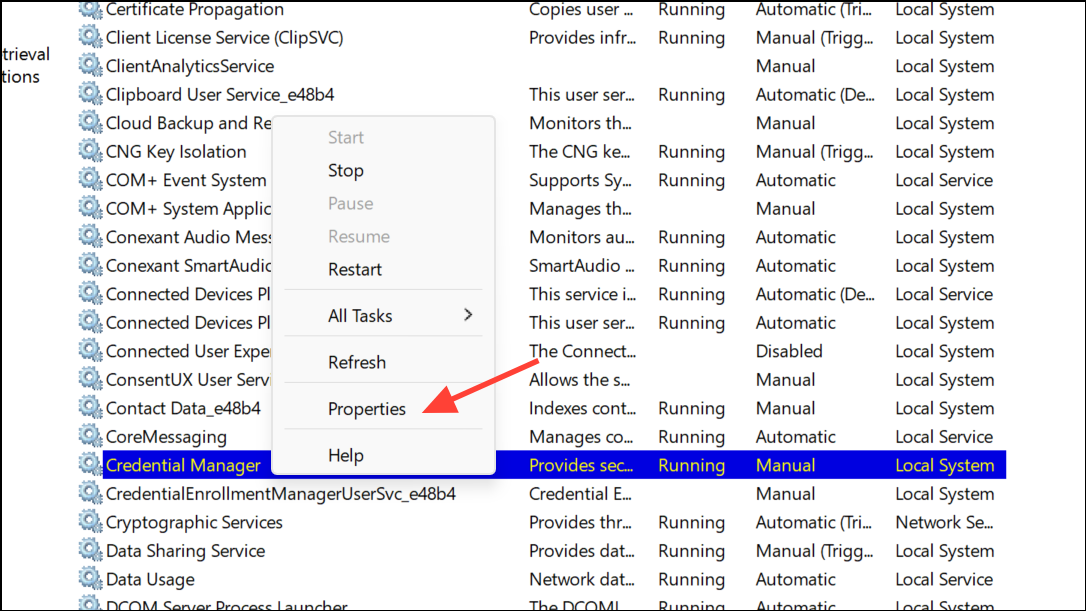
Disable Credential Manager Service
In rare cases, the Credential Manager service can interfere with security initialization. Disabling it may resolve the freeze.
Step 1: Open services.msc as described above.
Step 2: Find Credential Manager in the list, right-click, and select Properties.
Step 3: Set Startup type to Disabled, click Stop, then OK.

Step 4: Restart your PC and check if the issue is resolved.
Reset Windows 11
If all other solutions fail, resetting Windows reinstalls the operating system while giving you the option to keep your personal files. This can resolve persistent issues caused by deep system corruption or misconfiguration.
Step 1: Boot into Safe Mode or access Advanced Startup Options.
Step 2: Go to Settings > Update & Security > Recovery.
Step 3: Under Reset this PC, click Get started.
Step 4: Choose whether to keep your files or remove everything, then follow the prompts to complete the reset.
Applying these targeted fixes can restore normal boot functionality and eliminate the "Preparing Security Options" freeze in Windows 11. Keeping drivers and updates current, and creating regular restore points, helps prevent future issues.