
XboxPcApp.exe entries in Event Viewer that cite hermes.dll as the faulting module (often with exception code 0xc0000005) typically point to two culprits: unstable CPU boost behavior on some Intel 13th/14th Gen systems or a broken Microsoft Gaming Services/Xbox app installation. The steps below address both angles.
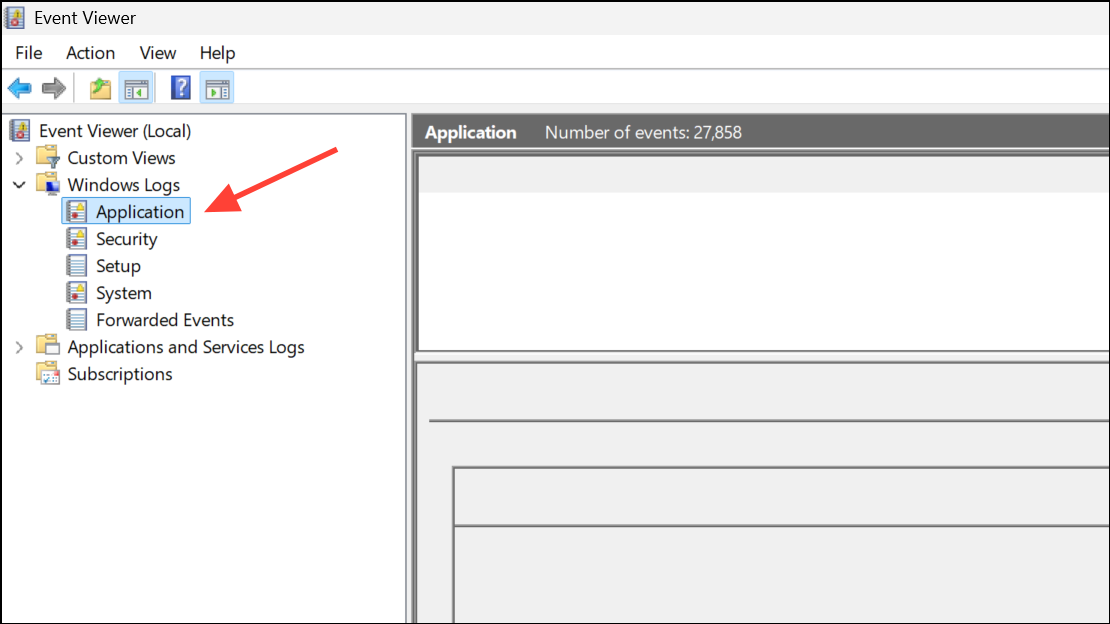
Quick check: Confirm the faulting module. Open Event Viewer with Windows + X → Event Viewer → Windows Logs → Application, then open the recent Error for XboxPcApp.exe. If “Faulting module name” shows hermes.dll or similar app DLLs plus 0xc0000005, proceed.
Method 1: Stabilize Intel 13th/14th Gen CPU Boost Behavior
This method targets a known stability issue that can crash multiple apps (including browsers showing STATUS_ACCESS_VIOLATION) and the Xbox app’s hermes.dll module.
Step 1: Update your motherboard BIOS/UEFI to the latest version that includes Intel microcode fixes (e.g., microcode 0x129 or newer). Download the update from your board vendor (ASUS/MSI/Gigabyte/ASRock), apply it per their instructions, and after flashing, load BIOS defaults once to clear old profiles.
Step 2: Temporarily turn off aggressive boosts. Enter firmware setup by pressing Del or F2 at boot, then disable features labeled “Intel Turbo Boost Technology,” “Turbo Mode,” “Enhanced Turbo,” or “MultiCore Enhancement.” Save and reboot. This reduces peak clocks and voltage spikes that can trigger access violations during UI rendering in the Xbox app.
Step 3: Revert memory and CPU tweaks. Set XMP/EXPO to Off and ensure CPU core/IMC voltages are on Auto. If your BIOS has options like “Intel Baseline Profile,” “SVID Behavior: Intel Default/Fail Safe,” or vendor-specific stability presets (e.g., CPU Lite Load), apply them. The goal is known-stable voltage/frequency behavior at stock settings.
Step 4: Test under normal load. Open heavy websites (e.g., map tiles) and then launch the Xbox app. If crashes stop, the platform was unstable. Re-enable XMP later and test again. If re-enabling Turbo reintroduces the crash, keep Turbo disabled as a workaround until your vendor releases a stability update.
Method 2: Repair Gaming Services and the Xbox App
Broken Gaming Services or stale Xbox tokens can crash the app’s web components (hermes.dll is part of the app bundle). These steps re-register the stack and clear bad tokens/proxies.
Step 1: Run Microsoft’s Gaming Services Repair Tool. Download and execute the official tool, then follow its prompts. It resets services, re-registers app packages, and fixes common Windows Store/Xbox app issues.
Step 2: Reinstall Gaming Services via PowerShell. Open an elevated terminal with Windows + X → Windows Terminal (Admin), then run:
get-appxpackage Microsoft.GamingServices | remove-AppxPackage -allusers
start ms-windows-store://pdp/?productid=9MWPM2CQNLHN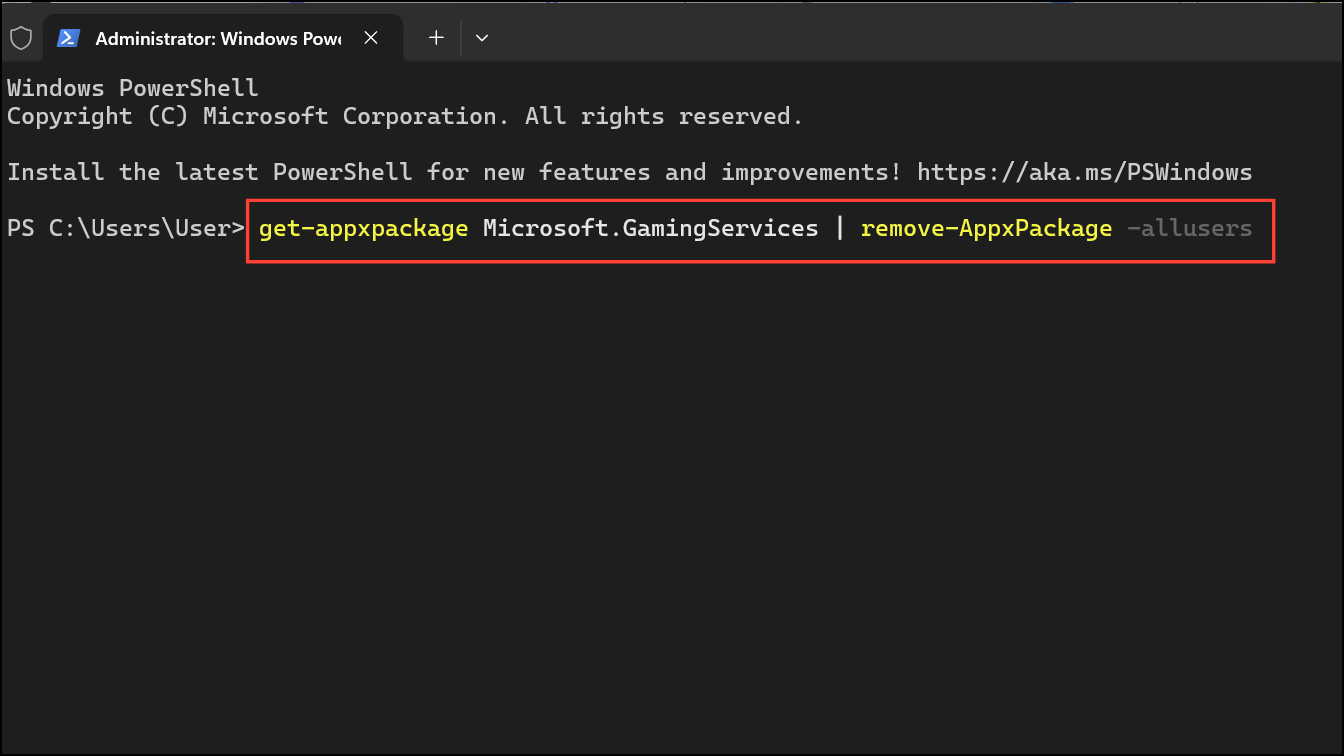
Install Gaming Services from the Store window that opens. Restart Windows afterwards.
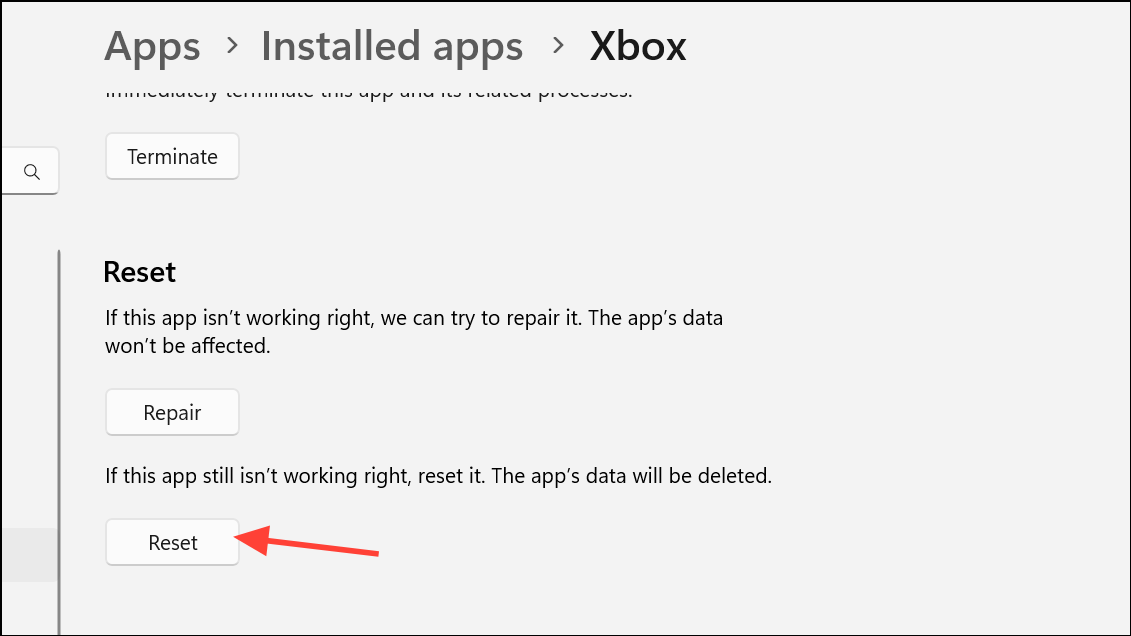
Step 3: Repair and Reset the Xbox app and Microsoft Store. Go to Settings → Apps → Installed apps → Xbox → Advanced options → Repair, then Reset. Do the same for the Microsoft Store. This rebuilds local app data and reinitializes the embedded web runtime used by the Xbox app.
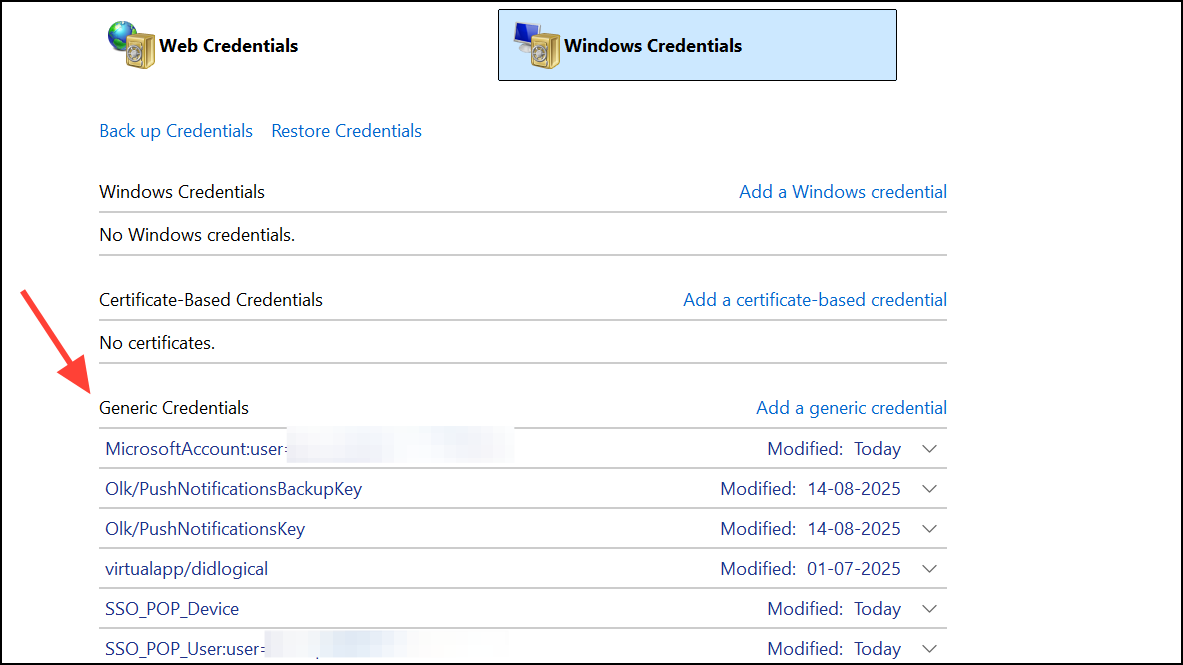
Step 4: Clear stale Xbox credentials. Press Windows + R, run control.exe keymgr.dll, open Windows Credentials → Generic Credentials, and remove all entries starting with Xbl (such as XblGrts, Xbl|, or Xbl_Ticket). These will be recreated on next sign-in.
Step 5: Reset WinHTTP proxy. In an elevated Command Prompt, run:
netsh winhttp reset proxy
Incorrect system proxies can break sign-in and content calls inside the app, causing crashes.
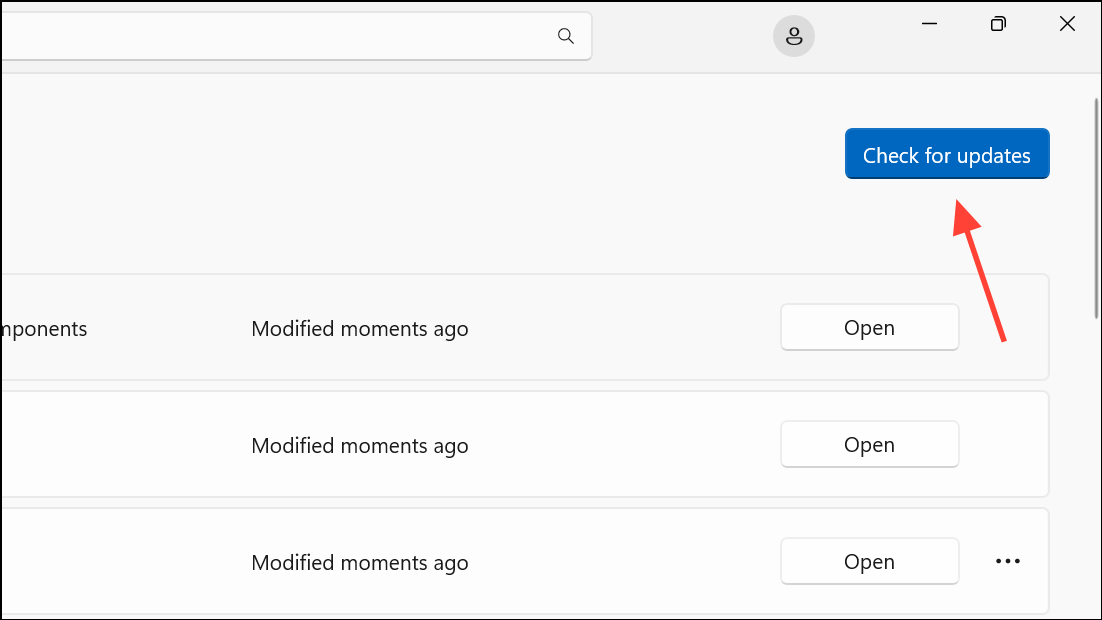
Step 6: Sync date/time and update everything. Set time to automatic (Settings → Time & language → Date & time) so token validation succeeds. Run Windows Update including optional updates. Open Microsoft Store → Downloads→ Check for updates to refresh Xbox-related components.
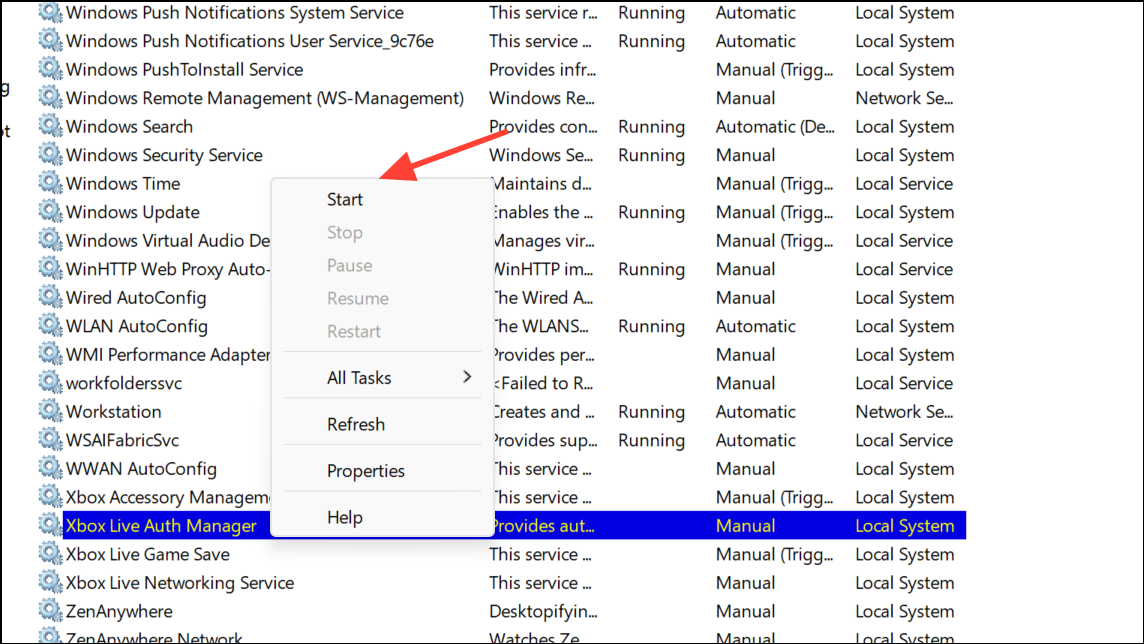
Step 7: Verify required services. Open Services as admin and ensure these are Running and set to Automatic: Xbox Live Auth Manager, Xbox Live Networking Service, Xbox Live Game Save, Gaming Services, and IP Helper. Start any that are stopped.
Step 8: Check firewall allowances. In “Allow an app through Windows Defender Firewall,” ensure Xbox app and Microsoft Store are allowed on Private and Public networks.
Method 3: Perform an In‑Place Repair of Windows
This refresh reinstalls Windows system components while keeping your apps and files, which can fix corrupt runtimes used by the Xbox app.
Step 1: Download the latest Windows Installation Assistant or ISO from Microsoft. Launch Setup.exe from within Windows.
Step 2: Choose “Keep personal files and apps.” Proceed with the repair install. This rebuilds the component store, re-registers all UWP apps (including Microsoft.GamingApp), and restores missing DLLs that can trigger hermes.dll faults.
Step 3: After the repair and reboot, update Windows and the Microsoft Store apps again, then launch the Xbox app.
Method 4: Fix Game/App Install Locations and Drive Permissions
Store apps rely on specific folder permissions and junctions. Misconfigured secondary drives or low space on C: can surface as access violations during app startup.
Step 1: Ensure the target game/app drive is NTFS. In File Explorer, right‑click the drive → Properties. If it’s exFAT/FAT32, move data off and format as NTFS. Store apps require NTFS and specific ACLs.
Step 2: Make sure C: has working headroom. Keep at least 15–20 GB free on C:. The Store uses temporary caches on the system drive even when installing to D:, and low headroom can corrupt app package activation.
Step 3: Let Windows prepare the drive for Store apps. Go to Settings → System → Storage → Advanced storage settings → Where new content is saved. Set “New apps will save to” and “New games will save to” your preferred drive. Accept the prompt to allow apps on that drive so Windows creates the required WindowsApps folder with correct permissions.

Step 4: Set the Xbox app’s default install path. In the Xbox app, open Settings → General and set the default drive for game installs. Tick any prompt to “Use this drive for installing games.”
Step 5: Avoid taking ownership of C:\Program Files\WindowsApps. Changing ownership/ACLs of this folder often breaks all Store apps. If you previously changed it, an in‑place repair (Method 3) is the safest way to restore defaults.
Method 5: Clean Boot and Additional Checks
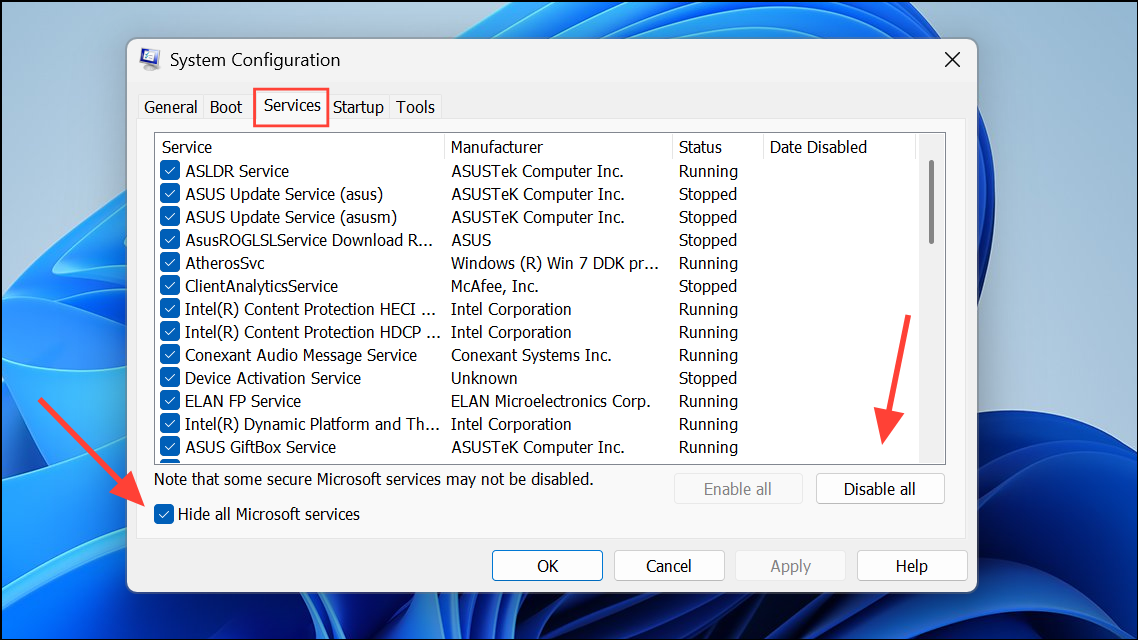
Step 1: Perform a clean boot to rule out third‑party conflicts. Press Windows + R, run msconfig, on the Services tab check “Hide all Microsoft services,” click “Disable all,” then on the Startup tab open Task Manager and disable non‑Microsoft startups. Reboot and test the Xbox app.
Step 2: Temporarily disable third‑party antivirus or create exclusions for C:\Program Files\WindowsApps and the Xbox app. Security hooks into UWP processes can cause webview crashes inside the app.
Step 3: If you’re on a new laptop running Windows in S mode, switch out of S mode in the Microsoft Store (one‑way change). S mode restrictions can block required components and sign‑in flows for the app.
Step 4: Optional diagnostic: Boot into Safe Mode with Networking. If the crash disappears, a driver/startup app is the likely cause—reintroduce items gradually after a normal boot to find the offender.
Tip: After you get stability, re-enable XMP and Turbo one at a time, testing between changes. Keep BIOS firmware and Windows optional updates current; vendors continue to ship fixes that improve app stability under boost loads.
Most hermes.dll crashes clear up once the CPU boost behavior is stabilized or the Gaming Services/Xbox app stack is rebuilt. If the issue returns only when Turbo is on, leave it disabled until a firmware update resolves the instability.