
Scanner software on Windows 11 often relies on the Windows Image Acquisition (WIA) driver to establish communication between your computer and imaging hardware. When the error message "You need a WIA driver to use this device" appears, it blocks scanning tasks and disrupts workflow. This issue can result from missing, outdated, or incompatible drivers, disabled system services, or conflicts introduced by recent Windows updates. Addressing the root cause restores scanning capability and prevents recurring interruptions.
Restart and Configure the Windows Image Acquisition (WIA) Service
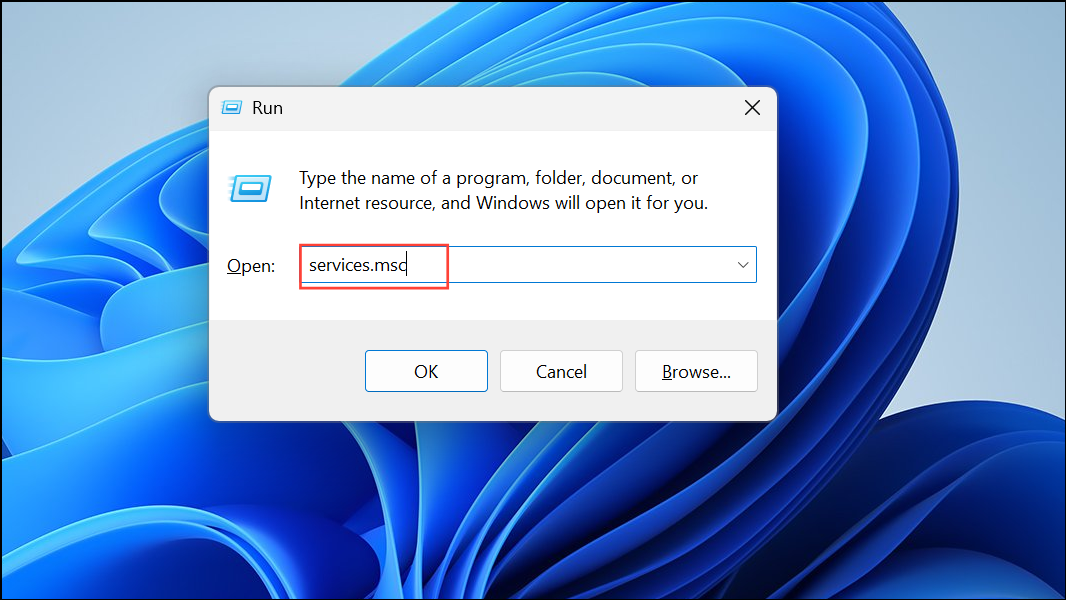
Step 1: Open the Windows Services management console by pressing Windows + R, typing services.msc, and pressing Enter. This displays a list of all background services running on your system.
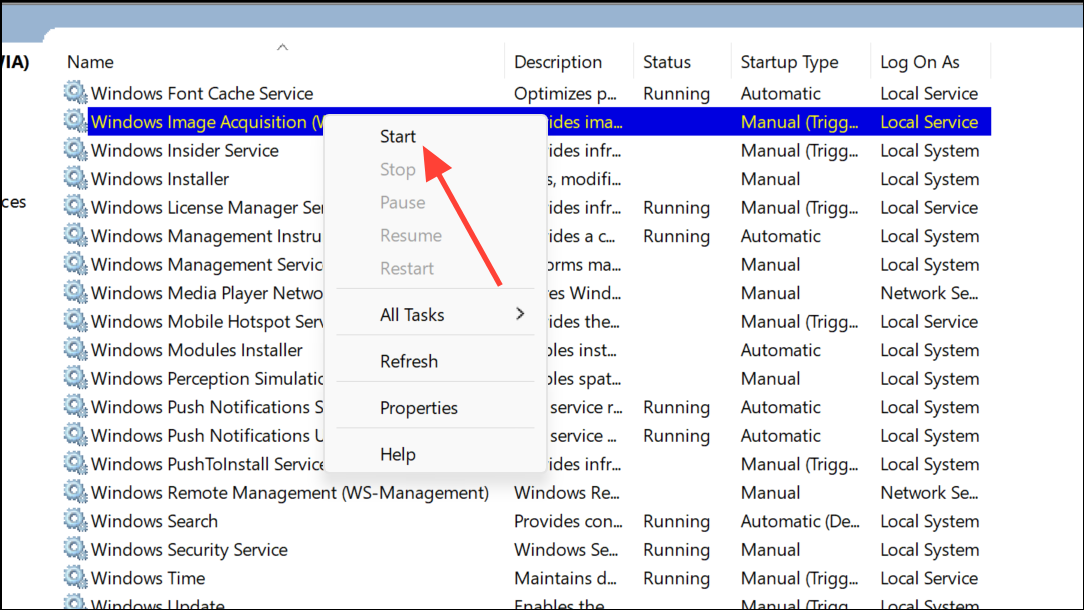
Step 2: Locate the "Windows Image Acquisition (WIA)" service in the list. Right-click it and select Restart if the service is running, or Start if it is stopped. This action reinitializes the service, which is essential for scanner operations.
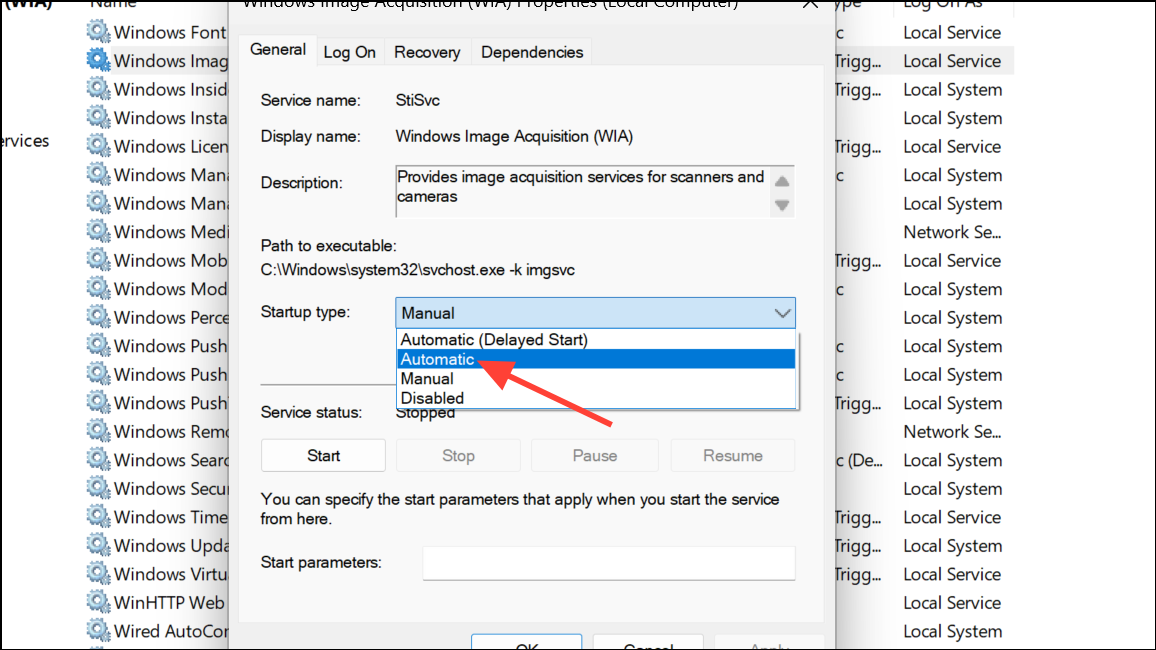
Step 3: Double-click the WIA service to open its properties. Under the "Startup type" dropdown menu, select Automatic. This ensures the service starts automatically with Windows, preventing future interruptions.
Step 4: For some scanners, especially older models or after Windows updates, adjusting the service's logon settings can resolve persistent WIA errors. In the WIA service properties, switch to the "Log On" tab. Select Local System account and check the box for Allow service to interact with the desktop. Click Apply and OK. This change grants the service broader system permissions, which can be necessary for driver communication.
Step 5: Restart your computer to apply these changes. After reboot, attempt to use your scanner software to check if the WIA error is resolved.
Update or Reinstall the Scanner's WIA Driver
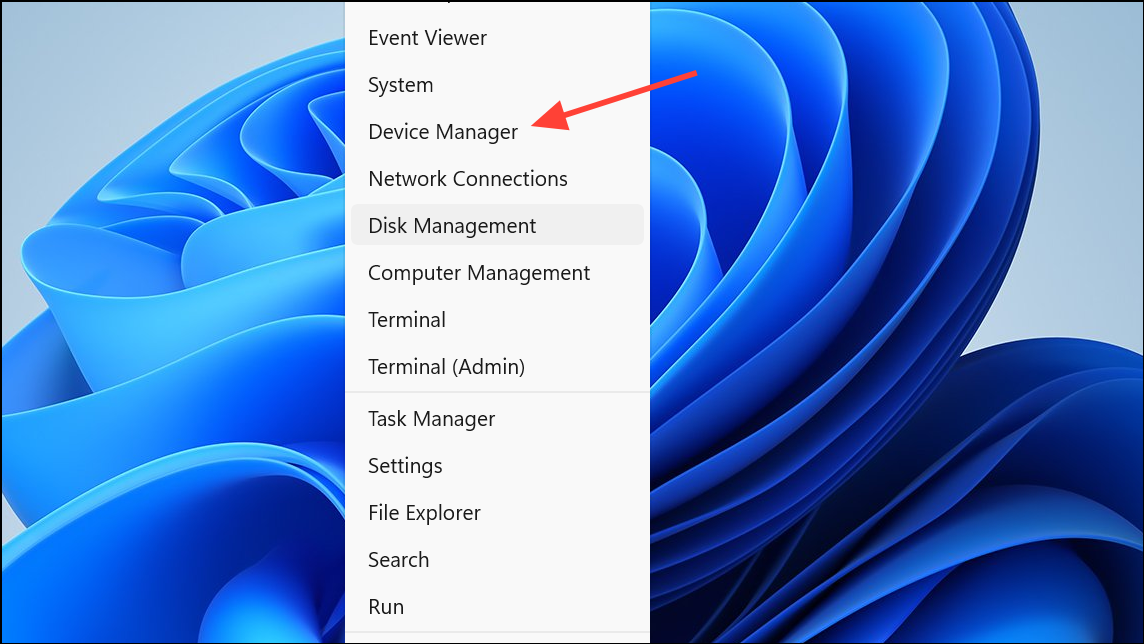
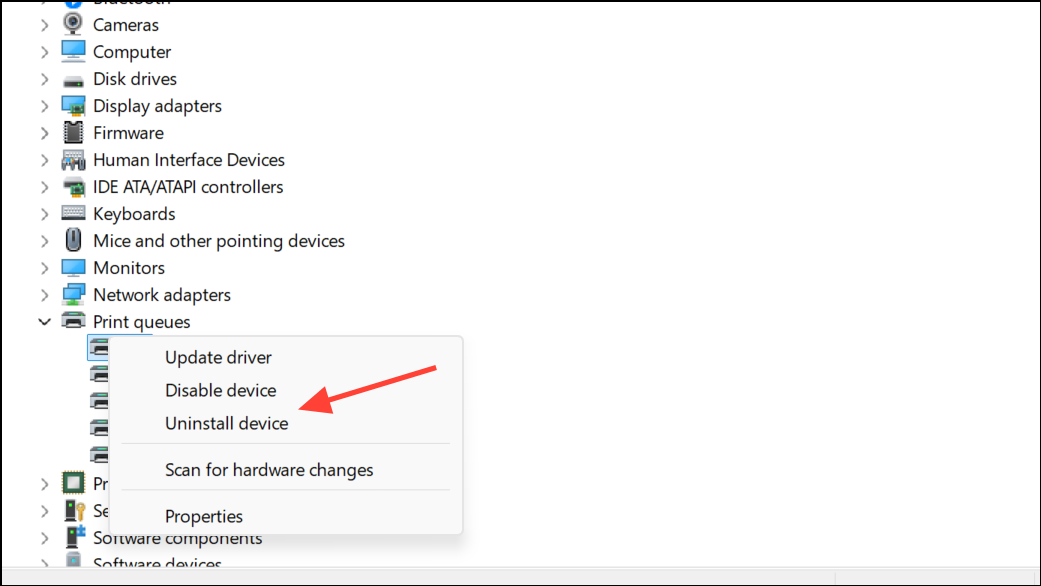
Step 1: Open Device Manager by pressing Windows + X and selecting Device Manager. Expand the "Imaging devices" section to find your scanner.
Step 2: Right-click your scanner and choose Uninstall device. Confirm the uninstallation if prompted. This removes the existing driver, which may be outdated or corrupted.
Step 3: Disconnect your scanner from the computer, then reconnect it. Windows will attempt to install a compatible driver automatically. If Windows does not find the correct driver or the error persists, proceed to the next step.
Step 4: Visit the official website of your scanner's manufacturer (such as HP, Canon, Epson, or Brother). Search for your specific scanner model and download the latest Windows 11-compatible driver package, which should include the WIA component.
Step 5: Run the downloaded installer and follow the on-screen instructions to complete the installation. After installation, restart your computer and test scanner functionality.
Step 6: If you do not have access to the manufacturer's website or are unsure which driver to select, consider using a reputable driver update tool that can automatically detect and install the correct WIA driver for your device. Always verify the legitimacy of any third-party software before downloading.
Run the Windows Troubleshooter for Devices and Printers
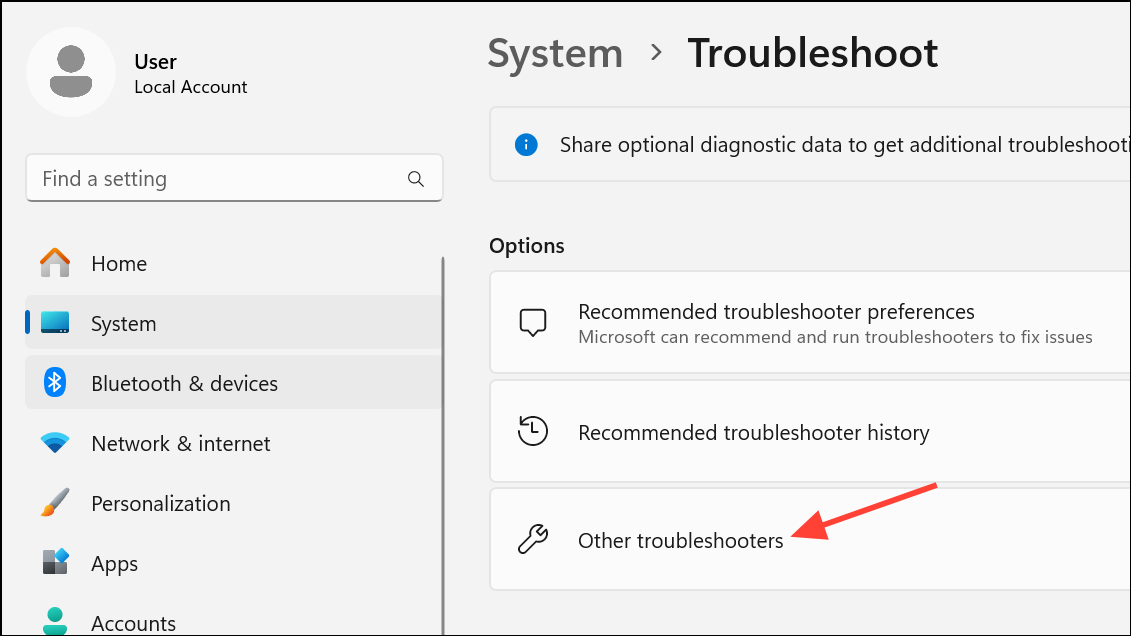
Step 1: Open Windows Settings by pressing Windows + I. Navigate to System > Troubleshoot > Other troubleshooters.
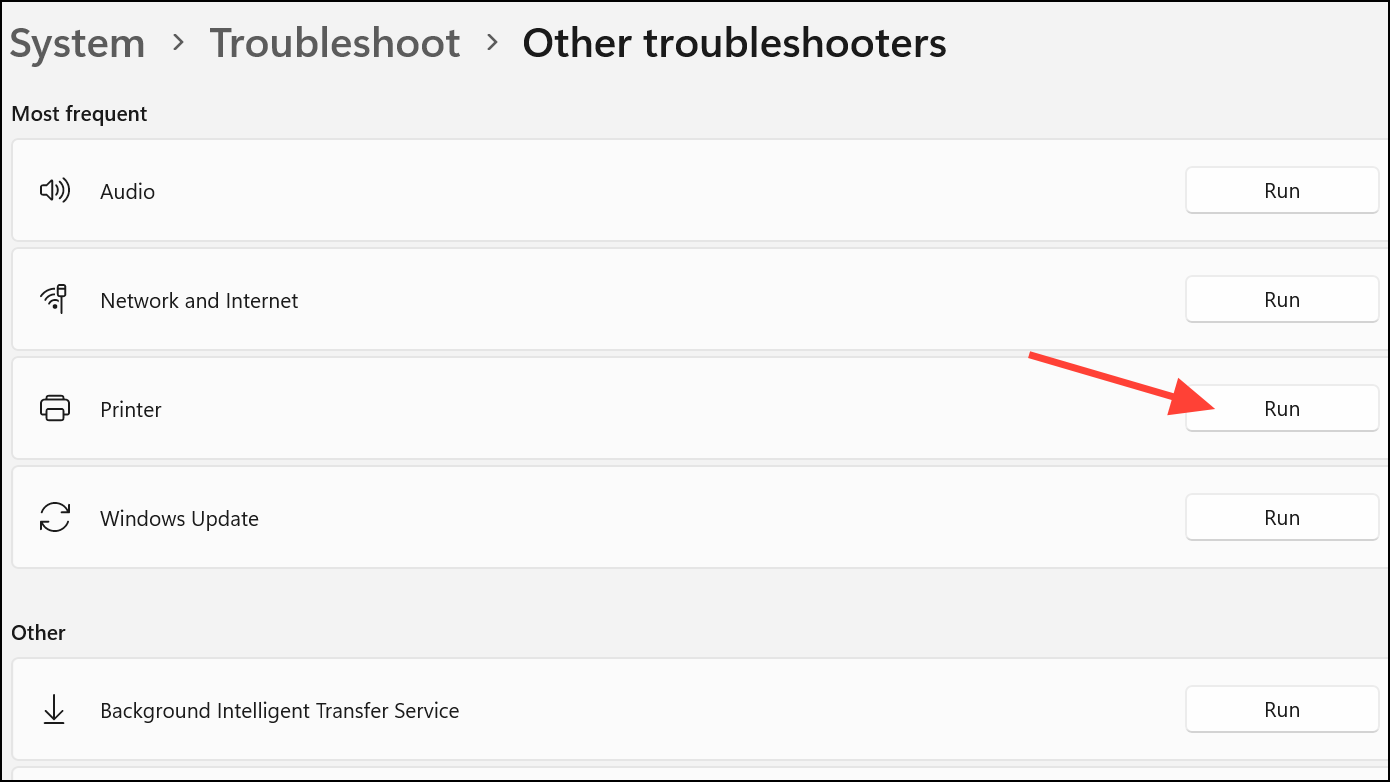
Step 2: Find the "Printer" or "Devices and Printers" troubleshooter in the list and click Run. The troubleshooter will scan for common issues with scanner and printer devices, including missing or malfunctioning drivers.
Step 3: Follow any prompts or recommended actions provided by the troubleshooter. Restart your computer if the troubleshooter applies any fixes, then check if the scanner error is resolved.
Adjust Windows Update Settings to Prevent Driver Conflicts
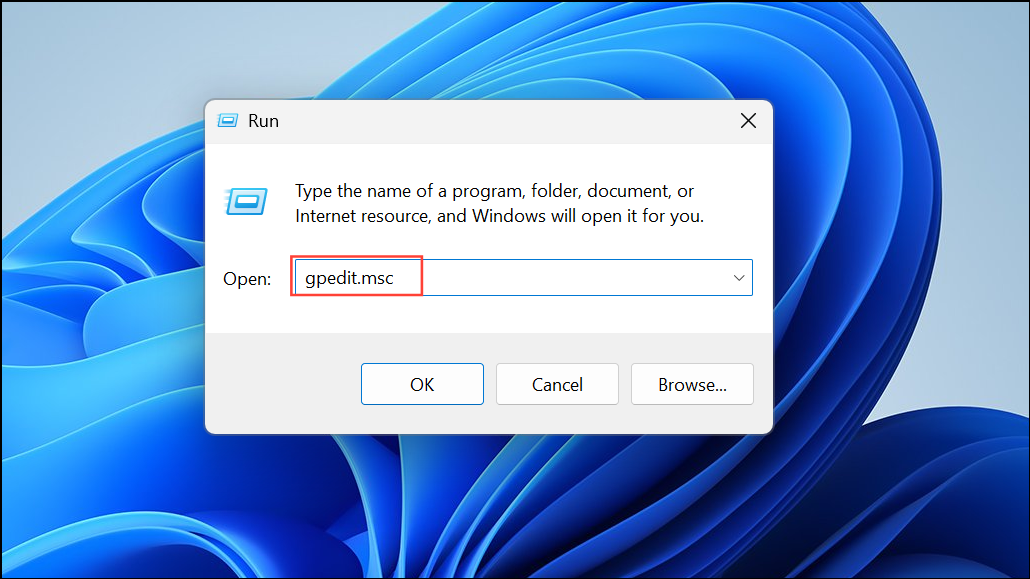
Step 1: Windows Update can sometimes overwrite manufacturer-supplied drivers with generic versions, causing WIA errors to reappear. To prevent this, open the Local Group Policy Editor by pressing Windows + R, typing gpedit.msc, and pressing Enter (note: not available in Windows 11 Home).
Step 2: Navigate to Computer Configuration > Administrative Templates > Windows Components > Windows Update > Do not include drivers with Windows Updates.
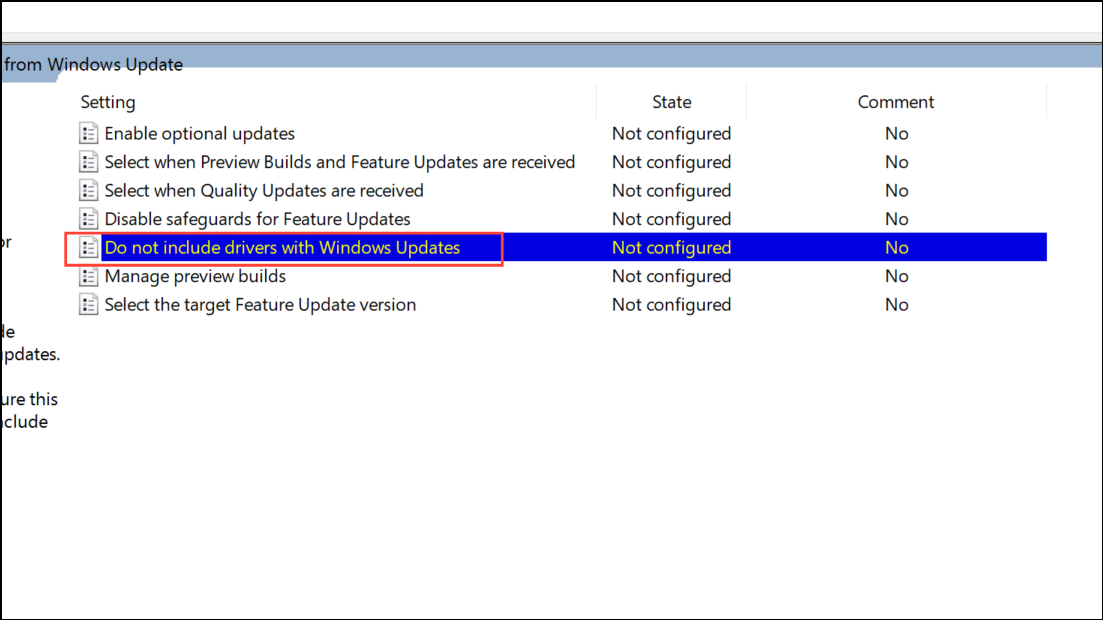
Step 3: Double-click this policy and set it to Enabled. Click Apply and OK. This stops Windows Update from automatically replacing your working scanner driver.

Step 4: If you do not have access to Group Policy Editor, you can achieve the same result using the Windows Registry Editor. Carefully follow manufacturer or community instructions for creating the necessary registry key, as incorrect changes can cause system instability.
Step 5: After applying these changes, reinstall your preferred scanner driver as described above to ensure it remains in place.
Additional Troubleshooting Steps
- Temporarily disable antivirus or firewall software if you suspect it is blocking scanner communication, then test scanning again.
- Check for compatibility updates or firmware upgrades from the scanner manufacturer, especially for older devices.
- For persistent issues, consider alternative scanning applications such as VueScan or SilverFast, which may offer broader device support and improved driver handling for legacy hardware.
Addressing the WIA driver error on Windows 11 restores full scanning functionality and prevents recurring disruptions. Regularly updating drivers from official sources and monitoring Windows Update changes help maintain reliable scanner performance.